…what about flatulence?as long as you don t sneeze during carving.
* Flatulence is passing gas from the digestive system out of the back passage. It's more commonly known as "passing wind", or "farting".

 |
The beloved Ships in Scale Magazine is back and charting a new course for 2026! Discover new skills, new techniques, and new inspirations in every issue. NOTE THAT OUR NEXT ISSUE WILL BE July/August 2026 |
|
 |
As a way to introduce our brass coins to the community, we will raffle off a free coin during the month of August. Follow link ABOVE for instructions for entering. |
|
…what about flatulence?as long as you don t sneeze during carving.
Guess it depents on how much pressure there is involved.…what about flatulence?
* Flatulence is passing gas from the digestive system out of the back passage. It's more commonly known as "passing wind", or "farting".


You mean the last set of chisels to get out of Russia...THOSE chisels (that I can't get anymore)???Thx Paul,
I should say Michael's chisels are perfect for this job, as long as you don t sneeze during carving.
Paul, these are mini chisels from Mihail Kirsanov. As far as I know, he is no longer accepting orders as a few years back. Unless he changed his mind.You mean the last set of files to get out of Russia...THOSE files (that I can't get anymore)???
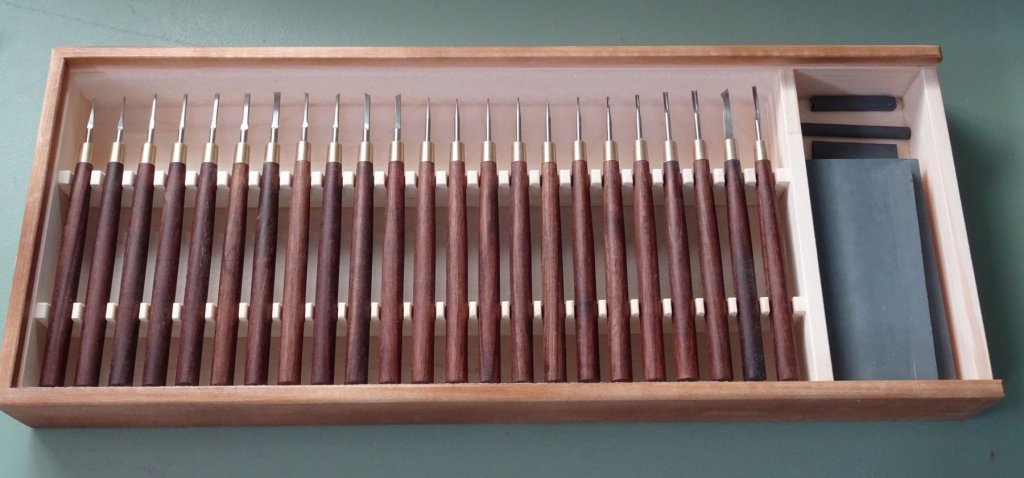

Yes. I placed an order a year ago (longer?) and I'm in the cue - but he emailed me and told me that he is no longer permitted to ship to the US.Paul, these are mini chisels from Mihail Kirsanov. As far as I know, he is no longer accepting orders as a few years back. Unless he changed his mind.
Set # 1:
Set #2:
View attachment 375760
yes, in those days there is difficult to obtain goods from the Russian Federation because of sanctionsYes
Yes. I placed an order a year ago (longer?) and I'm in the cue - but he emailed me and told me that he is no longer permitted to ship to the US.
Yes I have an extended set 1 with some additional curved chisels. Ordered it last year and it was delivered just before the Ukraine war.Paul, these are mini chisels from Mihail Kirsanov. As far as I know, he is no longer accepting orders as a few years back. Unless he changed his mind.
Set # 1:
Set #2:
View attachment 375760

Guess it depents on how much pressure there is involved.

Awesome looking keel assembly with immaculate carvings, chapeau!Next are the depth markings in Amsterdam feet.
The example for the depth marks I took from the E81 wreck from again the pinas Samuel.
Stem
View attachment 375659
Stern
View attachment 375660
View attachment 375661
View attachment 375662
You clearly see the different markings on SB and PS side, roman numerals on the SB side and alternative rotated roman numerals with dots on the PS side.
9 being VIIII is not a mistake but realy written like that.
On the bow the numerals are even in mirror image.
On my model first I measured the Amsterdam feet.
View attachment 375669
View attachment 375670
Set out the height of the roman numerals, which is 1/3 of an Amsterdam foot.
View attachment 375671
Followed by adding the roman numerals.
The 5 at the bottom I took also from the E81 wreck, here a 4 is carved, but this fluyt is deeper in the water so I changed it to 5 at 5 feet.
View attachment 375672
Next is carving resulting in my carved numerals.
Sanded away the pencil and added a layer of Clou following again by sanding.
View attachment 375676
View attachment 375677
On the PS side the carving is different as mentioned. The height of the carvings is here 1/4 of an Amsterdam foot.
View attachment 375680
View attachment 375686
View attachment 375687
The keel is finished
View attachment 375688
View attachment 375689
View attachment 375690


")

A nice and surprising start. A plank at the back, one at the front, and then the appropriate part in between. Very promising, Maarten.After a broef step aside to the Royal Caroline I am back on the fluyt to start with the planking.
Shell first means shell first, so we start with the planking (shell) and fill it afterwards with frames.
To secure the keel and avoid disformation I fixed it to the blocks by 2 screws.
View attachment 377554
For the planks I made 2,3 mm thick boards to prepare the planks.
View attachment 377555
View attachment 377556
The first plank is the garboard strake along the keel and locked into rabbet.
To get the correct angle with the keel dummy blocks were used to fit the garboard strake along the keel, see below on the contemporary drawing from Witsens book.
View attachment 377557
I made these blocks and fitted them in the positions of my waterline drawings, using the drawings to determine the shape.
View attachment 377559
Dry fitting on the keel
View attachment 377560
The garboard strake has a tapered side to fit properly into the rabbet.
View attachment 377566
Below you see the same full scale on the 7 provincien replica build.
View attachment 377567
And on the model
View attachment 377568
For shaping the planks I use a water bath and temperature controlled heat plate.
View attachment 377558
The first plank is shaped and ready to fit.
View attachment 377561
After glueing and drying, glued with white pva.
View attachment 377562
View attachment 377563
View attachment 377564
View attachment 377565
After the first stern plank the first bow plank follows, you can see the connection of the plank at the stem is different then in Stephan's build.
View attachment 377569
View attachment 377570
Finally the centre plank is added. I make it slightly bigger and file it to fit.
View attachment 377571
The plank joints are all scarph joints.
View attachment 377572
After roughly cutting the scarph joint also this I file to fit.
View attachment 377573
View attachment 377574
When it fully fits I glue it in place with dark brown pva on the scarph joints being the caulking.
View attachment 377575
Next time the SB side.


