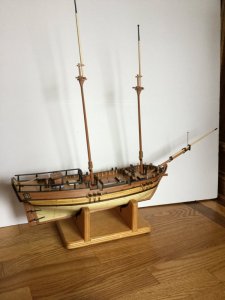
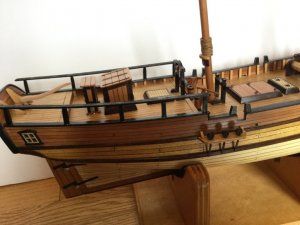
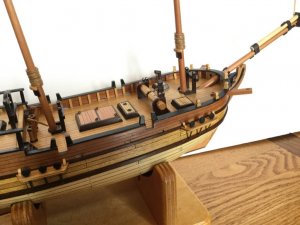
AL Colonial Schooner "Independence" by DocBlake - 5/16" scale

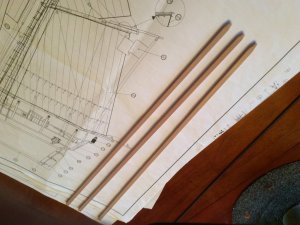
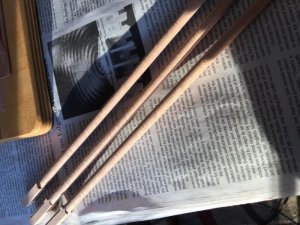
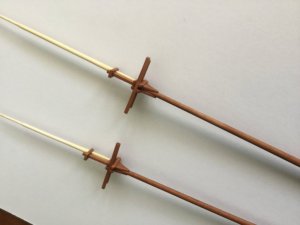
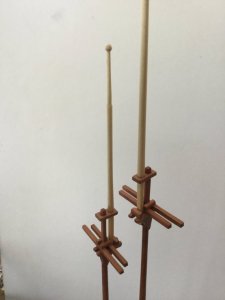
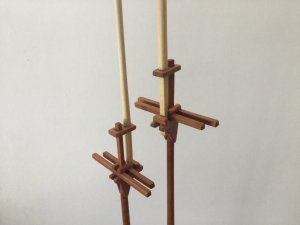
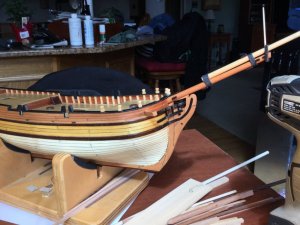
I decided to make my masts and sprit out of swiss pear. They need to be 5/16" in diameter at the base, and tapered. Obviously there is no commercial source so I'll make my own. The first step is to drill a 21/64" hole in some mild steel. Then I cut out mast blanks on the table saw a hair larger that the hole. I sharpened the tip of the blanks, then chucked them into my 1/2" electric drill. Using the steel as a drawplate, I pushed the spinning wood through the hole. The resulting dowels were a bit rough, bu I have at least 1/64 to play with and they clean up easily. Once they're at 5/16", I'll taper them. Here's a photo of the blanks and the resulting unsanded dowels. I also linked to a You Tube video showing the technique.

Dave
2303723038
 
Thanks for taking the time to make the YouTube Dave. A simple but effective technique - the best kind.
 
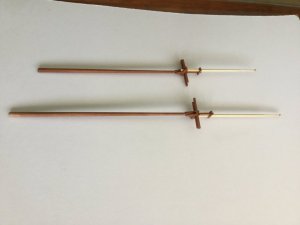
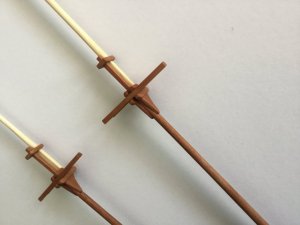
Clare hess chose to stain his masts black between the doublings. I think it looks good and is historically accurate. But I also like the look of pear and maple, without any black stain, as my masts appear now. This is a stylized model so I'm not a slave to historical accuracy! I've not yet cut the topmasts to length nor made the fids.

Dave

2402924030240312403224033
 
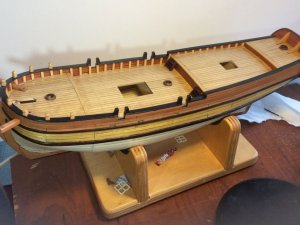
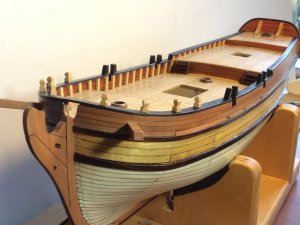
I completed and installed the rails, the catheads, the timberheads, the quarterdeck ladders and the timbers that define the gun ports. The only major parts left on the hull (except for cleats, eyebolts etc.) are the channels, the swivel gun mounts and the quarterdeck and poopdeck railings. The masts are done. Once the spars are made it's on to rigging.

Dave

2713327134
 
Thanks, guys!
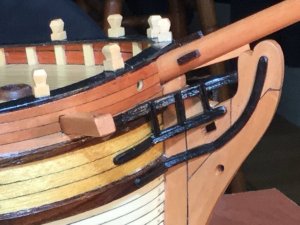
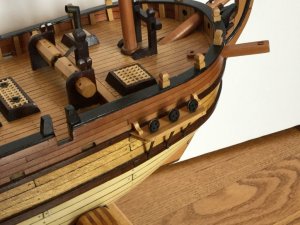
I finished working on the head rails. Since this is a small, simple vessel, I opted for simple head rails and no figure head. The kit does have head rail components, but they are made of metal and look like crap. I made my own out of wood.

I dyed the rails black and applied a coat of poly. The glare of the light makes the rails look shiny. Much less so in real life.
I really sweated the head rails, but I think they turned out OK. I just broke the whole thing down into individual parts and it wasn't as hard as I thought

Dave

2717227173
 
Thanks, Gary.

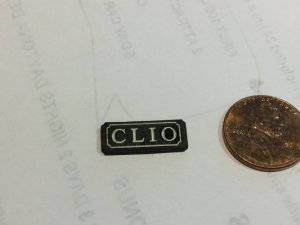
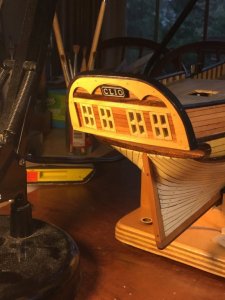
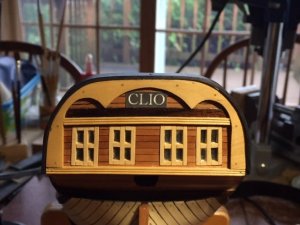
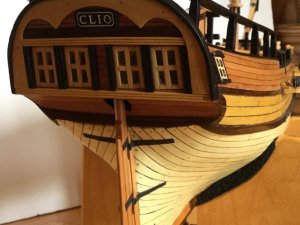
This "Independence" is a fictional vessel so I decided to rename this schooner "Clio" after the Muse of History in Greek mythology. My friend Mike Shanks was able to laser etch some ebony I had on hand. I then painted the etched name using white acrylic paint. Sanding the face with a 220 grit sanding block took care of any excess paint on the name plate. I then glued the name to the transom.

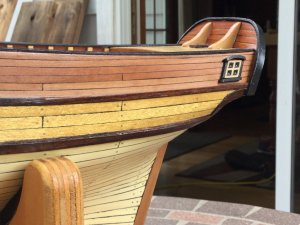
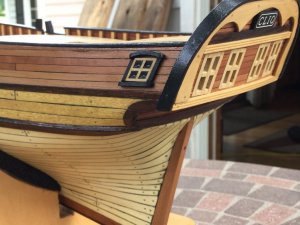
After a lot of thought I decided to include quarter badge windows. This is a small, simple ship so I opted out of all the elaborate carving and went with a simple 4 pane light that Mike Shanks cut out for me in boxwood. I took a cue from Dr. Clayton Feldman in his "Lexington" build and added a curved rain diverter and sill, both of which stand proud of the window. Simple molding strips form the sides of the framing. All these parts are of ebony.

27187271882718927190
 
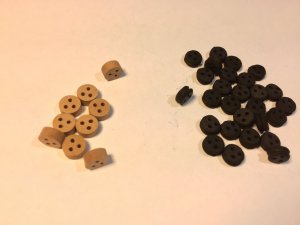
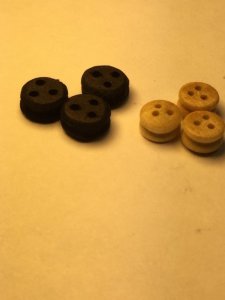
I needed deadeyes in an odd size because of the scale of the ship. I also wanted them black. 6mm would be 9" in scale diameter. That would work. Mike Shanks, using his CNC, cut a bunch of them out of swiss pear that are 6.5mm in diameter. The only problem is that there was no way to cut the grooves along the circumference. I did that by hand, and sanded the deadeyes smooth. Then I dyed them black. The photo shows the raw deadeyes and the finished product. they still need to be coated with tung oil. The second photo shows the remade deadeyes compared to the stock ones supplied with the kit. They are a bit bigger. Perfect!

2737427375
 
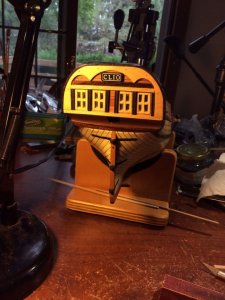
I decided I needed to punch up the stern on "Clio" (Independence). It looked kind of pale and vanilla. I added vertical beaded molding made of rosewood between the lights. I think it highlights the windows and ties them in with the quarter badges. The photos show the comparison.


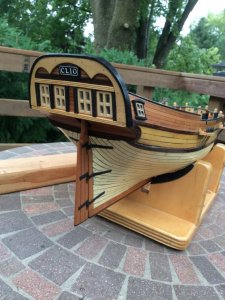
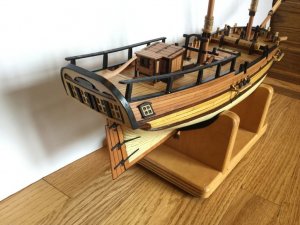
I added the gudgeons and pintles and mounted (temporarily) the rudder. I finished the channels. I'm ready to start the quarter deck/poop deck railings and swivel gun mounts. Then it's glue all the deck furniture in place and start rigging

275502755127552
 
Here's the current status of this build. All the deck furniture has been glued in place except the tiller, which hasn't got any poly yet either. I just completed the railings, and I still have to build the cannon carriages, swivel guns and swivel gun supports before I start rigging. The masts and sprit are just sitting in place.

276852768627687276882768927690
 
Last edited by a moderator:
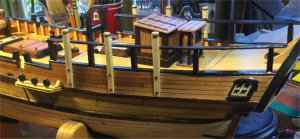
I finished the swivel gun supports. Classically these would have been painted black, but I made them out of boxwood and kind of like the look. For the metal reinforcing bands at the top, I cut a shallow kerf in all 4 sides and CA'd some black rigging thread in the kerf. I used the same technique to make the cannon reinforcing rings in my Battle Station model. Two HO gauge railroad spikes were glued in to simulate bolts holding the supports in place. I only did six supports, 3 per side, leaving off the last ones on the poop deck and the two in the fo'c'sle. The deck and rails are getting crowded!


The supports need poly and the bulwark planking needs to be touched up. I scraped the poly off the planking before gluing the supports in place.

30784
 
Hello Dave,

Your ship is really looking great. I just want to ask a question if you don't mind. You applied Minwax Wipe on Poly on the deck. Does it create a difficulty in glueing of the furnitures on the deck? I had a bad experience with tung oil before. I had to clean all the points where i glued the furnitures because nothing could be sticked on the oiled surface even after a month.

Have a good day,

Mustafa
 
Back
Top