• LUCZORAMA SHIPWRECK SCAVENGER HUNT GIVEAWAY. 4 Weeks of Fun • 1 Legendary Prize ((OcCre’s Fram Ship)) • Global Crew Welcome!
    **VIEW THREAD HERE**

Albatros by Occre - Fourth build but first Ship

Joined
Jan 11, 2025
Messages
58
Points
68

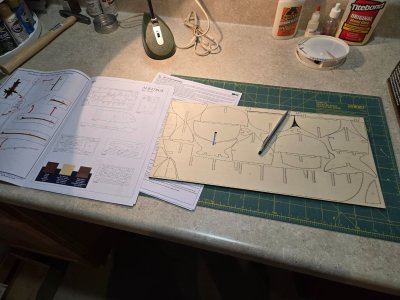
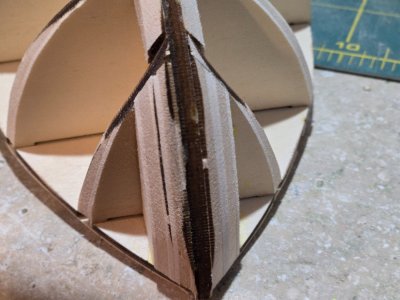
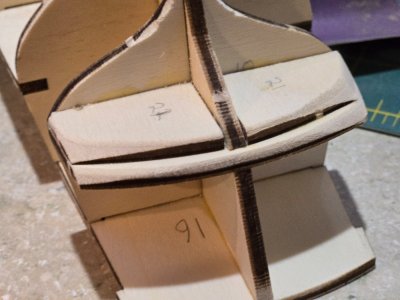
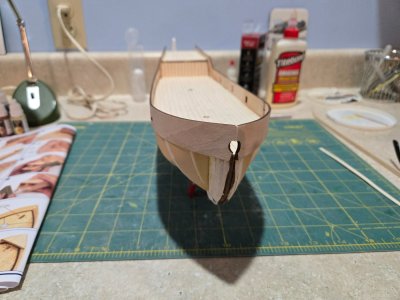
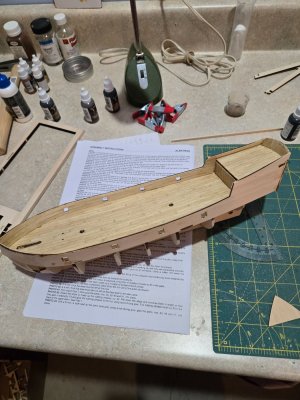
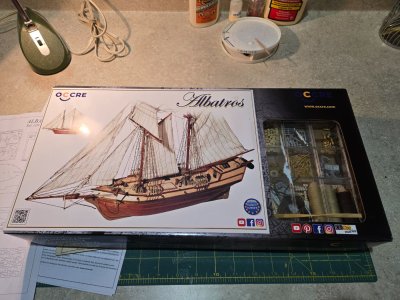
Yesterday I started my first real ship build if a schooner is considered a ship. (I read that if a schooner was in the British Royal Navy, it would not have been considered a ship). Previously I have completed the Lowell Grand Banks Dory, the Norwegian Sailing Pram, and the Muscongus Bay Lobster Smack. The first two by Model Shipways and the latter by Midwest. I'm hoping I am now capable of doing a decent job on the Albatros. Here are some pictures of my start.20250520_100036.jpg20250520_100020.jpg
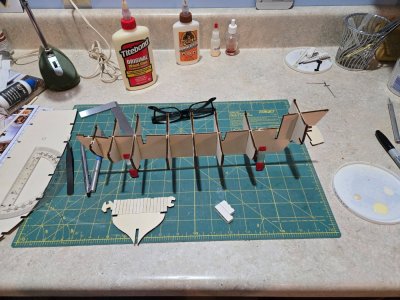
I have cut out the keel and all of the frames and dry fit everything including installing the deck. For frame 9 I decided to plank it before installing it on the keel. All of the frames have now been glued, and the deck still fits.
20250520_145724.jpg
 
Looks like a good start to the build, and I see some Lego used to square the bulkheads I assume.

As for if its a ship, the old Navy saying goes, if it floats, and is not carried onboard a larger ship, its a ship, small craft carried on board are boats, except for submarines which are always a boat!
 
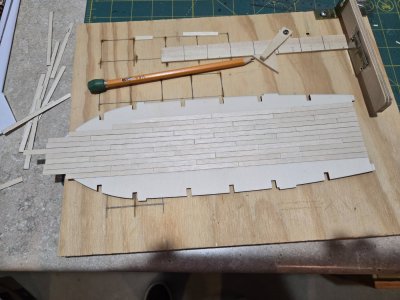
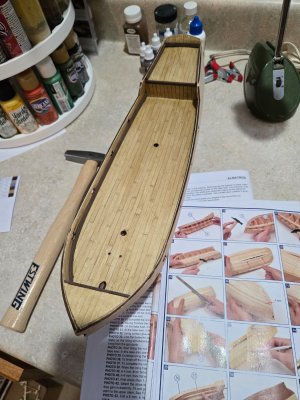
I have started to install planks on the deck. I am using an 8-6-2-4 pattern with the full planks being 8cm. For the caulking I am using a pencil on the edges before I glue them down using white glue. I had planned to use a Sharpie on the plank edges but read where there may be issues of bleeding or smearing when varnishing. That leads to my first question. I purchased the Occre paint set for this kit when I got it. None of the build logs or videos for this kit really address the painting/staining aspects of building this or other kits. The paint set included varnish as well as a couple of stains. One post mentioned tinting the varnish. What is the proper method of finishing the deck using this paint and stain set?

In case you wonder, that is my OldeManToad industries chopping tool I made several years ago for building railroad trestles.
20250521_112723.jpg
 
Your construction is going well...don't make the same mistake I did, you need to plan the posts that fit onto the false spine very well
 
I started the USS Constellation model kit. I had problems during winding because I did not sand the fake keel and the frames enough. With the help of the masters here, I removed the covering strips and I continue to sand them again... This is what I wanted to explain... I apologize if I caused a misunderstanding.
 
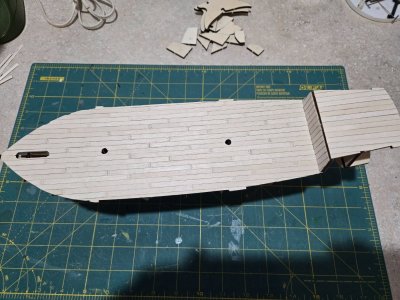
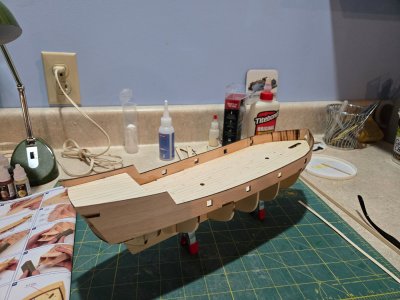
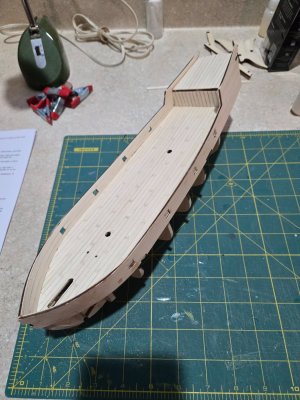
Completed the decks and attached them to hull.
20250522_143125.jpg

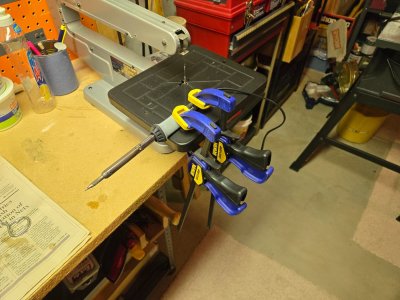
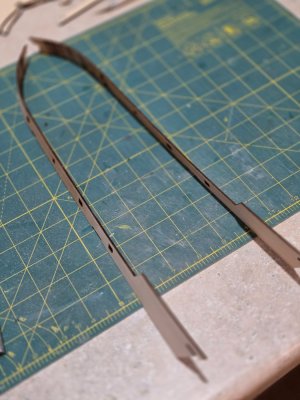
Here is my soldering iron set up to try some trial bending of a plank. If that is successful, I will use it to bend the bulwarks.
20250524_100011.jpg

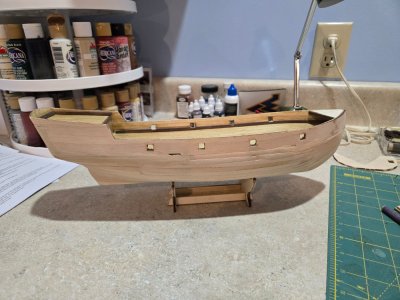
Installed the reinforcing chocks and started sanding them and fairing the hull. Im satisfied with the bow but the stern probably needs a little more sanding.
20250524_101235.jpg20250524_101244.jpg

Here are my two curved bulwarks. The soldering iron made it pretty easy to do, but I think my iron was a little too hot. Even though I soaked them well before bending them and frequently, they were scorched almost immediately. Not a problem because these will be lined with planking. This method of bending I got from John Aliprantas's videos. I highly recommend watching his videos. Waiting for Instant CA to be delivered by Amazon today and will start attaching them tonight or tomorrow.

20250524_102500.jpg
 
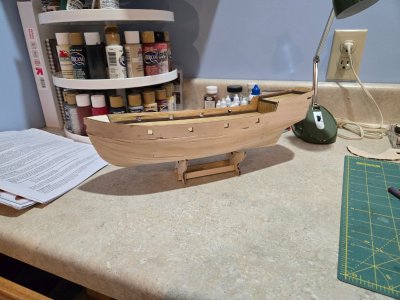
This morning I have attached the bulwarks to the hull. At the bow I used my Dremel cutoff wheel to trim the bulwarks to meet evenly. You cans see the scorch marks on the bulwarks from the fires when the ship was attacked by pirates. I used instant CA for this step. Next step is to line the bulwarks on the inside with planking.


20250525_111447.jpg20250525_111500.jpg
 
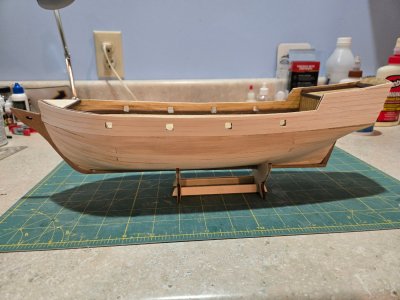
Lined the upper stern piece with planks and then realized I would need to bend the piece to attach it to the stern. I can't use soldering iron because it would scorch the piece. So I soaked the piece and removed all the planking. Then I was able to bend the piece using the soldering iron and planked it again. I had to sand the stern a lot to be able to fit the piece but finally got it attached. Then I did the first coat of varnish on all the planked surfaces. I used the Occre varnish with a few drops of the walnut stain in it. I will probably put a second coat on it and make it a little darker.
20250527_164500.jpg

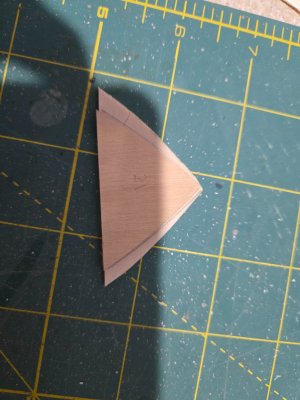
I cut out the bow deck piece and went to dry fit it. Wow, that piece was way to narrow side to side to fit in the bow. I had to make a replacement part out of some scrap wood left from previous boat. Below you see my piece under the original piece. I have not seen any other build logs mention this. I thought maybe I messed up installing the bulwarks at too much of an angle, but even laying the original piece on the deck it would not fit side to side. This is one of the joys of model ship building.
20250527_151928.jpg

20250526_200032.jpg
 
That looks great. The Albatros is my first ever build as well and I’m learning a lot. One of the many things I’ve learned to is dry fit the masts before the deck is glued down. I didn’t do this only to find the masts didn’t fit into the intended slots. On my second planking not all of the strakes laid flat. I think it’s because I sanded horizontally but didn’t sand vertically at all. I also found the wood used for the second planking is very brittle and chips when trying to cut it - even with fresh blades. I’ve always wanted to build a museum quality one hundred gun ship of the line and purchased this one to start learning the skills I’ll need.
 
Thanks for the nice comments PDL. Yes, that comment about sanding vertically is very helpful as I am on the sanding stage. I will now be watching every youtube video I can find on how to do second planking.

Here is a pic showing the waterways and other trim pieces installed. I considered using the 2x3 African walnut strips instead of the 2x4 strips for the waterways but decided to follow directions.

20250530_144715.jpg

Here are some pics showing the sanding of the first planking just started. I have a lot of sanding left to do. If you look at the canon ports you can see that I have started to grind out the ports. I used a small Dremel bit to do this but I have yet to finish filing them down.

20250604_105751.jpg

20250604_105807.jpg
 
Last edited:
Been awhile since I last posted. I made an executive decision to install the keel parts before starting the second planking. Took a lot of sanding to get these to fit just right plus had to cut a hole and refill it to fit the stern piece in. I'm very pleased with how that turned out. This would have been very hard had I done the second planking first. I also decided to use contact cement instead of white glue like I had planned. This decision was made after watching other's videos having to use tape and other methods to hold the planks in place while the glue dried. Got the bulwarks planked and I'm ready to move on to laying some sapelli planks. Before that I am going to paint the keel parts but haven't decided between dark brown paint or walnut stain. Any suggestions?

20250608_220956.jpg
 
I used the walnut stain and was very pleased with how it turned out. I used the scrap wood the parts were removed from to try out the different stains first. I used contact glue for the second planking as well.
 
As to your question on paints and deck planking, many here think painting wood is like hanging a coat on a beautiful naked model. You want to see the natural look, not layers of paint, and natural wood when finished well is so beautiful.

As for deck color or stains, that depends on the look your going for. Our member Olha (shipphotogher.com) likes to cover the deck with very thin CA and when dry scrap back flat to the wood, this seals the wood grain, and allowing for a more natural staining of wood.

Some use Poly coat, or Tung oil for decks and planks, all depends on what you have and like.

Have you checked out other build logs on this kit to see what others have done?
 
Thanks PDL. I will do the keel in Walnut stain. I am trying to duplicate what OCCRE shows on their box cover art but can't always tell which color is used where.
Kurt, I always hang coats on my beautiful naked models, before my wife sees them. I have viewed every Albatros build log both here and Model Ship World. It's hard to tell which color is being used. I read that some use Sapelli stain on their Sapelli wood before varnishing. Is this necessary? I wish that Occre had made recommendations on which colors in their paint sets to use on the various parts. Also, not to get ahead of myself, do people paint, stain, or varnish deadeyes and blocks?
 
Many modelers like dark colored (black) deadeyes, which can be stained or bought from venders who sell upgrades to kits.

There are several venders listed on our home page who sell better blocks, rigging and rope, than what the kit gives you.

Most blocks were not painted or stained as in real life they got used and abused and often replaced as needed. Deadeyes were usually on the ship for most of its sailing time.

I tried staining the deadeyes on my Albatros, but the stain wouldn’t soak in. I’m not sure what Occre coated their deadeyes with. I’m also not impressed with their thread. It’s extremely fuzzy, even after I run it through beeswax. Eventually I’ll start purchasing upgraded deadeyes, blocks, and thread once I become better at building these models.
 
I tried staining the deadeyes on my Albatros, but the stain wouldn’t soak in. I’m not sure what Occre coated their deadeyes with. I’m also not impressed with their thread. It’s extremely fuzzy, even after I run it through beeswax. Eventually I’ll start purchasing upgraded deadeyes, blocks, and thread once I become better at building these models.
Not sure what is done at factory, and for beginning level entry ships, it may not be worth cost of upgraded blocks and ropes.

My first few ships I just built from instructions, and used kit supplies to get the hang of things, as I learned later how to do better work.

That is one part of enjoyment of spending time in the forum reading and learning from those who know a great deal more than me on what is supposed to be done and how to make it look more realistic.
 
That is one part of enjoyment of spending time in the forum reading and learning from those who know a great deal more than me on what is supposed to be done and how to make it look more realistic.

I couldn’t agree more. I’ve learned a lot reading through build logs here. I’ve made a lot of mistakes during this first build, but I’ve learned a lot along the way. I’ve also found myself buying a few new tools.
 
I couldn’t agree more. I’ve learned a lot reading through build logs here. I’ve made a lot of mistakes during this first build, but I’ve learned a lot along the way. I’ve also found myself buying a few new tools.
Nothing wrong with new tools, especially if you have a valid need for them, which is not always my case.
 
Back
Top