-

Win a Free Custom Engraved Brass Coin!!!
As a way to introduce our brass coins to the community, we will raffle off a free coin during the month of August. Follow link ABOVE for instructions for entering.
-

PRE-ORDER SHIPS IN SCALE TODAY!
The beloved Ships in Scale Magazine is back and charting a new course for 2026!
Discover new skills, new techniques, and new inspirations in every issue.
NOTE THAT OUR FIRST ISSUE WILL BE JAN/FEB 2026
You are using an out of date browser. It may not display this or other websites correctly.
You should upgrade or use an alternative browser.
You should upgrade or use an alternative browser.
Amerigo Vespucci 1:84 by Panart?Mantua Build – RC Enabled
- Thread starter JJ Lad
- Start date
- Watchers 13
-
- Tags
- amerigo vespucci mantua panart
JJ, I can't wait! Lets get on the water for the sea trials! Magic Mike
Looking forward seeing her on the water
- Joined
- Mar 31, 2025
- Messages
- 93
- Points
- 113

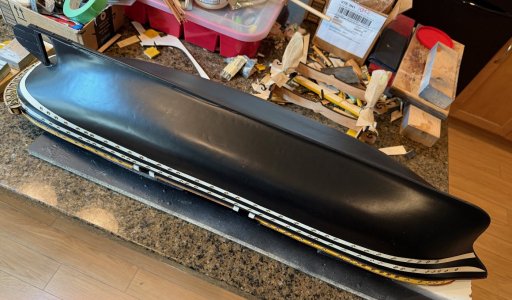
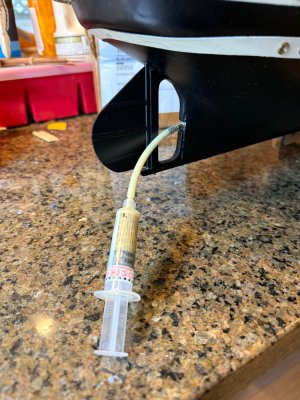
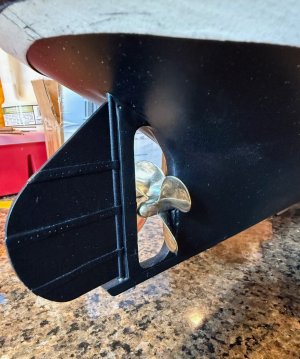
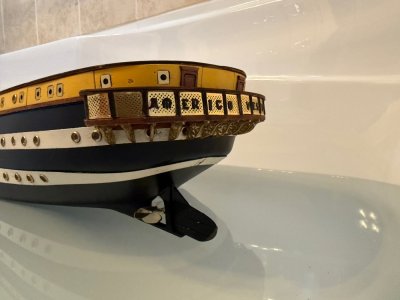
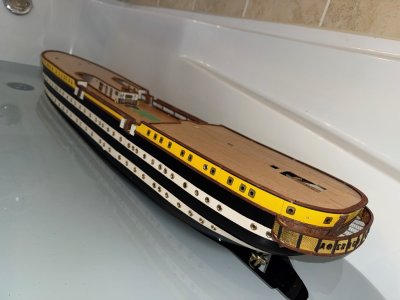
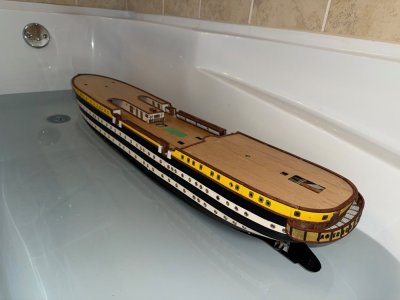
Impressive !!One last tub test before the sea trial.
Pleased to report that the self-righting characteristic of the hull is excellent. With the hull tilted over on it's deck, it 'snaps' back to its center position instantly. I very much doubt it will need any external ballast on sail.
View attachment 555412View attachment 555413View attachment 555414
Wonderfull project, will be impressive to see this beauty sail.
- Joined
- Mar 31, 2025
- Messages
- 93
- Points
- 113

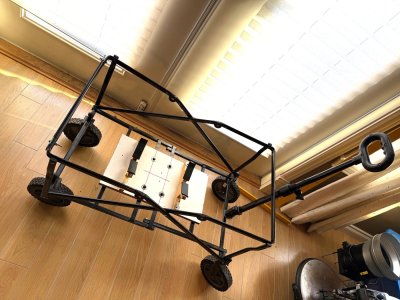
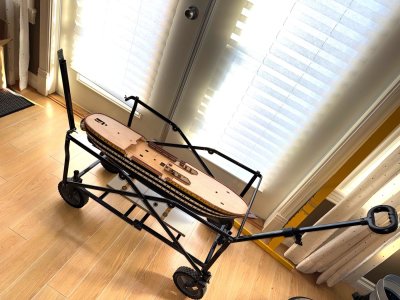
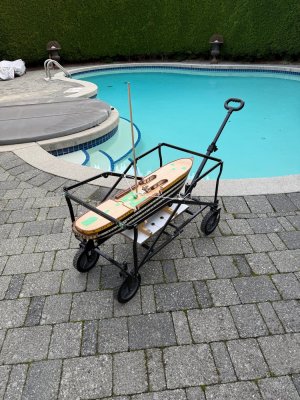
MAIDEN DAY
I'm very pleased to report that the Amerigo Vespucci has successfully completed it's maiden voyage.
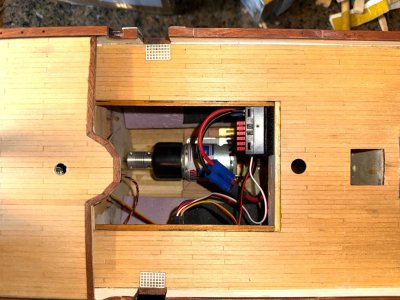
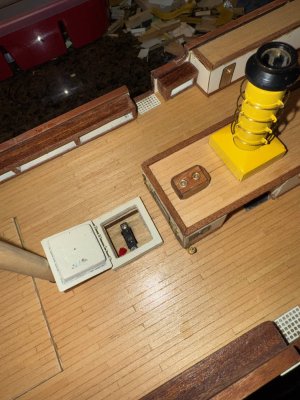
In preparation for the sea trial, I fitted the motor arming-switch under the deck access hatch. This switch enables the motor electronic speed controller (ESC) to regulate motor power in response to the radio signal.
The ship responds well to steering inputs. And at half-throttle, turns well to rudder commands.
The hull internals remained bone-dry throughout the tests.
A few pics and a short vid to commemorate the day!
Updated vid (higher resolution)
I'm very pleased to report that the Amerigo Vespucci has successfully completed it's maiden voyage.
In preparation for the sea trial, I fitted the motor arming-switch under the deck access hatch. This switch enables the motor electronic speed controller (ESC) to regulate motor power in response to the radio signal.
The ship responds well to steering inputs. And at half-throttle, turns well to rudder commands.
The hull internals remained bone-dry throughout the tests.
A few pics and a short vid to commemorate the day!


Updated vid (higher resolution)
Last edited:
- Joined
- Mar 31, 2025
- Messages
- 93
- Points
- 113

With the sea trial behind me, it's time to move onto the next phase.
I'll be moving forward with the deck fixtures, while at the same time focusing on the sail control hardware.
I need to identify suitable locations to mount the sail winch servos, while maintaining the appropriate deck scale appearance.
Now it gets tricky!
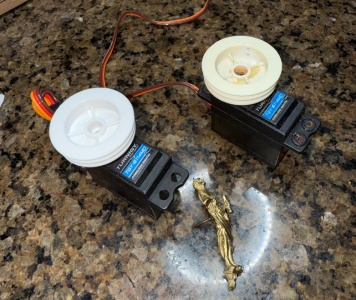
I'll be moving forward with the deck fixtures, while at the same time focusing on the sail control hardware.
I need to identify suitable locations to mount the sail winch servos, while maintaining the appropriate deck scale appearance.
Now it gets tricky!

Hi JJMAIDEN DAY
I'm very pleased to report that the Amerigo Vespucci has successfully completed it's first maiden voyage.
In preparation for the sea trial, I fitted the motor arming-switch under the deck access hatch. This switch enables the motor electronic speed controller (ESC) to regulate motor power in response to the radio signal.
The ship responds well to steering inputs. And at half-throttle, turns well to rudder commands.
The hull internals remained bone-dry throughout the tests.
A few pics and a short vid to commemorate the day!
View attachment 555858View attachment 555859View attachment 555860
This is outstanding
Congratulations for this achievement
- Joined
- Mar 31, 2025
- Messages
- 93
- Points
- 113

Hi JJ
This is outstanding
Congratulations for this achievement
Thanks Gilbert, I'm very pleased with the way it performed.
The maiden voyage always fills me with worry... that if things go wrong, I would have to take a very chilly swim to recover the craft.
I can now move forward with some confidence that the ship will sail.
Cheers,
JJ
- Joined
- Mar 31, 2025
- Messages
- 93
- Points
- 113

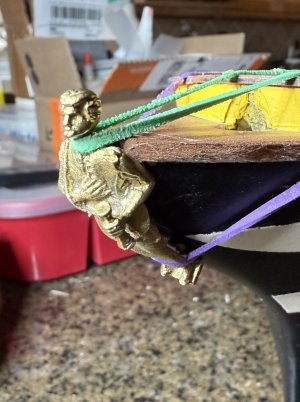
Securing the Masthead
It’s the little things….
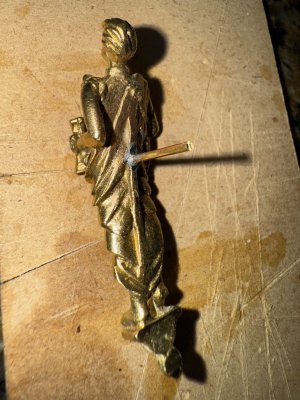
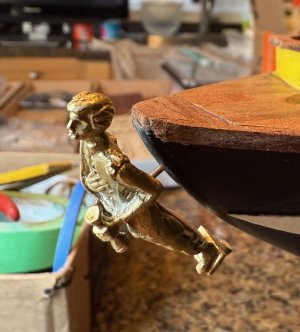
As I mentioned in an earlier post, anything that’s likely to come into contact with water must be secured appropriately. And although losing the masthead will not sink the ship, I would rather not have to replace such a lovely casting.
To that end, I brazed a brass pin to the masthead and bonded it to the bow with slow cure epoxy.
One last thing to worry about


- Joined
- Mar 31, 2025
- Messages
- 93
- Points
- 113

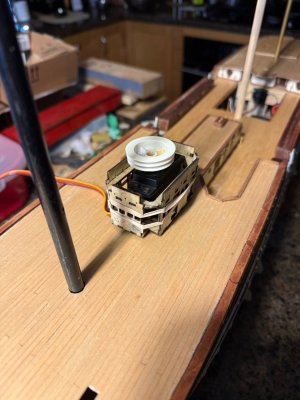
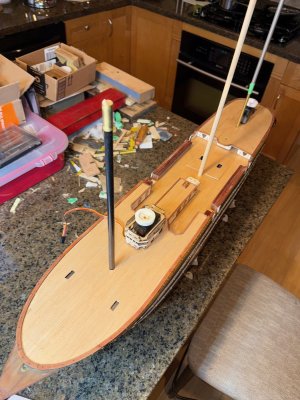
Let’s talk about sail control servos.
I find myself endlessly staring at the deck considering my options for mounting the sail control servos. There are generally two options available for controlling RC sailboat sails. Lever servos that swing the control arm over an 180deg arc or multiturn servos which typically offers Qty 6 - 360deg drum rotations.
Lever arm servo length, and subsequent travel is limited by the area available in the hull. There are rigging methods that can double or even triple the sheet travel at the expense of speed. Given this model will not be raced, sheeting speed is not a priority. However, any winch servo must have sufficient torque to overcome sailing conditions.
The multi-turn servo winch requires less hull area to fit, provides greater torque, however it’s at the expense of speed. This is the option I’ve adopted. With a winch drum circumference of 70mm, 6 full rotations will pull a sheet 420mm. More than sufficient for this ship.
In hindsight if I could reverse my assembly process, I would have considered a build that allows me to remove large sections of the decks to gain access to the hull internal area. That would open up real-estate for the sail control servos. However, this option complicates maintenance, and increases water ingress risk in rough waters.
Maintenance is always a concern on RC sailboats. Which makes deck mounted sail-servos the ideal option, and that’s the option I’m proceeding with.
The mainsails will be controlled via a winch servo located at the upper forward deck, under the forward deck structure.
The aft Spanker sail will be controlled via a winch servo fitted at the after upper deck, hidden under a hatch or some other deck accessory.
Control of the forward jibs will be deferred to a future winch, will be likely be mounted below deck.
Of course, all this is subject to change as fabrication proceeds.
Here's a video link to an ultra-fast lever arm servo IOM sailboat I fabricated a few of years ago:


not that my opinion matters, I think you made the right choice for the servo style. 
- Joined
- Mar 31, 2025
- Messages
- 93
- Points
- 113

not that my opinion matters, I think you made the right choice for the servo style.
You're opinion and expertise is most definitely appreciated!
And I agree with you, the flexibility of the drum style installation is a clear advantage.... and makes for a tidier assembly.
- Joined
- Mar 31, 2025
- Messages
- 93
- Points
- 113

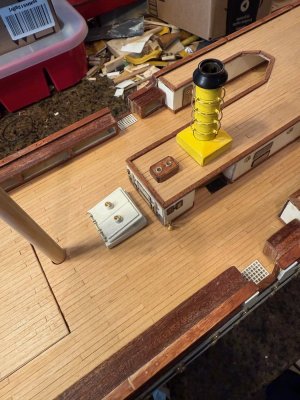
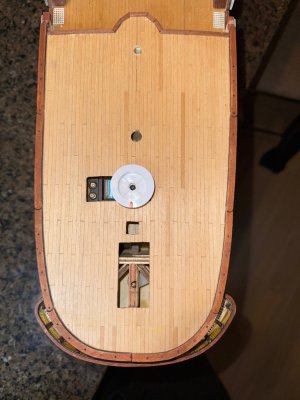
Spanker Winch
I passed the weekend installing the spanker winch servo. Those that have worked with RC servos may notice the unconventional installation. Rest assured that the servo is fully accessible and serviceable. The winch drum hugs the deck surface and will be concealed with a suitable hatch cover.
Although the running rigging geometry still needs some refinement, the proof of concept was successful.
Now to move onto the mainsail winch installation.

Last edited:
Great job !
Although the speed is not scale...


Although the speed is not scale...


Well doneSpanker Winch
I passed the weekend installing the spanker winch servo. Those that have worked with RC servos may notice the unconventional installation. Rest assured that the servo is fully accessible and serviceable. The winch drum hugs the deck surface and will be concealed with a suitable hatch cover.
Although the running rigging geometry still needs some refinement, the proof of concept was successful.
Now to move onto the mainsail winch installation.
View attachment 557713

