Holy Moly JJ, I can't wait for this build! But I have to admit that you lost me in stage one - propulsion. What is your background, EE, ME, physicist, nuclear?? I really look forward to this build as I'm sure I will learn a lot. I'm in the front row. Magic Mike
-

Win a Free Custom Engraved Brass Coin!!!
As a way to introduce our brass coins to the community, we will raffle off a free coin during the month of August. Follow link ABOVE for instructions for entering.
-

PRE-ORDER SHIPS IN SCALE TODAY!
The beloved Ships in Scale Magazine is back and charting a new course for 2026!
Discover new skills, new techniques, and new inspirations in every issue.
NOTE THAT OUR FIRST ISSUE WILL BE JAN/FEB 2026
You are using an out of date browser. It may not display this or other websites correctly.
You should upgrade or use an alternative browser.
You should upgrade or use an alternative browser.
Amerigo Vespucci 1:84 by Panart?Mantua Build – RC Enabled
- Thread starter JJ Lad
- Start date
- Watchers 13
-
- Tags
- amerigo vespucci mantua panart
- Joined
- Mar 31, 2025
- Messages
- 93
- Points
- 113

Holy Moly JJ, I can't wait for this build! But I have to admit that you lost me in stage one - propulsion. What is your background, EE, ME, physicist, nuclear?? I really look forward to this build as I'm sure I will learn a lot. I'm in the front row. Magic Mike
Hi Mike,
Yes, I’m an E-Eng (Retired), primarily the energy sector (including nuclear). My area of specialization is industrial automation.
That aside, I’ve been a scratch model builder for years, although my area of interest was always RC aircraft.
Recently joined an RC sailing club so I’ve been building IOM’s. Sadly, wood boats are generally not competitive in this class.
The Vespucci offers so may challenges… I’m sure it will keep me entertained.
Cheers,
JJ…
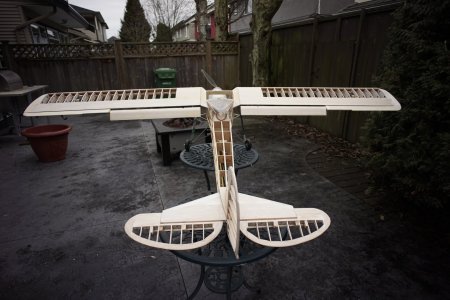
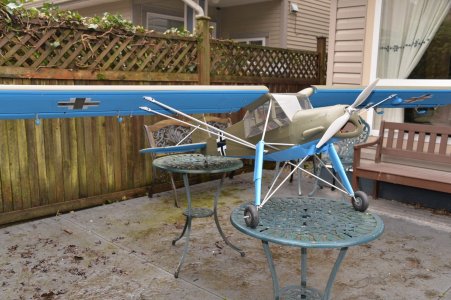
Nice Storch !Hi Mike,
Yes, I’m an E-Eng (Retired), primarily the energy sector (including nuclear). My area of specialization is industrial automation.
That aside, I’ve been a scratch model builder for years, although my area of interest was always RC aircraft.
Recently joined an RC sailing club so I’ve been building IOM’s. Sadly, wood boats are generally not competitive in this class.
The Vespucci offers so may challenges… I’m sure it will keep me entertained.
Cheers,
JJ…
View attachment 527824
- Joined
- Mar 31, 2025
- Messages
- 93
- Points
- 113

JJ, nice to meet you and your RC aircraft are awesome! Magic Mike
- Joined
- Mar 31, 2025
- Messages
- 93
- Points
- 113

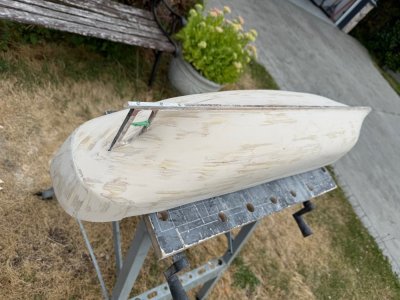
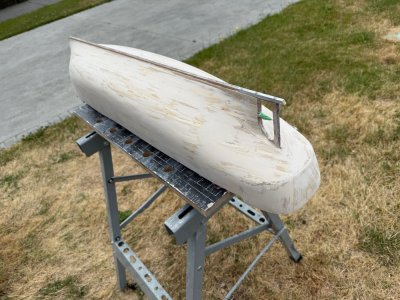
A word about planking…. much like war, your planking plan doesn’t survive its first contact with the wood….
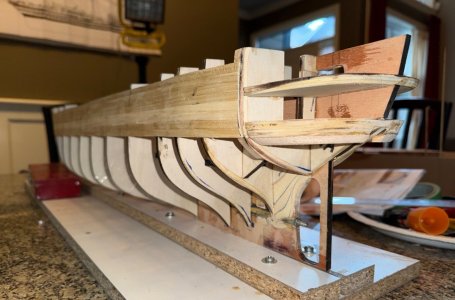
And that couldn’t be truer for the Vespucci. I’ve planked my share of models, however it’s obvious the design planking for this ship would not hold up to real life use, specifically the aft end which is much too fragile to hold up to the rigours of RC sailing.
To that end, I elected to balsa-fill the stern of the ship to offer greater surface area for the planks to anchor. It added a full day to the build, however I’m confident the effort will pay dividends.
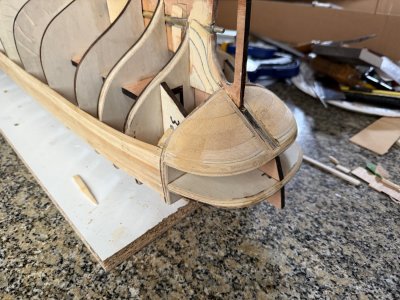


Hi JJA word about planking…. much like war, your planking plan doesn’t survive its first contact with the wood….
And that couldn’t be truer for the Vespucci. I’ve planked my share of models, however it’s obvious the design planking for this ship would not hold up to real life use, specifically the aft end which is much too fragile to hold up to the rigours of RC sailing.
To that end, I elected to balsa-fill the stern of the ship to offer greater surface area for the planks to anchor. It added a full day to the build, however I’m confident the effort will pay dividends.
View attachment 528204View attachment 528205
Indeed it makes total sense to have balsa fill at stern and bow
Best
- Joined
- Mar 31, 2025
- Messages
- 93
- Points
- 113

A word on waterproofing.
While ultimate hull waterproofing will be achieved with the final fiberglass/resin application, it's advised to add sealer at critical joints during the assembly process.
Gorilla expanding foam adhesive is an excellent product for this purpose. During its curing process, it expands into all cavities and hardens into a waterproof seal. I should also note that it's an exceptional adhesive in its own right.
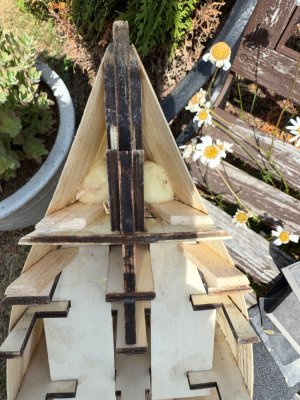
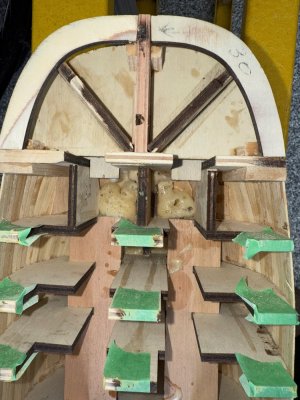
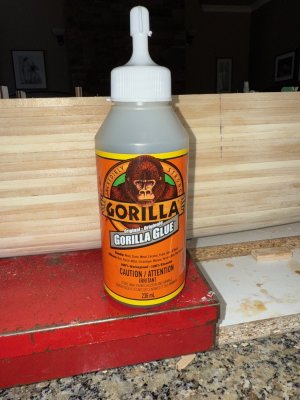


- Joined
- Mar 31, 2025
- Messages
- 93
- Points
- 113

J.J., your planking results are fantastic! Nicely done, Magic Mike
- Joined
- Mar 31, 2025
- Messages
- 93
- Points
- 113

J.J., your planking results are fantastic! Nicely done, Magic Mike
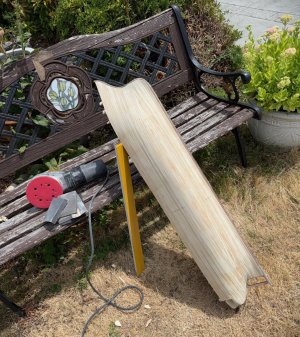
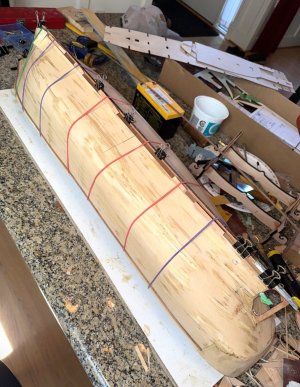
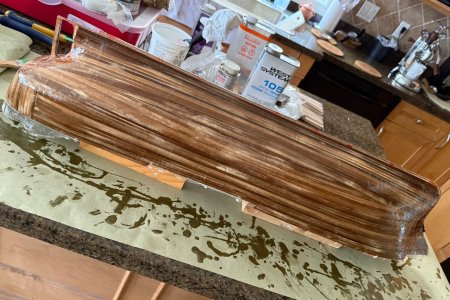
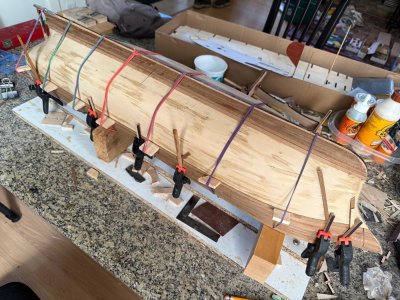
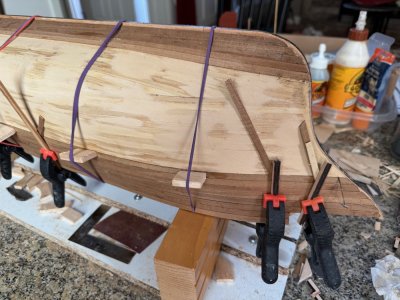
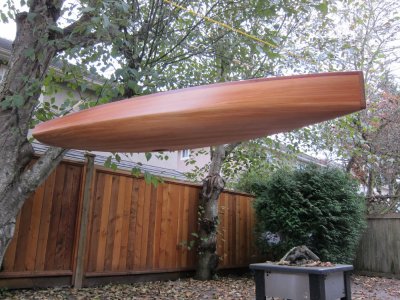
I’ve planked a few IOM’s in the past, however they were all single layer using 2.5mm red cedar. And given the complex curves, a steamer was required to encourage the planks to take shape.
This AV uses 1.5mm lime wood for its base plank, and 1mm (what appears to be Walnut) for the second layer… a pity really as the hull would be very pretty varnished as apposed to painting.
As mentioned earlier, plank on plank requires some creative solutions to apply satisfactorily.
Last edited:
- Joined
- Mar 31, 2025
- Messages
- 93
- Points
- 113

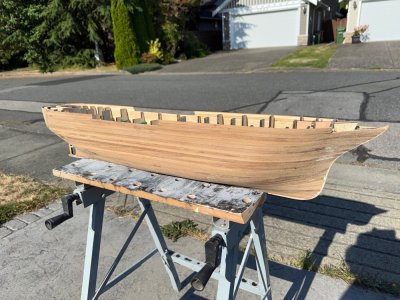
In hindsight, I should have binned the second layer walnut planking provided with the kit. This is the first time for me working with walnut and I found the walnut planks to be fragile, brittle, and reluctant to take shape. I would have preferred to rip my own red cedar which is a planking material I’m more familiar with.
Fortunately, the Vendor was generous with quantities and I managed to complete the second planking layer with moderate waste.
I’ll be completing the block sanding over the next few days to be following by the application of the fiberglass waterproofing….. a messy task I’m not looking forward to.
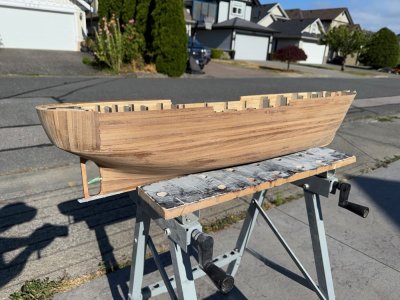
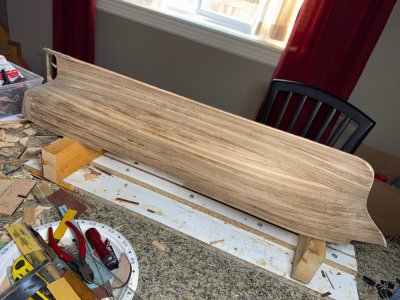
Fortunately, the Vendor was generous with quantities and I managed to complete the second planking layer with moderate waste.
I’ll be completing the block sanding over the next few days to be following by the application of the fiberglass waterproofing….. a messy task I’m not looking forward to.


- Joined
- Mar 31, 2025
- Messages
- 93
- Points
- 113

A small diversion from sanding and sealing.
Here's the radio/motor system I'll be fitting to the hull. The brushed motor/gearbox is linked to a 60AMP ESC (Speed controller) and 8-channel Spektrum receiver. The receiver supports telemetry which will allow me to monitor variables remotely including battery voltage, ESC temperature and motor temperature....neat!
Here's the radio/motor system I'll be fitting to the hull. The brushed motor/gearbox is linked to a 60AMP ESC (Speed controller) and 8-channel Spektrum receiver. The receiver supports telemetry which will allow me to monitor variables remotely including battery voltage, ESC temperature and motor temperature....neat!
- Joined
- Mar 31, 2025
- Messages
- 93
- Points
- 113

Perfect conditions to lay down the base epoxy coat... low humidity and 20degC.
I use the West system for my fiber glassing projects. The #206 hardener gives me 30-minutes of pot-life before it kicks, and results are consistently uniform.
I'll let the base epoxy coat cure for a couple of days before I apply the final fiberglass layer.
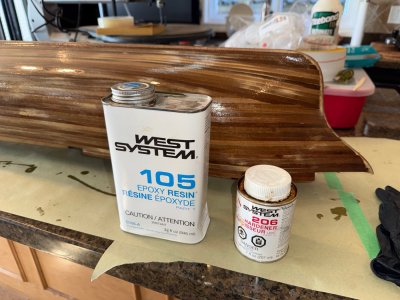
I use the West system for my fiber glassing projects. The #206 hardener gives me 30-minutes of pot-life before it kicks, and results are consistently uniform.
I'll let the base epoxy coat cure for a couple of days before I apply the final fiberglass layer.

- Joined
- Mar 31, 2025
- Messages
- 93
- Points
- 113

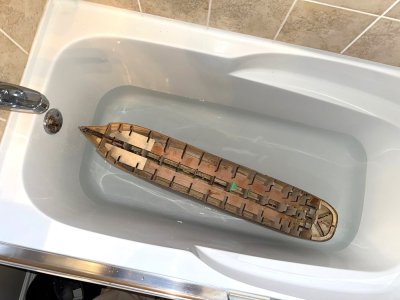
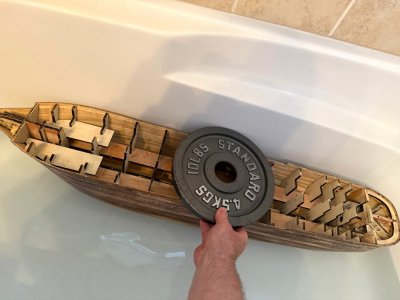
Buoyancy Test
We reached a milestone today. With the fiberglass cured, it was time to test the hull for leak integrity, and estimate the ballast requirements.
I'm pleased to report that the hull is water tight, and will need an additional 12lbs (5.5kg) of ballast.
(Note: Hull weight is 4.6lbs (2.1kg)
I'll be using #8 lead shot mixed with epoxy for ballast.
Next step requires the removal of bulkheads 9 and 10, and the fabrication of a motor mount.


JJ, congrats on the buoyancy test! Nicely done, Magic Mike
- Joined
- Mar 31, 2025
- Messages
- 93
- Points
- 113

Thank you.JJ, congrats on the buoyancy test! Nicely done, Magic Mike
I'm very pleased it didn't take on water. Finding leaks at this stage of assembly is so very frustrating.
Cheers,
JJ


