Armed Virginia Sloop - Lauck Street Shipyards, POF 1:32 Scale, Admiralty Style by DocBlake [COMPLETED BUILD]

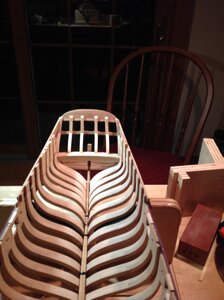
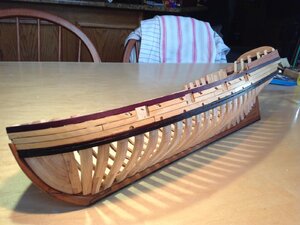
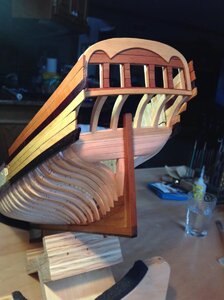
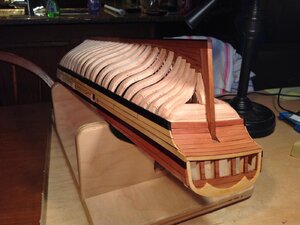
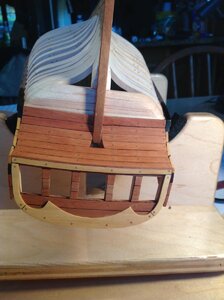
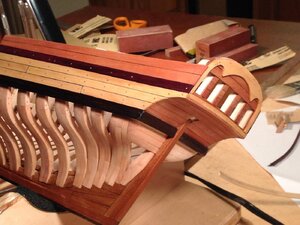
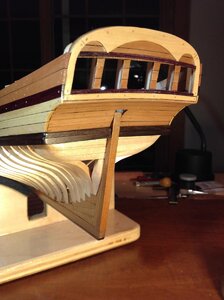
I tackled a problem with the transom today. Because of problems with the lofting of the after cant frames, the frames did not line up with the transom. The last 4 frames tended to curve inward, like the bow, rather than flow straight to the transom. The only solution was to cut each of the final frames and "bend" them outward to meet the planking which is already in place. The frames were then glued to the planking,and when the glue is completely dry, I'll fair the inside of the hull where the "surgery" took place prior to planking the inner bulwarks. It was REALLY difficult to chuck a cutoff wheel into my Dremel and cut the frames off after all the work that went into building them! Fortunately, I'm planking both sides of the model down to the wales, inboard and outboard, so the "fix" will not show.

The first photo shows the problem, the second shows the cuts and the third shows the frames straightened out and glued to the planking.

Now on to the port side! View attachment 168852View attachment 168853View attachment 168854
Just goes to show that if you are going to build POF or POB then you need to be able to think laterally for solutions to problems!
You wouldn't believe some of the 'mods' I had to make when building 'King's Fisher', but it all came out OK in the end.
Nice build Doc - following with great interest!

Ted
 
I installed the wales below the black strake on both sides. I also glued the transom timbers in place. There are supposed to be two horizontal timbers, and two vertical ones that hug the stern deadwood. There is supposed to be a space between the top transom timber and the wing transom. After some thought I added a third timber where that space would have been. It seemed to make the fairing easier and I think it looks OK. The planking is done on the bulwarks and the transom timbers are faired. Once the counter is planked, I'll trim the bulwark planking, the black strakes and the wales to their finished length. BTW, the transom timbers appear pinkish in color on the photo. That's just the lighting. They are maple, just like all the framing.

54.jpg55.jpg
 
I installed the wales below the black strake on both sides. I also glued the transom timbers in place. There are supposed to be two horizontal timbers, and two vertical ones that hug the stern deadwood. There is supposed to be a space between the top transom timber and the wing transom. After some thought I added a third timber where that space would have been. It seemed to make the fairing easier and I think it looks OK. The planking is done on the bulwarks and the transom timbers are faired. Once the counter is planked, I'll trim the bulwark planking, the black strakes and the wales to their finished length. BTW, the transom timbers appear pinkish in color on the photo. That's just the lighting. They are maple, just like all the framing.

View attachment 169211View attachment 169212
It looks really beautiful
 
I finished all the treenails in the outer bulwark planking. I also changed the stern. Something didn't look quite right back there, and I realized that the counter planking needed something to divide it from the framing visually. Like the black strake and wales separate the bulwark planking from the framing. So I simply had the black strake and wale "turn the corner" on each side and end at the sternpost. I think it looks better, and it's not without precedent, even though it's not in the plans!


58.jpg
 
Thanks, guys!

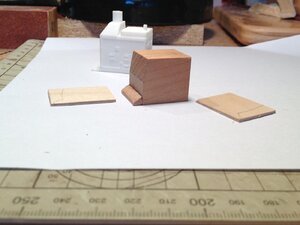
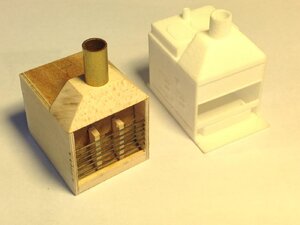
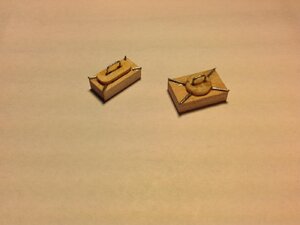
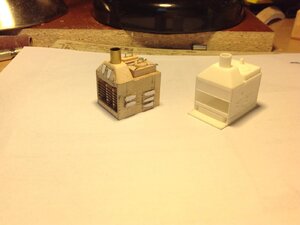
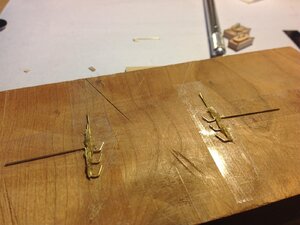
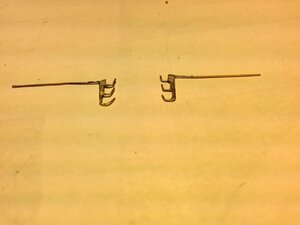
I cut out and cleaned up the lower deck beams, I'm planning to change a few things down there, so I started scratch building the ship's stove. The kit provides a very nice 3-D printed stove, but I wanted my own. It's kind of a modified Brodie stove without the chain-driven rotisserie. The first step was to build a "core" out of 2 pieces of wood. I then added the sides out of 1/32" plywood. The grid irons are brass rod passing through holes drilled with a #75 drill. The boiler tops and lids are made of wood, the handles and the diagonal reinforcing rods are steel wire. The oven doors, firebox door and ash tray door are all 1/64" plywood...the hinges are cardstock. I made the spit racks out of brass rod, soldered them together and trimmed them to shape. I need to add the legs, build a grease pan and add some trim to the stove before priming and painting.


60.jpg61.jpg62.jpg63.jpg64.jpg65.jpg
 
Thanks, Ted!

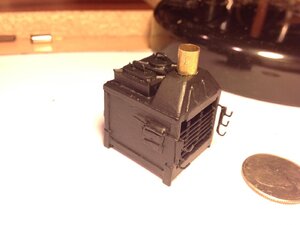
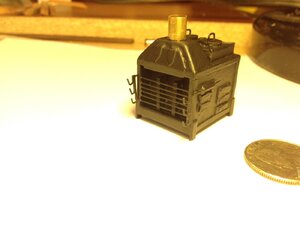
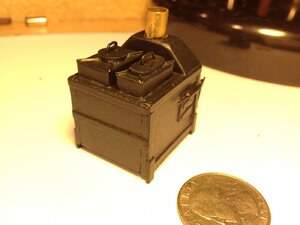
Here's the finished stove. I still have to finish the grease tray. The stove was to have a guard rail surrounding the top cooking surface, but I felt I had to draw the line somewhere. The hinges and firebox door/oven doors are far from perfect...even in this scale every little error shows. Still, I do like working in the larger scales in general because of the detail it allows one to add.


66.jpg67.jpg68.jpg
 
Back
Top