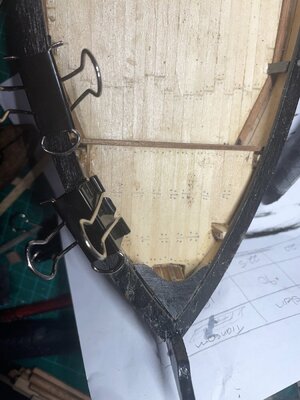
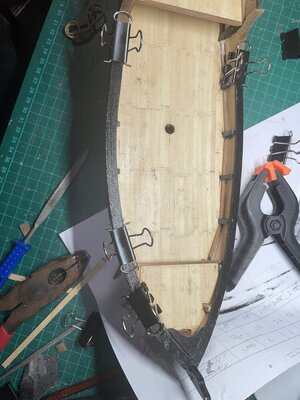
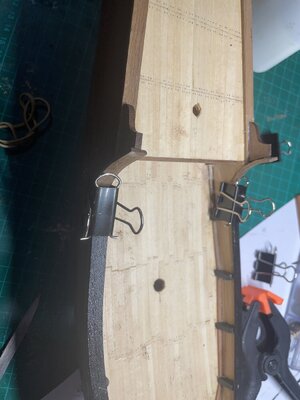
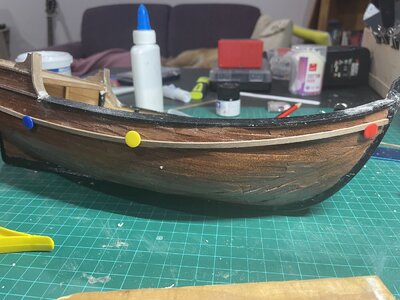
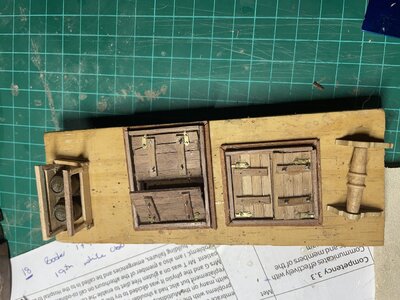
You mentioned earlier about maybe using a hair dryer. I found that a curling iron used after soaking works great. My wife had one that was about to be deep-six'd, so I salvaged it. Much cheaper than an electric blank bending tool.
-

Win a Free Custom Engraved Brass Coin!!!
As a way to introduce our brass coins to the community, we will raffle off a free coin during the month of August. Follow link ABOVE for instructions for entering.
-

PRE-ORDER SHIPS IN SCALE TODAY!
The beloved Ships in Scale Magazine is back and charting a new course for 2026!
Discover new skills, new techniques, and new inspirations in every issue.
NOTE THAT OUR FIRST ISSUE WILL BE JAN/FEB 2026
You are using an out of date browser. It may not display this or other websites correctly.
You should upgrade or use an alternative browser.
You should upgrade or use an alternative browser.
Artesania is La Niña build
- Thread starter Hutch
- Start date
- Watchers 5
-
- Tags
- artesania latina la nina
Well. Yesterday I bogged up the gap in the keel after breaking it from putting it on too early and having to take it off again. That came up quite well. Then bogged the gaps and started today on the second hull planking. Wow!
Well, I started with Shelley’s Quik Fix glue which came with its own brush. That was USELESS as it didn’t consistently stick.
Then changed to GreenStik (Thanks ConsNZ) but was impatient and not waiting for the contact to set. Oh well. Love and learn.
Had some trouble with understanding the tapering process and fanning diagrams etc so just winged it. So. Not perfect, but first side done.
Will try to do a better job on the other side, but not sure I am going to have enough planking left.
Well. Will leave it overnight and trim it up and start on the other side tomorrow.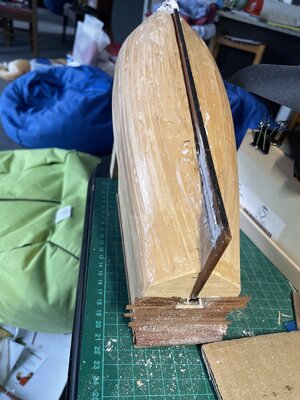
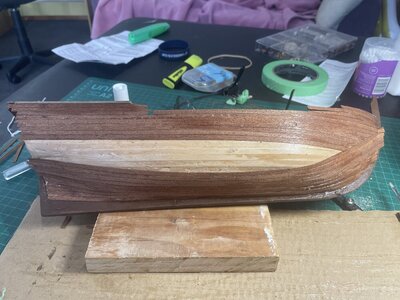
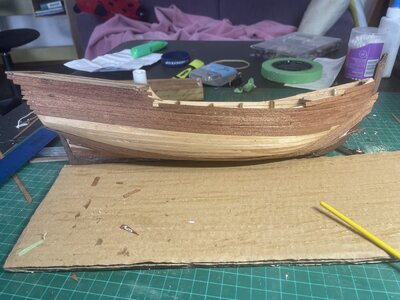
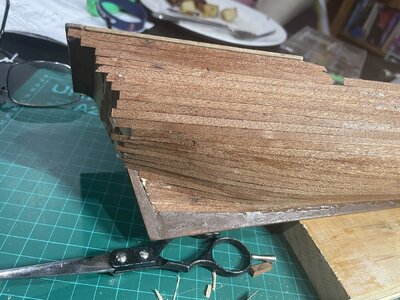
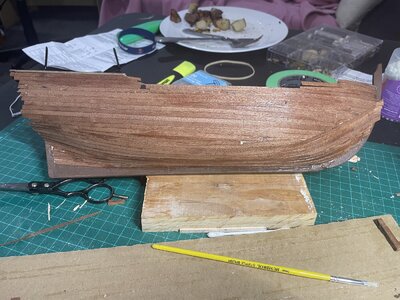
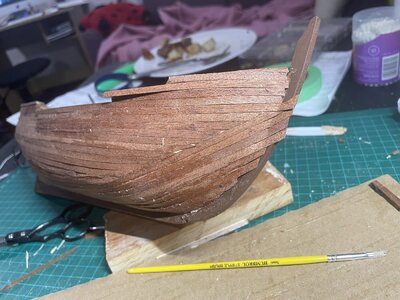


Well. Hull planking finished and bogged. Now looking at setting up the rudder. The instructions say to place the hinges on the rudder stick with the help of nails and the diagram shows drilling 1mm holes where the nails go. The problem is, the nails are about 2 1/2 times longer than the rudder is thick, so I am stumped!
Any advice would be much appreciated.
Any advice would be much appreciated.
Well, the planking is done. As a bit of a perfectionist, my problem is not starting unless I know I can do a decent job but at the same time I often do things on impulse. Hence the problems with the planking. I think looking back, there were a number of things that I did not quite appreciate despite the reading on the forums. Fairing, the how and why, the first planking and technique, sanding after the first planking and then the second planking technique. Hence a number of the second planks are lifting and needed re gluing but still some of them lifted, some are just plain skew and the amount of bog on the hull is quite disturbing, however I have decided three things.
1 Sometimes good enough is good enough and you learn by your mistakes, or as `Edison put it "FAILURE IS JUST SUCCESS AT FINDING SOMETHING THAT DOESN'T WORK"
2 I hope to be able to use these learnings on the next build
3 I think the La Nina may have looked something like this when Columbus returned and I am thinking about covering the hull with barnacles and weed anyway.
I have decided to paint the parts that need painting and varnish them prior to placing them on the model and hope to ba able to get some progress done this week. The hull has now got 2 coats of clear varnish on it and as you can see, is far from perfect.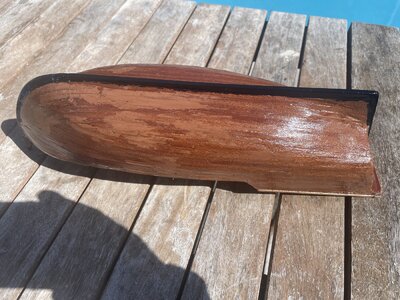
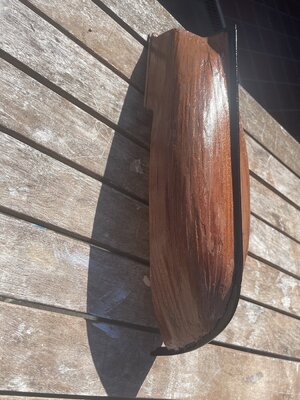
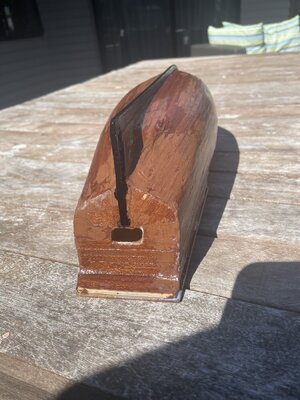


Last edited:
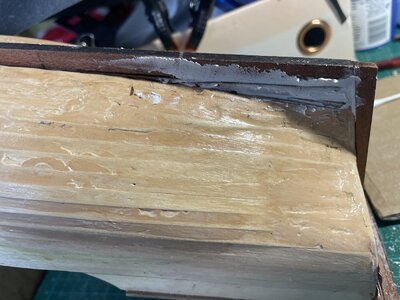
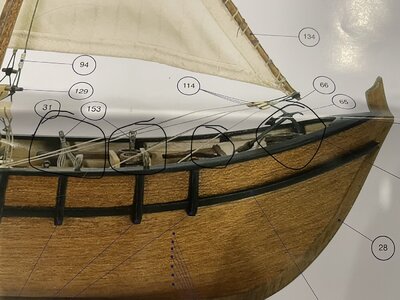
OK. On to the next "aha" moment. Just before placing the gunwales on to the ship, I realised that the bend was quite sharp. I then had another good look at the large drawing that came with the model and realised that the planking of the hull was flush with the upstanding bulwarks and mine weren't. I was wondering how to gage how much to take off and how to make it the correct shape! Doh!
The photos attached are of my build with an approximate line where the planking should have been sanded down to and the second is the one of the photo of the model that came with the kit which highlights the area of concern.
Oh joy - more sanding tomorrow!!
Can't wait to finish this one and get on to the next one and do a better job! Now I understand why people on here say they bought a cheap one just to practice first or threw away their first model at this stage and started over.
I have also emailed the company to ask about the technique of how to attach the rudder hinges. And ordered a set of micro-drillbits and a saw!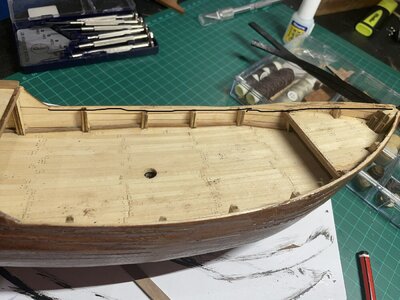


Last edited:
Hi all
Still no answer from Artisania about the rudder hinge issue and no one on here has answered. I can't find anything on google either. I presume from this that nobody on here has built the 1:65 Artisania La Nina or has any idea of how the riudder hinges work. If anyone doe know, please help as I am stuck and it is not made clear in the instructions.
Manwhile I have attached the gunwales and the forward deck cover as well as the gunwale brackets? The bending of the curved supports was really challenging as the wod has a cross grain on it and so I had to be really careful with it. I split 3 pieces before I got these ones to bend to the point where I was happy enough although they are once again not up to what I would have wanted. Anyhoo, onwards and upwards. On to the next bit we go. This is so goos to get things out of the head and sort of meditative.
Thanks
Never had much success the two times I reached out to Artesenia Latina customer service. Not sure what the issue is with them.
Hi Hutch. Not too sure what your rudder issue is but what I did was drill the holes then cut the nails so they would fit into the same drill hole from either side but placed a suspicion of extra slow super glue gel to hold the cut off nails . Hope that is an answer for you. cheers.
Hey. How did you attach the rudder hinges?Interesting. I completed La Nina with many disasters, mistakes and OMG's. I found the instructions confusing so had to do a lot of head scratching etc. (Also I'm not the brightest candle on the cake). I look forward to your progress on this model. BTW I backed Prada
Thanks. I will try this.Hi Hutch. Not too sure what your rudder issue is but what I did was drill the holes then cut the nails so they would fit into the same drill hole from either side but placed a suspicion of extra slow super glue gel to hold the cut off nails . Hope that is an answer for you. cheers.
It is the 8220. A bit more up market than necessary but hey. Better to over engineer things.Hey ConsNZ. I bought a battery powered one. Am in hospital at the mo. Just had surgery for cancer in the armpit so out of action for a While.
Will get back to you in a few days when I get home.


