- Joined
- Nov 30, 2024
- Messages
- 269
- Points
- 158

Instructions video #45 Part 1
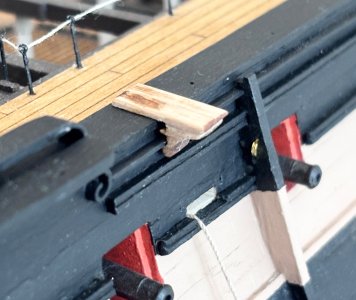
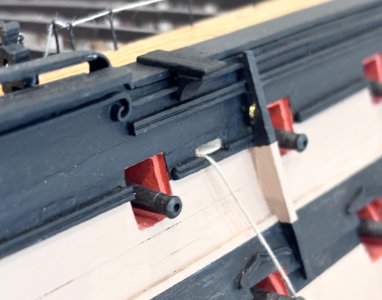
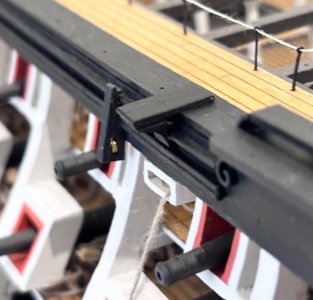
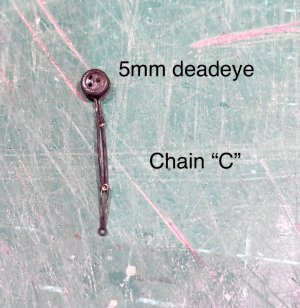
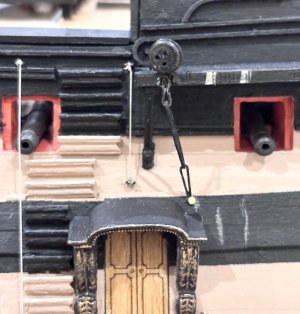
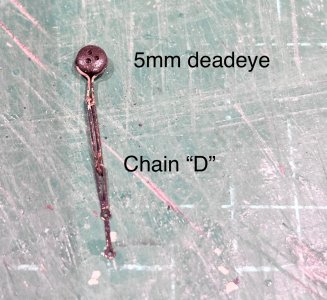
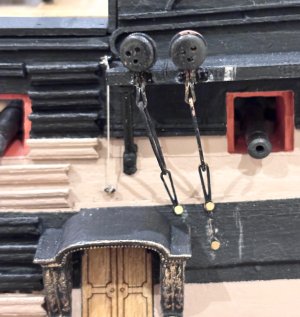
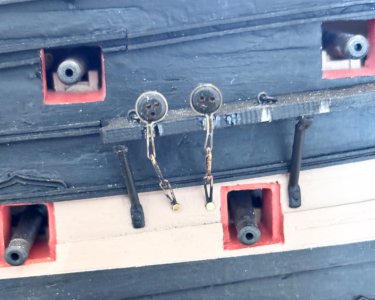
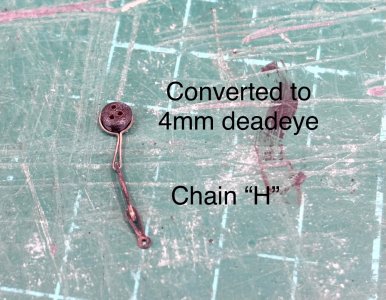
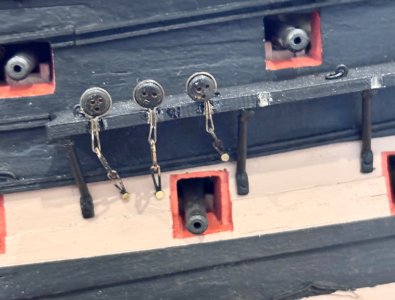
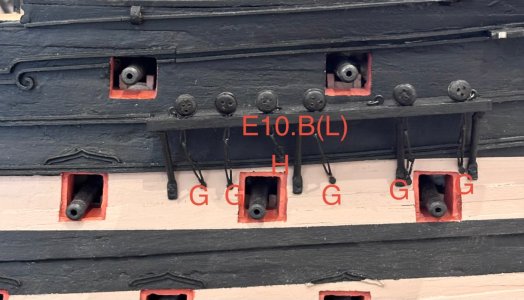
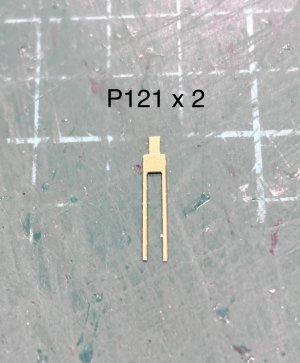
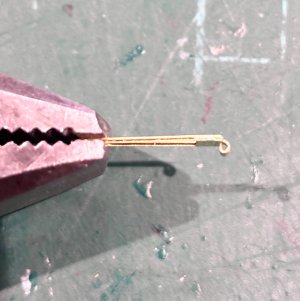
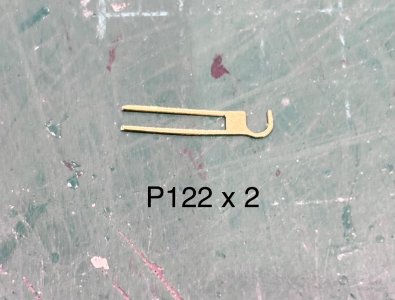
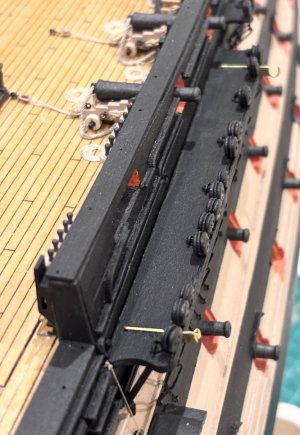
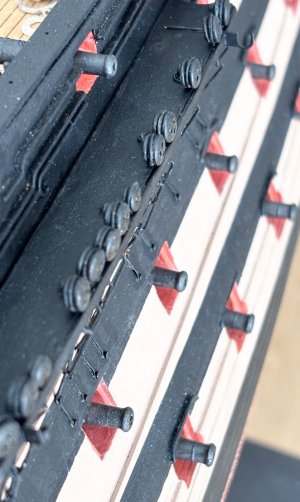
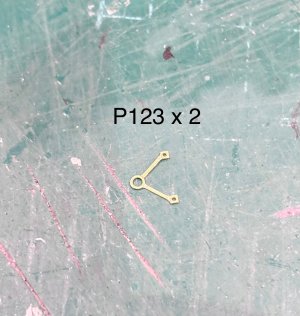
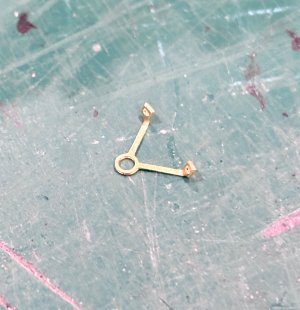
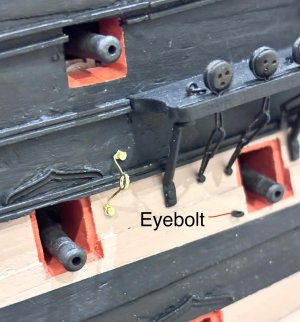
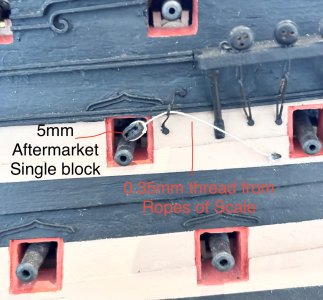
In this part I start by forming another brass sheave and housing that is fixed to the upper hull near the front of the poop deck ( one for port side, one for starboard.
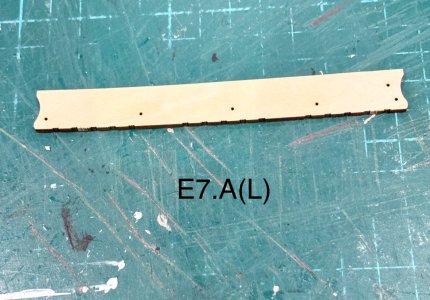
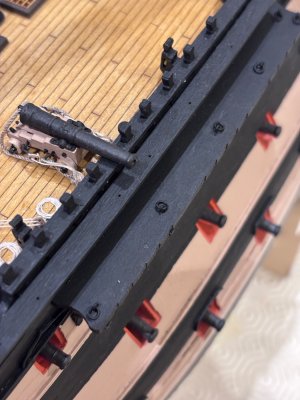
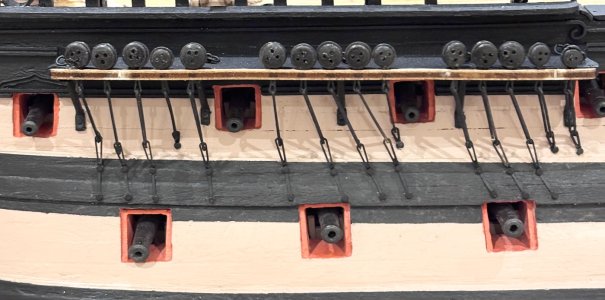
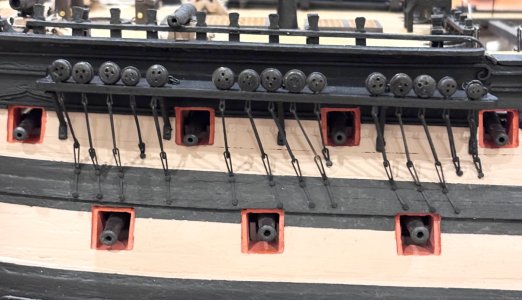
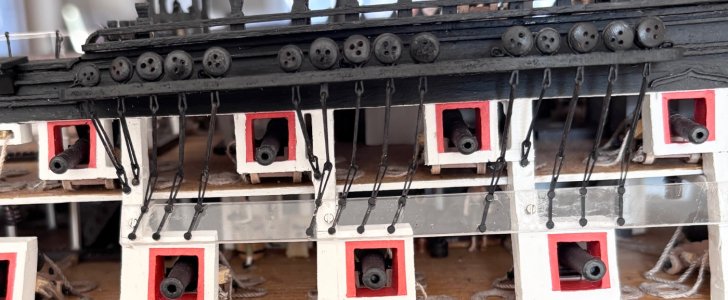
Next it’s preparing and fitting the rigols,
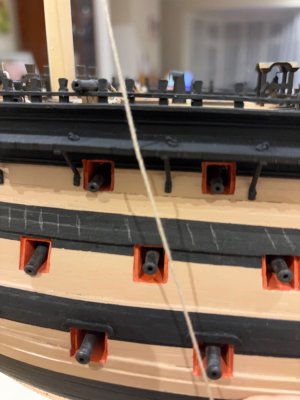
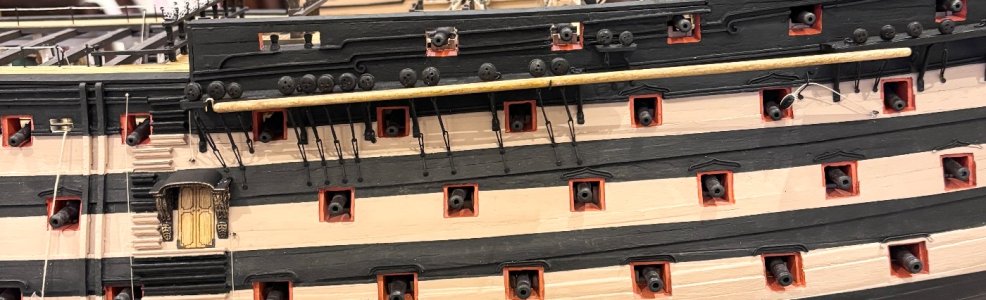
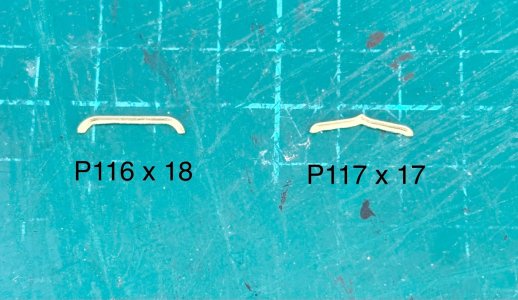
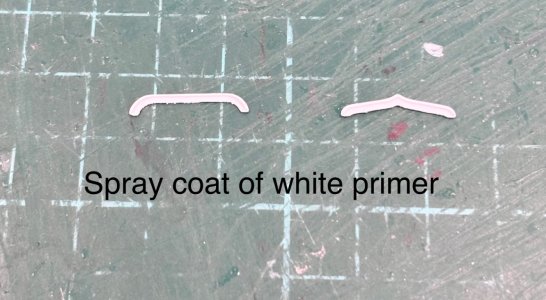
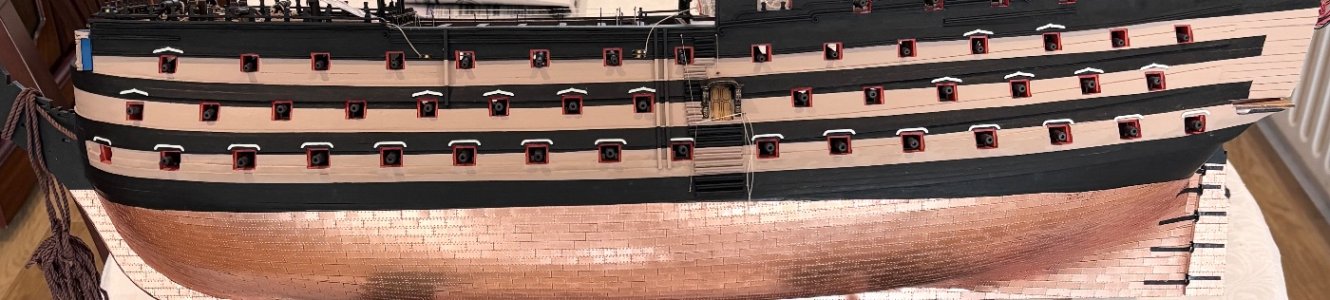
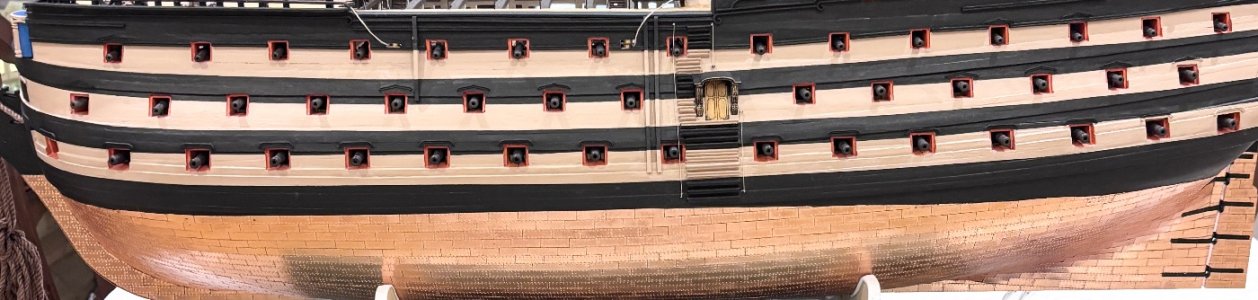
these are the shaped gutterings above the gun ports to divert water from running into the gunport openings. The video doesn’t show this, but I decided to spray them with white primer before fitting to aid with the final paint coat.
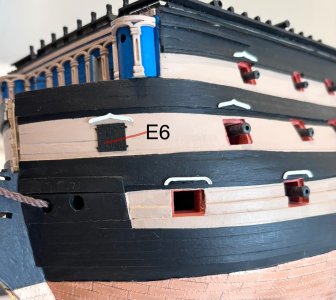
Finally I fit parts E6, which are the moulded double doors to represent the forward most openings on the middle gun deck, these just glue onto the hull and there is no actual opening behind them. I did the port side as per instructions but on the starboard side , which will probably be the display side when the model is finished, I decided to make a major alteration.
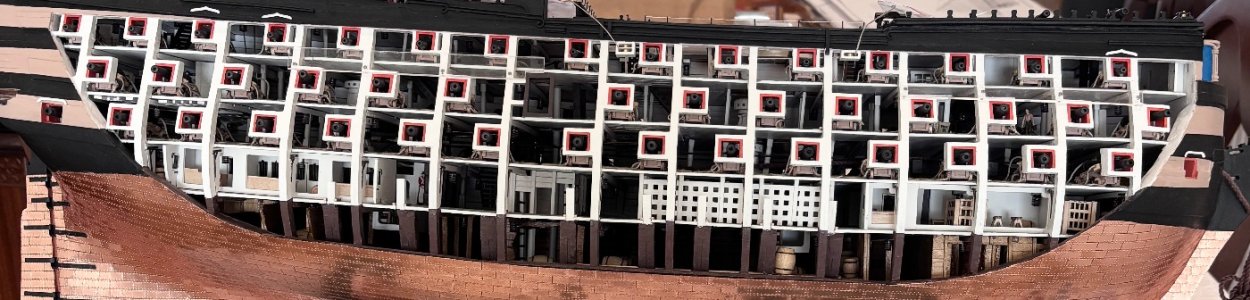
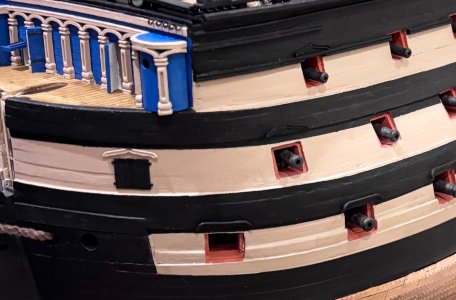
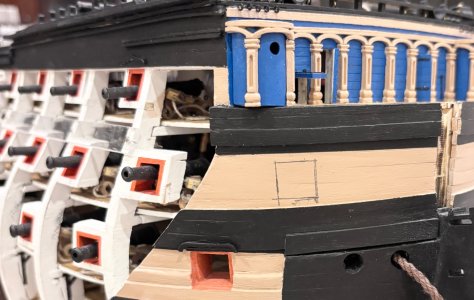
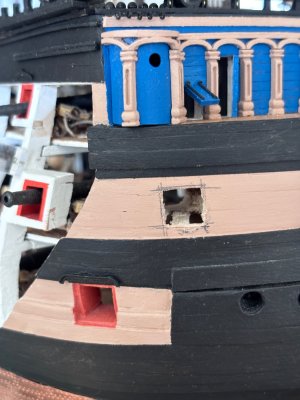
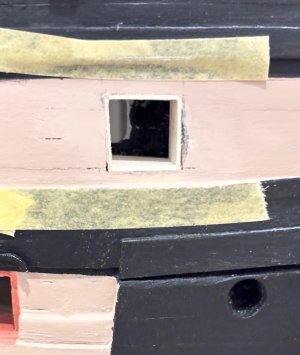
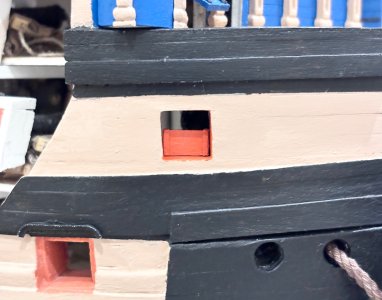
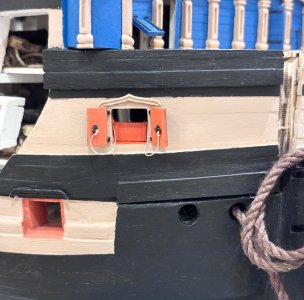
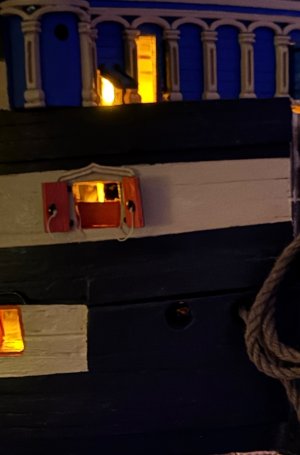
I marked out the size of the doors on the hull and proceeded to cut out an opening and line the internal 4 sides with thin wood sheet. I purposely cut right through the solid bulkhead behind so that light from the lanterns would glow through the new opening
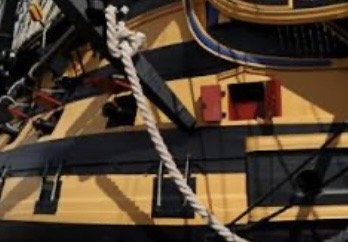
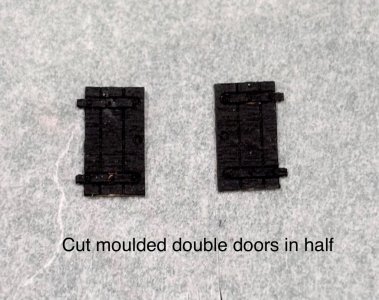
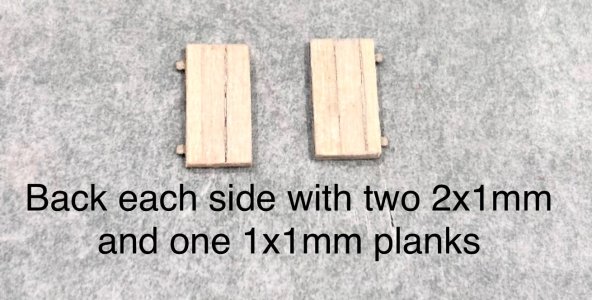
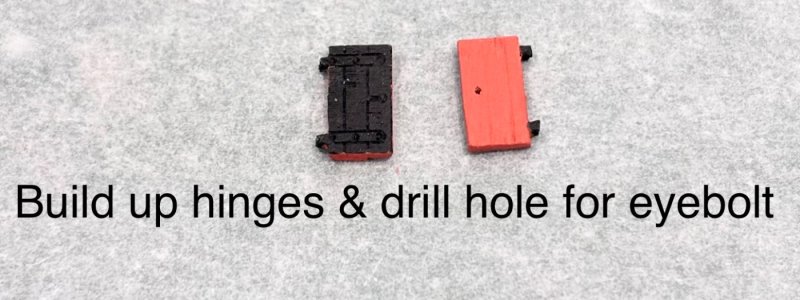
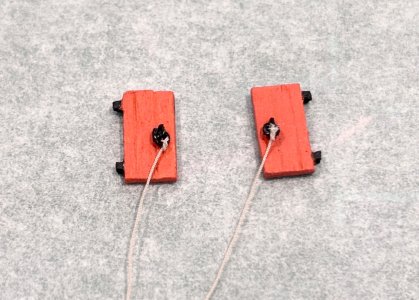
Studying photos of Victory there seems to be a partition blocking off the lower half of this port, I’m not sure but I think a sick bay was located directly behind these 2 front openings so having them open allowing fresh air in would have benefited the sick men, again just a guess but this partition may have been to prevent strong winds and sea spray getting to the patients, anyway, I fashioned this partition from wood sheet and strips. Next I cut the moulded double doors in half and as they were only made with thin wood I planked the back of them with 2x1 and 1x1 planking. The inside of the doors have a ring bolt on them to which rope is attached to pull the doors closed from inside the ship. I couldn’t find any very small brass rings so I made a couple from the 0.3mm copper rod that I use to make the axel pins on the guns, finally attaching ropes before fixing them in place.
Although quite a challenge I’m pleased with the outcome and it gives my Victory kit a unique feature
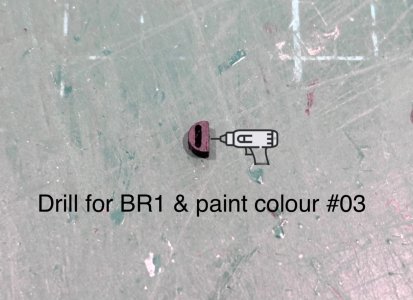
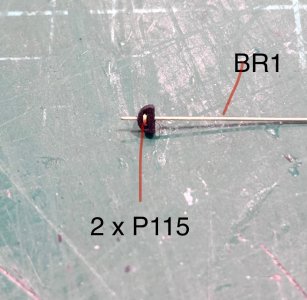
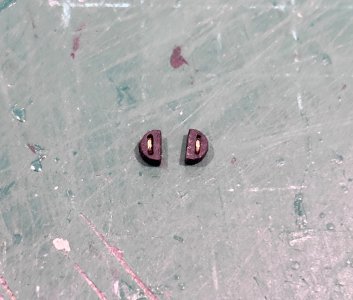
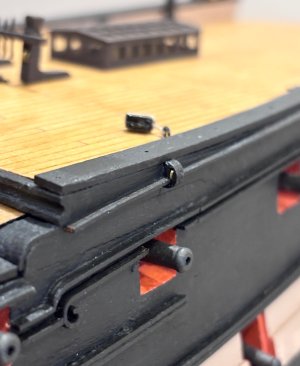

In this part I start by forming another brass sheave and housing that is fixed to the upper hull near the front of the poop deck ( one for port side, one for starboard.
Next it’s preparing and fitting the rigols,
these are the shaped gutterings above the gun ports to divert water from running into the gunport openings. The video doesn’t show this, but I decided to spray them with white primer before fitting to aid with the final paint coat.
Finally I fit parts E6, which are the moulded double doors to represent the forward most openings on the middle gun deck, these just glue onto the hull and there is no actual opening behind them. I did the port side as per instructions but on the starboard side , which will probably be the display side when the model is finished, I decided to make a major alteration.
I marked out the size of the doors on the hull and proceeded to cut out an opening and line the internal 4 sides with thin wood sheet. I purposely cut right through the solid bulkhead behind so that light from the lanterns would glow through the new opening
Studying photos of Victory there seems to be a partition blocking off the lower half of this port, I’m not sure but I think a sick bay was located directly behind these 2 front openings so having them open allowing fresh air in would have benefited the sick men, again just a guess but this partition may have been to prevent strong winds and sea spray getting to the patients, anyway, I fashioned this partition from wood sheet and strips. Next I cut the moulded double doors in half and as they were only made with thin wood I planked the back of them with 2x1 and 1x1 planking. The inside of the doors have a ring bolt on them to which rope is attached to pull the doors closed from inside the ship. I couldn’t find any very small brass rings so I made a couple from the 0.3mm copper rod that I use to make the axel pins on the guns, finally attaching ropes before fixing them in place.
Although quite a challenge I’m pleased with the outcome and it gives my Victory kit a unique feature