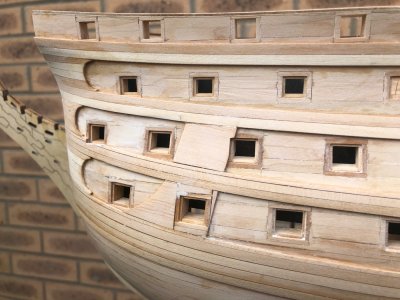
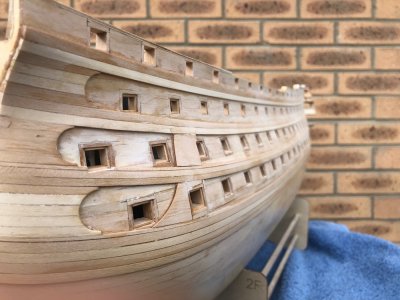
Artesania Latina Santisima Trinidad 1/84

On the subject of drilling holes, I have asked in the rigging section if Euproe blocks and crows feet would be fitted to the tops of this vessel, they aren't in the instructions but then again a few details have been missed off elsewhere in the kit design.

If anyone has any thoughts, please chime in.
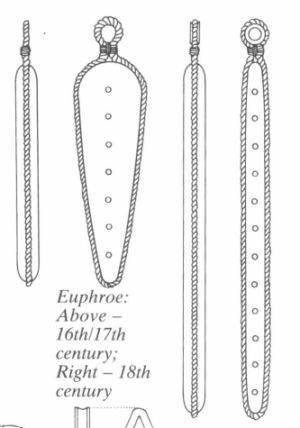
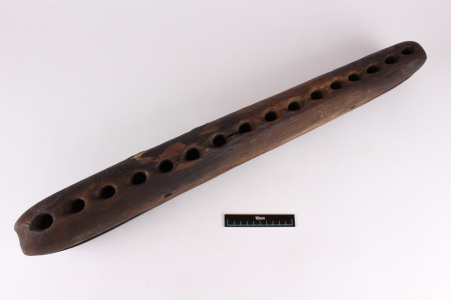
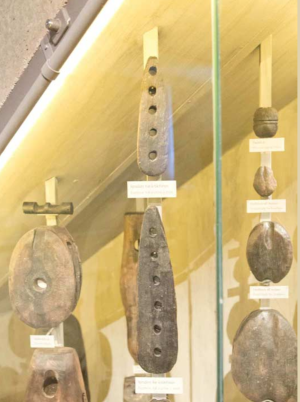
Not sure how much my information may help, but... between the Centuries, the Euphore blocks were different in size and therefore different in the number of holes. Look at the image below: 16th and 17th-century Euphore block has different shapes and numbers of holes compared to the ones used in the 18th century.

1736348852417.png 1736349058417.png
1736349120142.png
 
Thanks Jim

I realised I would be looking at at least 10 holes for the Mainmast top and something really skinny for the time period. Wood might not be the best material given just how slender and how close together all the holes will be. I know Amati use photo etch on their Vanguard kit.
 
With no overtime at work likely until March due to a contract being put back, aside from doing what my Wife needs, I can focus all my Weekends on building.

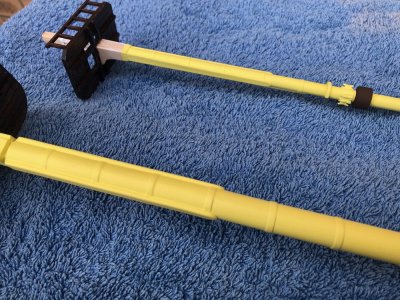
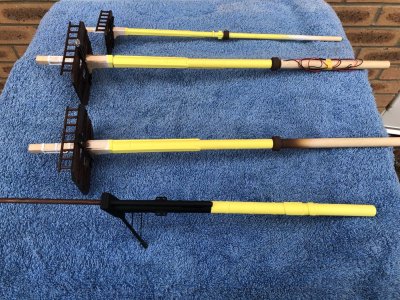
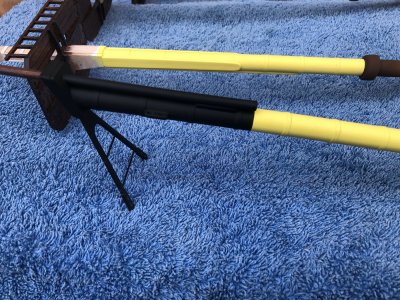
I have painted the lower sections of the masts. I normally use Tamiya X22A for thinning Acrylic but the Artesania paint just congeals using this and ends up lumpy. I found Vallejo Airbrush thinner 71.161 works a treat. The Artesania paint comes in little bottles but is HIGHLY concentrated and a little goes quite along way when airbrushing.I only use dedicated Acrylic thinners, you do run the risk of over dilution of the Acrylic binders when using just water,IPA etc.

As a side note, primer work was done with Tamiya white fine surface primer which is a lacquer based aerosol. This seals the wood and reduces the grain raising you get applying water based paint to bare wood

I have tweaked the colour scheme to the instructions slightly as I felt the intended scheme looked a little too busy. There is still the back to do above and below the tops but I have put work on hold to allow the varnish to properly harden off. I painted the mast coats in Tamiya WF64 Red Brown to emulate a leather covering.

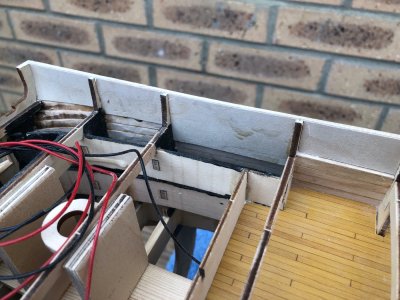
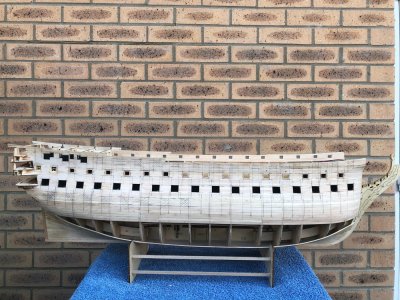
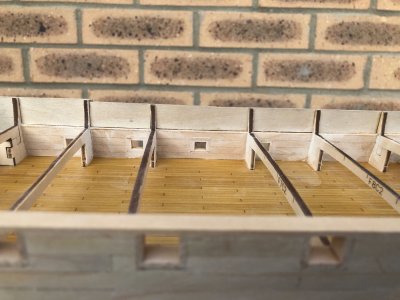
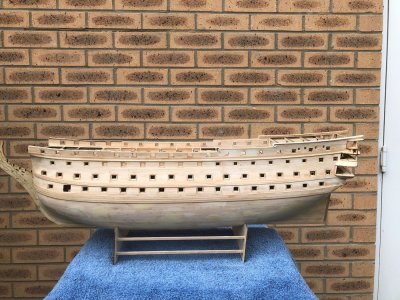
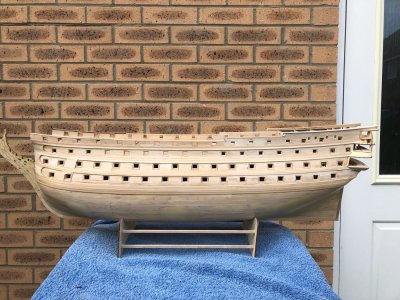
With mast work temporarily suspended, I moved back to the hull. I have completed adding the ply reinforcement inside the bulwarks as I did on the port side and the hull top is now trimmed to the correct profile. As a side note, the kit Bulkhead ears are very accurate and these are an excellent guide as where to trim to.

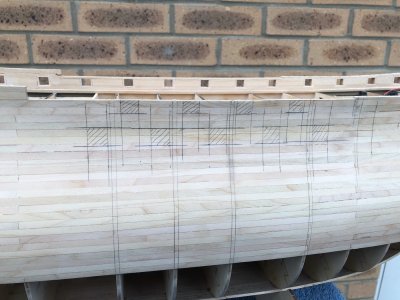
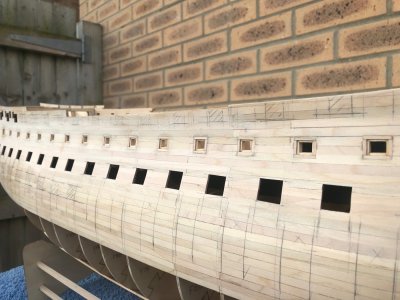
I have now started marking the Gunport positions. The port side was done using the kit templates as my guide but I did make some very small adjustments. To ensure symmetry, I am marking the Starboard side out using the Portside as my reference. Duplicating the measurements relative to bulkheads and the top edge of the hull should keep the symmetry. Any discrepancies will glare at you given the striped paint job the hull will receive.
IMG_1578.jpgIMG_1579.jpgIMG_1580.jpgIMG_1581.jpgIMG_1582.jpgIMG_1583.jpg
 
Last edited:
Thanks Paul, a suprising number of hours on prep to achieve that result

I hope to achieve the same standard on the hull, that will take a lot of work and test my patience no doubt
 
Moving slowly forward on the hull

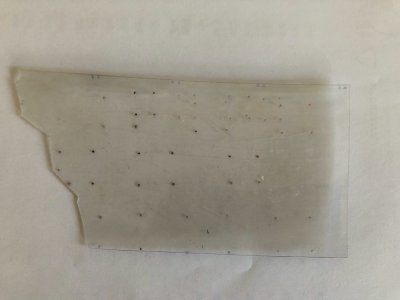
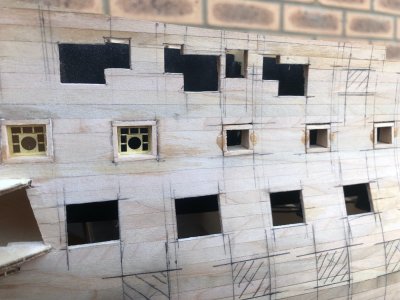
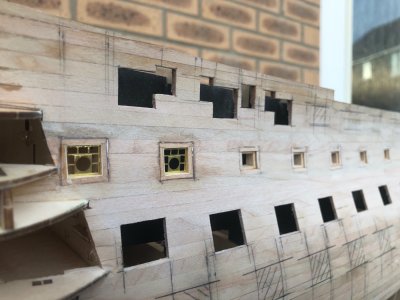
I found marking the upper level of windows a challenge to do accurately. I had a "lightbulb" moment and made a template from clear Acetate. The Acetate was clamped to the Portside and the corners of the hull openings marked using a 0.5mm drill. The top profile was cut to shape to match the top edge and Bulkhead positions marked ( this has now rubbed off)

Clamping this to the starboard side the corners of the cutouts were marked with the 0.5mm drill and these holes joined up with pencil to get the shape of my openings.

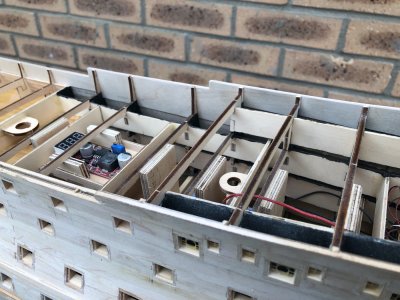
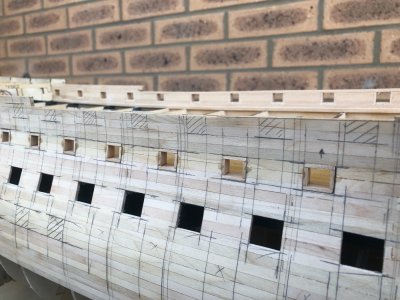
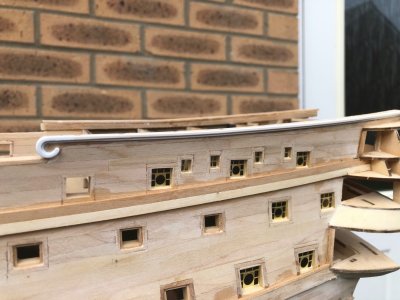
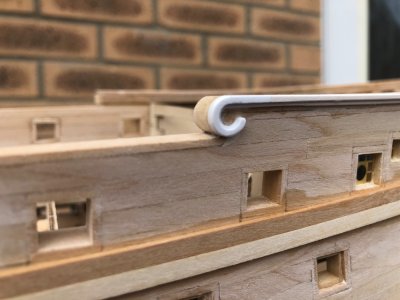
I have made up the OUTER lining boxes for the upper gundeck and these are tack glued temporarily in position using a couple of tiny dabs of epoxy. I used CA on the Portside for this and had issues getting some of the linings out as the glue wicked along the joint.

These boxes will be sanded flush with the hull surface and then removed. This gives them the correct shape to the hull contours and I can then line the insides of these boxes providing a rebate for the port lid. Note that the rebates are not straight and are curved on the sides to follow the tumblehome.

Once lined I can reinsert these boxes into the hull and fix permanently. Each box is individually marked to show it's location, as all will be slightly different.

IMG_1584.jpgIMG_1585.jpgIMG_1586.jpgIMG_1587.jpg
 
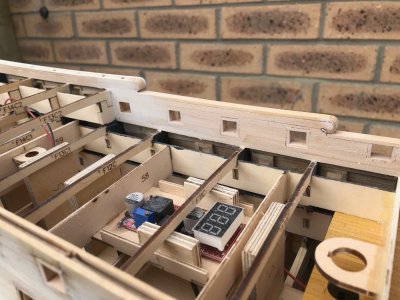
I have now completed the deck ports and fettled the inside of the hull where the deck is exposed.

Next task is to complete the bulwarks so I can move upwards and complete the run of ports and windows above.

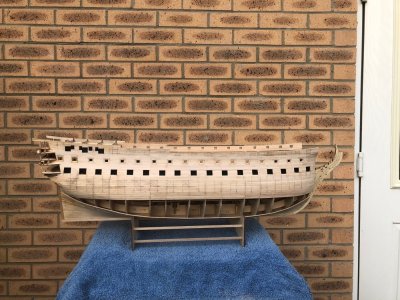
If anyone is wondering, I will not complete the hull planking until all the joinery is complete, it makes it easier to blow all the dust etc out of the hull with an airline plus I have already dropped a gunport lining inside but no drama thanks to the "window" in the planking.

IMG_1606.jpgIMG_1607.jpgIMG_1608.jpgIMG_1609.jpg
 
Thanks Paul

It is quite different working with Lime and Birch compared to the more expensive stuff I normally work with (Boxwood deck planking aside). To be honest everything looks a bit like construction site joinery until the paint goes onROTF Good job I have a mental image of what it will look like when done and it will be a little different from the instructions whilst retaining the red, black and white stripes;)

One thing though, scalpel blades last a little longer:D
 
Back
Top