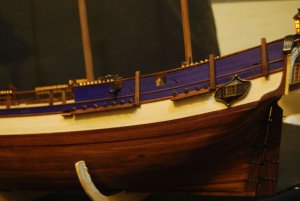
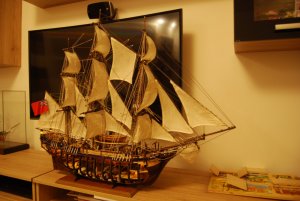
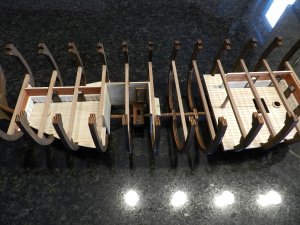
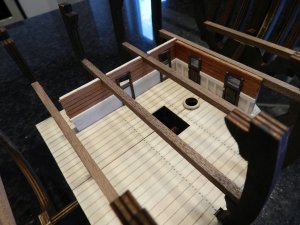
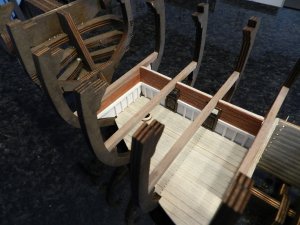
Artsenia Latina HMS Bounty 1783

I finally had time to get started on my kit this weekend, found it to be addictive LOL don't know why I waited so long before
getting back into it.
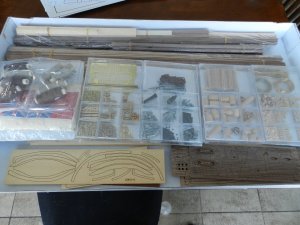
81961

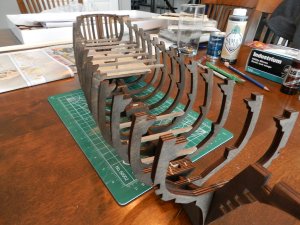
here's a quick picture of the kit.
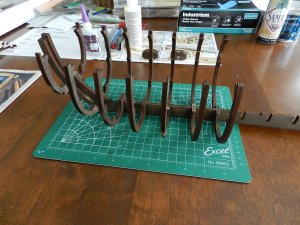
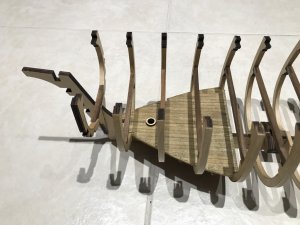
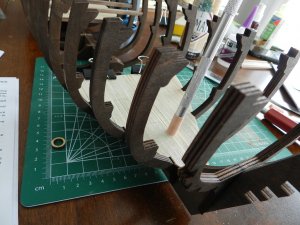
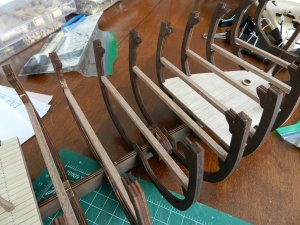
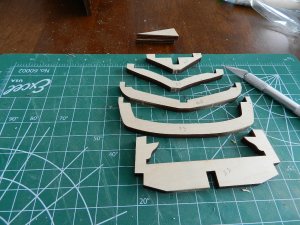
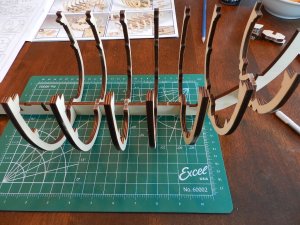
loved the quality of the wood and so far the plans are great. getting the structure started. I decided to stain all the main formers with hopes it makes it look nice, hesitated since it takes more time. I used a water base stain that dries ultra fast. that way, once I've cut out the pieces, sanded them, test fitted, I then stain them and while the dry, I prepare parts for the next step and revise the plans over and over LOL
81962
81963
81964

I'm also going to get a bigger cutting matt :) this one does the job but I think the large size would be helpful.
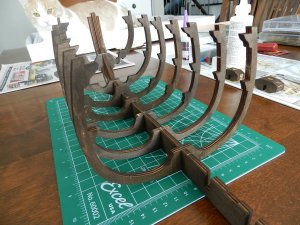
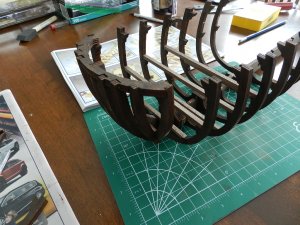
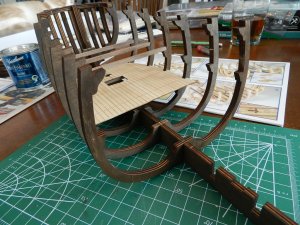
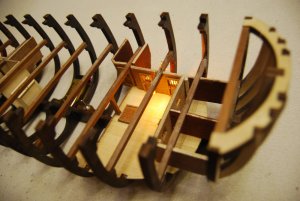
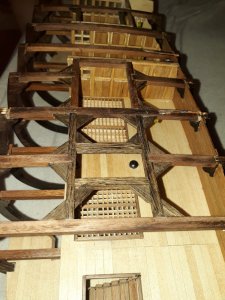
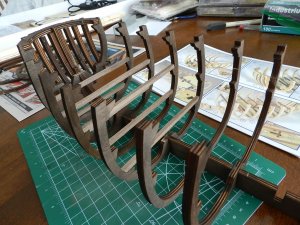
next, I got the Bow parts installed with cross beams.. I got carried over with the beams and started installing the second level ones, stopped when I realized I still had to install the bottom floors.. I also test fitted the rest of the formers, stained them ready for the later part.
81966
81967
81965

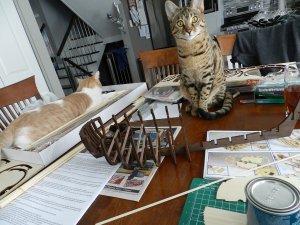
Had a few assistants watching over me, one was guarding the parts inside the box, not sure if he did a good job or not, while the other kept a keen eye on my work.. as for my dog, he was sleeping at my feet :)
81968

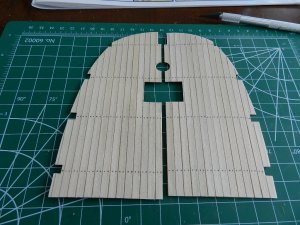
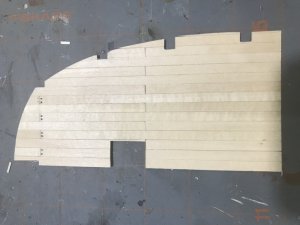
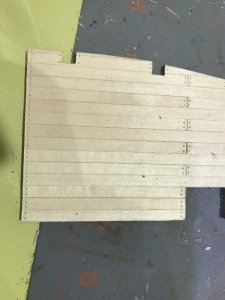
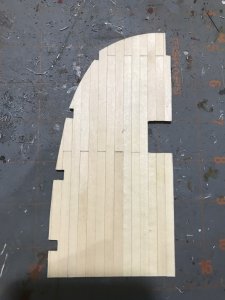
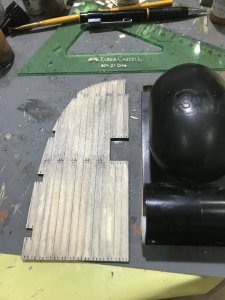
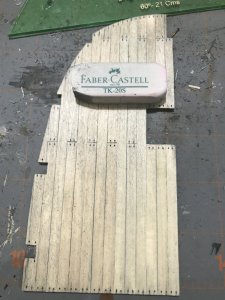
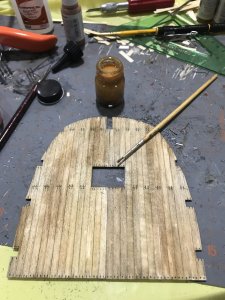
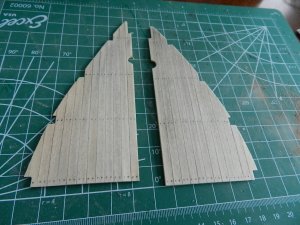
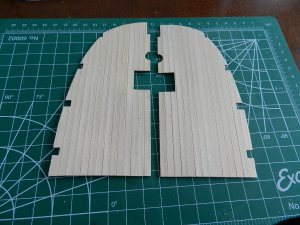
next was planking the lower deck, added a little detailing to it and a coat of varnish, again, water base, easy clean up and fast drying.
81969819708197181972

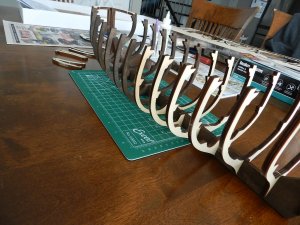
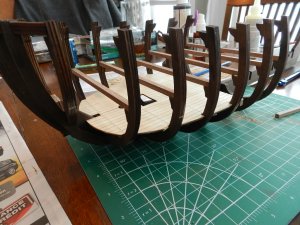
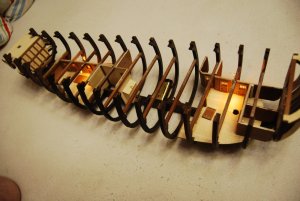
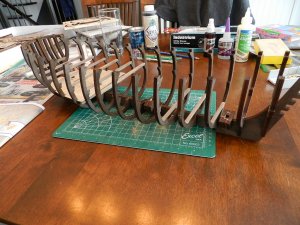
next step was installing the remaining formers and a few beams , now ready to get the other lower deck done up and installed.
be nice to work on it this week, but, my week days don't often give me enough time to get into it.. can't wait for the weekend now.
8197381974

this is where I'm at right now :) slowly but it is coming along nicely so far.
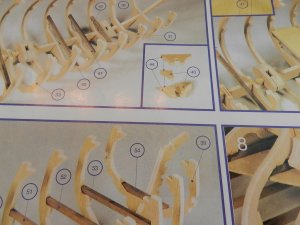
I found one mistake on the plans or parts list, where they say to use part #44 and #43 you need to use # 42-43. the error is probably on the parts # sheet.
not a big deal because, there is no way the other parts would work.
81975

I'm going to be counting the days now and hope that nothing or no one tries to squeeze in things or places to be on the weekend LOL
thank you all for help, suggestions and all of the information here..
Steph
 
that looks sweet.. I need to get a few more stains of different shades for other parts.
staining the deck like that does make it look real.. I'll do a test to see if I can still do it on the one installed.
I for sure want more detailing on the top deck, but since the lower ones are quite visible, only logic to do them too :)
crazy how much better it looks when aged and stained like that. thanks for the tip
 
absolutely Shrader, if you want to share the info please feel free :-D I love seeing and learning ways of weathering or creating effects.
My initial plan was to make this ship with a little detail and not go overboard, but the more I look at it and build, adding that extra time makes a huge difference on the final look..
I'm searching for miniature lights now lol
 
Following this for sure. That looks like a nice kit and I love the detail being paid to the lower decks. First time following an active log with the open sided kits. Taking notes here, especially with the staining so please continue. She looks great so far!
 
absolutely Shrader, if you want to share the info please feel free :-D I love seeing and learning ways of weathering or creating effects.
My initial plan was to make this ship with a little detail and not go overboard, but the more I look at it and build, adding that extra time makes a huge difference on the final look..
I'm searching for miniature lights now lol

The secret is simple. Occre vinilo paint and graphite powder

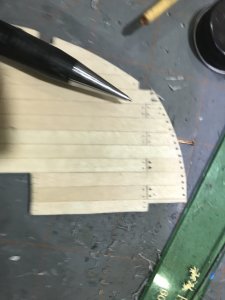
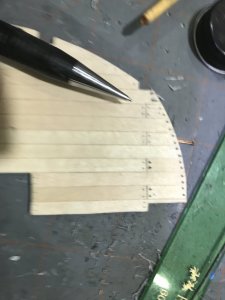
With 0.4 drill bit you mark de nail places. With a 0.5 mm pen you introduce the lead in the holes

1BD96EF8-E678-452B-9785-BD391B584AC4.jpeg
 
Thanks Shrader, I'll have a look at occre paints :) the technique sounds similar to other ways I've used in the past.
with diluted paint, what is called a wash. spread the thinned down liquid, wipe off excess, leave the cracks filled for darker effect.
or what I do for my Halloween props, (bigger projects LOL ) spray bottle , let it drip and again wipe.
your technique sounds like fun and the end result is amazing, Deff.. trying it.

thanks for the link on the lights, I had found these but wasn't sure they were the right ones< now I am :)
thanks again, can't wait to get back to my project, if only work didn't get in the way hehehe
 
thanks JScolum :) I've spent countless hours looking at your picture and build log. you created a masterpiece with that bounty.
here's my home and work email
slaying(at)videotron.ca
stephane.diprose(at)forces.gc.ca

the (at) is the @ sign, I'm sure you know this LOL but just in case.
writing it this way prevents bots from using the address for spam mail

thanks for the tips, pictures and the direct link, I keep searching for it to look at you build :)

steph
 
thanks JS :) i got the files you sent home, managed to transfer them, and wow, soooo much information to look at and read.
I was lucky to get the day off yesterday ( my boss had to fly out of town) so i got some work done..
I couldn't find the occre vinilo paints, looking for a source online.. but I did try to detail up the deck already there, because of the varnish !! I'm limited.
but I did use a little carbon sanded off a pencil ( keeps it sharp at the same time LOL ) for the other bottom deck.. could do too much because it would make too big a difference with the one already installed. made sure the hole for the mast was the right size otherwise later would be a problem getting in there..828678286882869

next, I work on the rear section, (stern I think is the word ) sorry getting used to the terms.. got them sanded, test fitted, stained and installed.
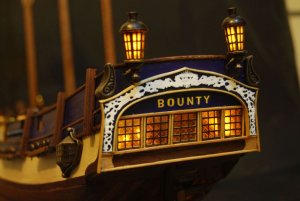
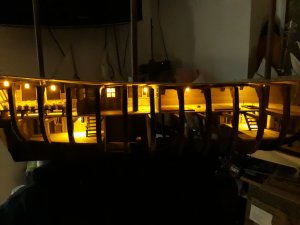
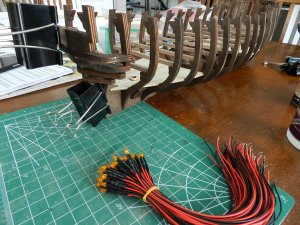
also received my LEDs , went with 3mm pre-wired and with the resistance already installed for 9-12v.. 50 of them for 16$.

8287182870

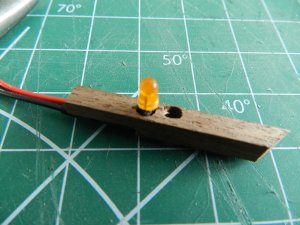
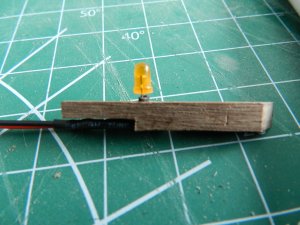
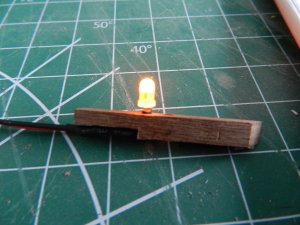
next,I had to start testing the installation for these lights. wanted to see how I can hide the wires and if drilling, cutting that hash wood was easy.
turned out well.. I can leave enough hanging under so I make a false lantern if so desired, I have to cut away a section so the resistor will fit without bulging the top deck, and I will cut a groove along the top so the wires fit in the beam then exit somewhere behind a wall. I can always hide the sides of the beams with a thin 0.6 mm piece of dark planking wood if it shows too much.
828728287382874

now I'm at the section where I need to get some materials, with all the info I have now that JS sent.. in order to make walls inside with details, I'll visit the local hobby shop. They have the thin planking wood, balsa, birch wood that I need.. getting that this morning on my break :) have to do it now otherwise it will be too late or complicated. started on the holding room walls, next is the mid section deck I need to plank. this weekend is looking like an interesting build session.
 
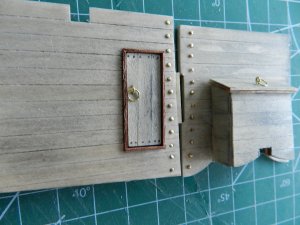
I managed to get some work done, finished and installed the holding room, played a little with carbon, and acrylic paint.. found this cool brand at the local hobby shop.
It has a ton of pre-mixed colours.. I got a couple.. deck tan and a pastel greenish colours. Doesn't look too bad so far :)DSCN4995.JPGDSCN4996.JPGDSCN4997.JPG

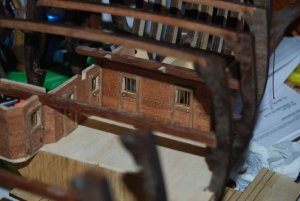
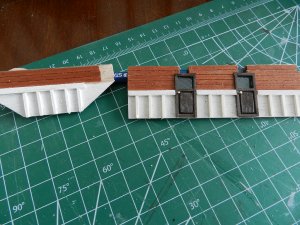
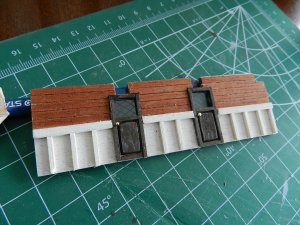
Then i worked on some interior add on walls, so as not to copy the two amazing ships here that i'm using as reference.. I used ides off both and came up with
a version for mine..Since I'm not looking to do it as scale as the actual ship, not this one anyways.. I do want it to look close to the real ship.
What I wasn't expecting is how long this takes LOL so didn't get to the point I would have wanted this weekend..
I did enjoy every minute of making these walls and adding to them.
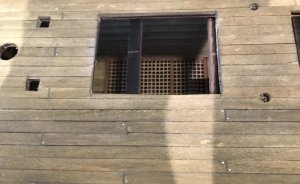
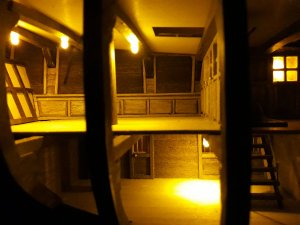
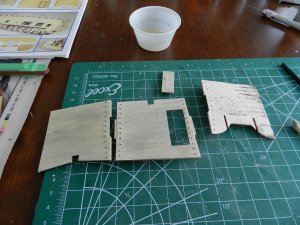
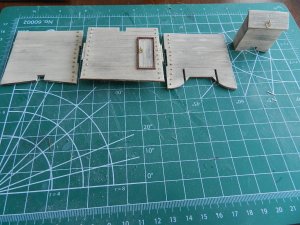
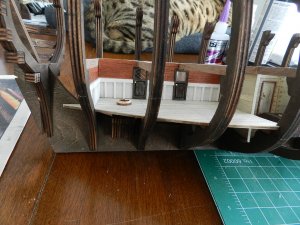
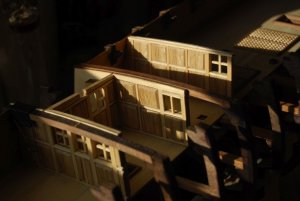
made them with balsa, balsa strips, some planking I found at the store, used dark stain, ancient stain, white wash stain, teak oil on the planks, clear plastic for windows that i cut from a croissant clear box :) then scratched some lines in it for a little extra details.
the rear part is installed : I'm still working on the front lower deck walls, still some work to do there but they are coming along nicely.
Once these are done, I'll install the lights for that deck and move up to the next.. can't wait to see what it will look like.
DSCN4998.JPGDSCN4999.JPGDSCN5000.JPGDSCN5001.JPGDSCN5002.JPGDSCN5003.JPG

thanks for looking and as always, feel free to give out ideas to make it look better or point out mistakes if you see any..
I'm all ears, been away for too long... planes and helicopters i'v built many.. ships not in many years now :( but looking to change that.. I'm already looking at which kit(s) will be next LOL

thanks
 
Back
Top