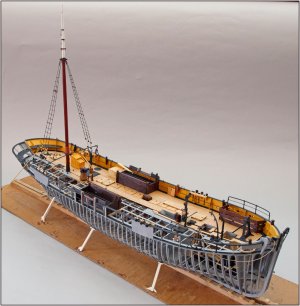
Yesterday, May 29, we sailed the Balder from Vlaardingen to Dordrecht. She is moored there for the 'Dordt in Stoom' weekend.
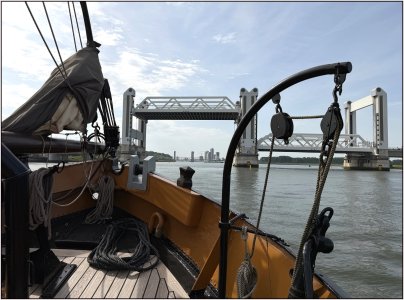
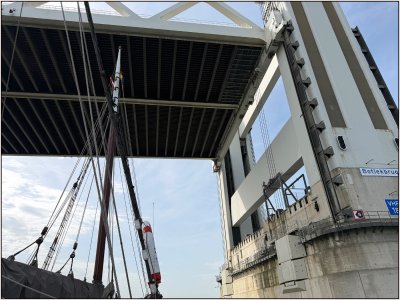
It was quite a special voyage on the 'Oude Maas'. It goes straight through the busy Botlek industrial area with all its highways and railways. These important bridges were opened especially for us:
View attachment 608025
Botlek Bridge, both highway and railway
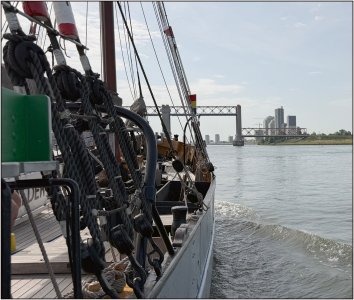
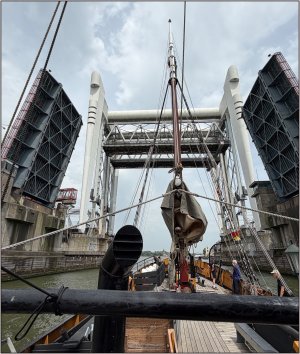
We maintain a safe margin of 24 meters to be able to pass:
View attachment 608026
View attachment 608027
Spijkenisse Bridge
View attachment 608028
Dordrecht, both highway and railway bridge
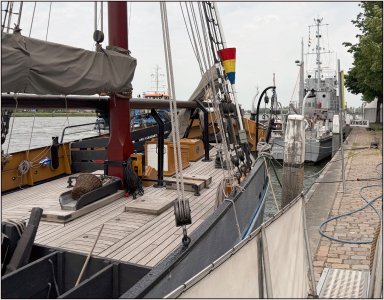
We are moored at the Oude Walevest:
View attachment 608029
Between the pontoon and the Bernisse, an old minesweeper. (Unfortunately I am not on board of the Balder during de weekend.)
On Monday morning we will sail back to Vlaardingen.
We were not 'under sail'. In about a week and a half, we will be unpacking and hoisting all sails in the harbor again. Weather permitting. Then we can immediately practice some procedures and hopefully capture some nice pictures for you.
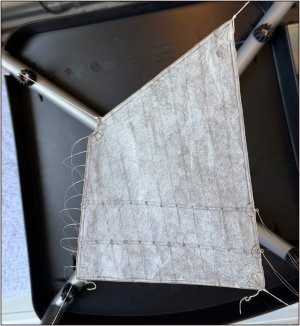
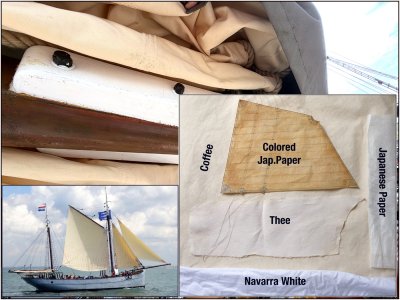
In the meantime, I have started working on the 2nd version of the mizzen sail:
View attachment 608030
Now with the 'Navarra Fine Lawn' fabric. First 2 color tests: with tea and coffee.
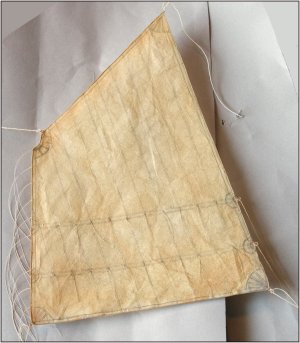
The coffee comes pretty close to the current Balder sails.
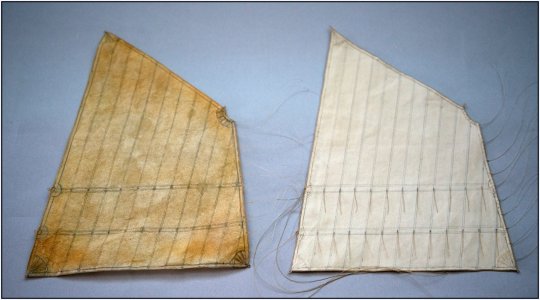
With this as the result:
View attachment 608031
Followed Ab Hoving's
@Ab Hoving recommended method:
-drawn stitching;
-glued hems;
-glued leech all around.
I am going to put this on my Balder.
Regards, Peter













 All that modern stuff like Latte Macchiato and oat milk .... yak
  .
.