Bireme - Greek Warship, Amati, scale 1/35 [COMPLETED BUILD]

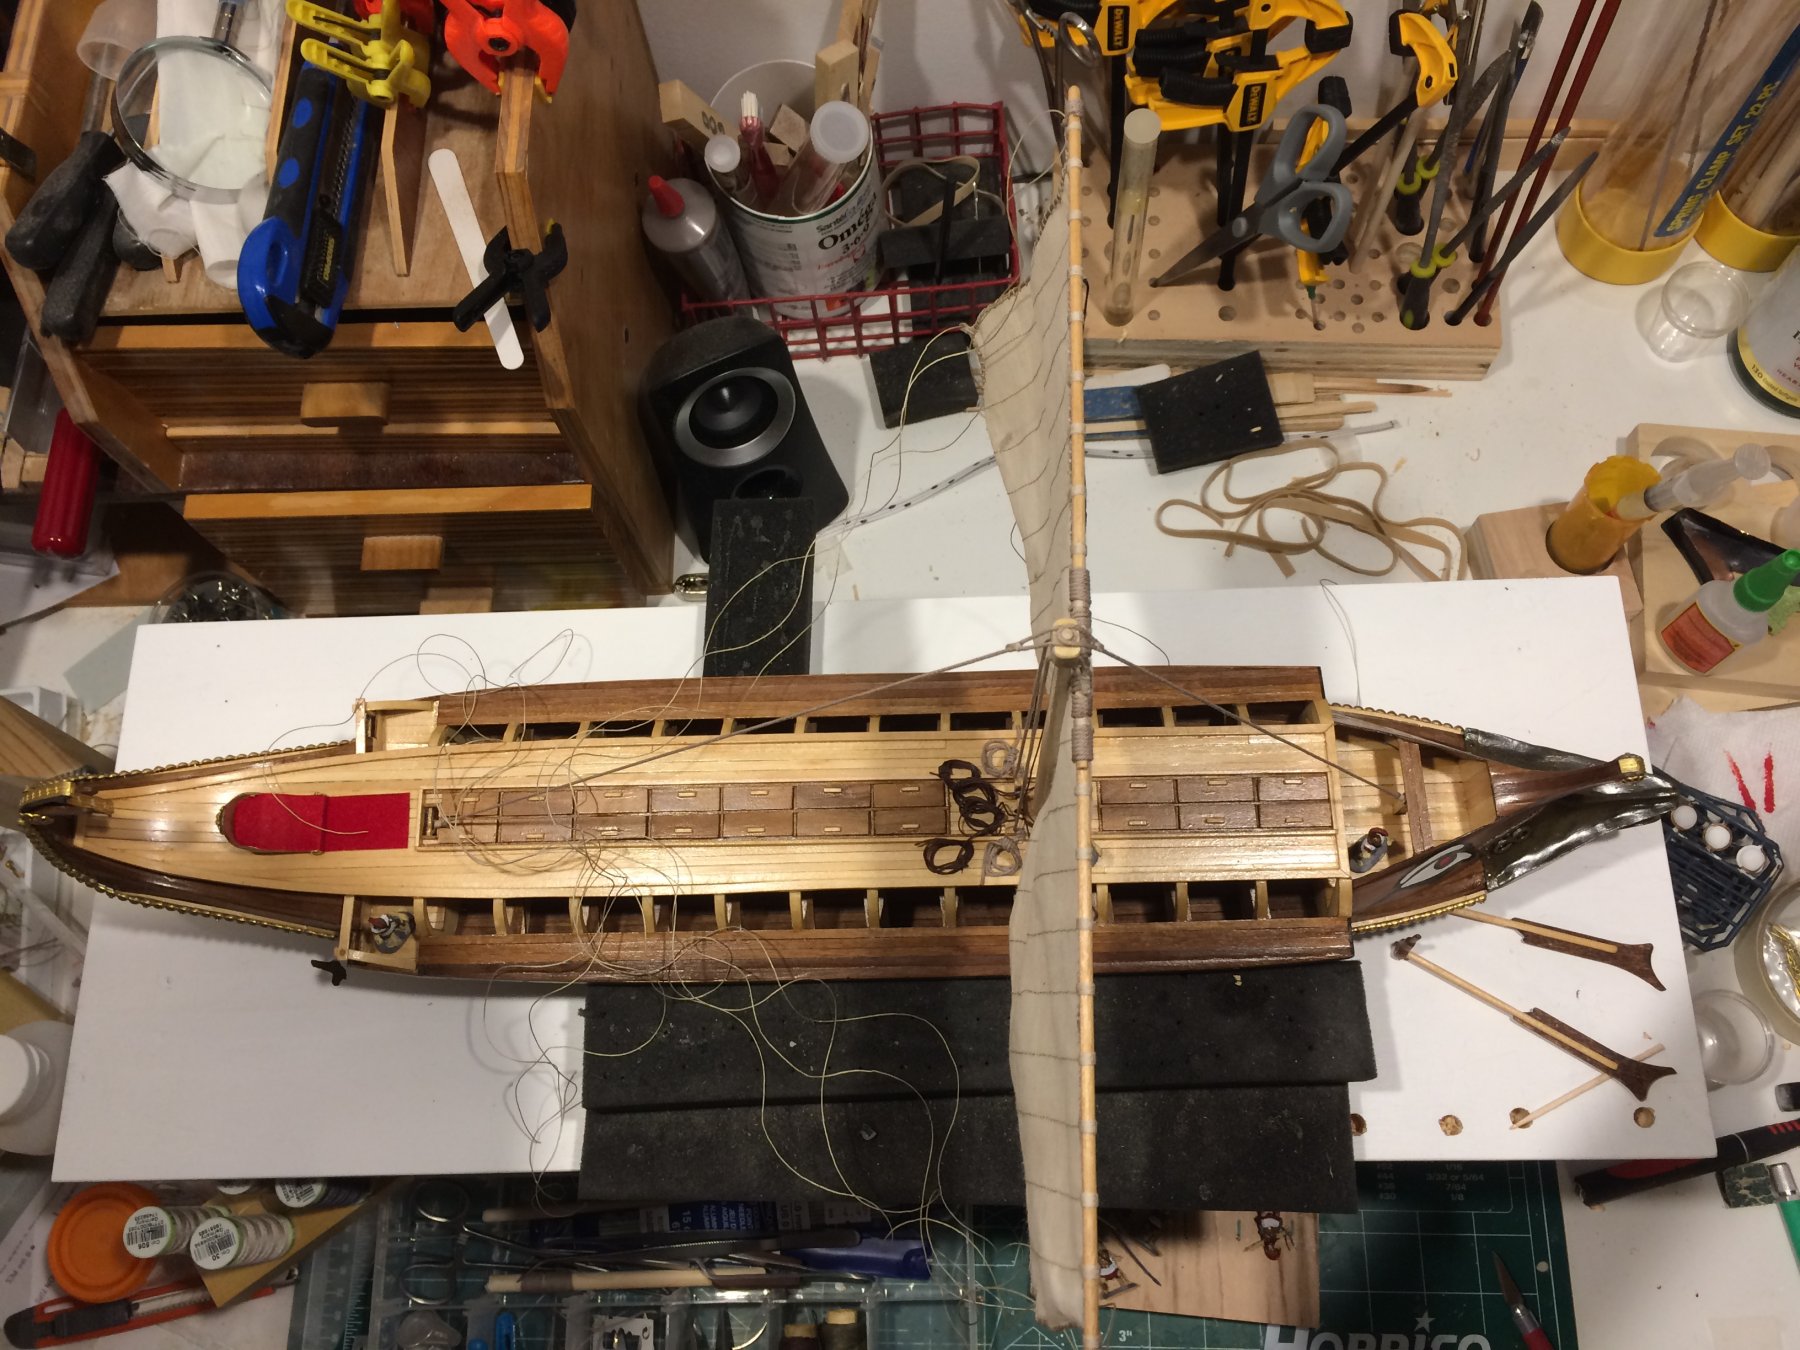
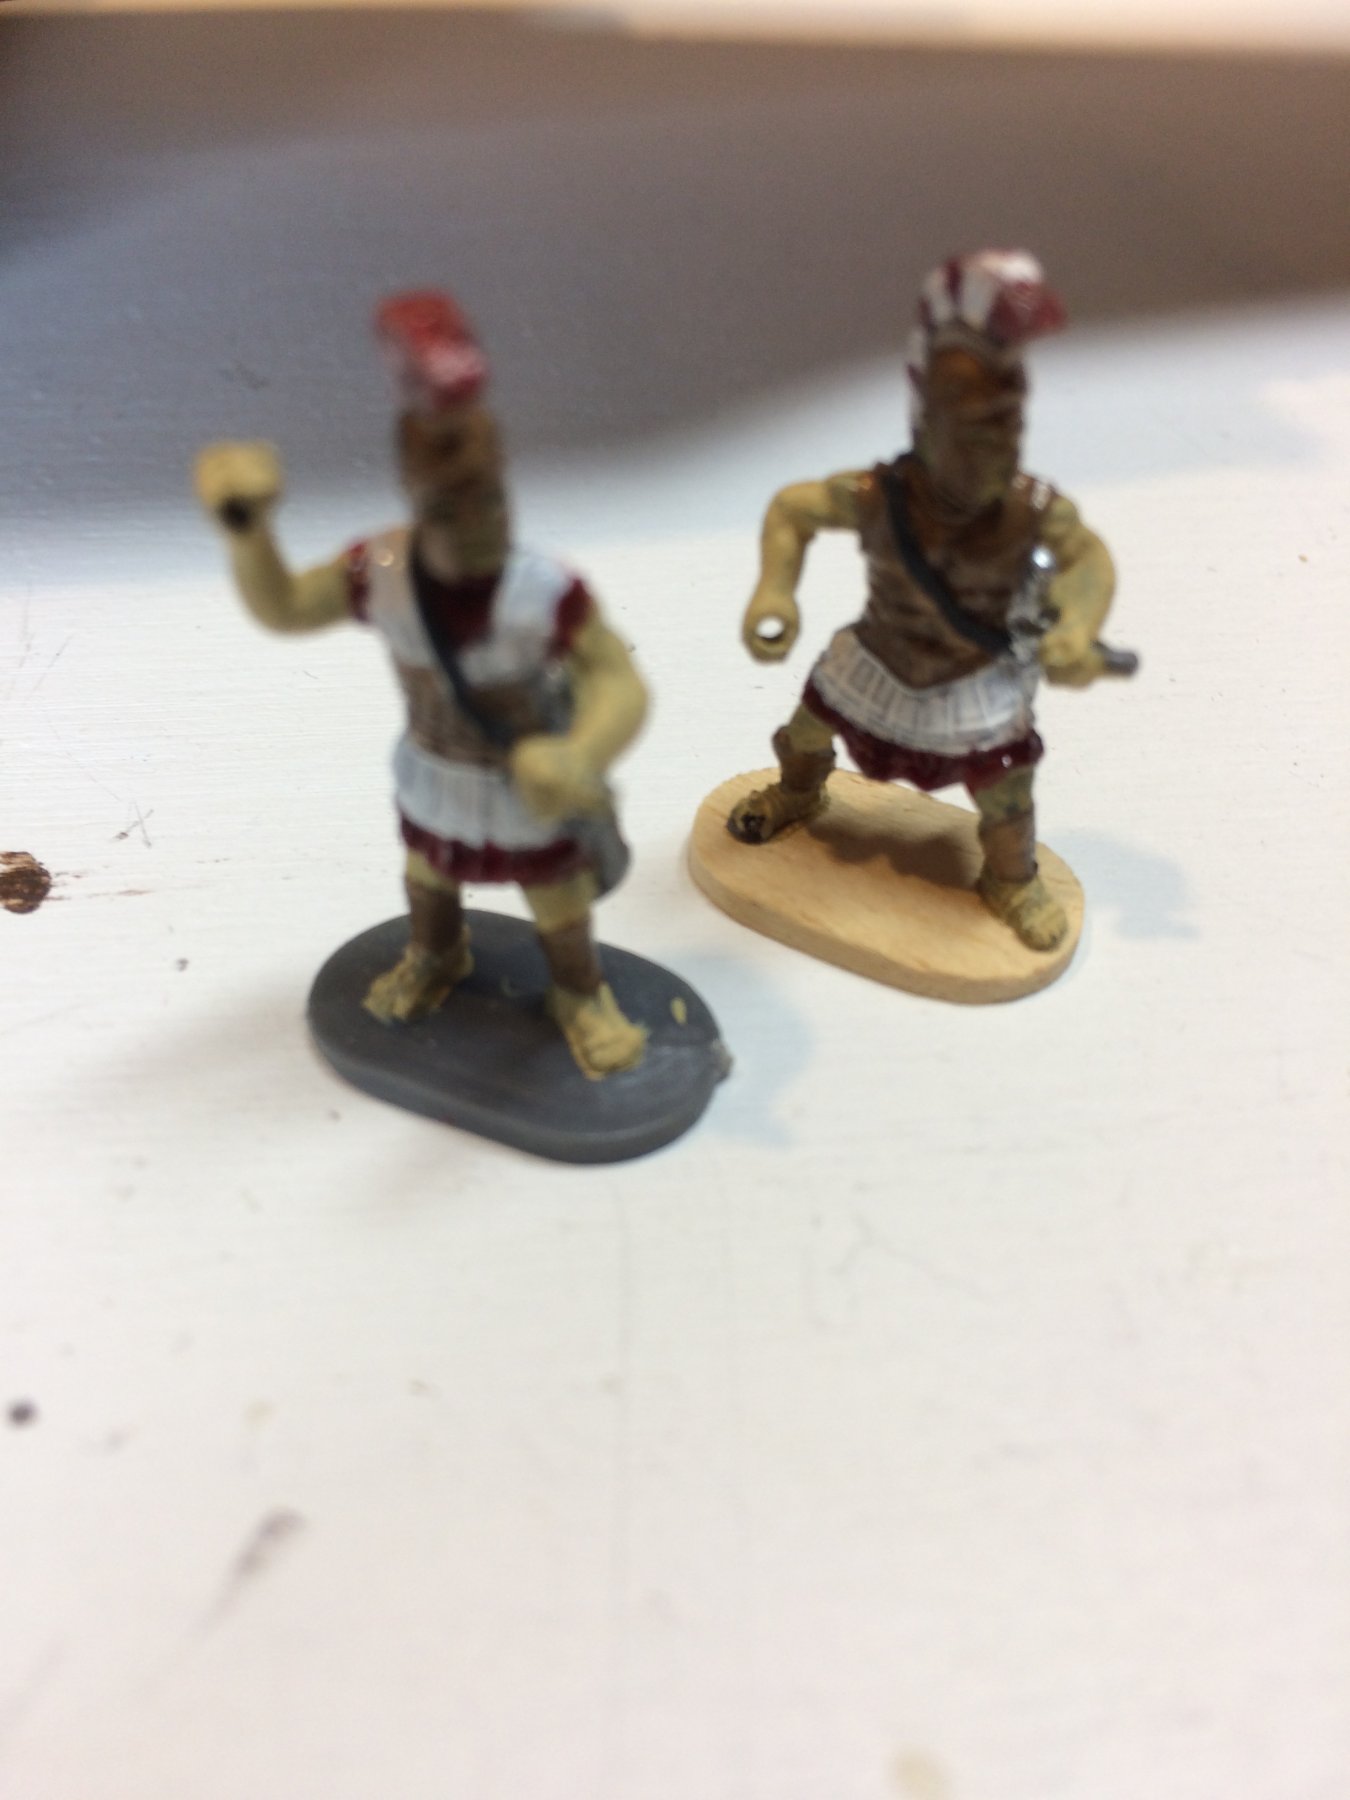
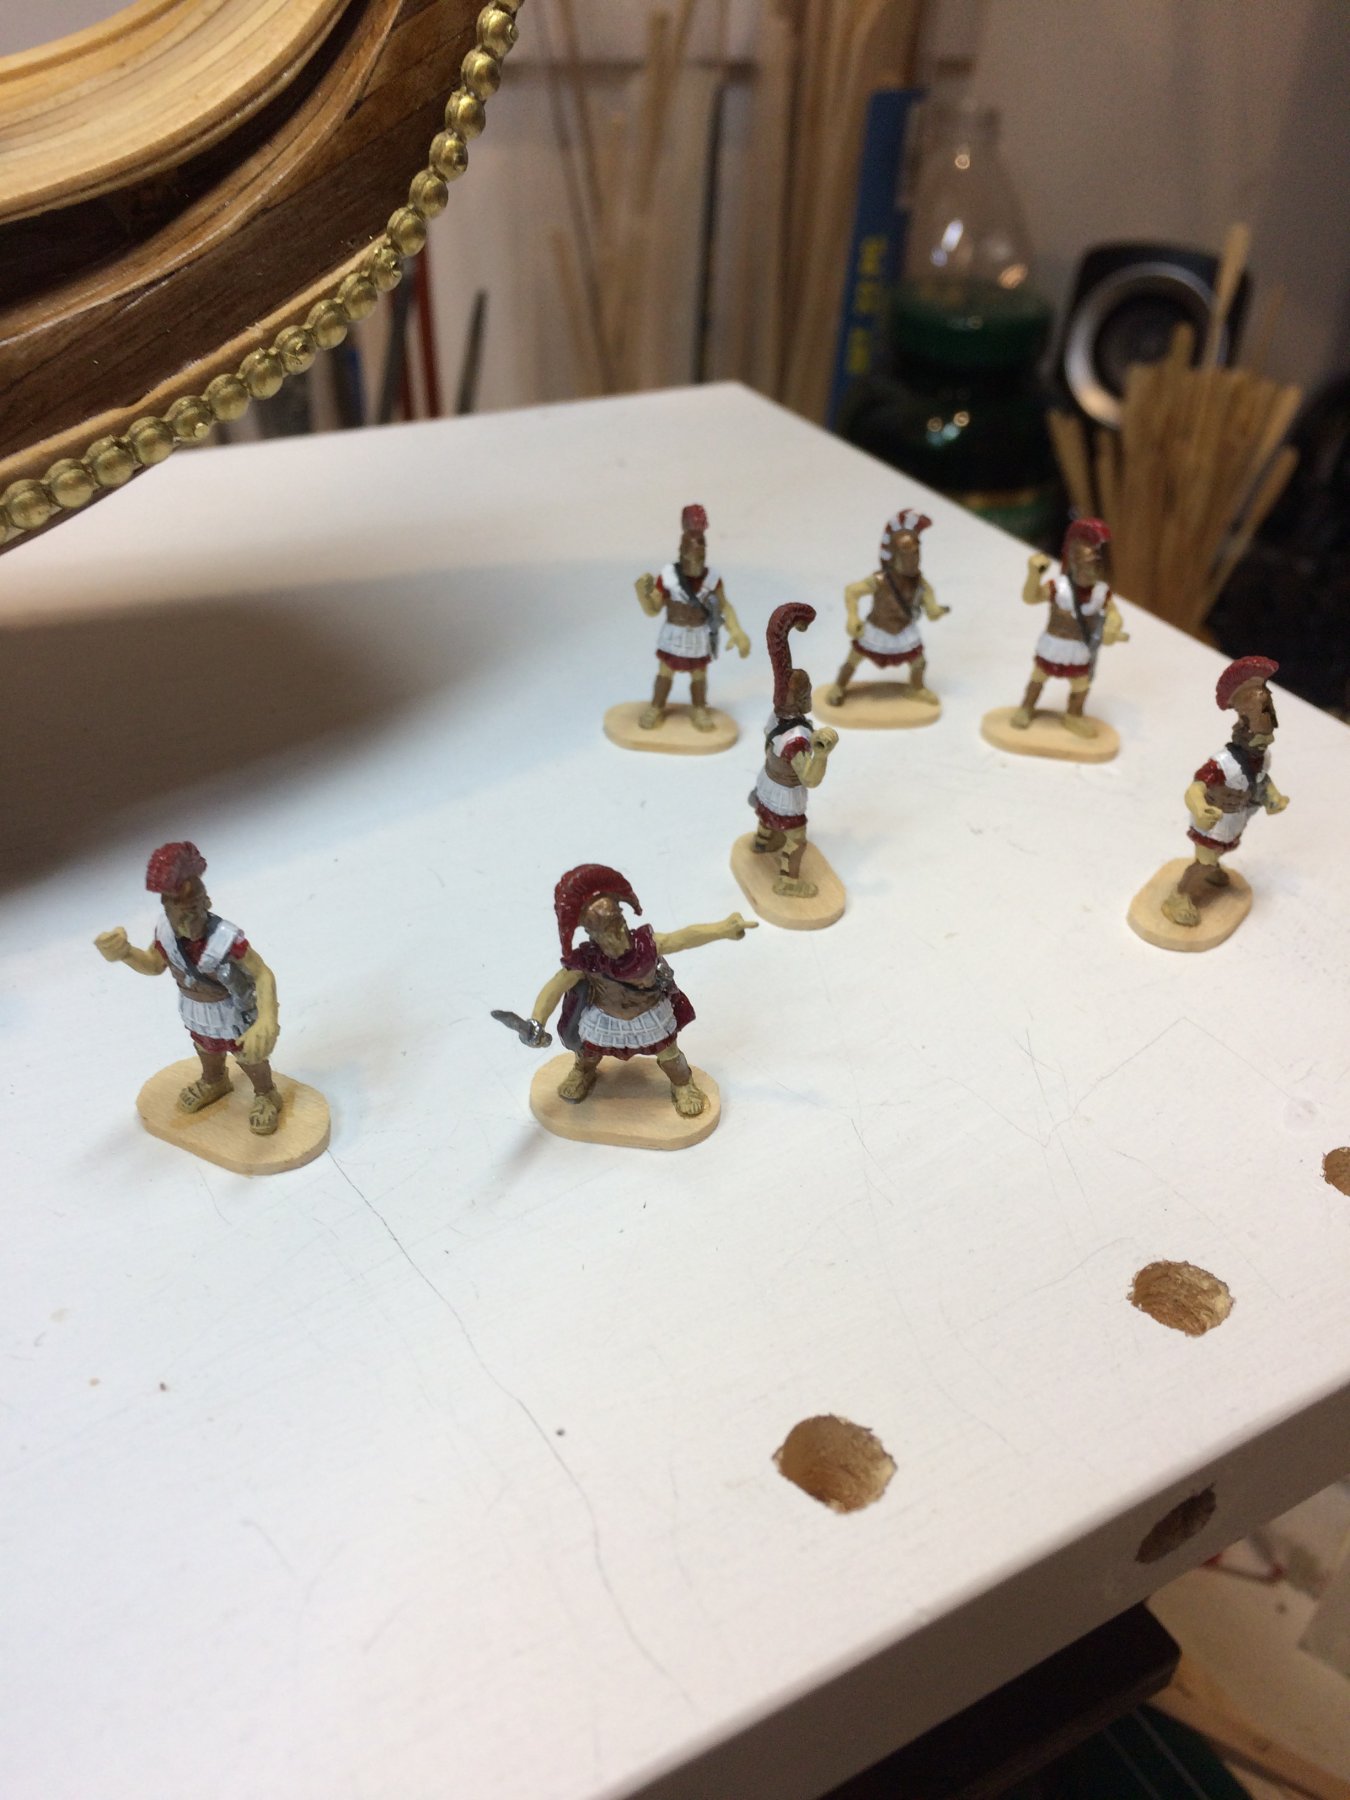
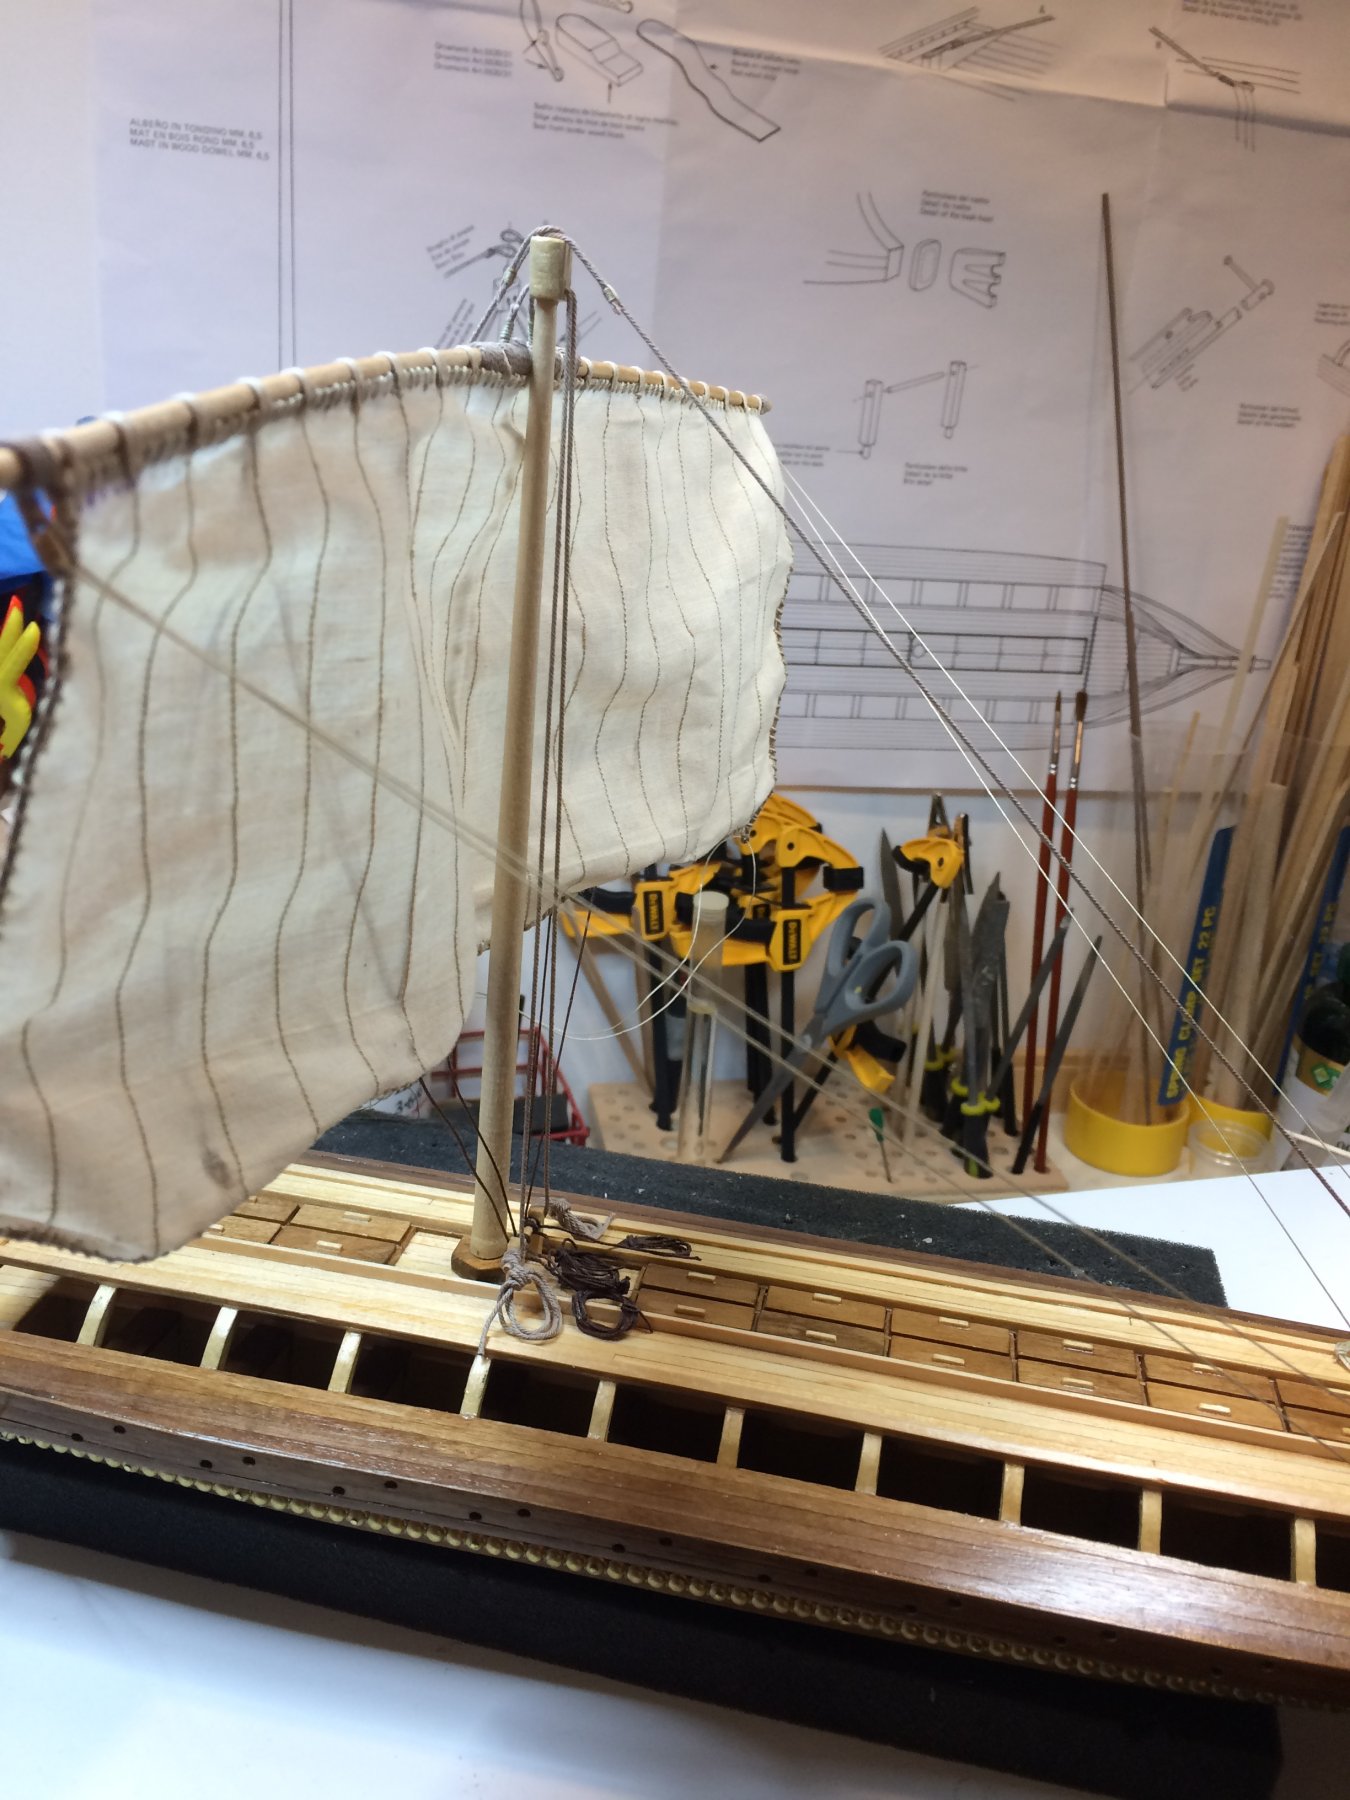
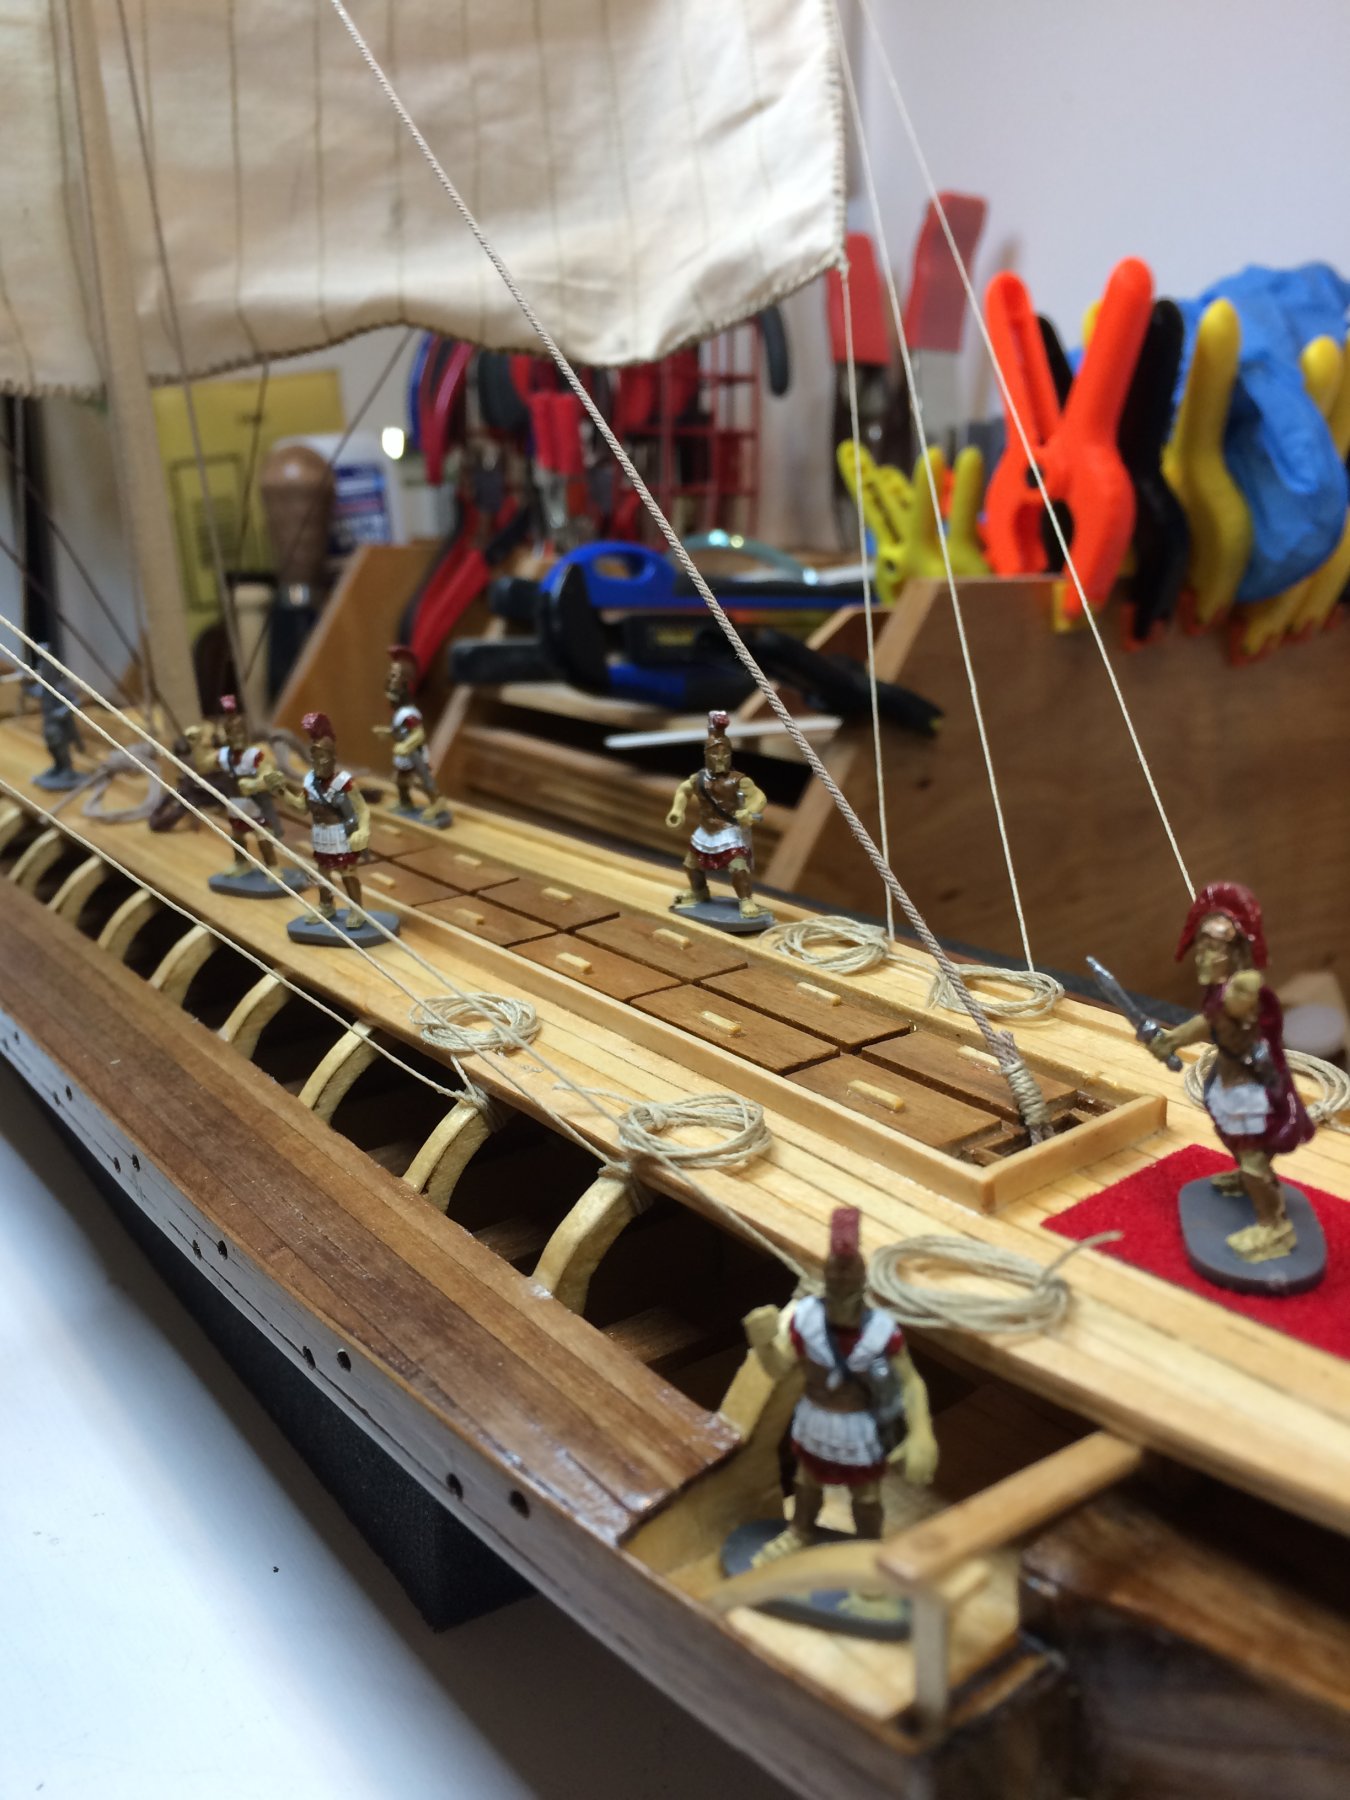
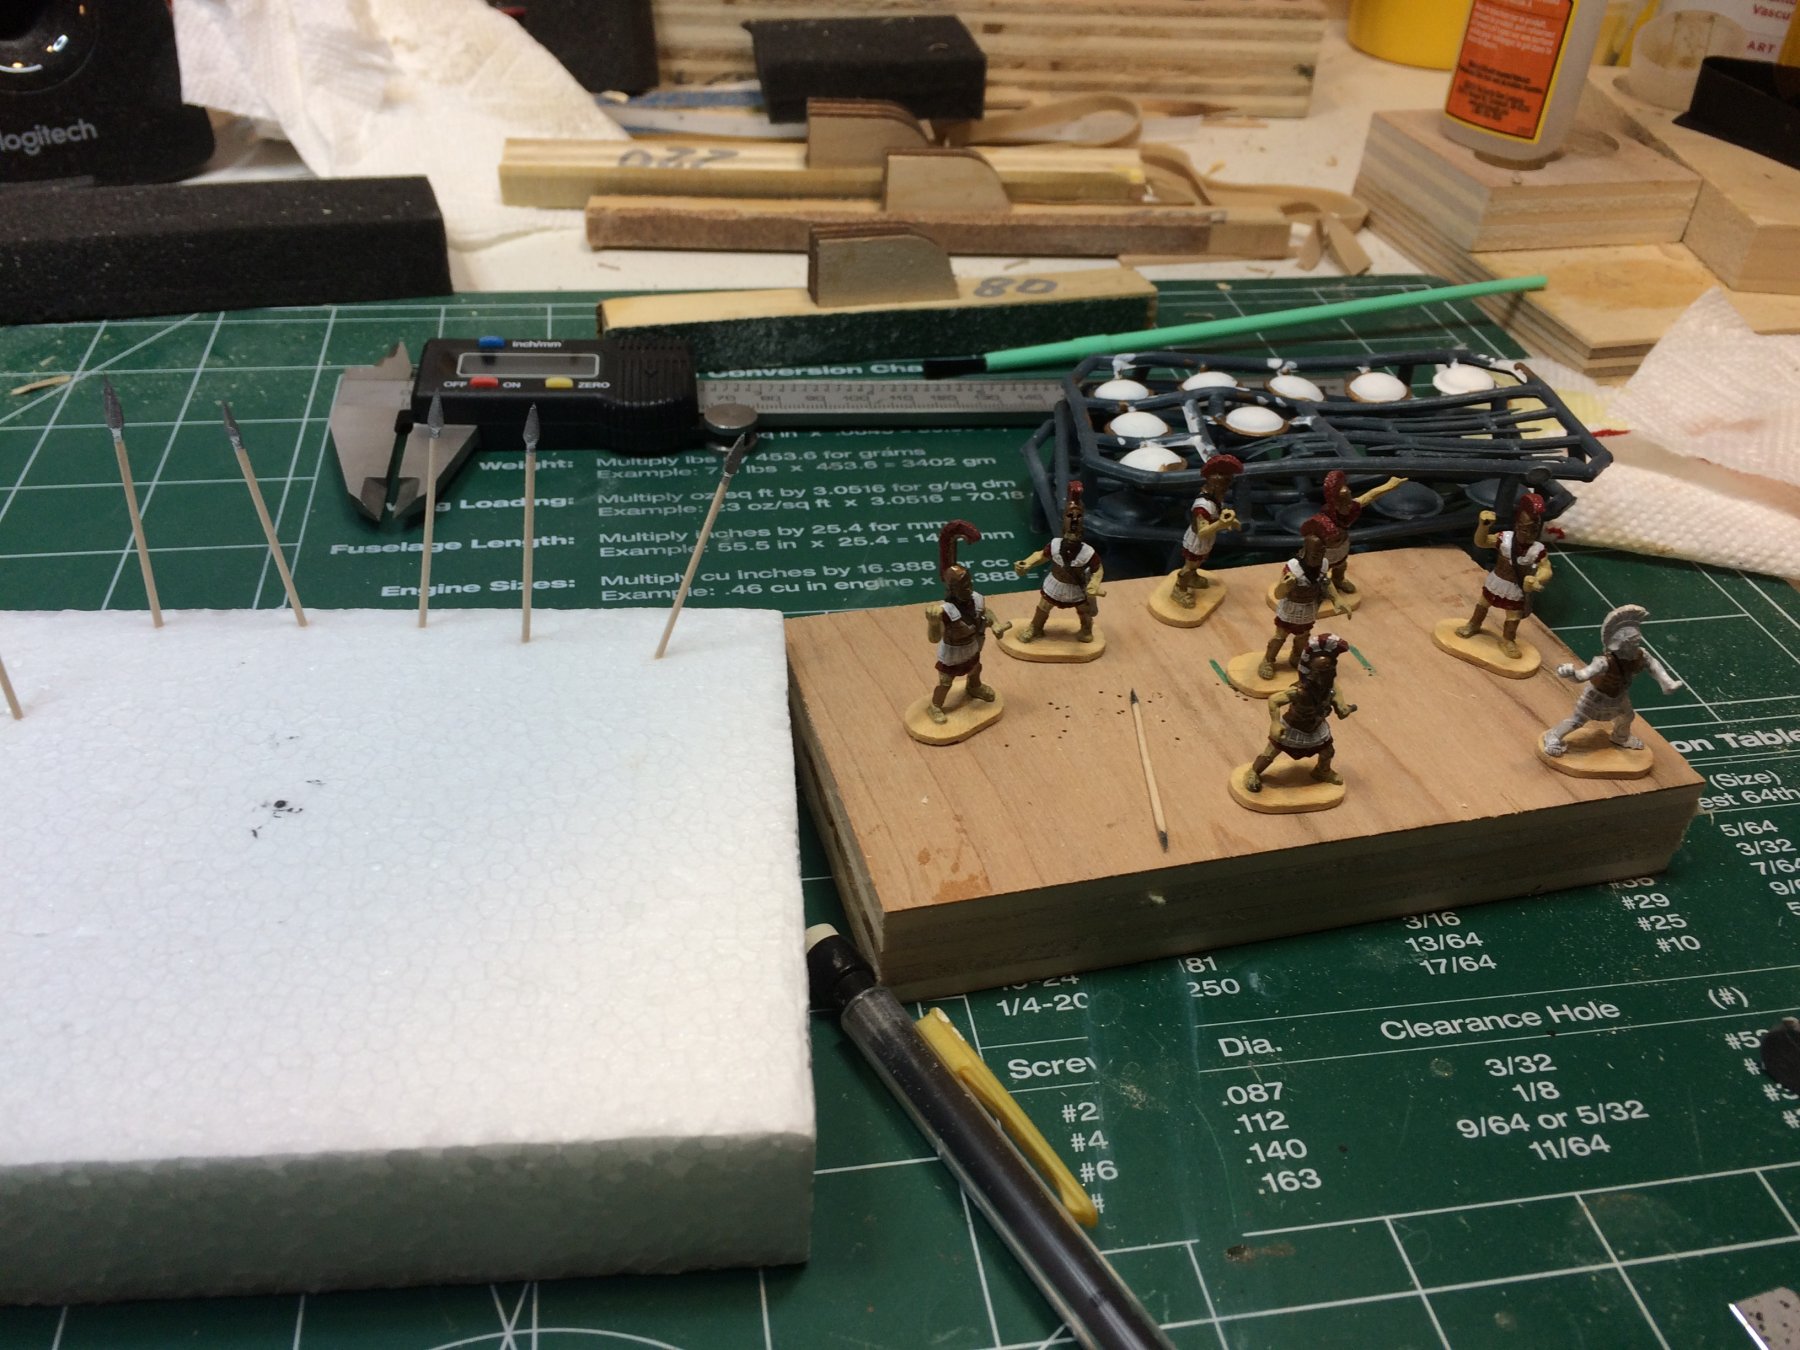
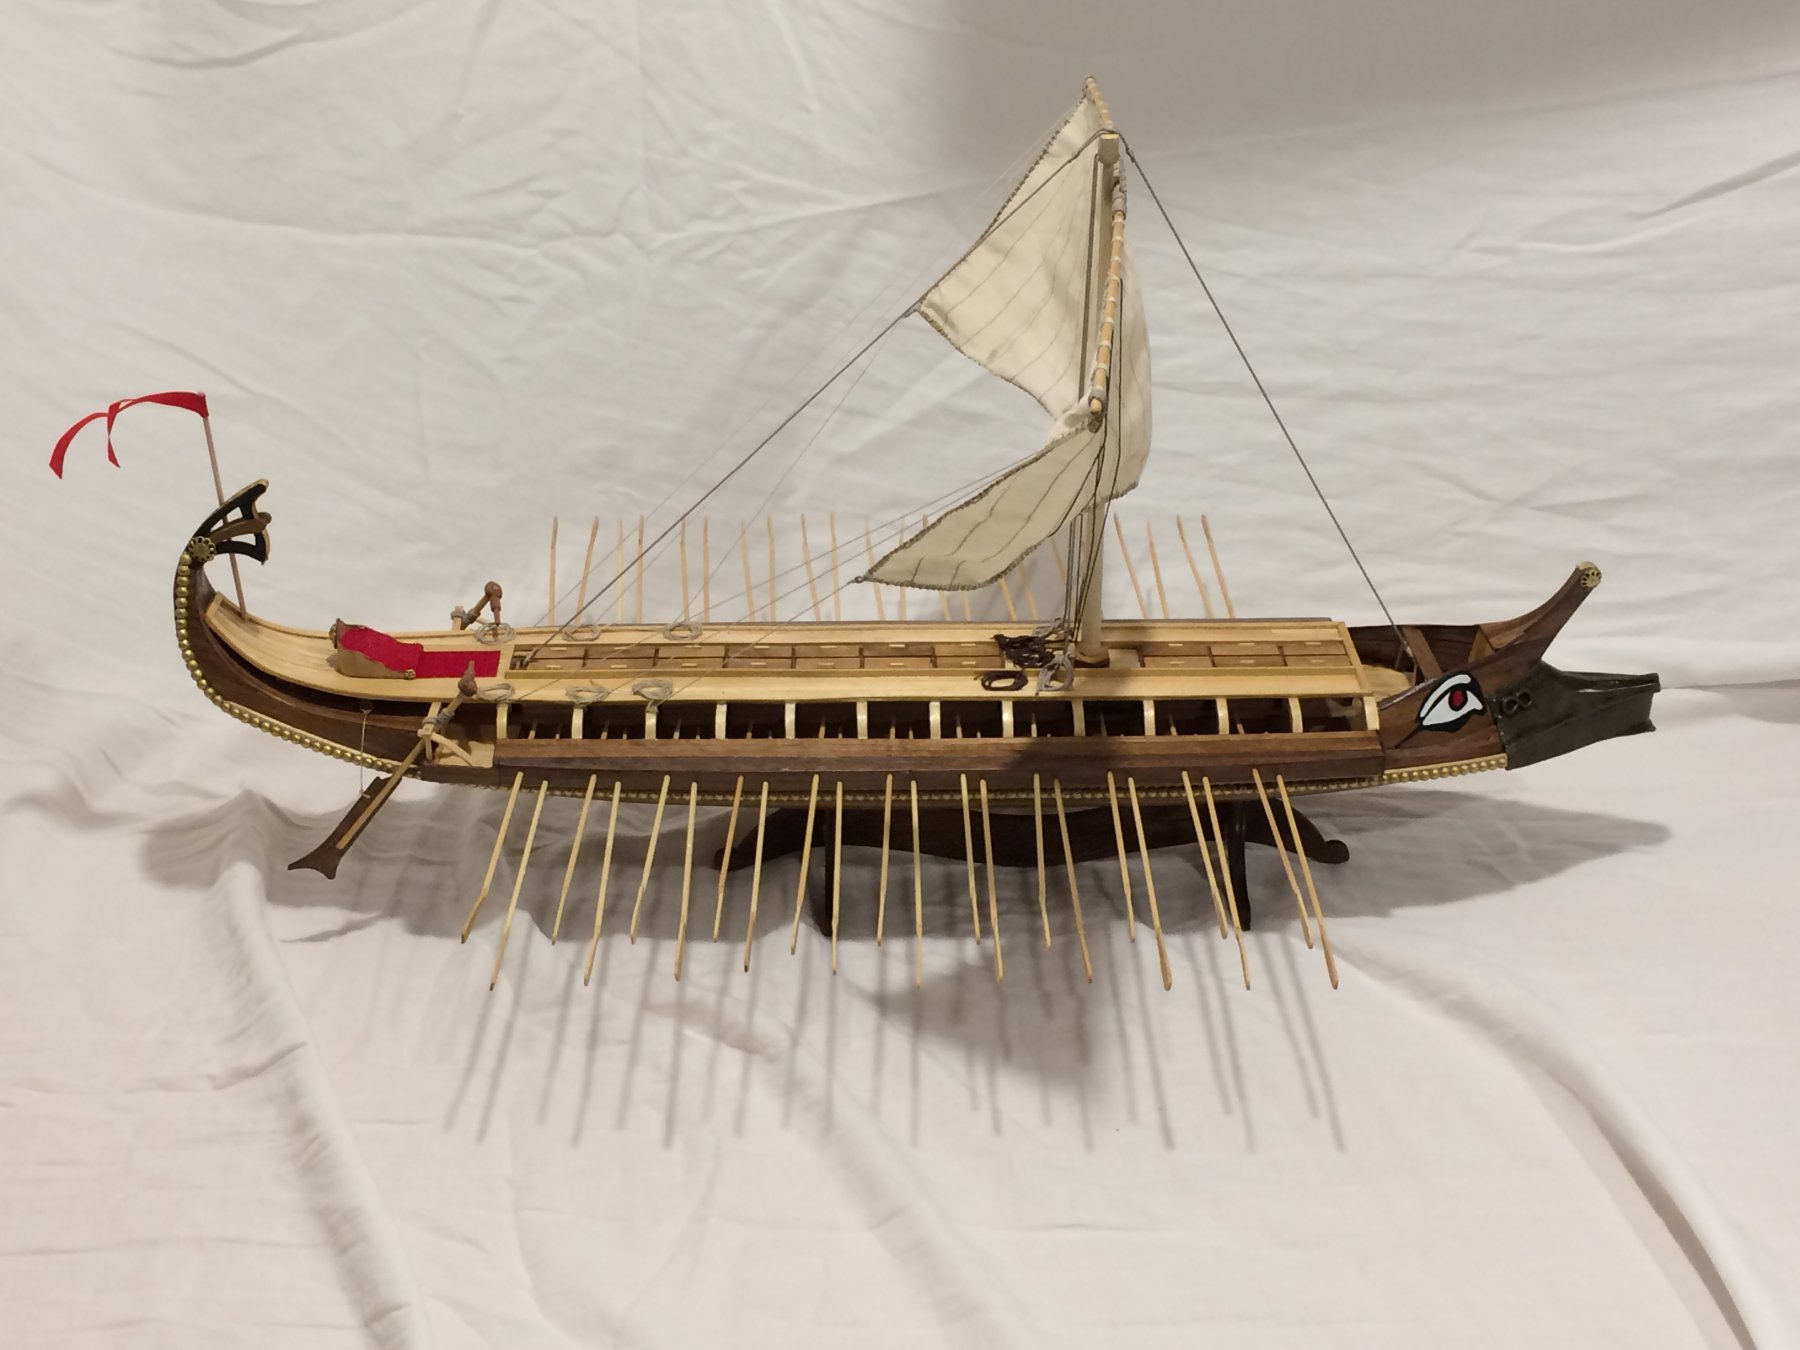
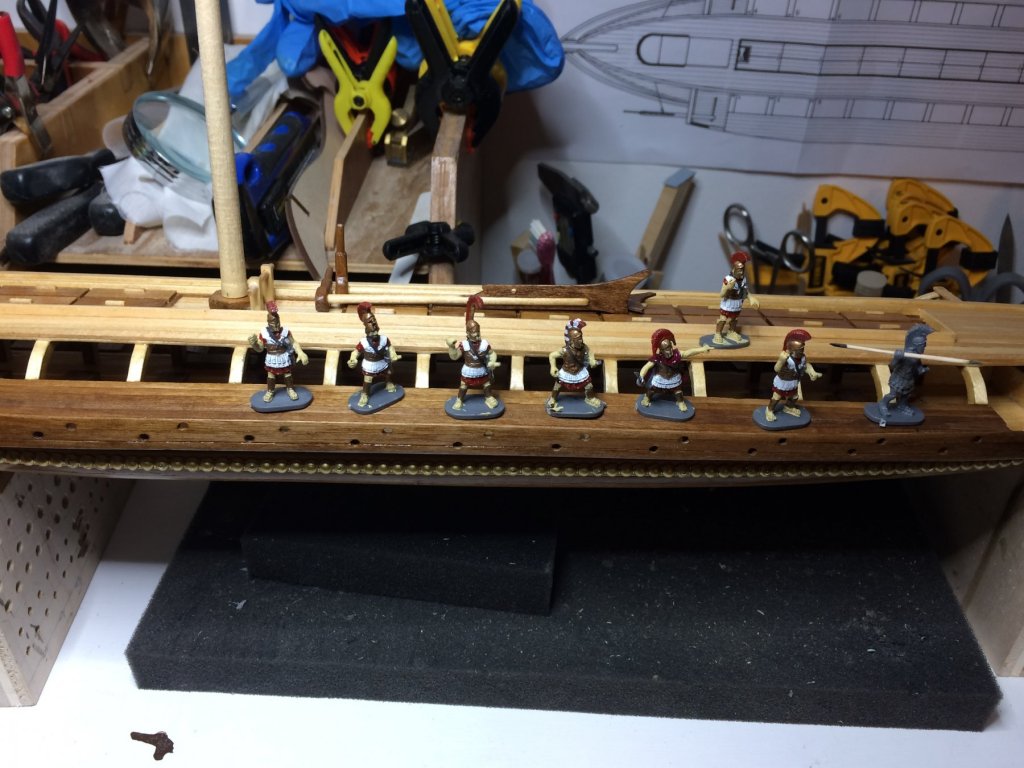
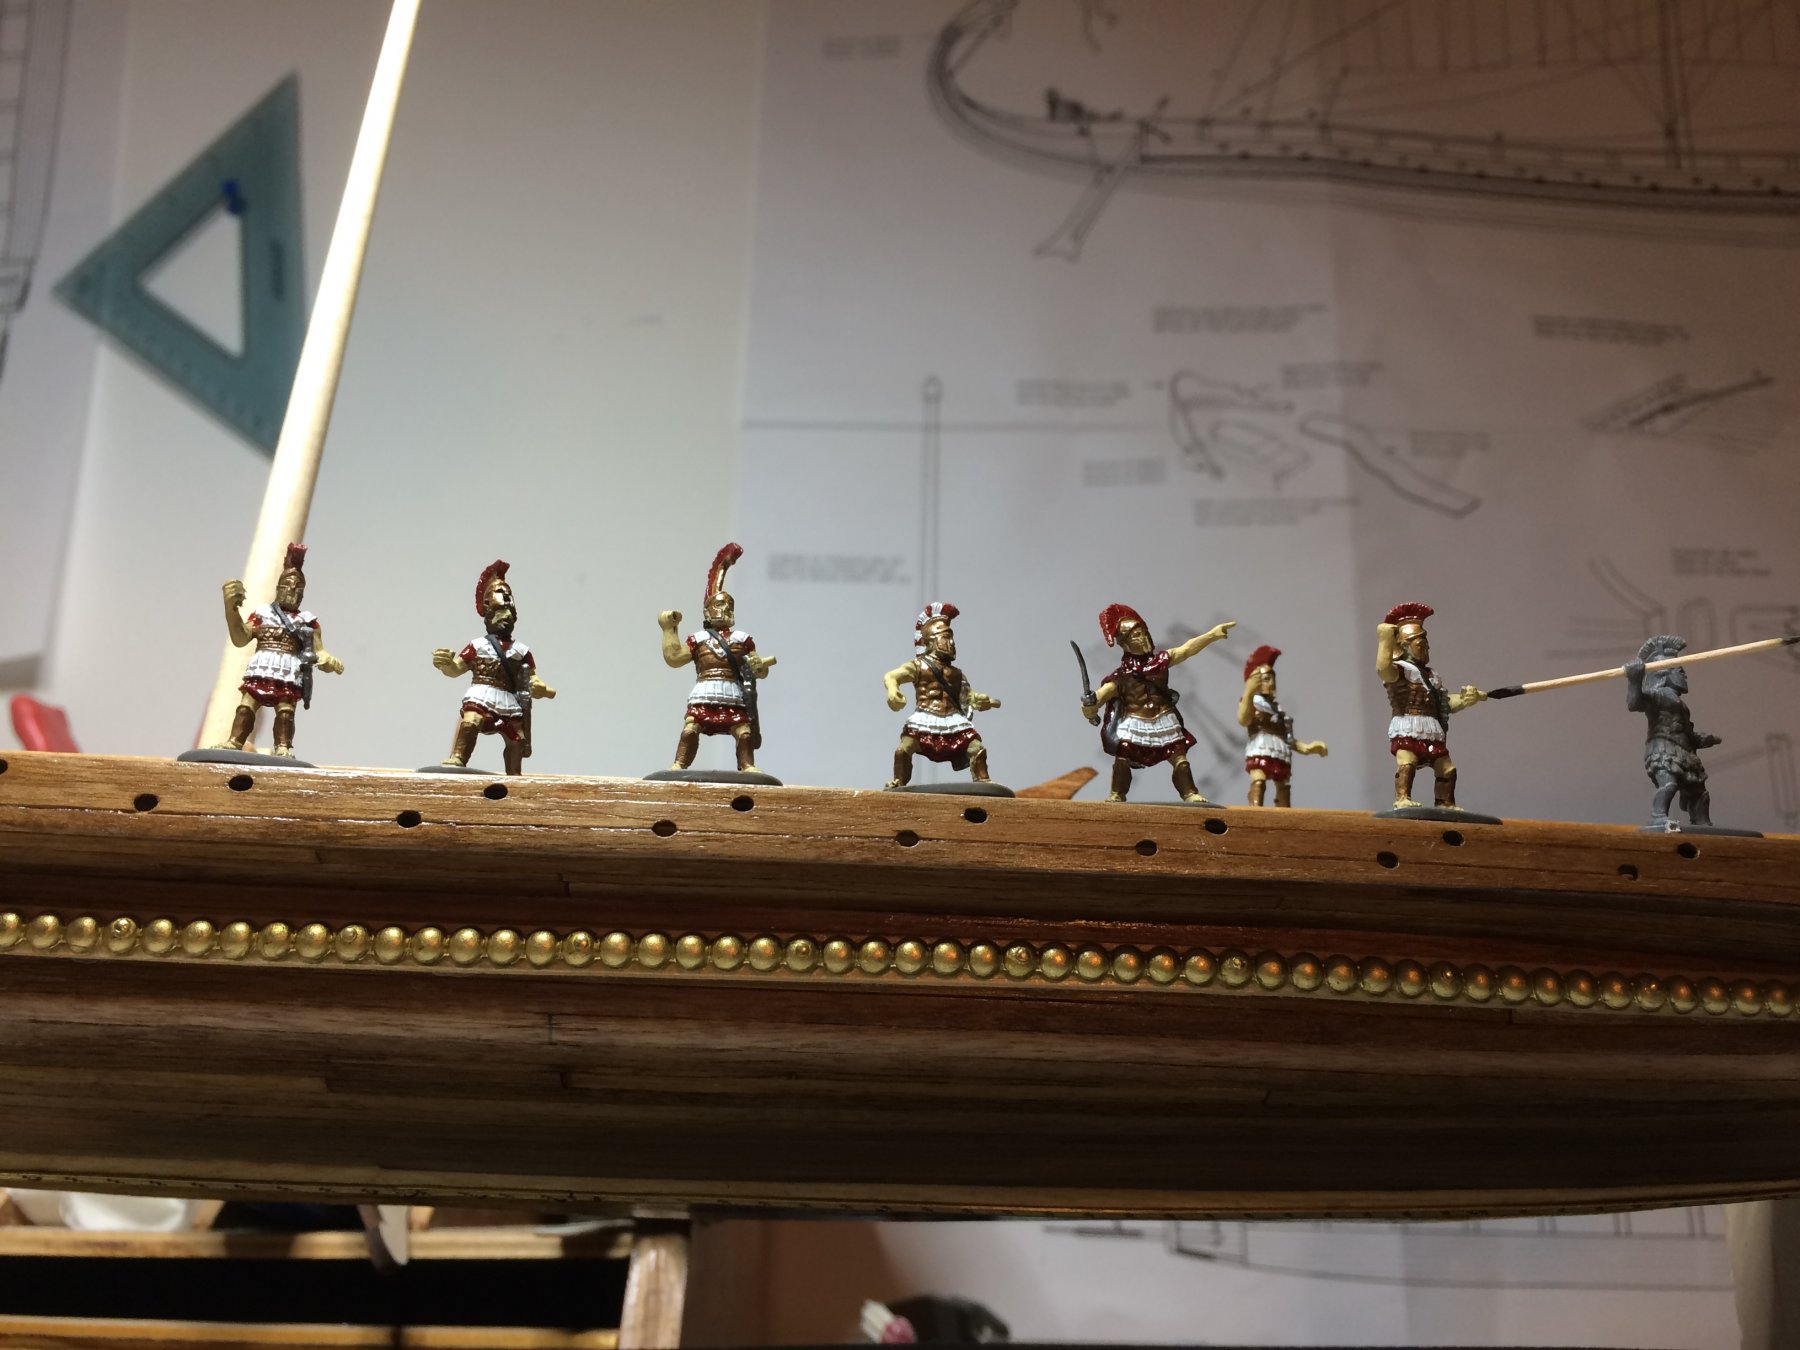
Today i spent a bit more time with painting friendly hoplites. Some touch-ups, painting the swords, one dude' hair that was sticking out of helmet (i nicknamed him a Hairy Harry), etc.


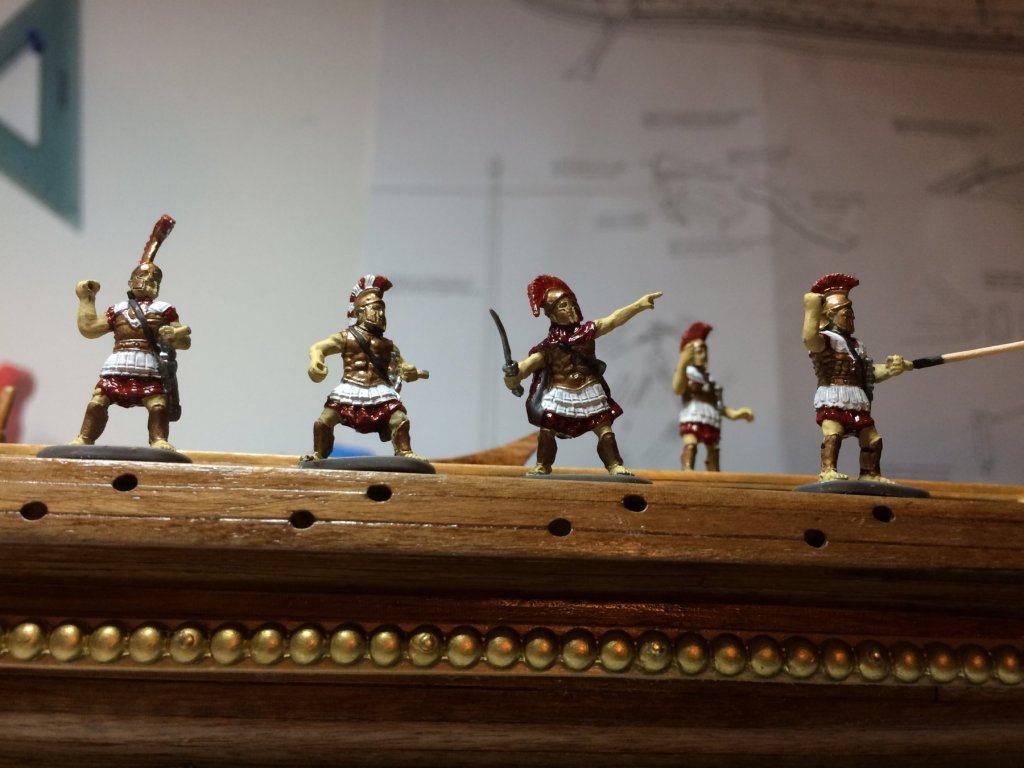
Hairy Harry is second from the left...


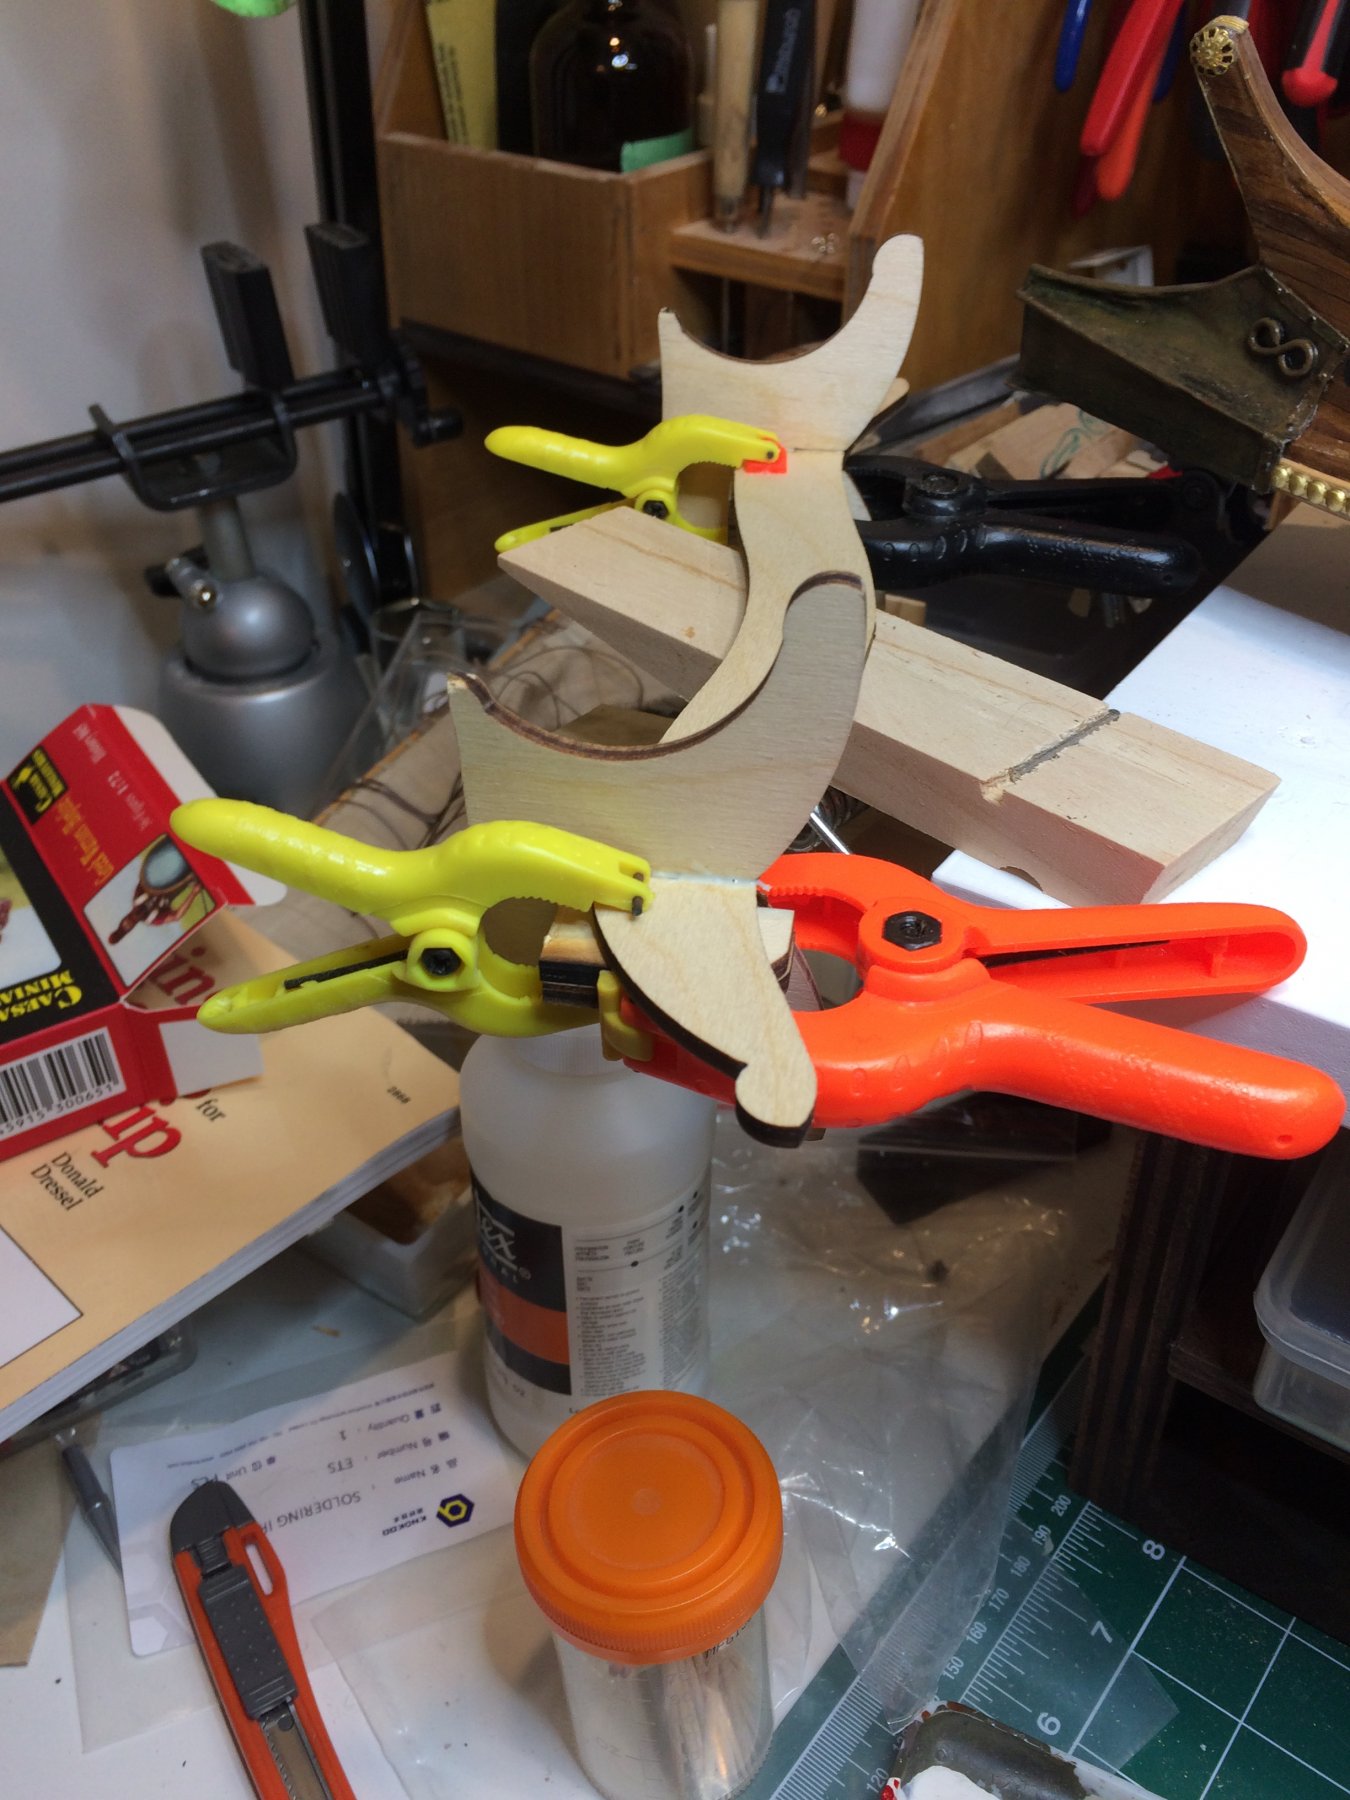
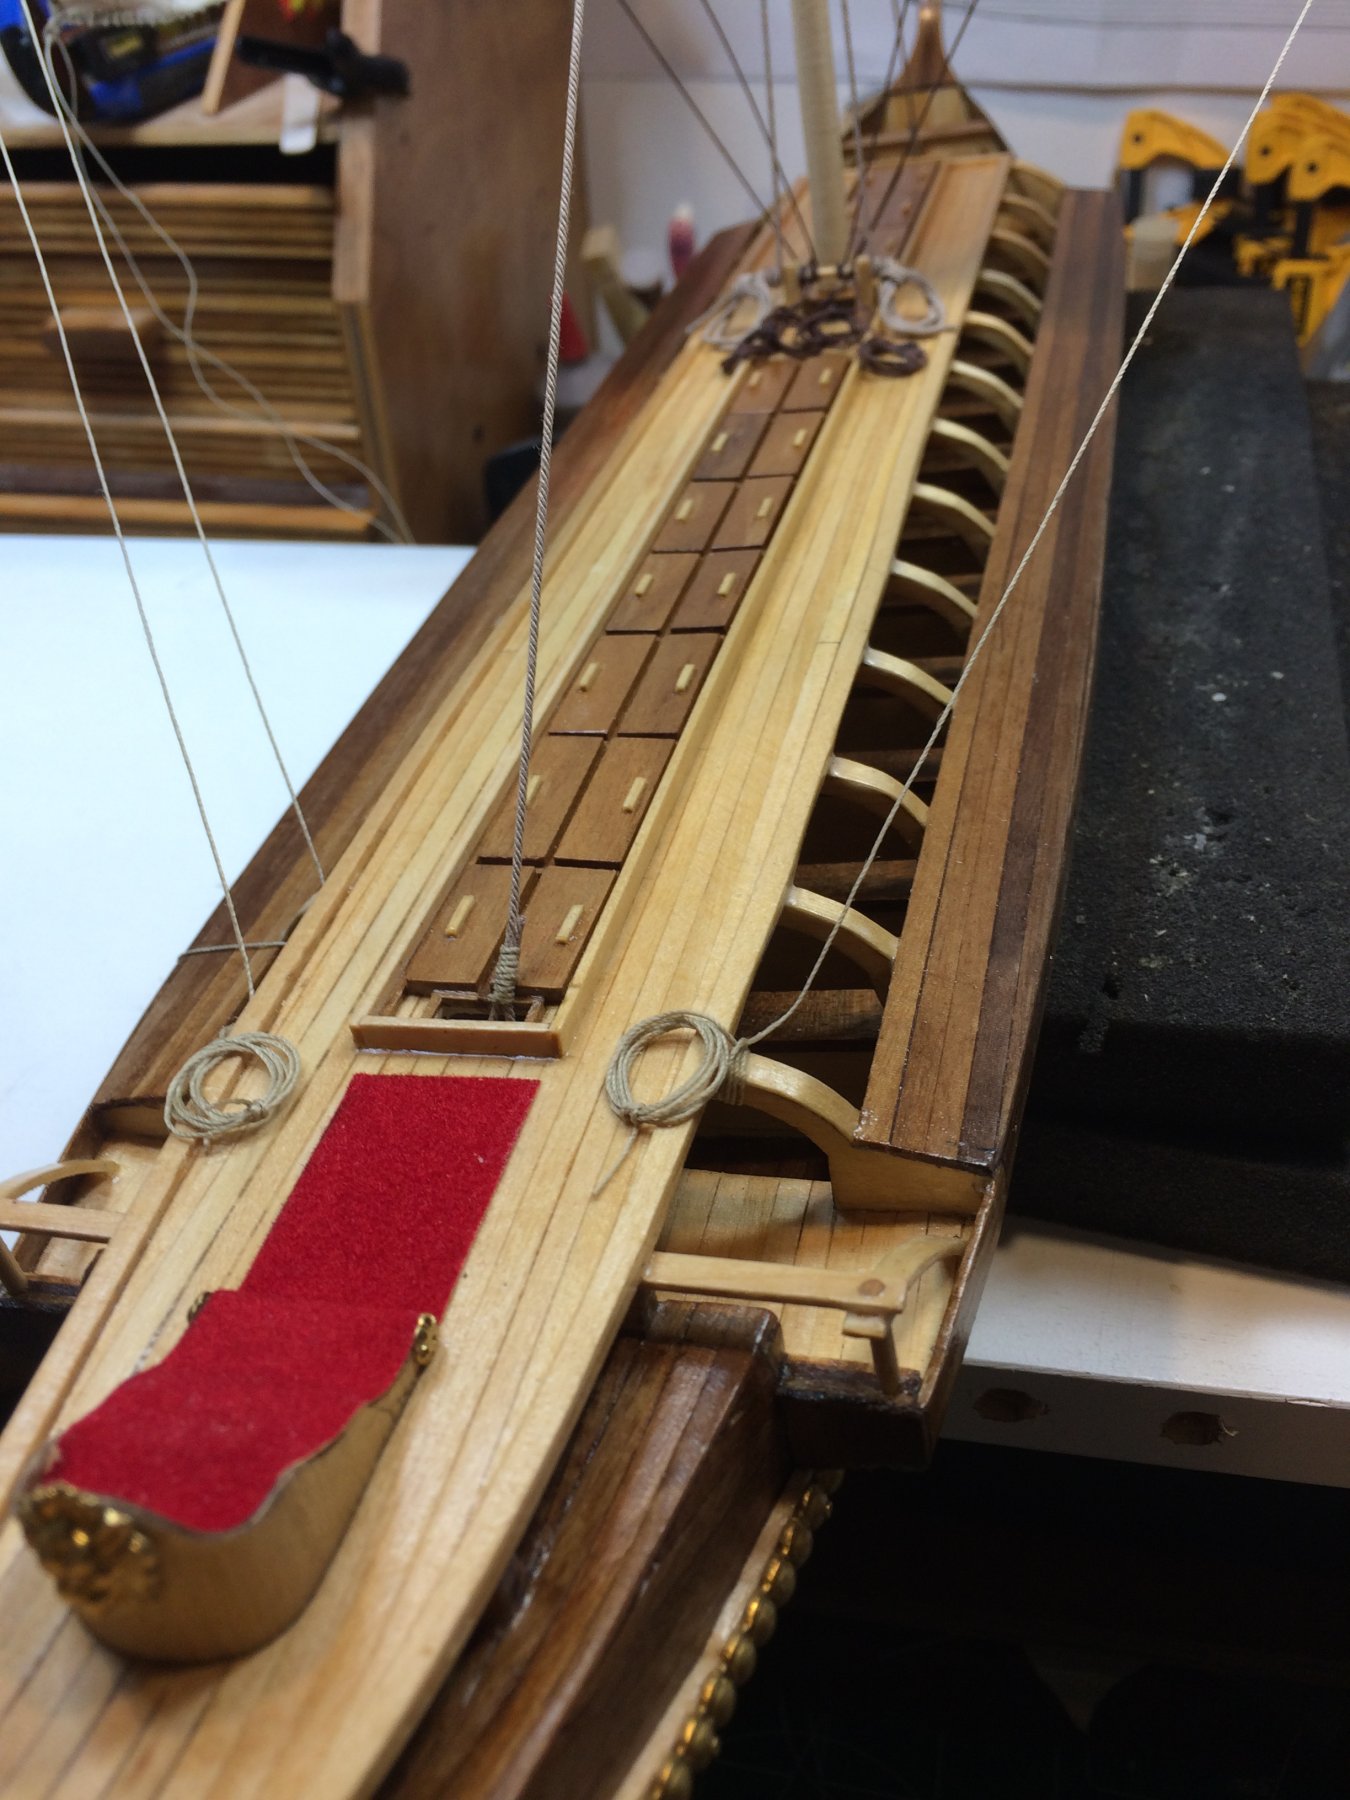
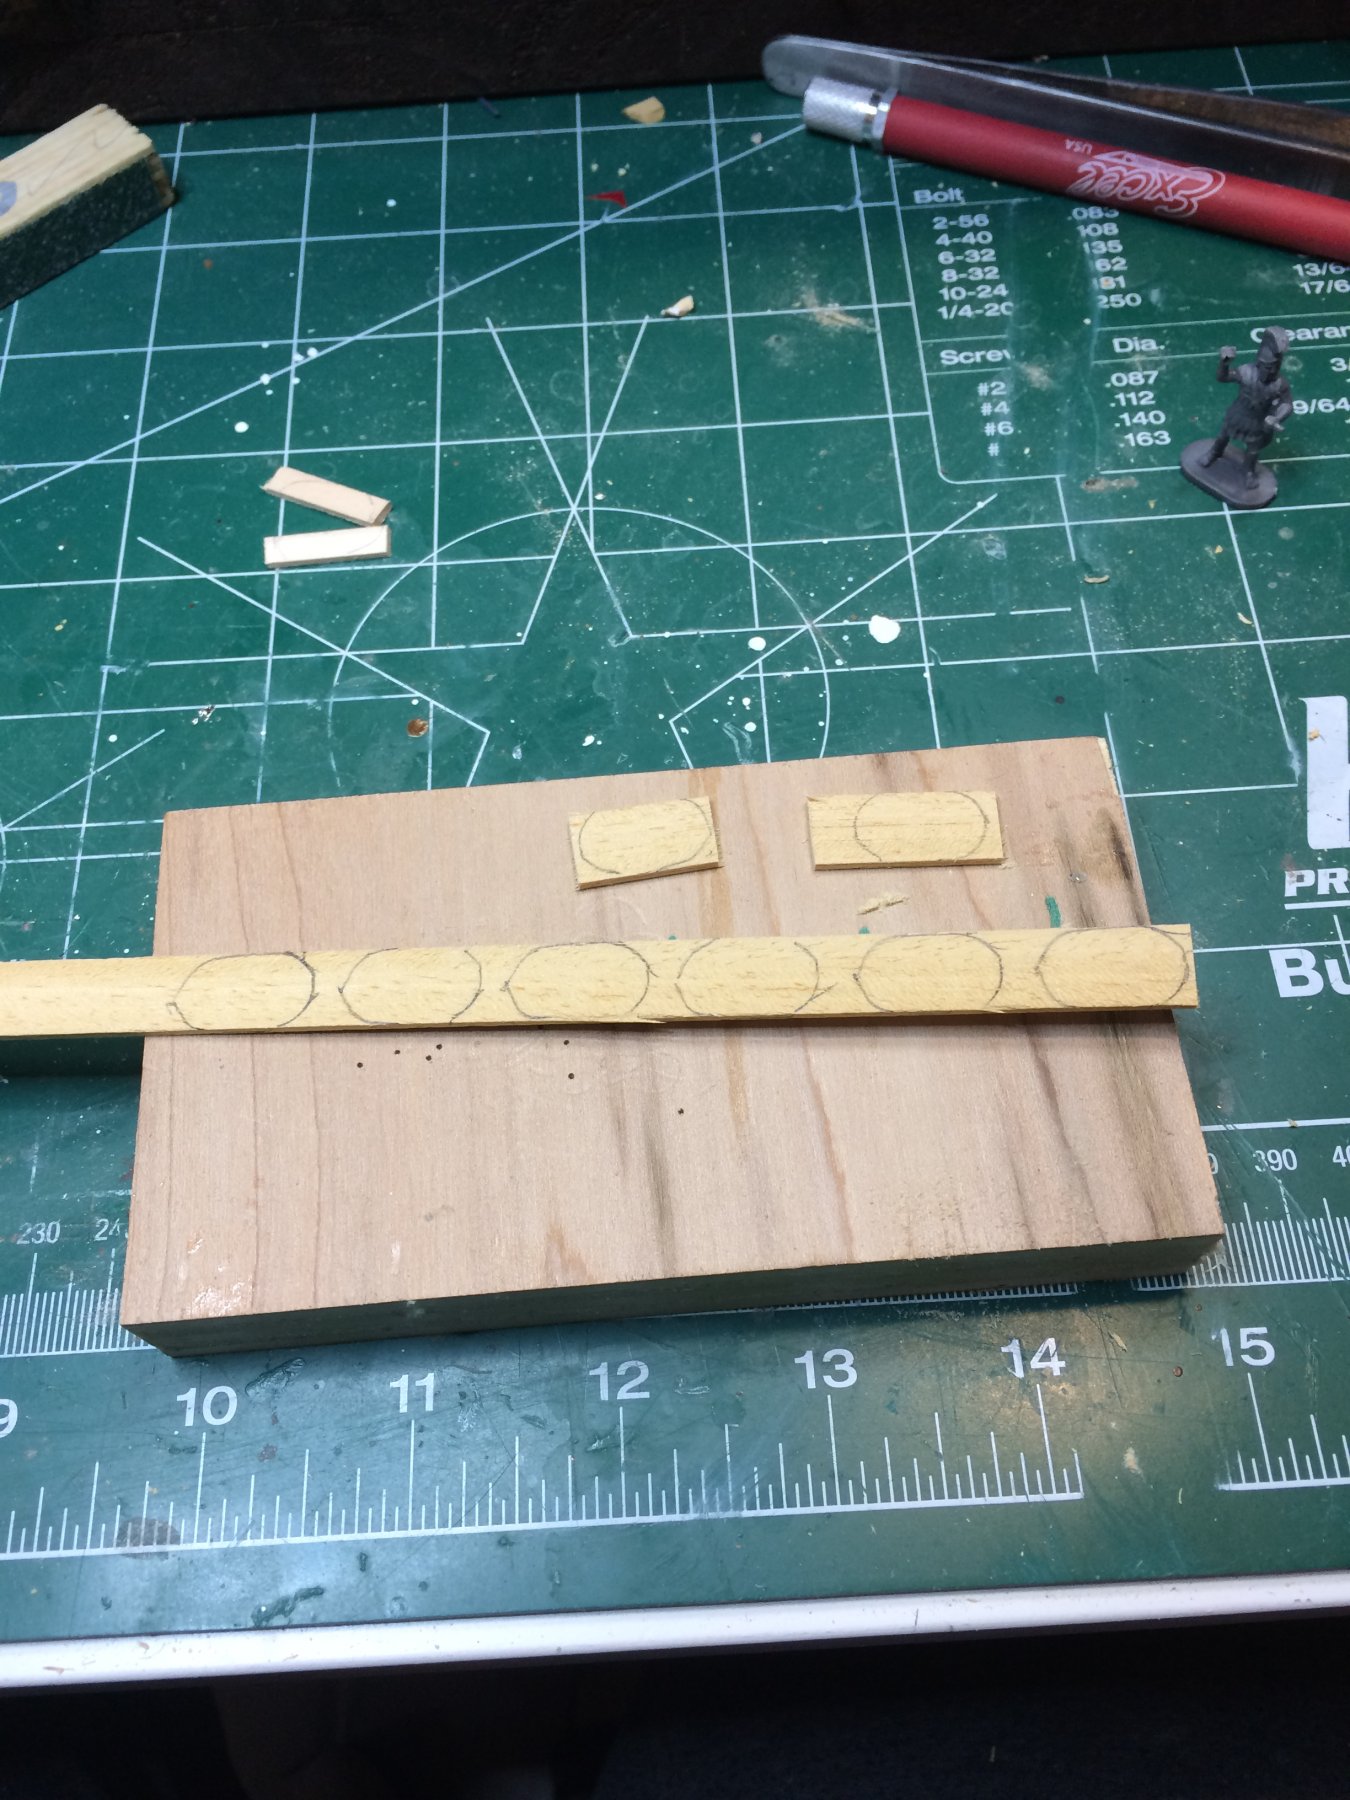
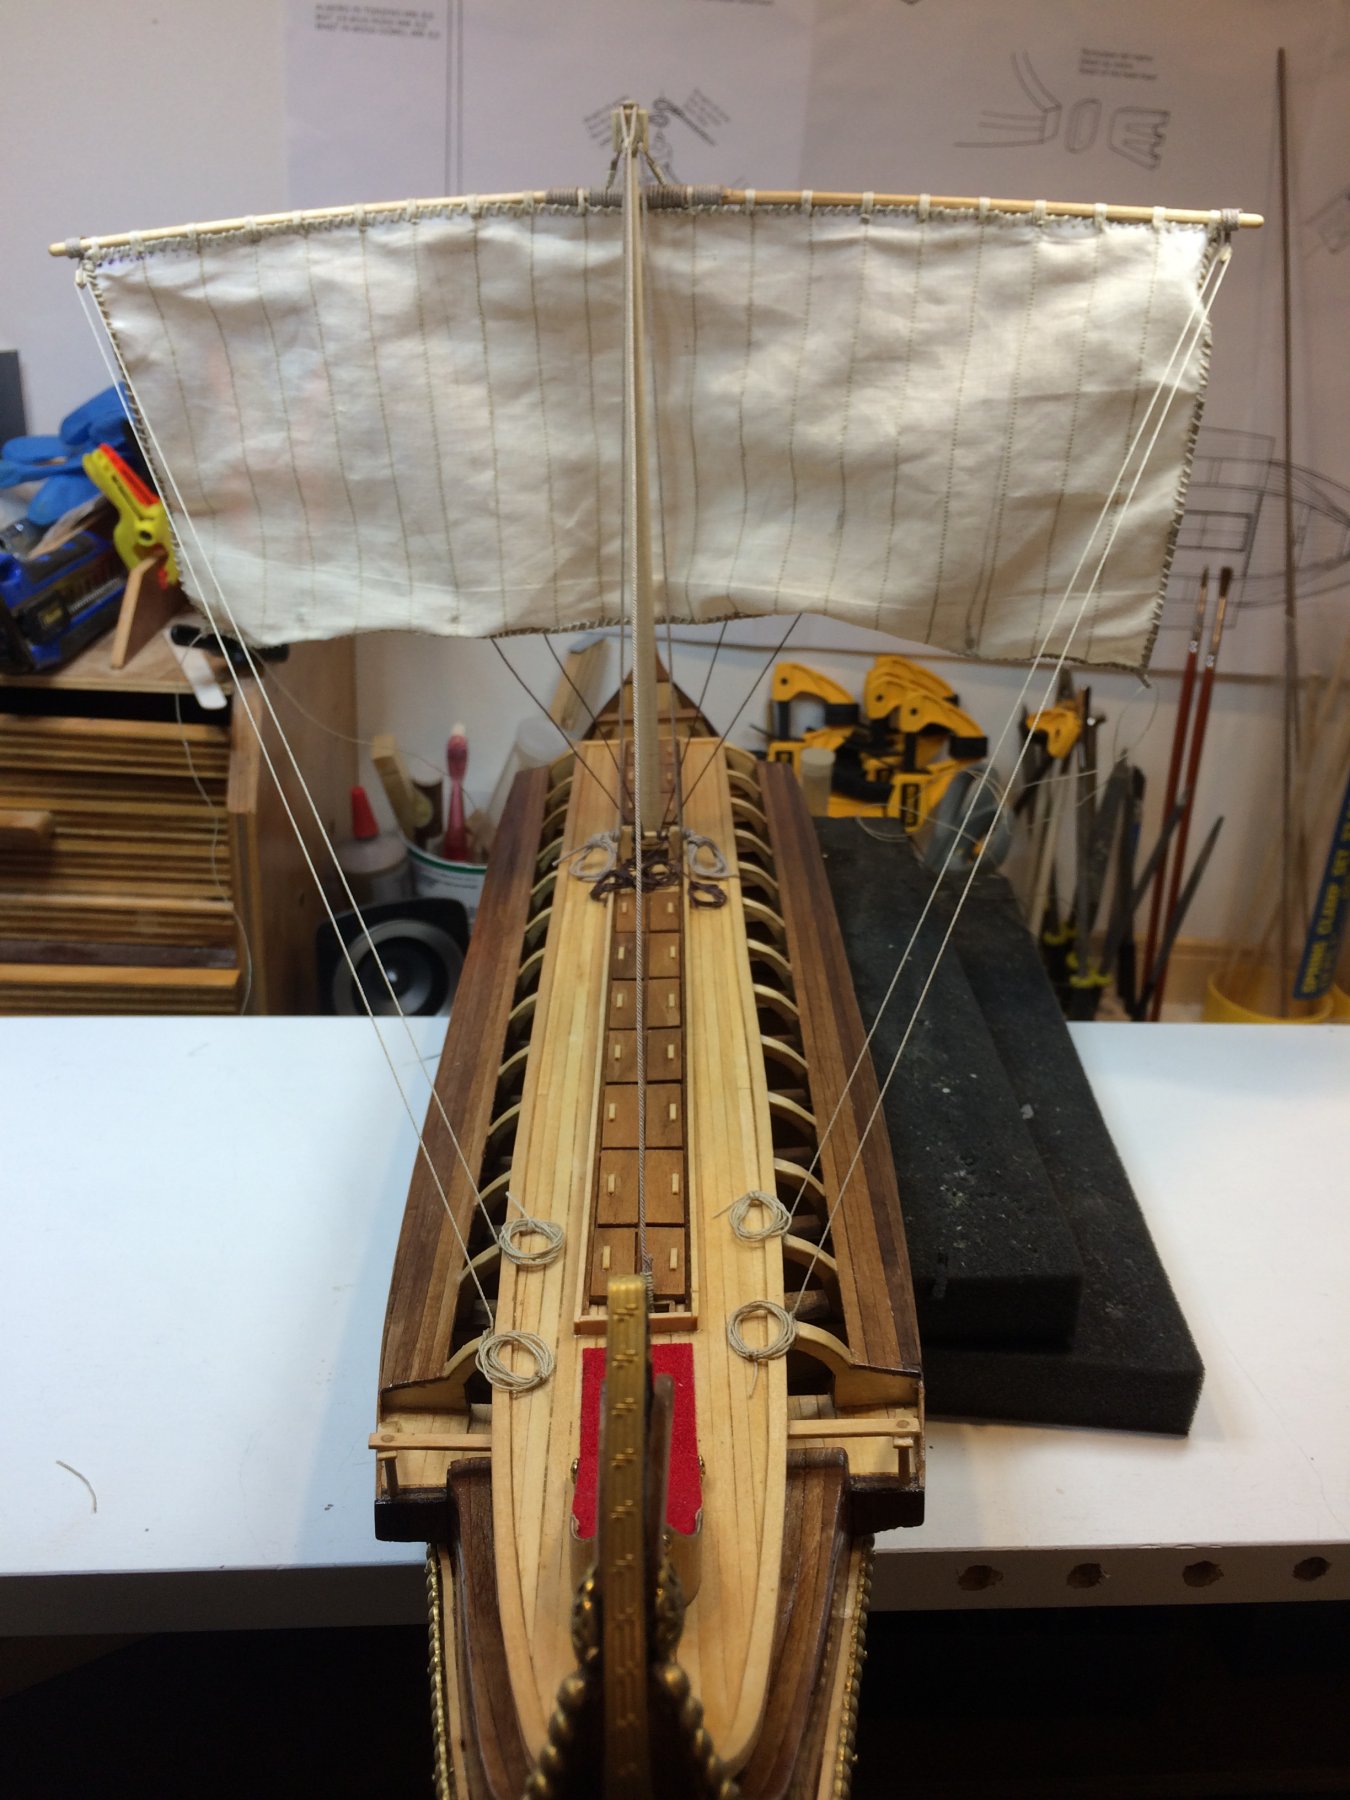
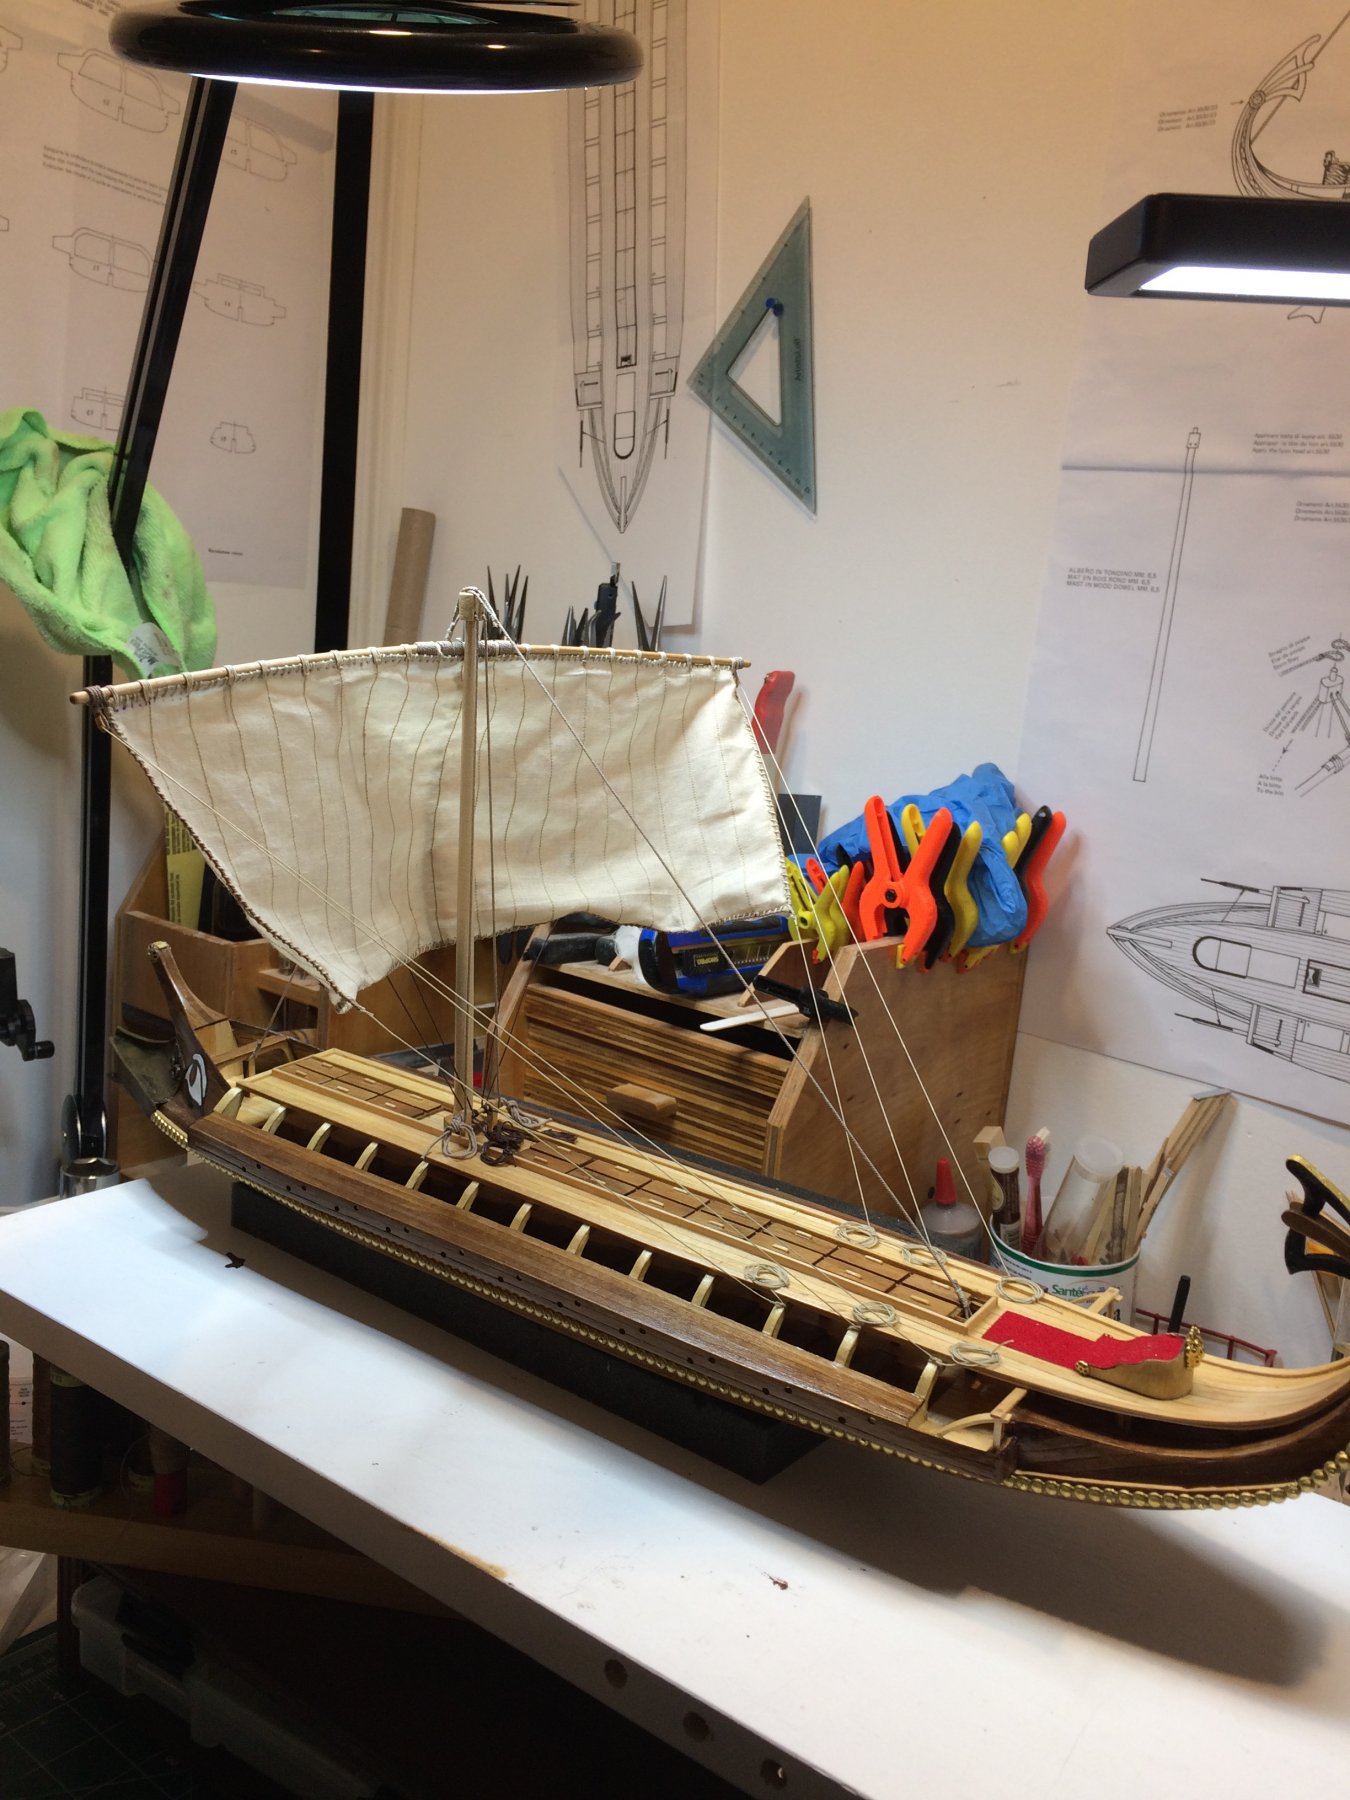
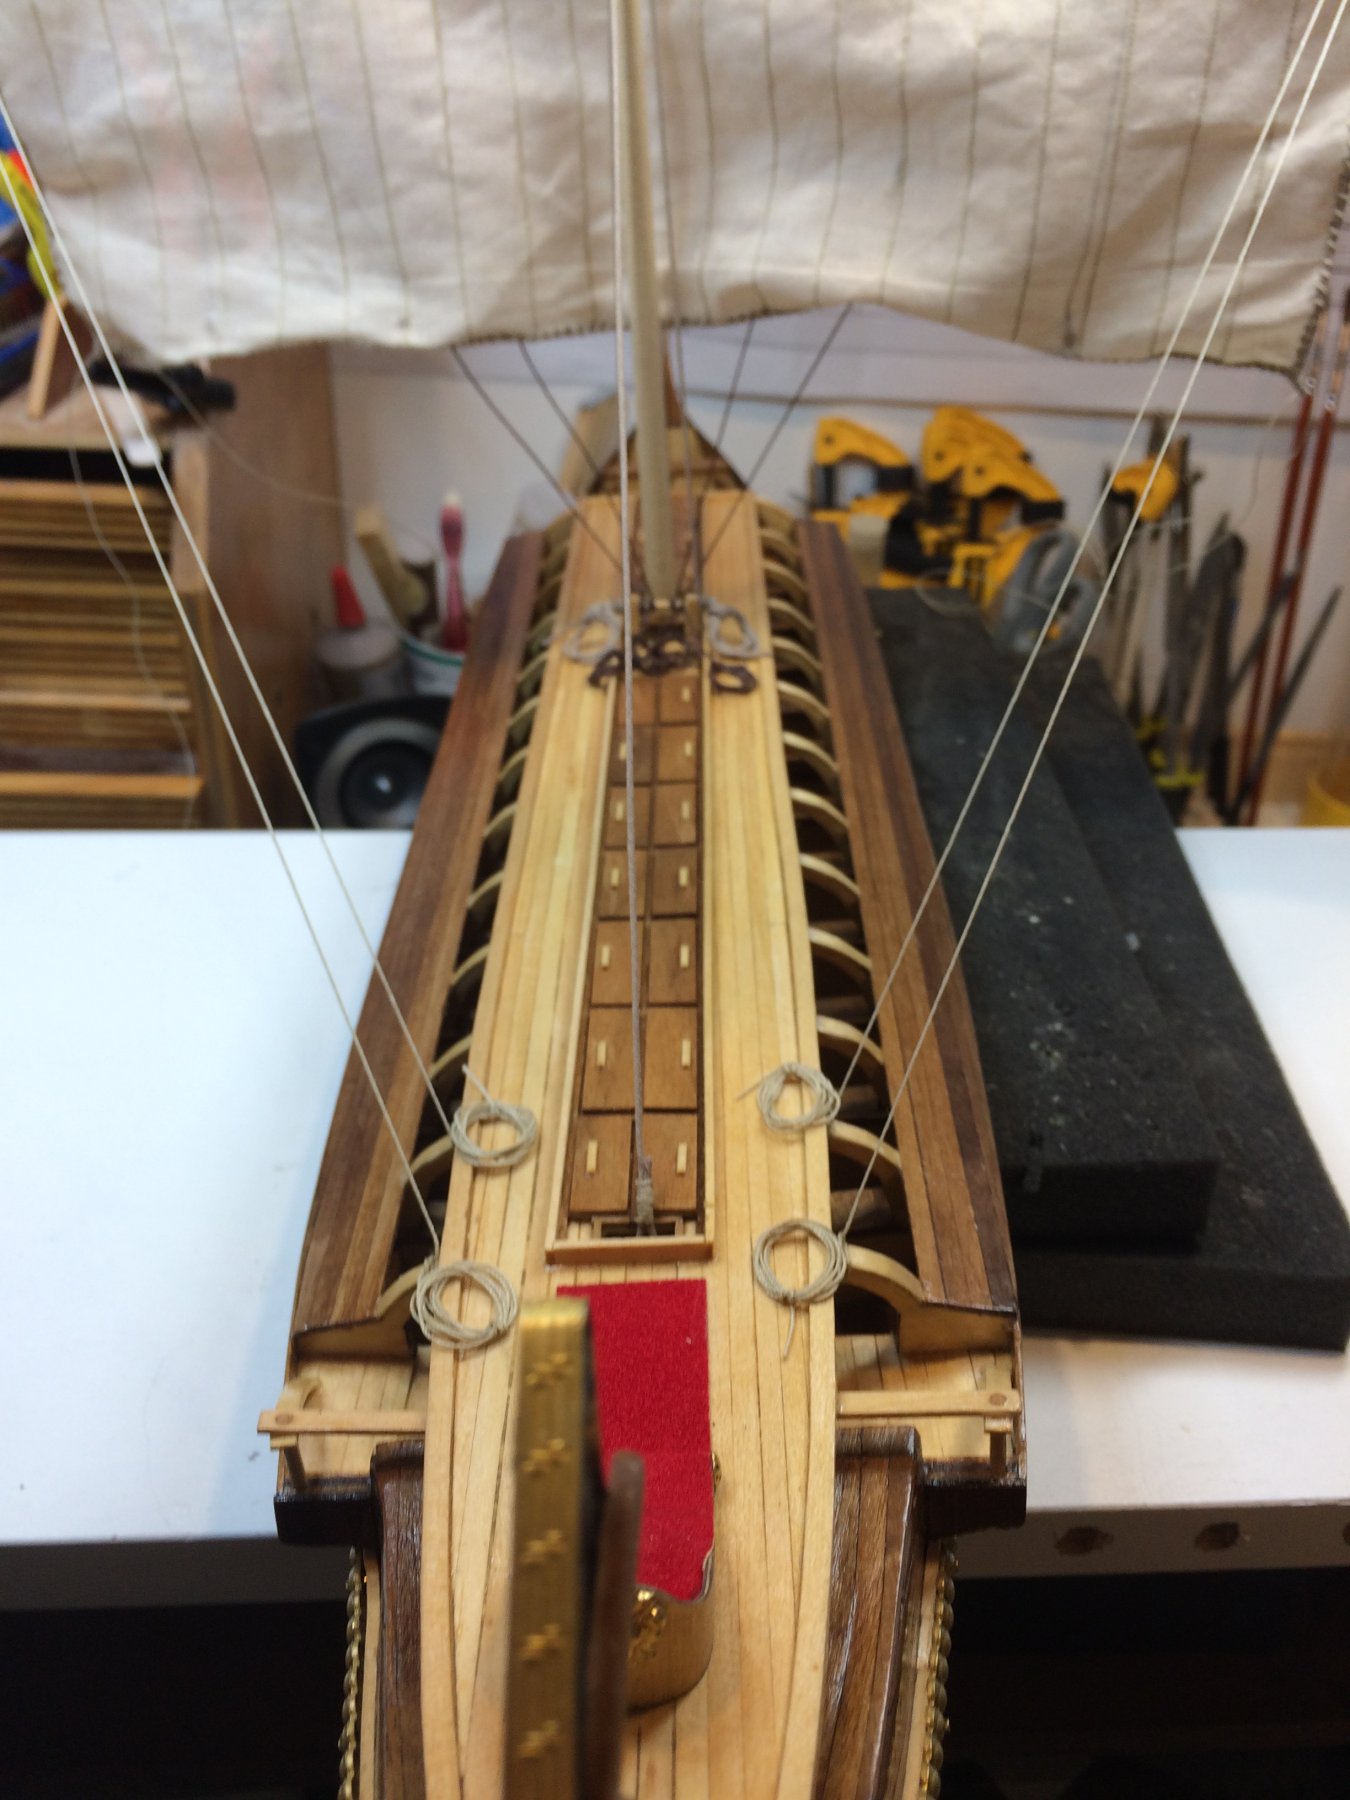
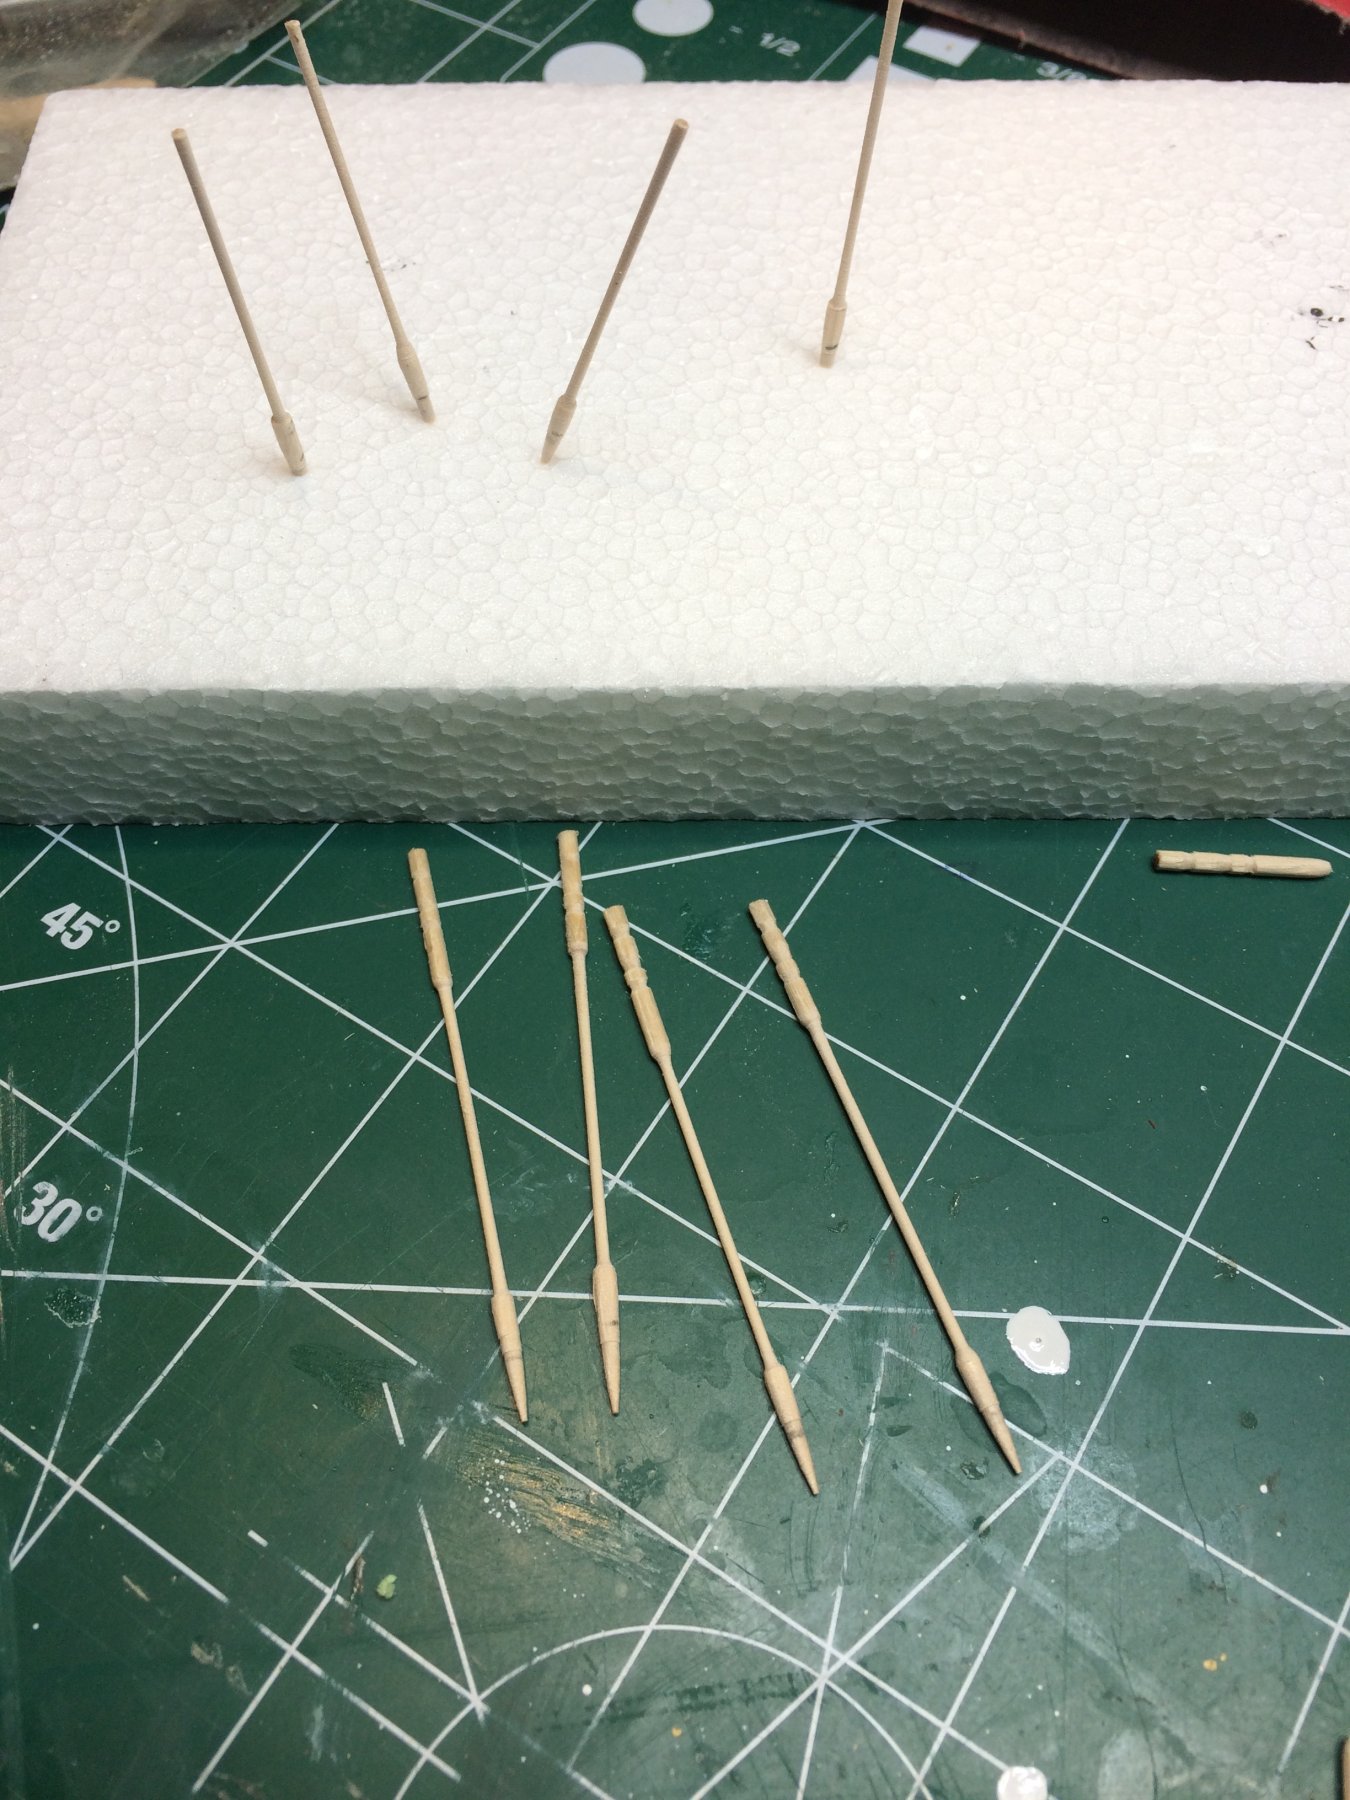
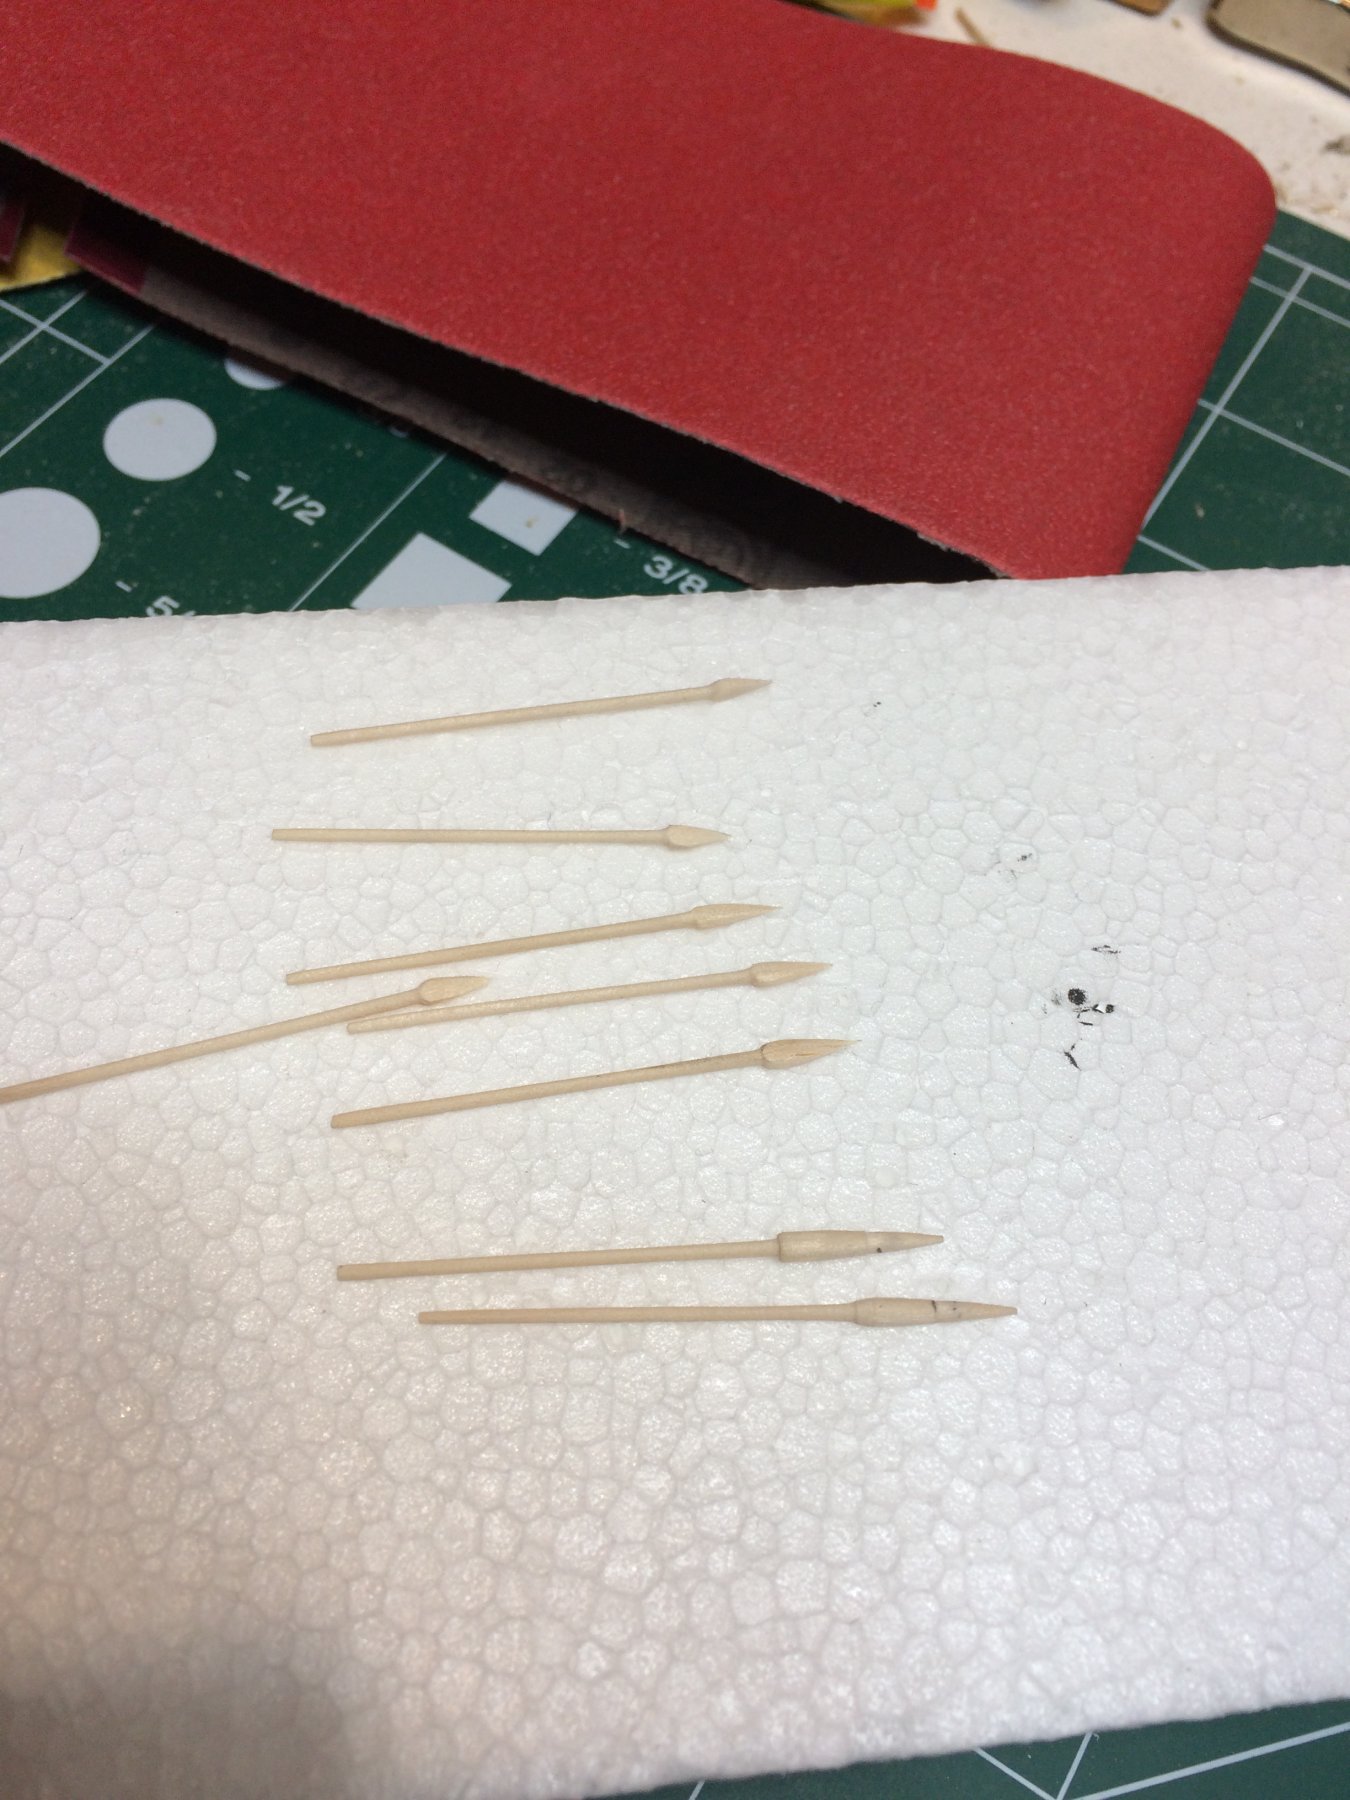
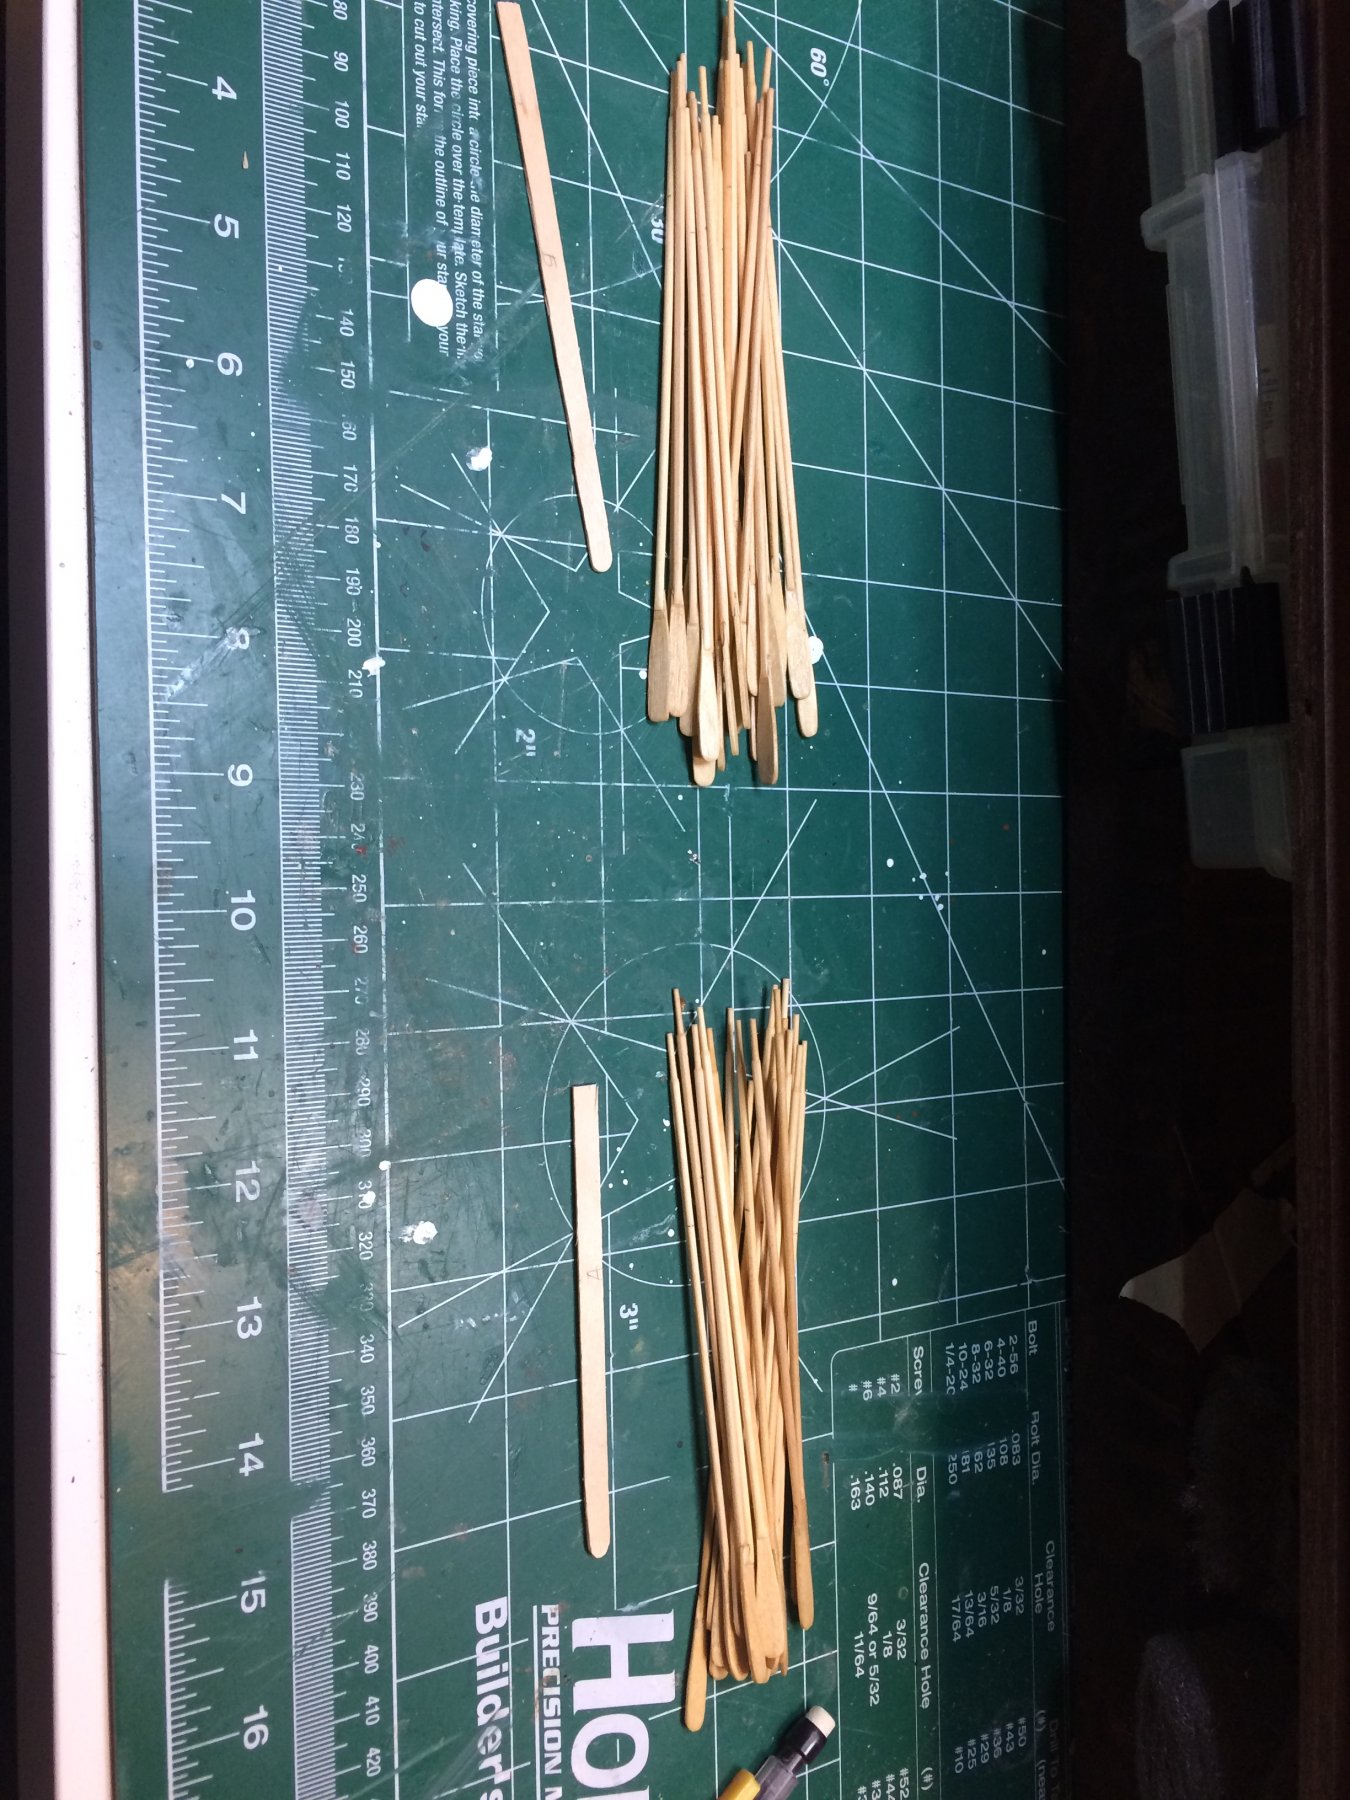
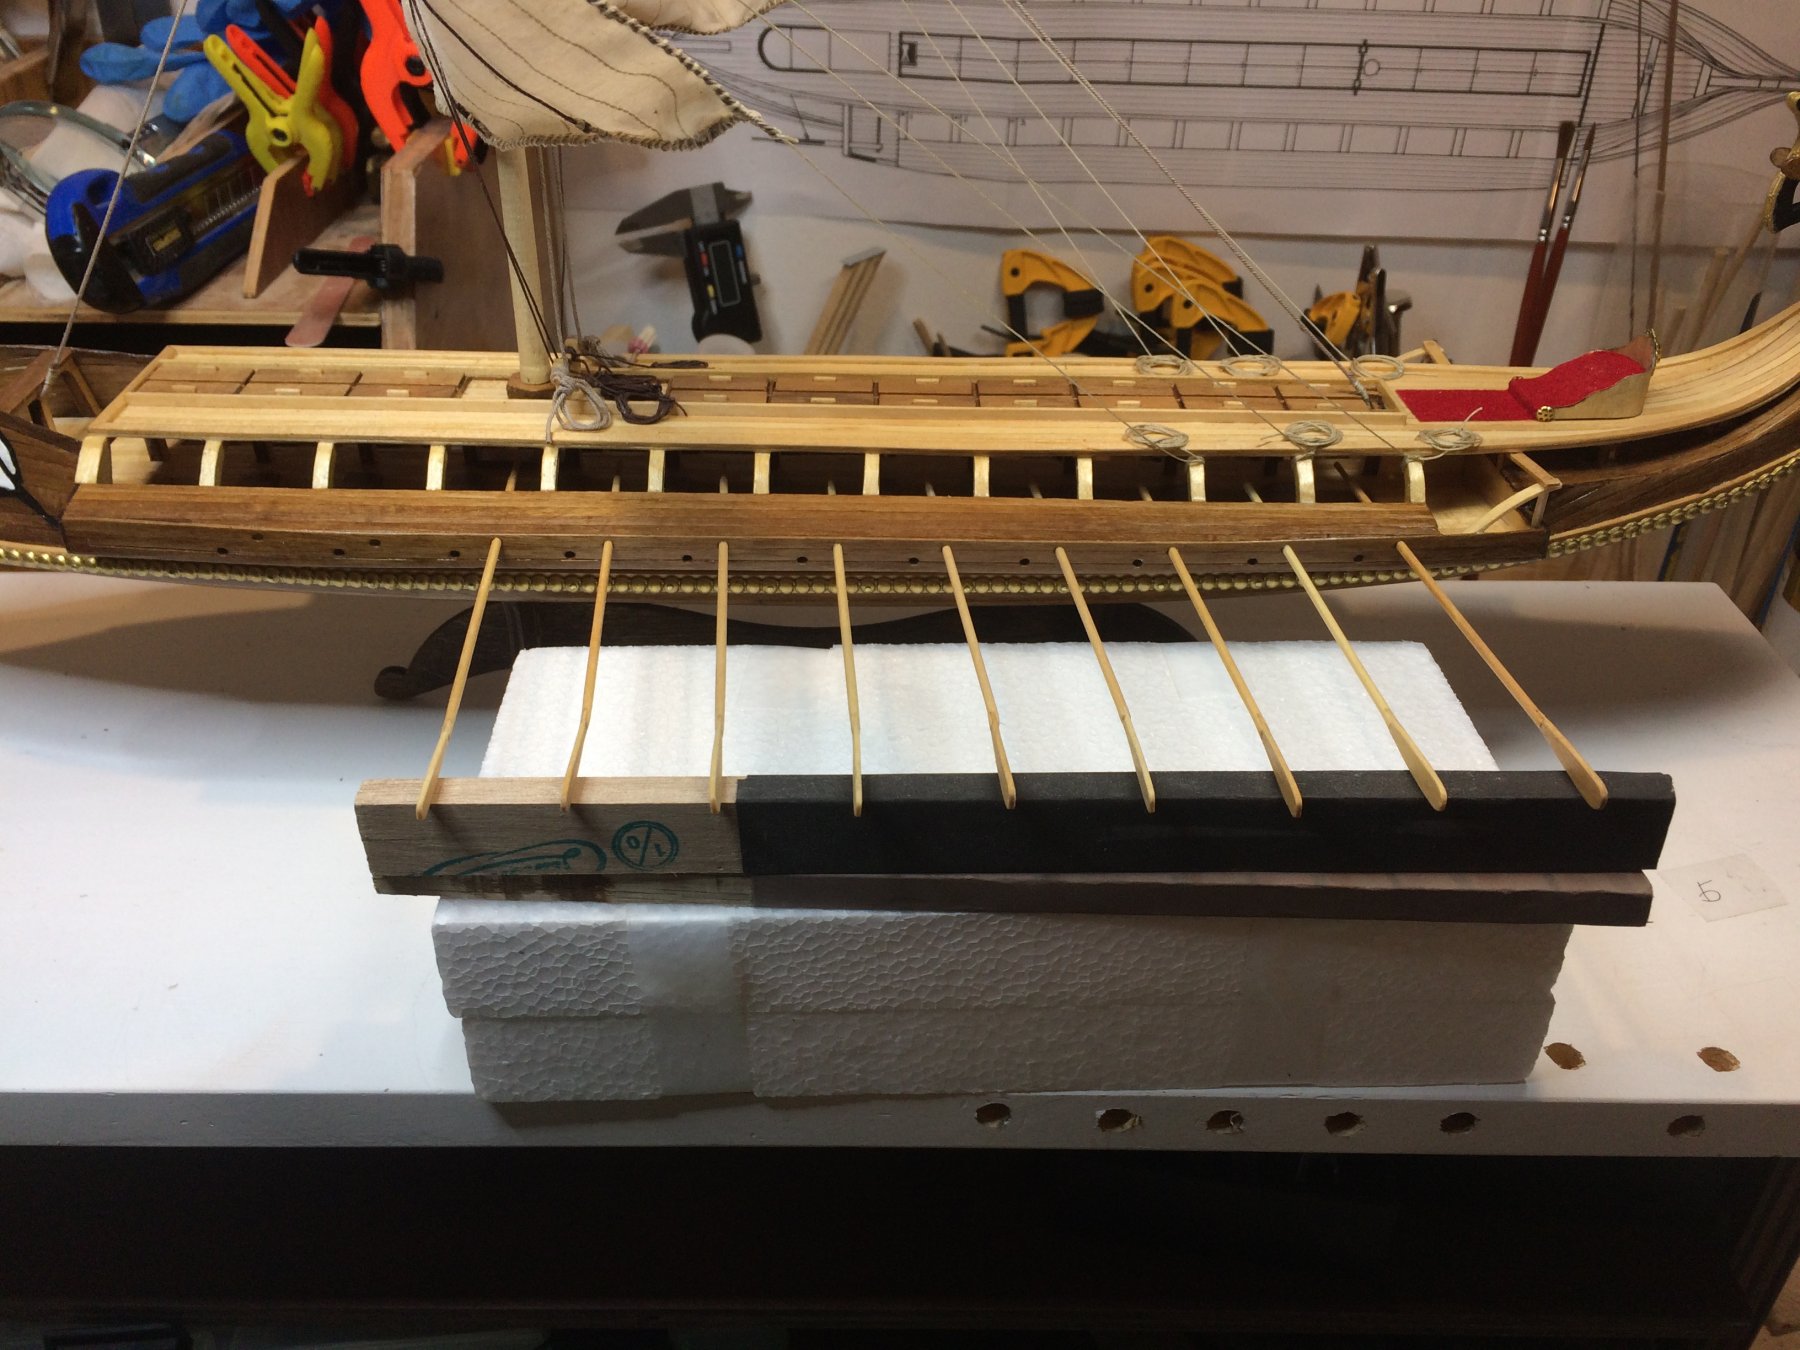
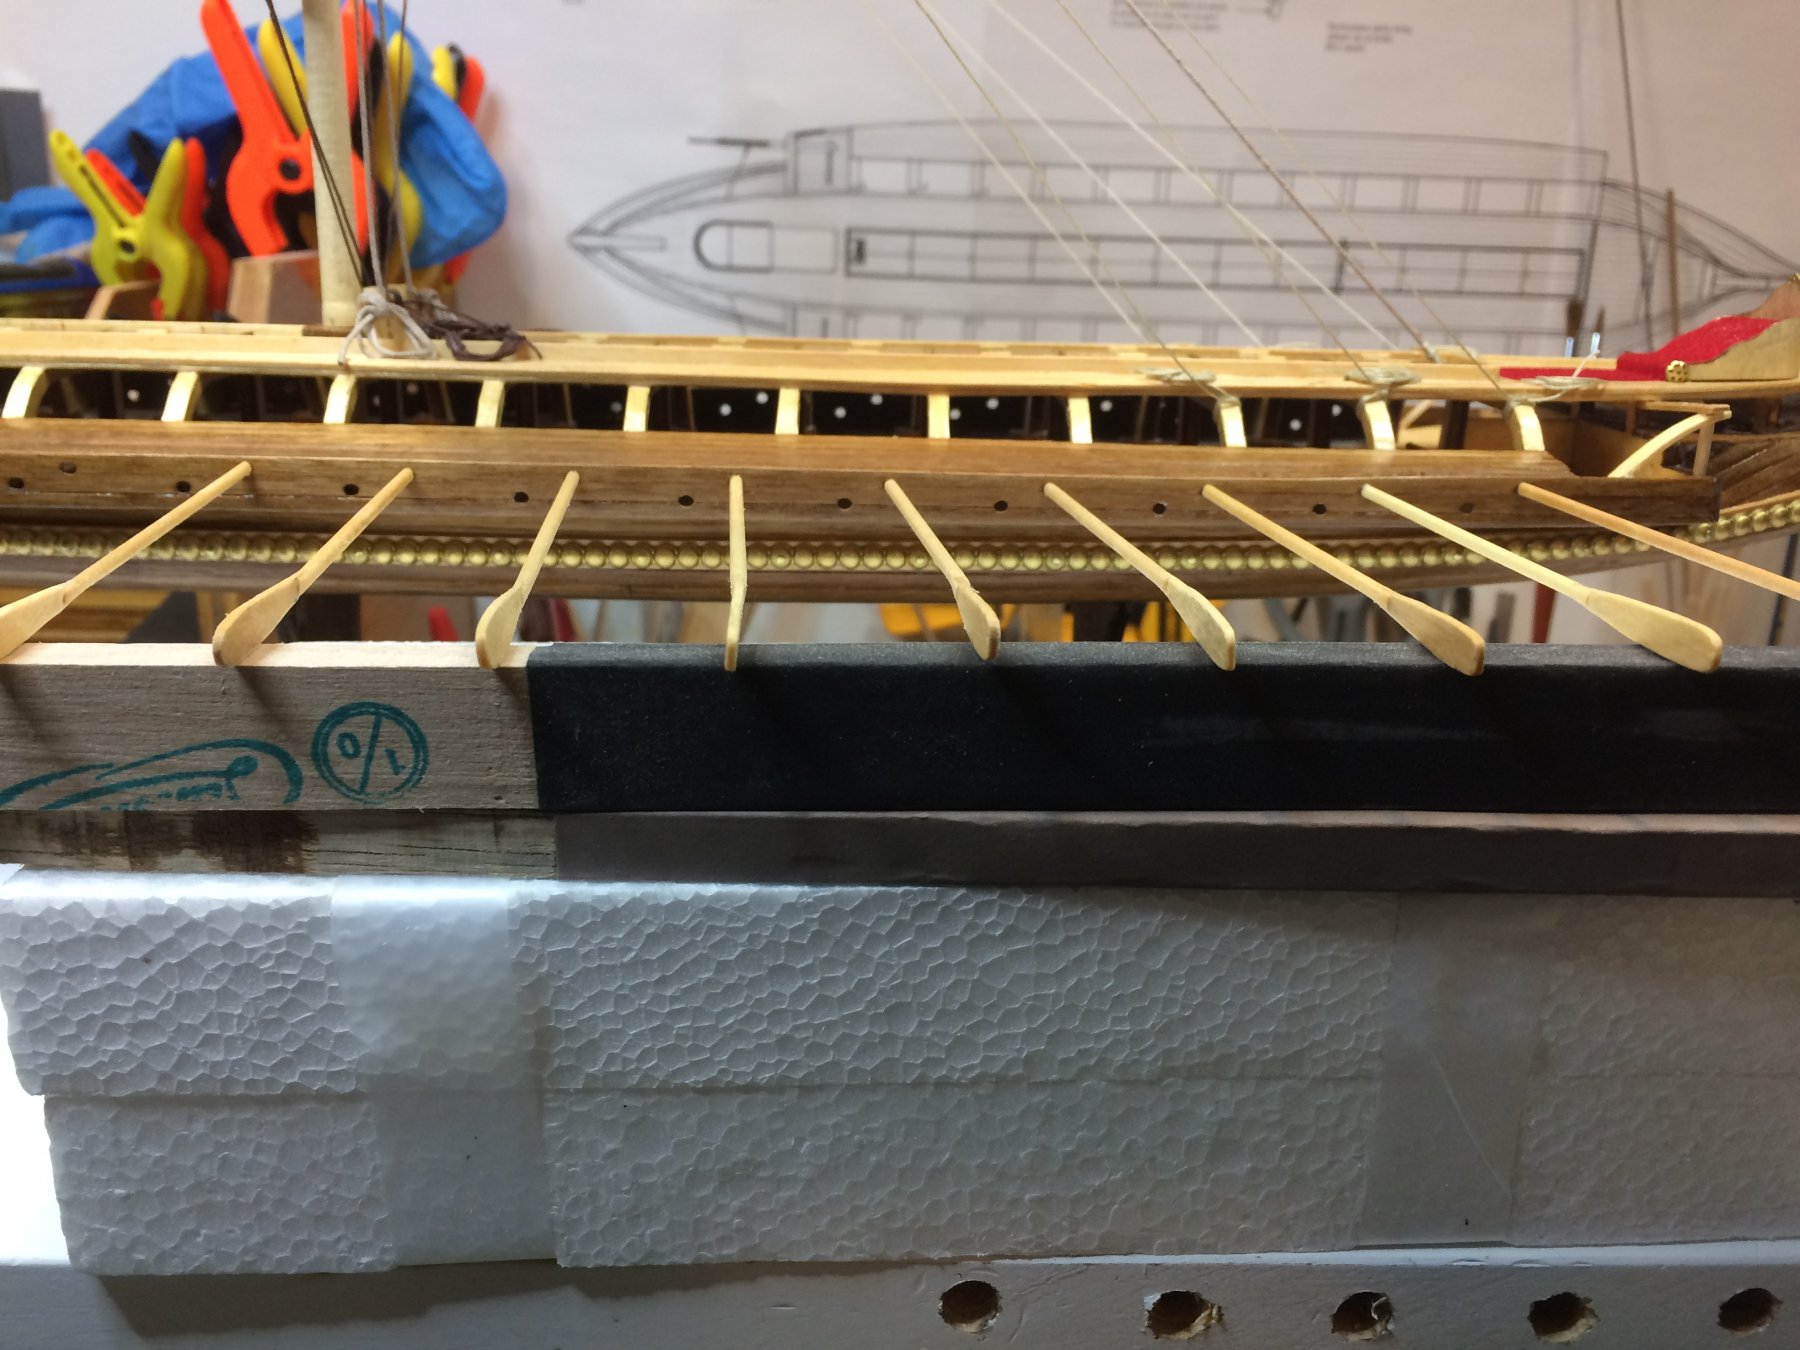
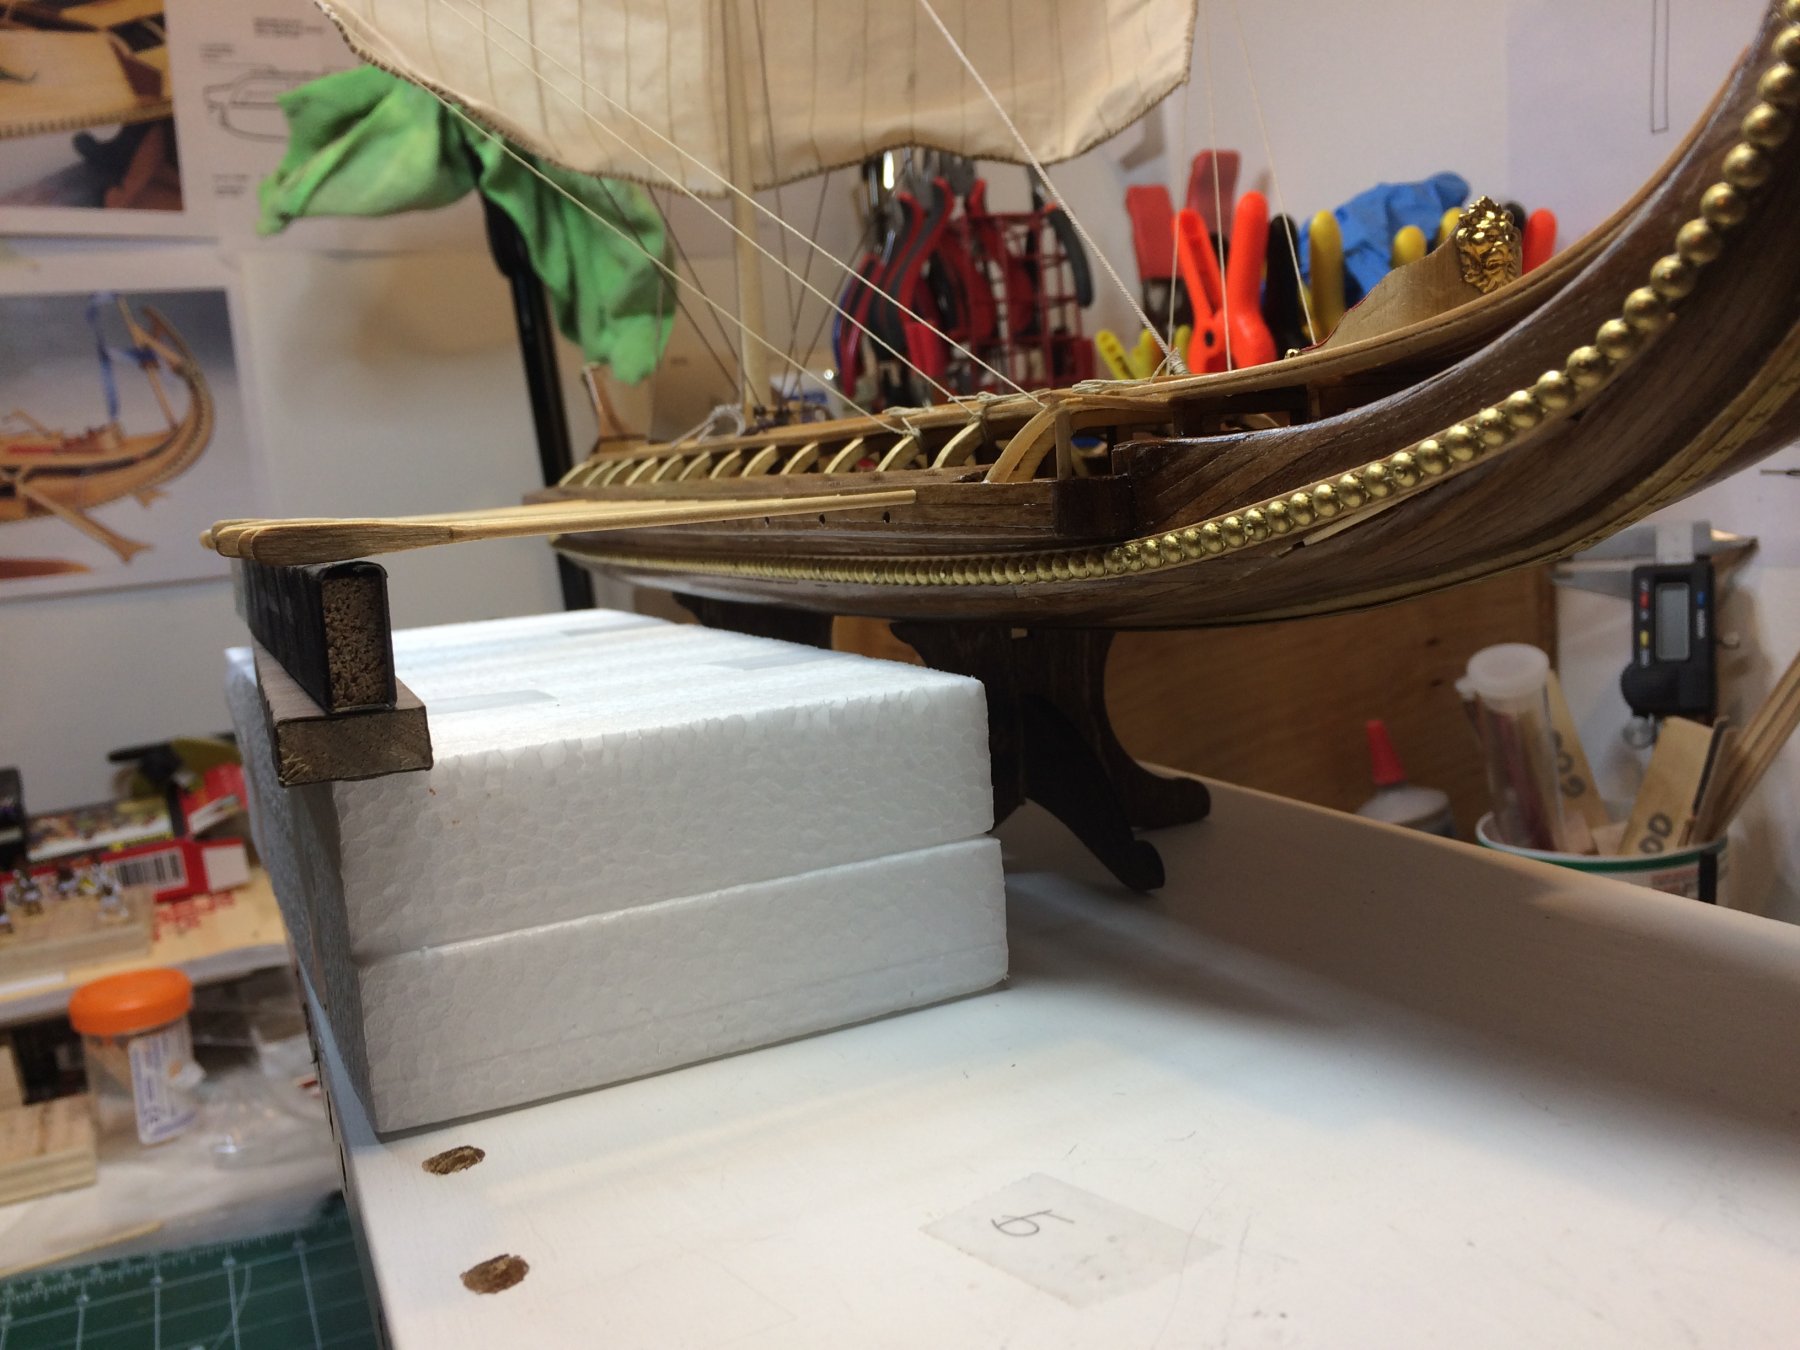
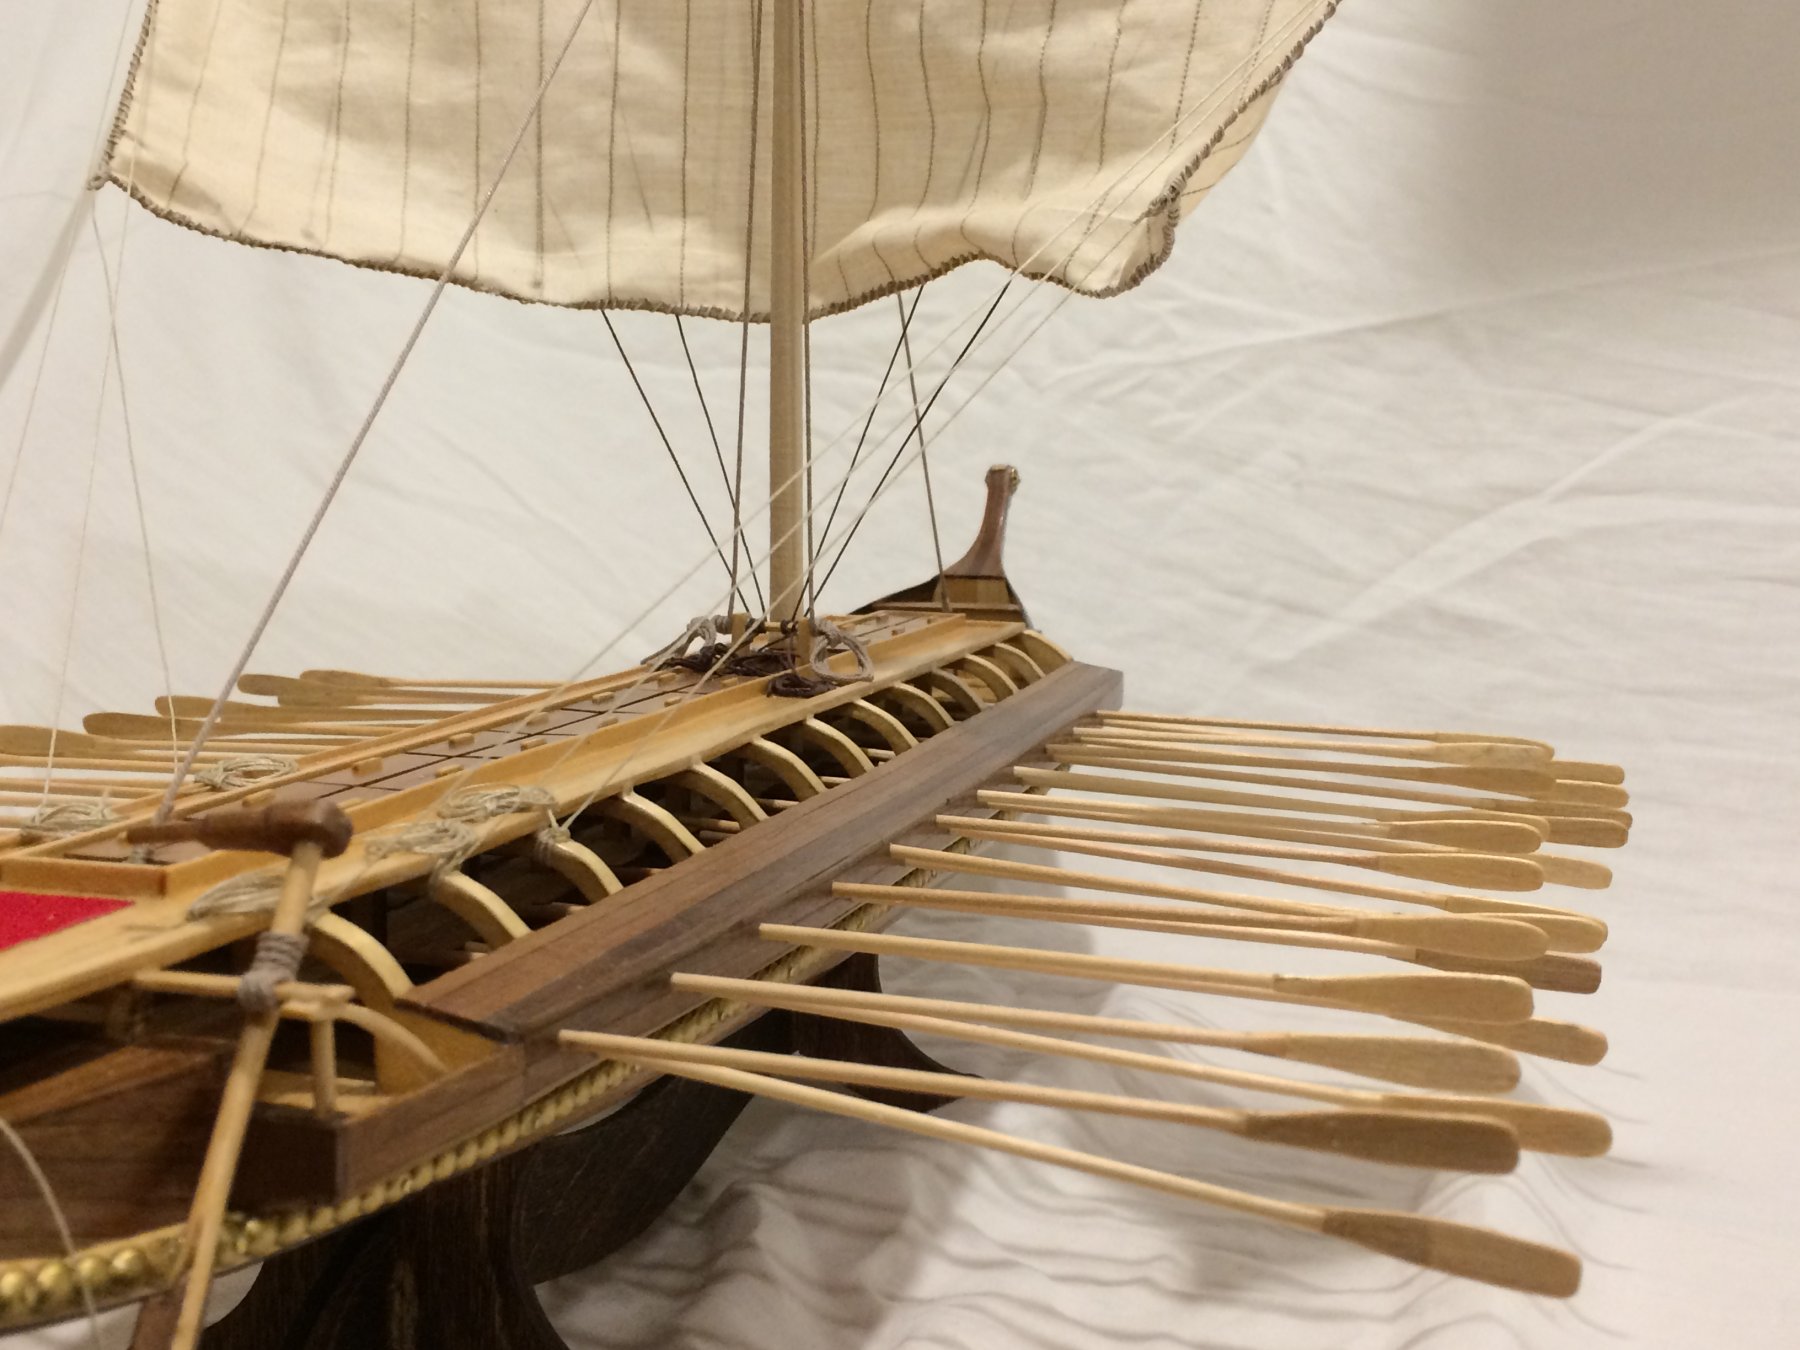
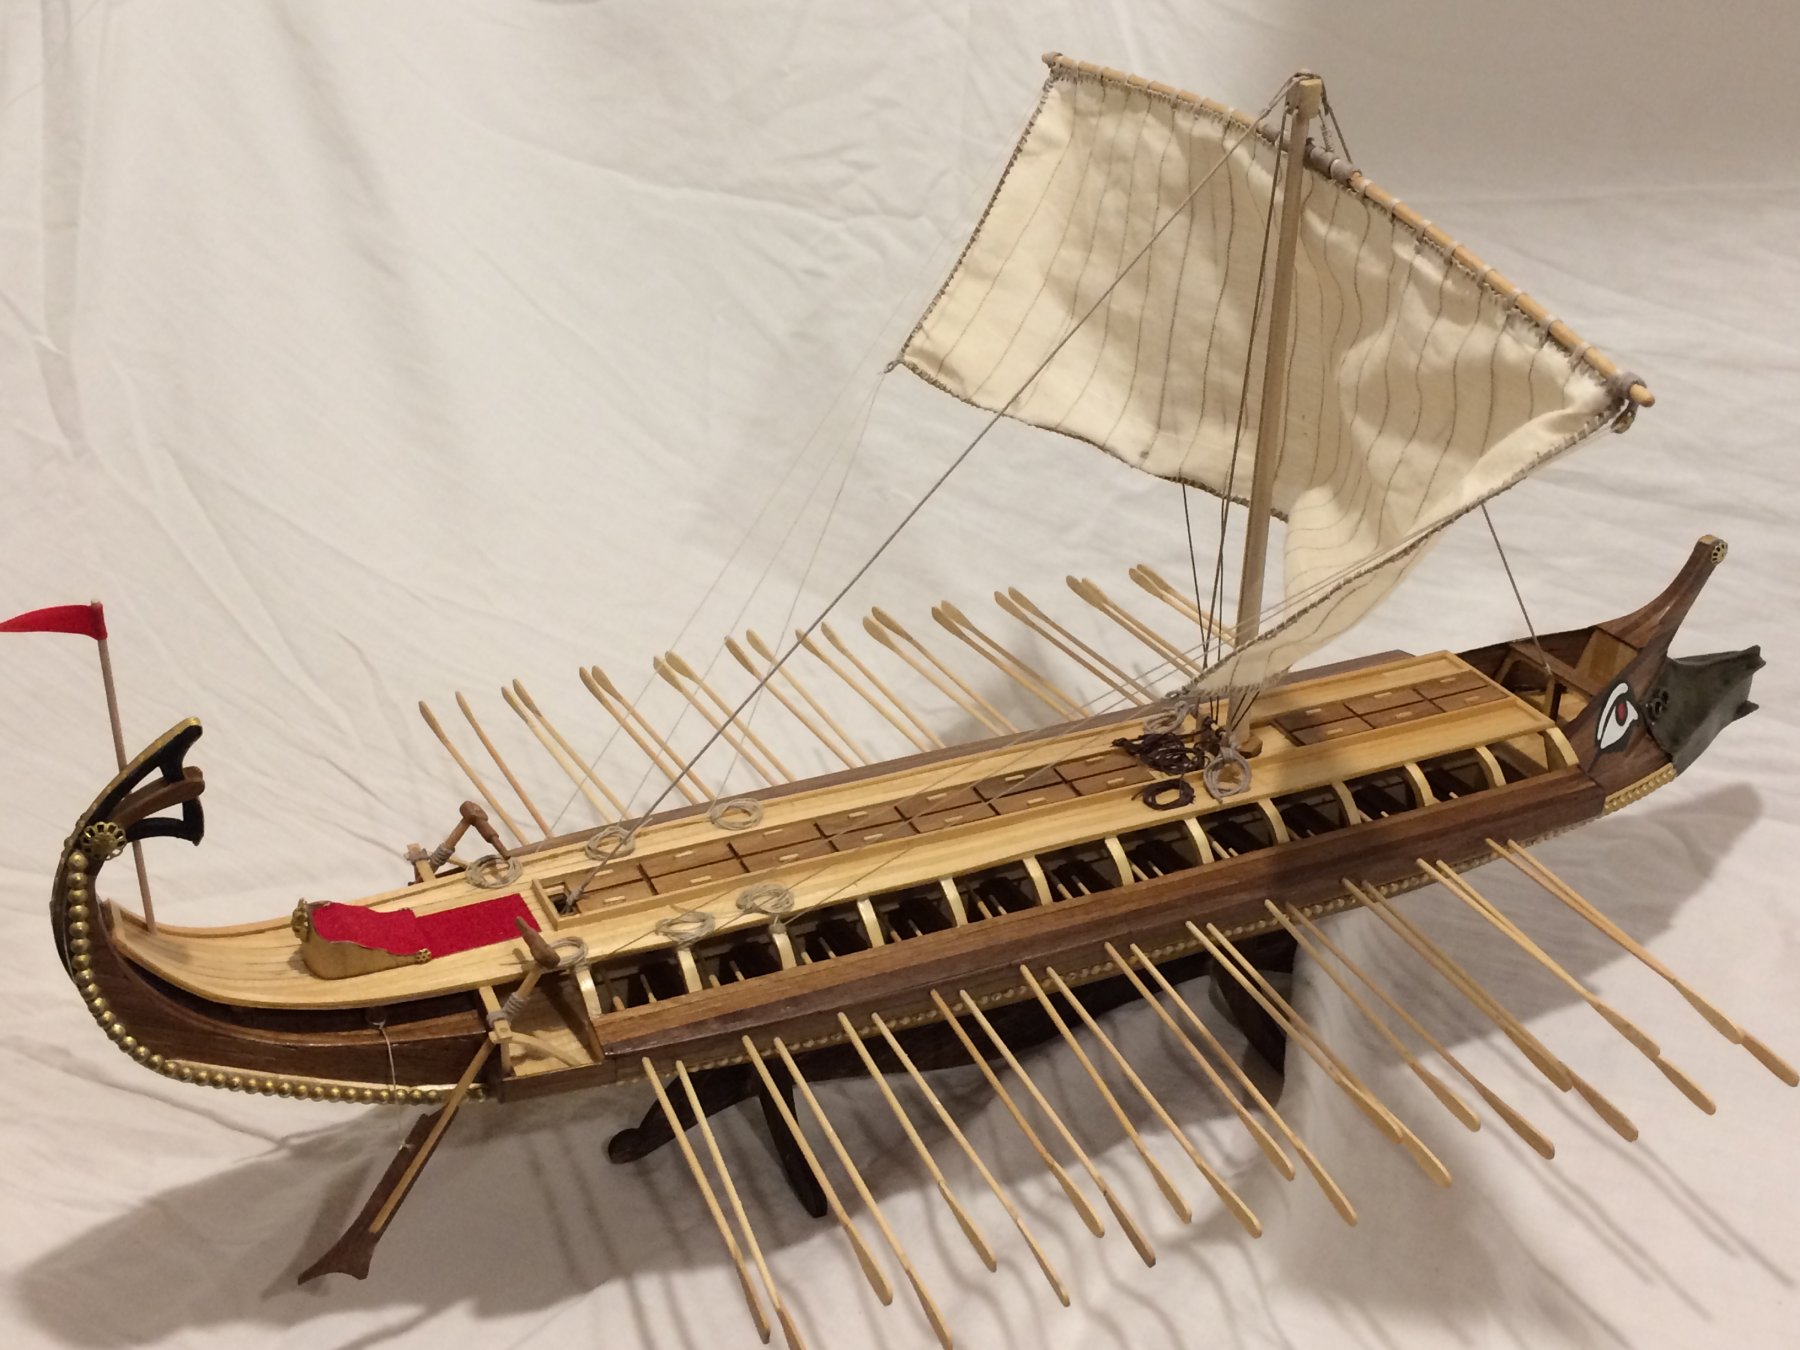
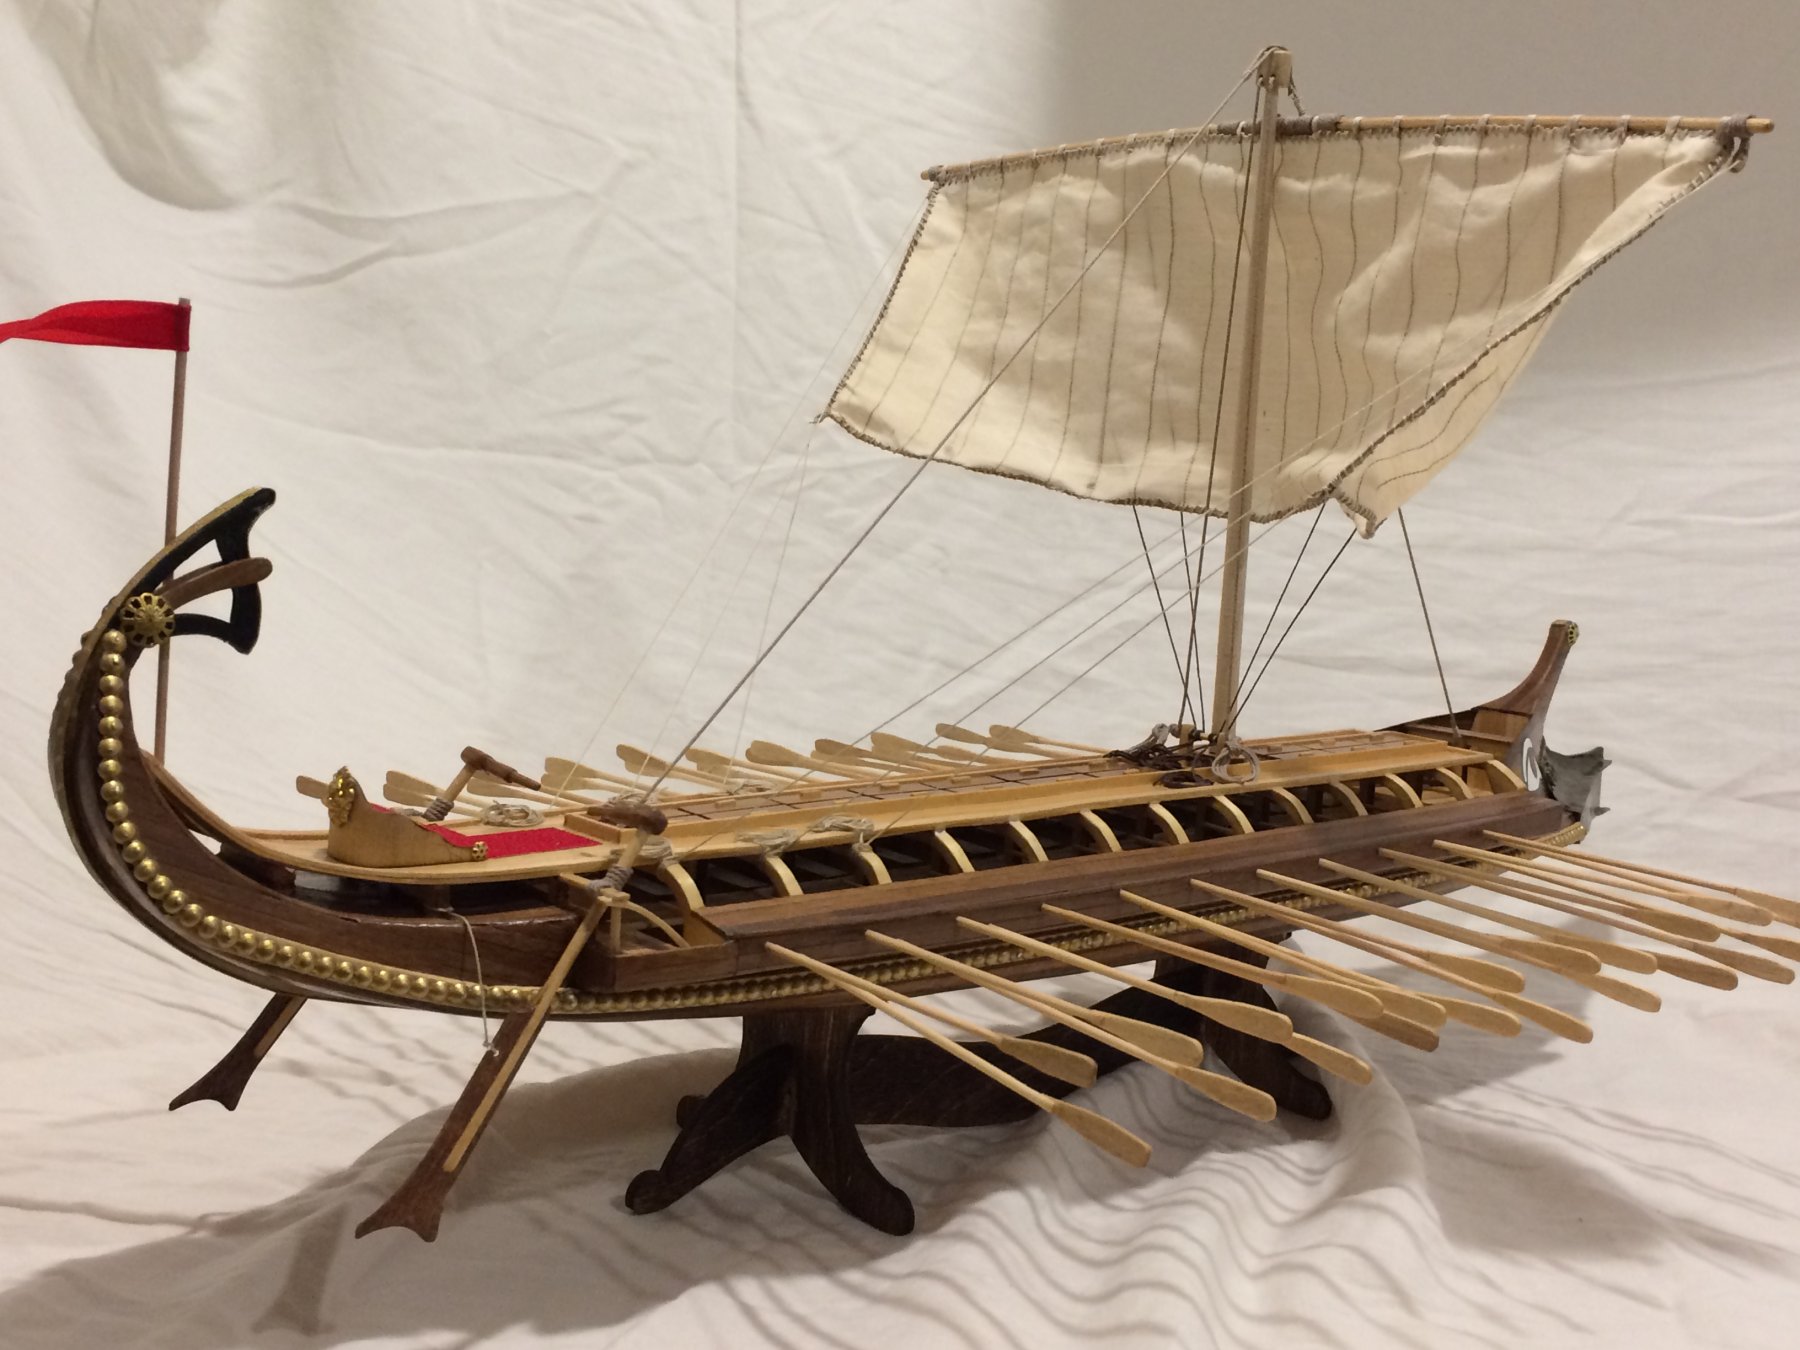
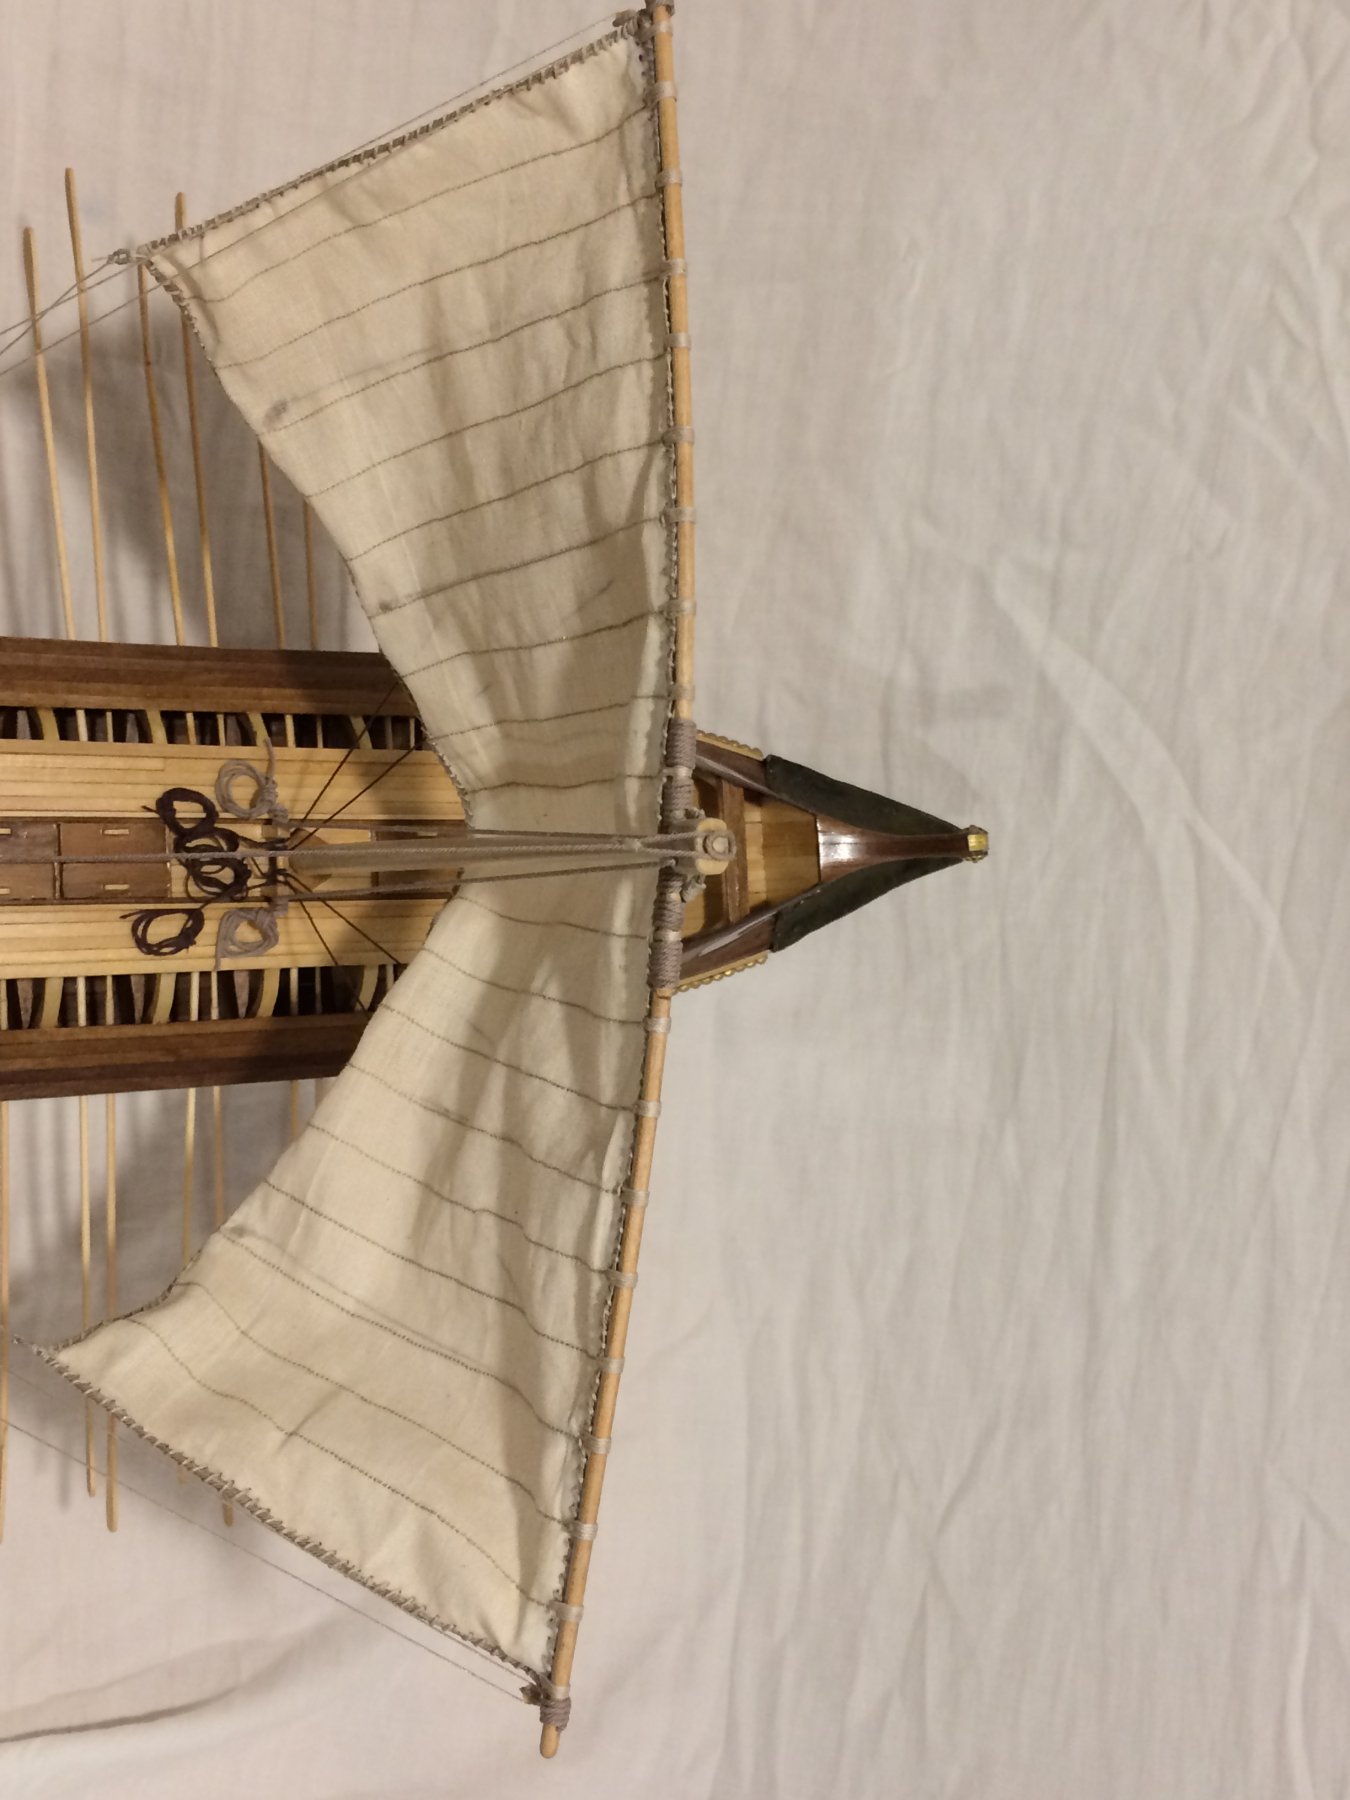
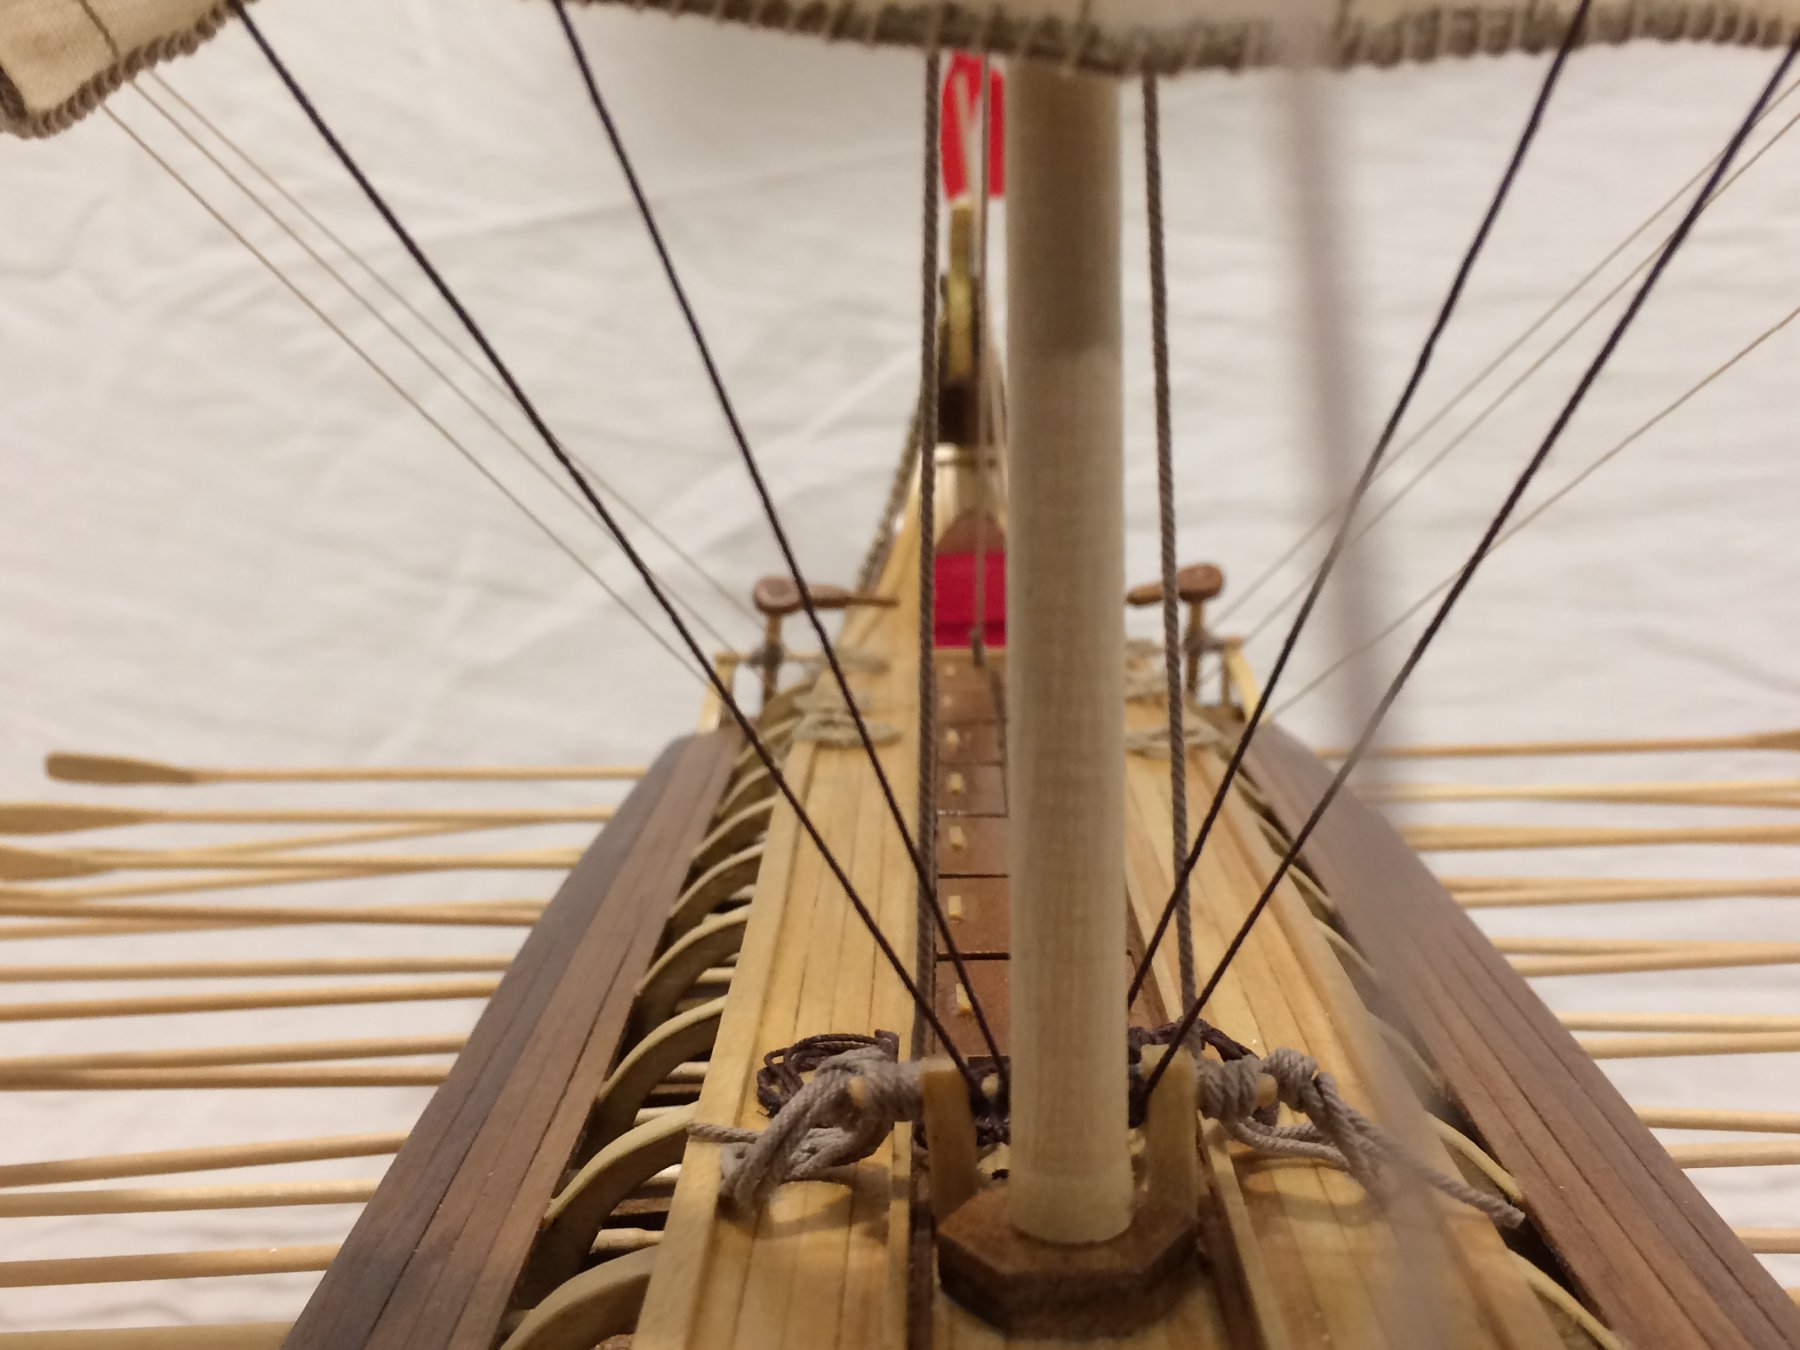
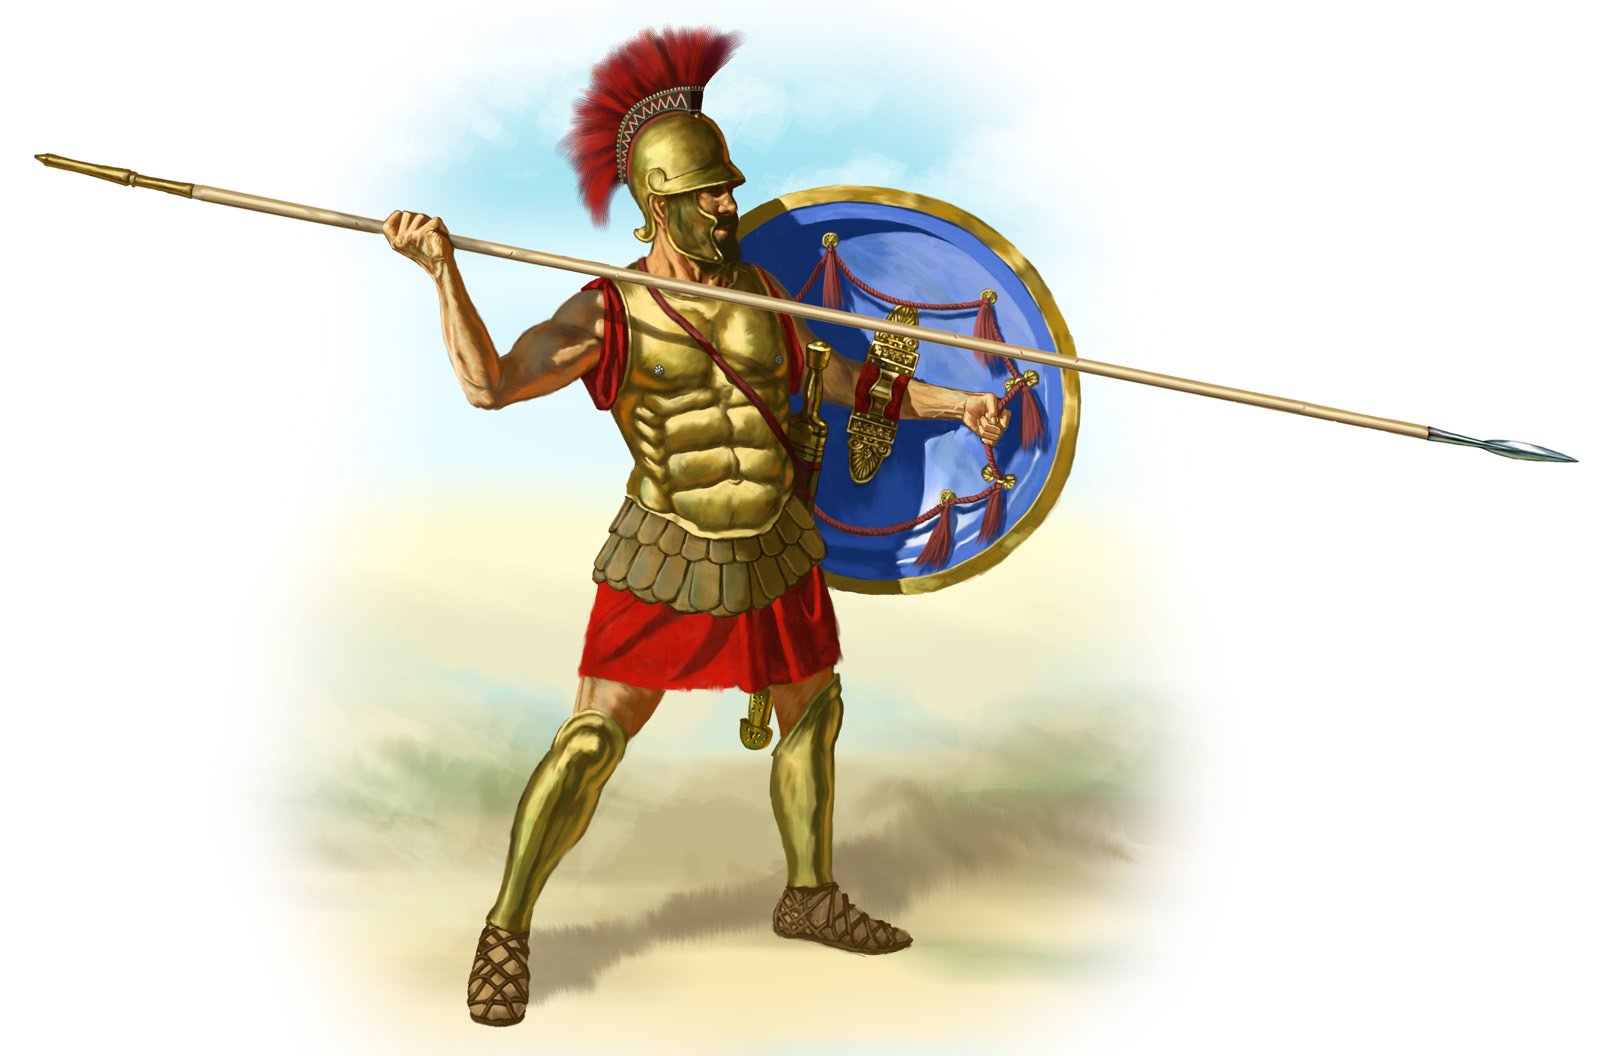
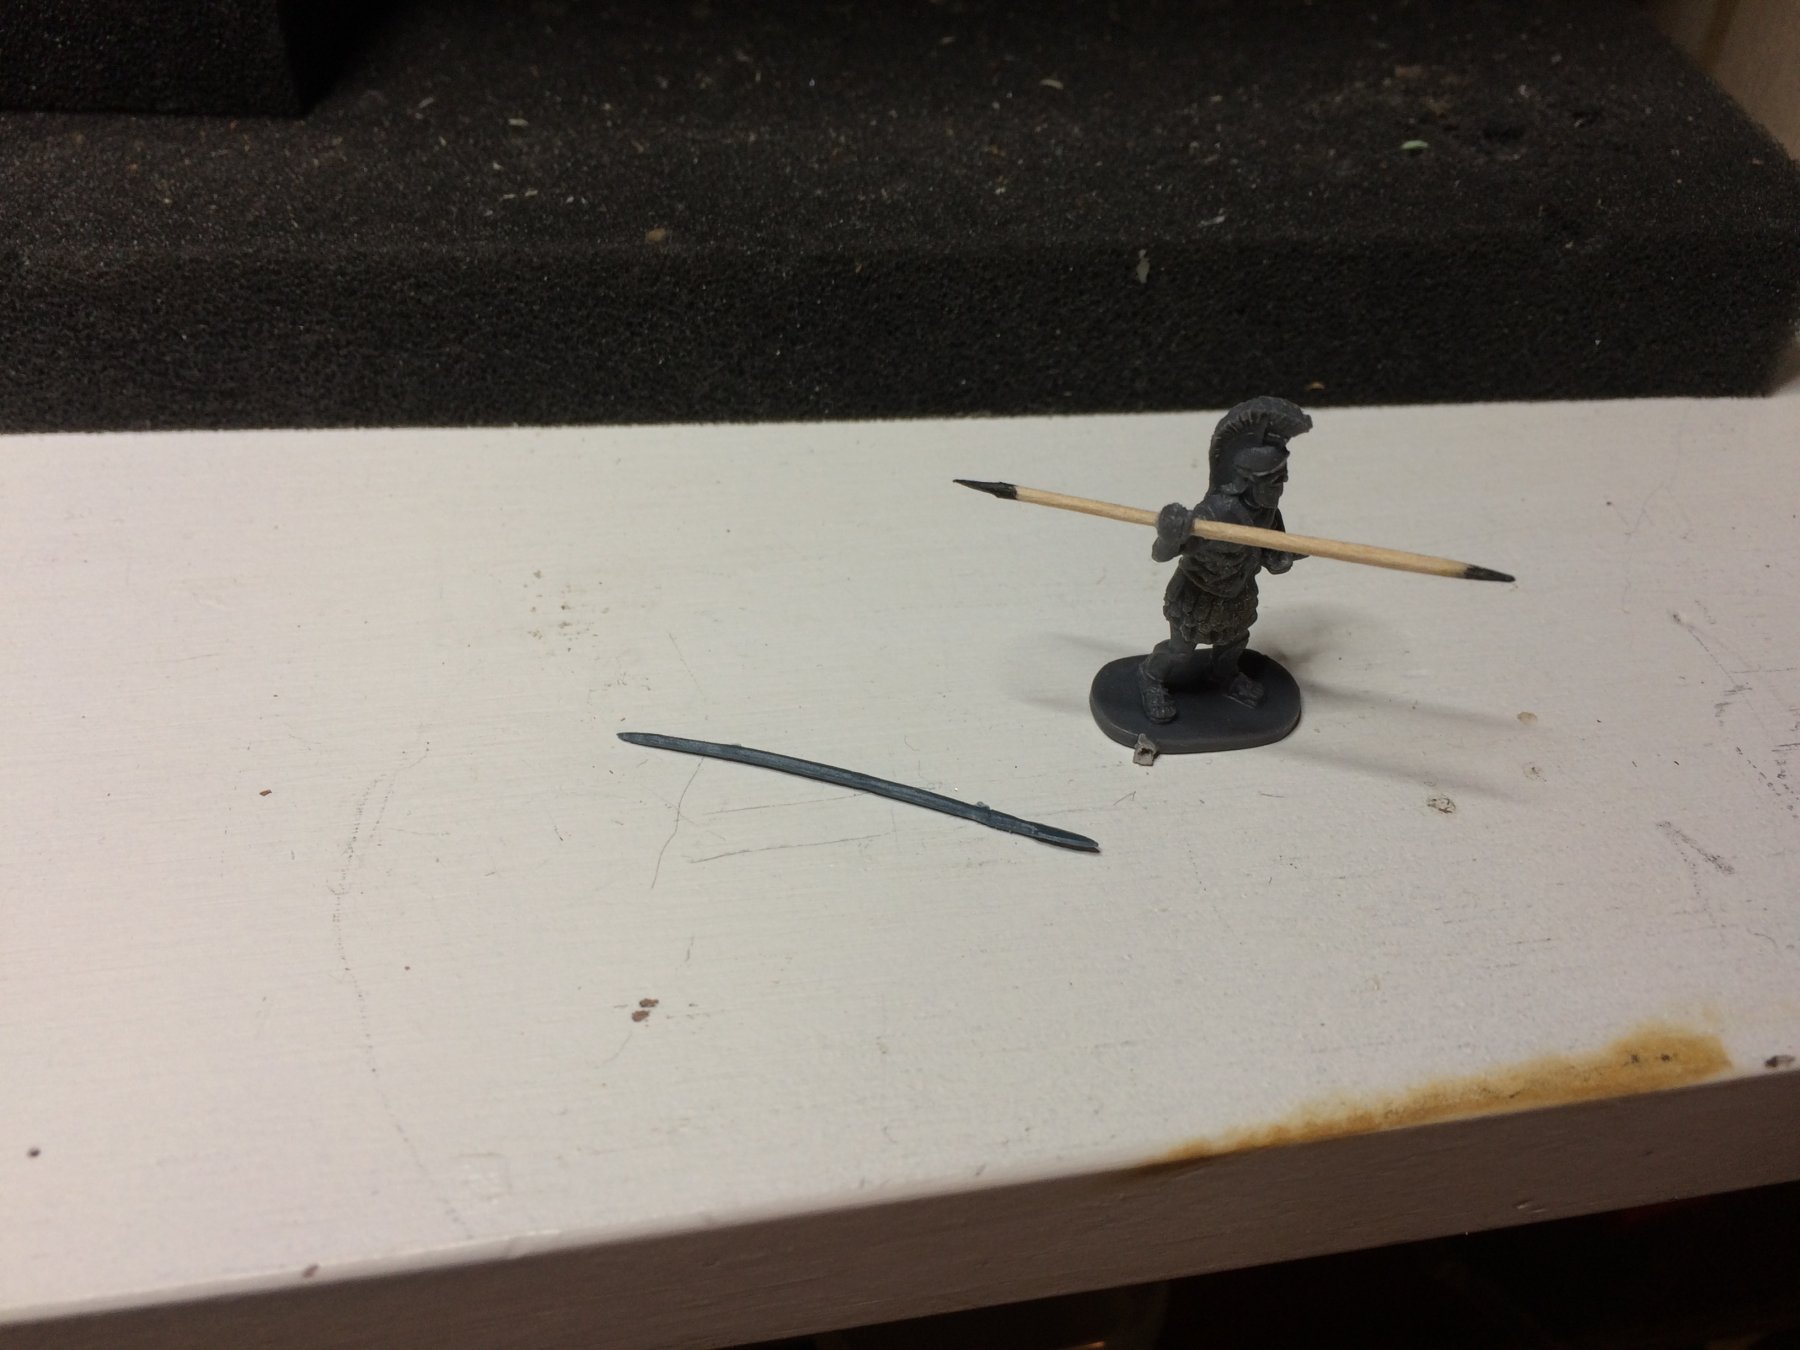
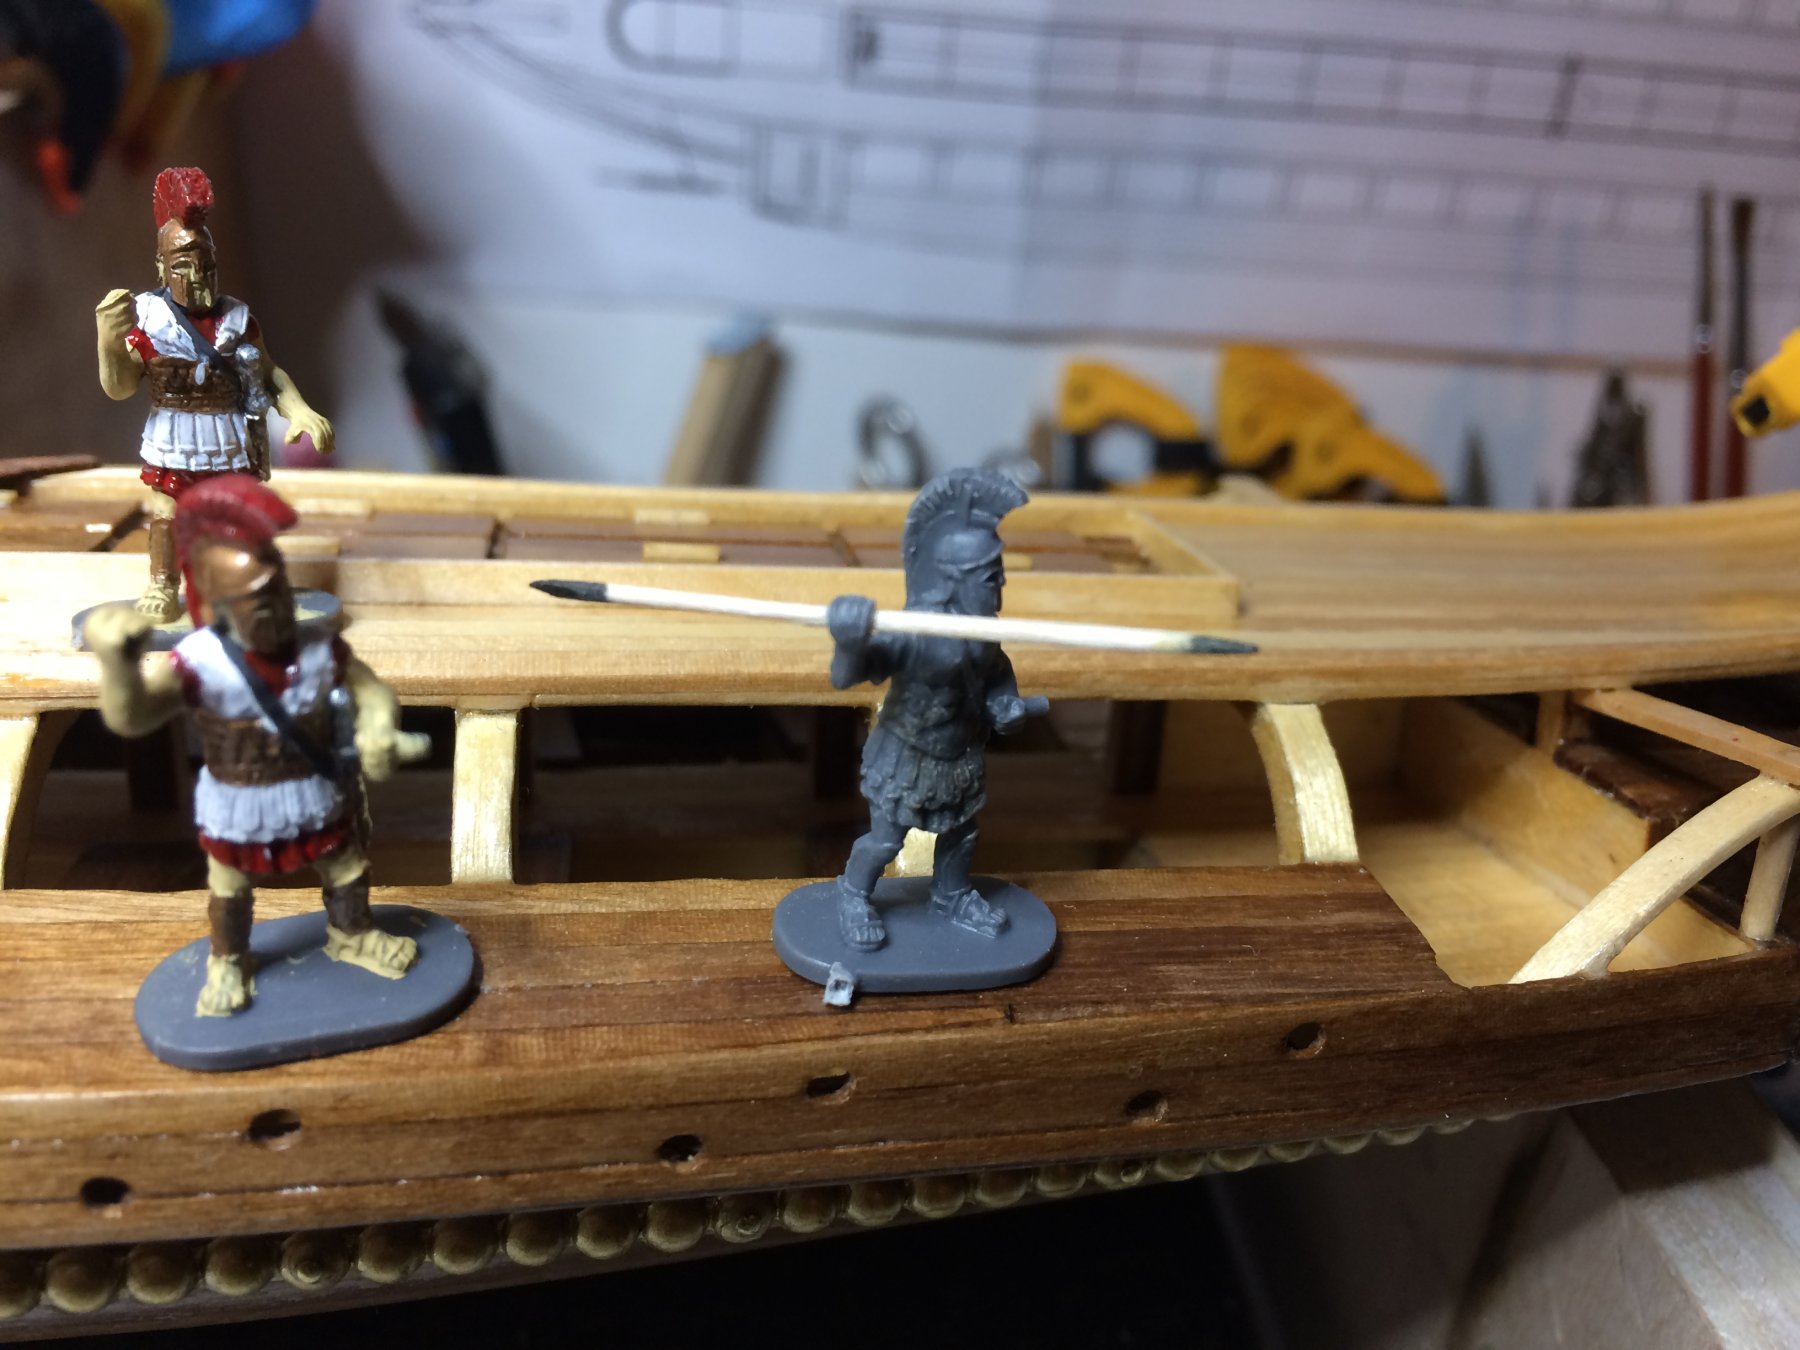
While i was waiting for a paint to dry out, i was thinking about spears that come with the box. They do not look quite good; most of them are twisted and usable to some extend. Noticed few toothpicks laying around and some 80-size sand paper, i started to shape what turned out to be really decent looking spear. Did some google-ing and find out a painting of hoplite with a spear that looks very realistic.


Spear is longer then ones included in the box so i decided to give it a try and see if i can get a decent-looking spear to replace plastic one...

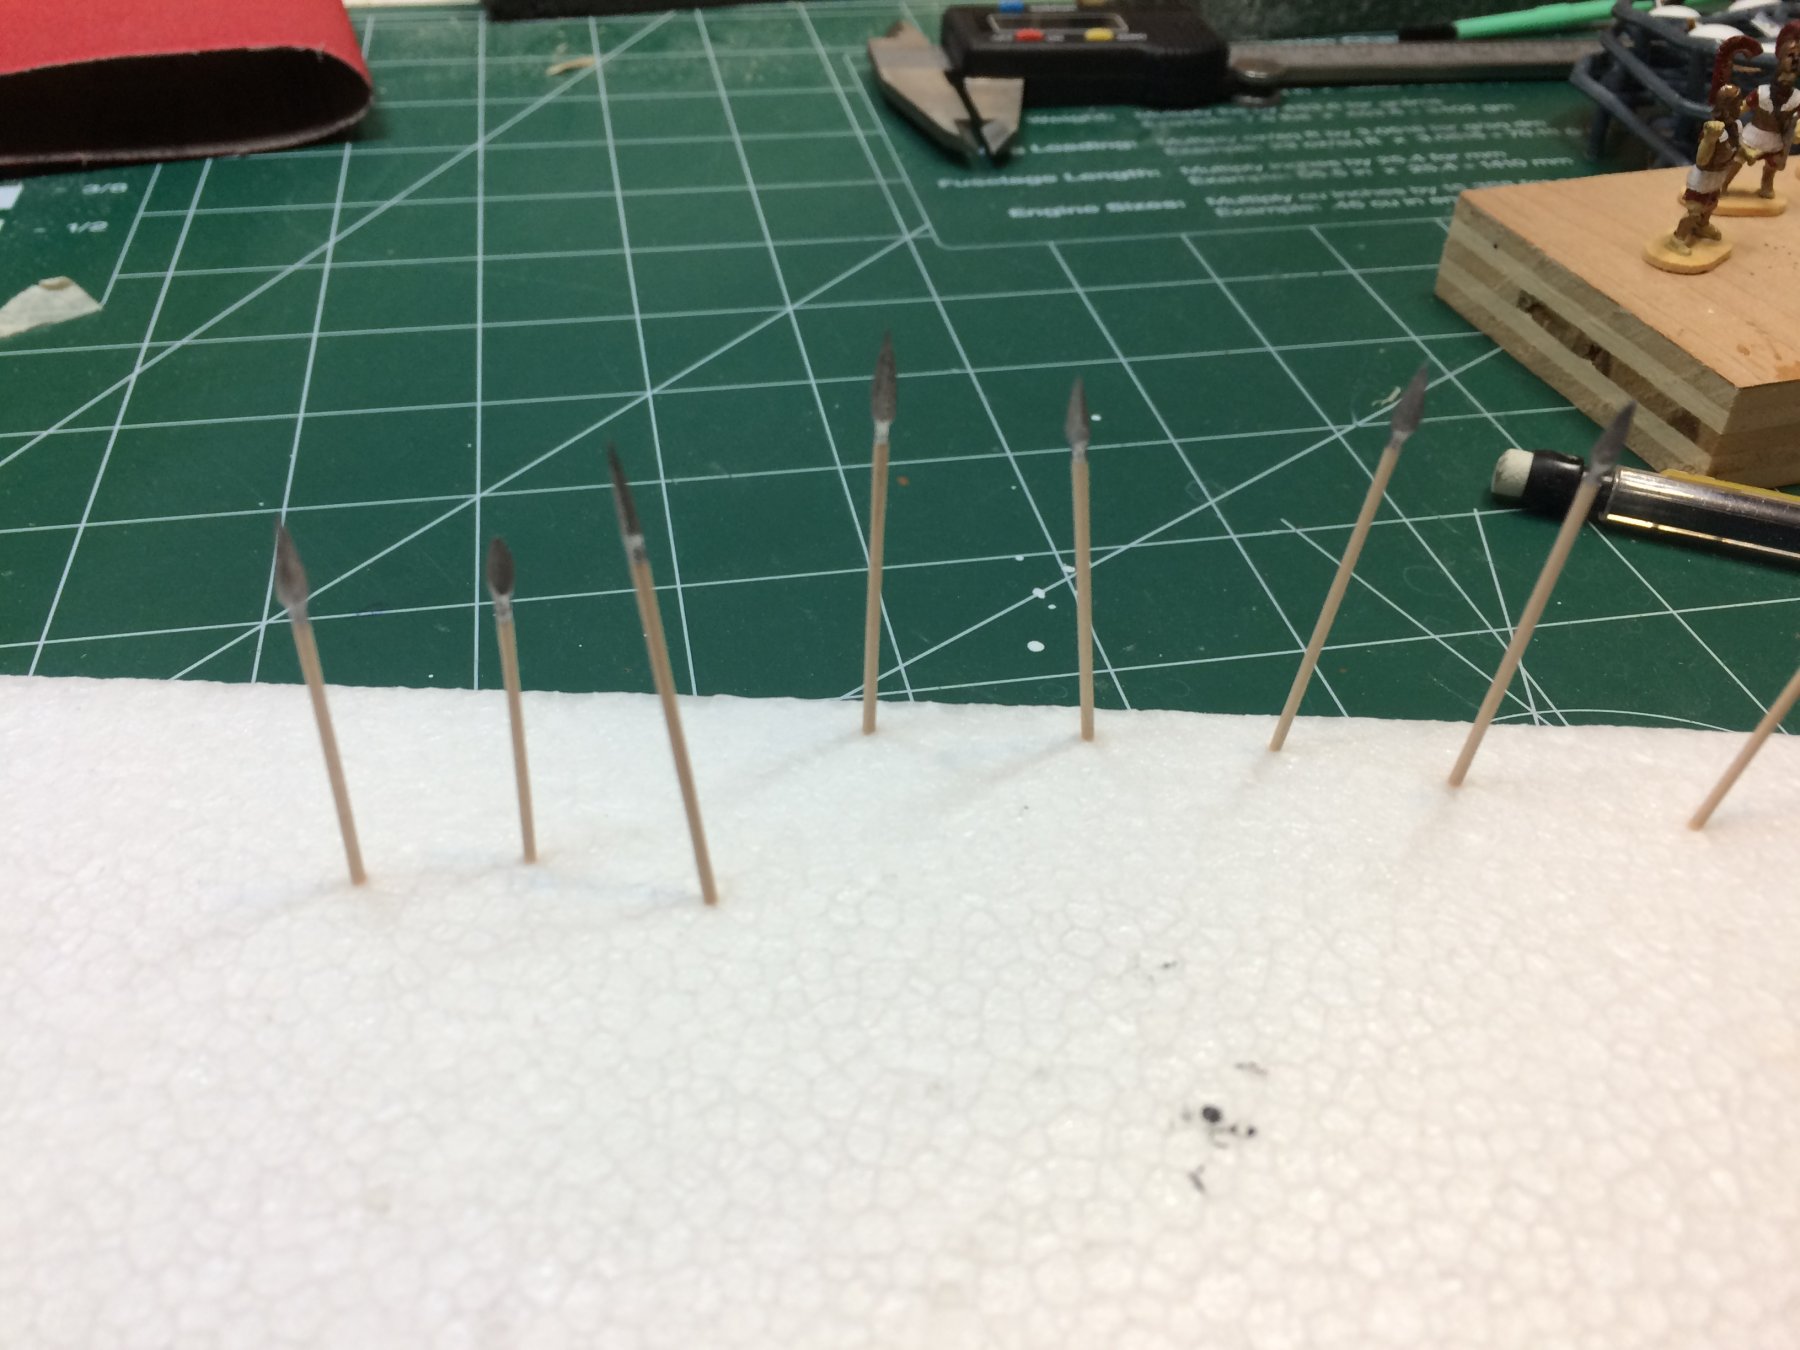
I did not use my mini lathe; rather just a sand paper and was able to make a spear that will work, i think much better on the warriors..


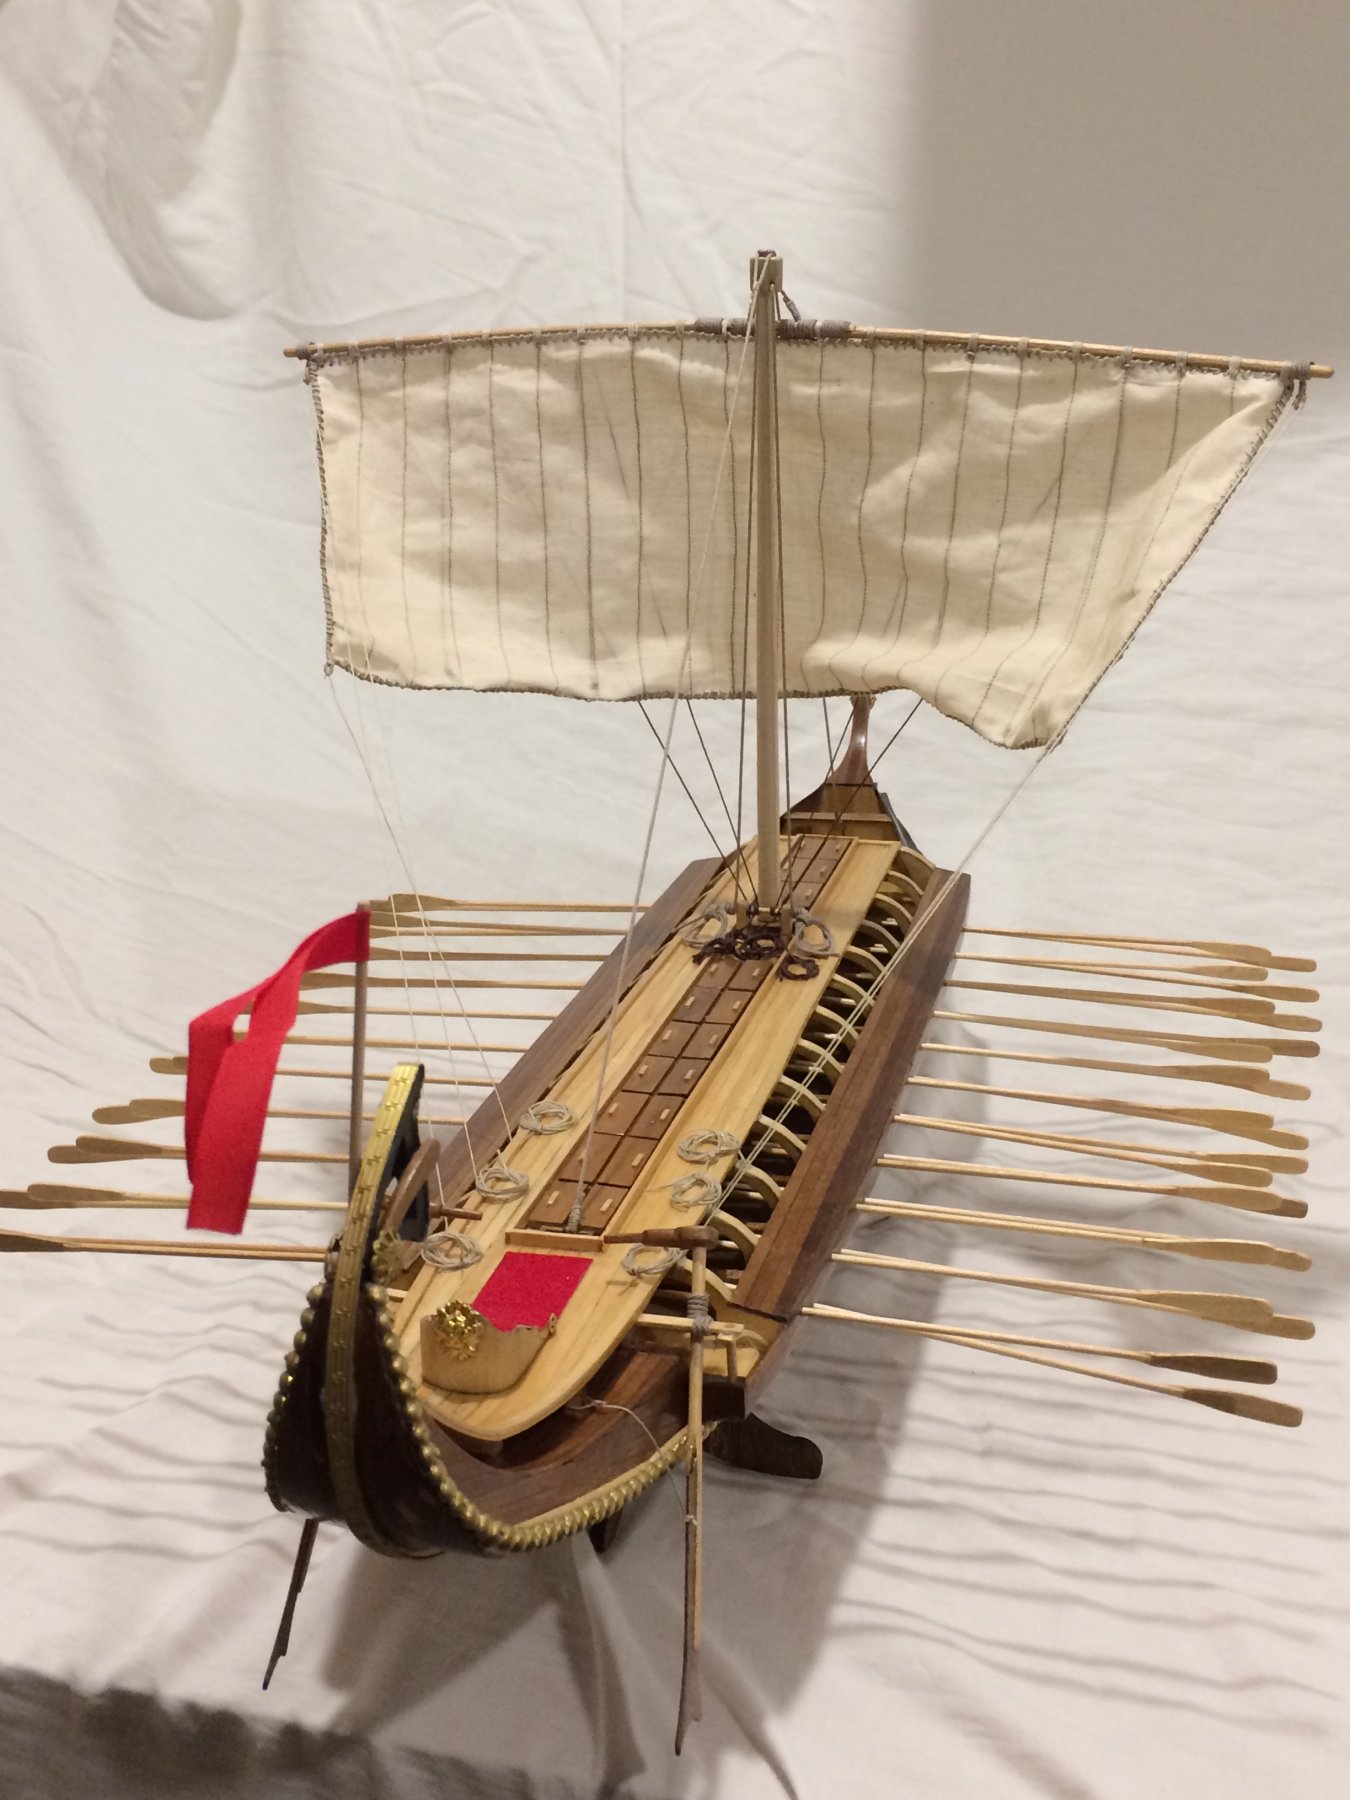
Like i dont have nothing else to do with this build, it is a go decision - i will make at least 6 new spears for my hoplites...

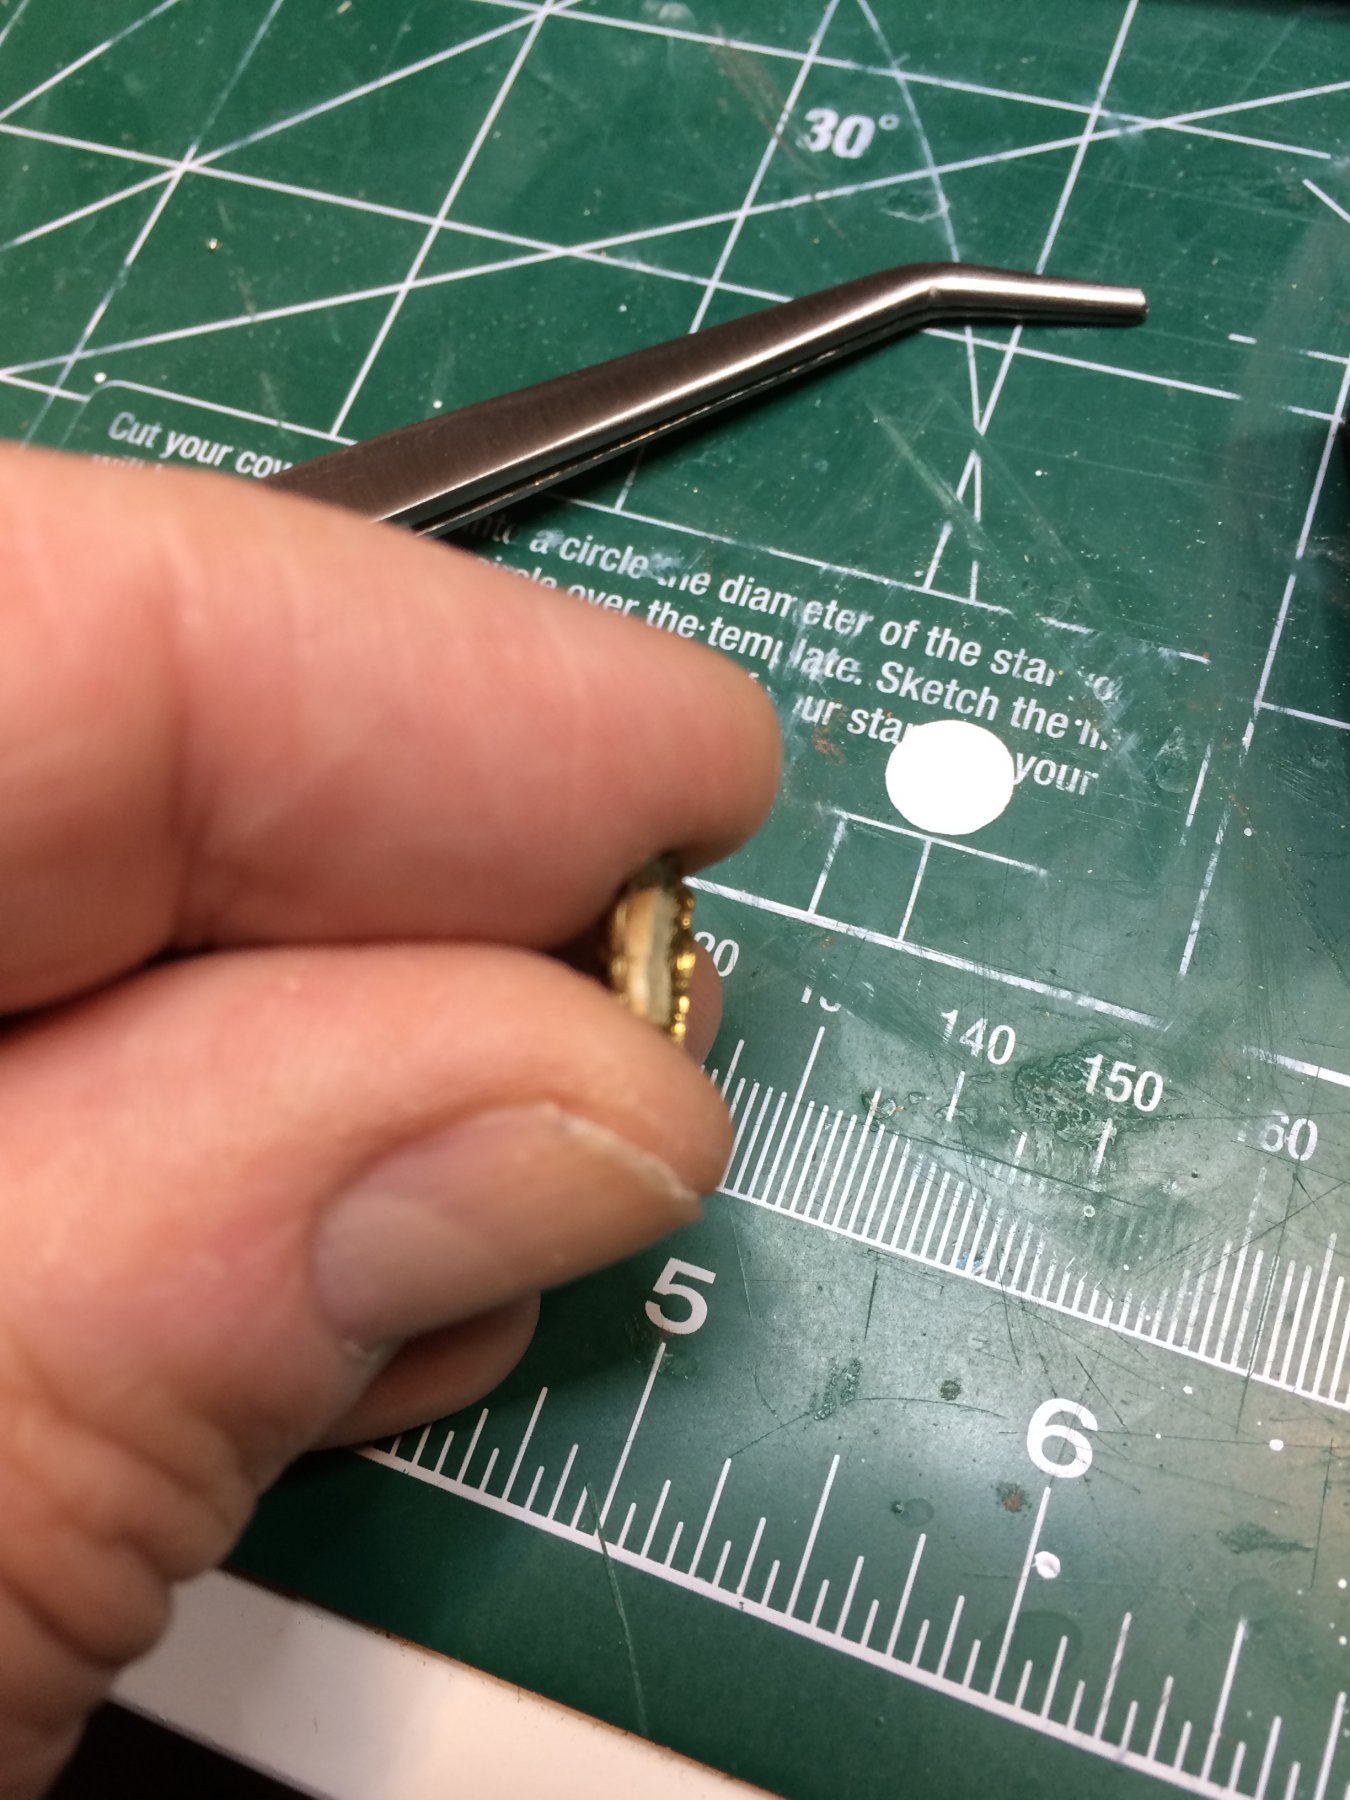
I believe spears will be about 45-50mm long (that is kind of my rough estimate and measurement taken from the above internet picture) with 1mm of thickness..

I am expecting to have several broken ones as my fingers might be to big for such a delicate work... Unless i break several of them in my attempt, i think i can get there in a few hours.


Happy modelling..
 
Looking good. I have been doing a bit of web digging on shield transfers for my own build and came across a great site - littlebigmenstudios.com. They have a lot of stuff there (shield and banner transfers) which might be of interest to you.
 
I actually came across those banners for shield while searching hoplites pictures but was unable to locate a site that actually sell those. Thanks Graham, i will be using them for sure..
 
Looks great! Love the figures as well. Brings life to the ship.
Im painting warhammer figures from time to time, and usually add a bit of wash on the figures, it looks a bit more realistic. And if you really want them to pop you can also put som highligts on them. Another tip is to slightly put som silver paint on the side of the brush and gently touch all corners on the helmet/armor for some very small chipping/worn metal effect.
This do very much to small figures.

It could be you already know this, seeing your weathering effect on the ships nose tells me you know something about painting already :) but maybe someone other will have use for the info

Im adding my masterpiece example to the explanation on some of the stuff i explained.
 

Attachments

  • Screenshot_20180208-005653.jpg
    Screenshot_20180208-005653.jpg
    70.7 KB · Views: 5
Looks great! Love the figures as well. Brings life to the ship.
Im painting warhammer figures from time to time, and usually add a bit of wash on the figures, it looks a bit more realistic. And if you really want them to pop you can also put som highligts on them. Another tip is to slightly put som silver paint on the side of the brush and gently touch all corners on the helmet/armor for some very small chipping/worn metal effect.
This do very much to small figures.

It could be you already know this, seeing your weathering effect on the ships nose tells me you know something about painting already :) but maybe someone other will have use for the info

Im adding my masterpiece example to the explanation on some of the stuff i explained.


Hi Frankberge, i would definitely use your points on figures. It would really bring realistic view as most of helmets are shiny up to the point while not being issued to warriors.
There are few touch-ups to do, including a bit of a weathering; also still not sure what to do with figure's stand area. Should i cut it and put figure on peace of wood or paint the stand to some colour that will blend into ship as much as possible. We will see. Thanks for comments. Appreciated.
 
Wrapping up this kit build slowly.

Today i finished installation of captain's seat, decorations, mast and started to work on ship stand. For now i will be using stand that comes with the kit; later will come up with something else, a bit more eye catchy..


I also spent some time thinking about oars positioning and how to make sure, once installed oars will not move in and out, up and down. For now made two measure template i will use to position oars inside of the ship. Not to high-tech template, coffee stick from Starbucks, cut to length..


Then, it was time for captain's seat, decoration (Lion's head) and other.

For lion's head i also use a small peace of balsa to get some good grip since the decorative head has no that many flat area.


Seat and decoration installed.


Happy modelling..
 
There is a time in building process when you need to attack rigging, regardless of its complexity it is always a fun process to go thru when you have tiny ropes and big fingers. So, here we are. The rigging for Greek birema starts with making eye splice for two ropes that hold the yard in vertical position..


These two ropes were completed and waiting for next step.

Then i mounted compete sail to the mast..


Here is the process of making a "fake" rope ends...


Once completed it was mounted to the end of the rope and "casually' throw to the ship..

I did similar technique for other ropes...


So here is end result..


Then the two ropes holding the mast...


This spot for rope was very tight but managed to get it thru..
 
Last edited:
(had to divide post to no more than 20 pictures per post)..

This spot for a rope was very tight but managed to get it thru..


Then the part on bow..


That was all work done today. The ship has few more ropes to be installed..


So this is how birema looks so far.


And at some point friendly hoplites decided to jump on board too..


Happy modelling ..
 
Not that complicated ship rigging is done.


To make a rope a bit more straight to get the impression that rope is tight, i used white glue to stiff the rope a bit..


Then i start cutting warriors of the base so it can be replaced with a wooden base. Did not like base colour and the fact that is sticks out to much. So instead of painting it i decided to replace it. Out of some spare lumber i cut 8 new bases and sand them to shape.


After that i started to work on spears i planned to replace. Here is first prototype, need to scale down the front end of it, looks a bit to heavy. Have few pictures from the net so i will scale it to the size that fit better..


And the whole ship looks like this, oars are still to be mounted...


And for some reason just cannot get those guys of the ship...


Happy modelling.
 
No updates so far. Was on the business trip and now sick, at home.. Hopefully will get some mental strength to do some building this weekend..
 
Today i worked a bit on hoplites' spears; cut and sand them into correct diameter, "sharpened" spears' heads and paint heads in silver.


I found out that doing this from toothpick is better that making them from some other scrap wood part; toothpicks appears to be fairly strong when sanded into less than 1mm diameter. No cracks or broken spear.

I cut spear head in approximate size using razor blade and then sand it to correct shape.


Then a tiny layer of silver was applied to simulate steel head; some weathering will be applied later.


I applied a small layer of varnish on hoplites' new, wooden stands.


Once heads are dried i will paint shafts in some wood-looking colour to simulate ash or other wood types used in making this weapon.


I also need to mount all 48 oars and few other ship parts; this will most likely be done sometimes this week.


Happy modelling.
 
The hoplites finally got their weapons, still missing shields. That is next on to-do list.


It is oars time. Oars supposed to be sticking out differently depending if the oarsman sits closer or further from the ship edge. Used very "sophisticated" template, marked length A on 20 and mark B on other 20 oars.


Started to mount 40 oars. I had to come up with some sort of template so oars can be on, approximately same level.


Happy modelling..
 
So, that would be it for this build. It is done, finished.

The only one thing left, which i think is the most important is to build a cover to protect it from dust, fingers, 'let me see how it feels on touch', 'oh Henry, looks at those cute little warriors', etc... For now build sits in my dinning room, waiting for better place and cover.

Final thoughts: is there anything i would do differently or what would my project manager at work prefer to say.. "lesson learned", meaning i scr.w it up, how to make sure it will not happen again.

The planking material is very good but to be precise and history correct, i would be very surprised to have ancient Greeks making planks in the length of the ship. For next time i would definitely make it more realistic and have planks in correct length, using some of techniques tested on this forum.

The shape of the hull is very nice and to make it more desirable i would be doing double-planking, shape the hull with some putty if needed and start second planking.

Forgot to varnish the inside of the ship during build process when it was very easy to reach. Ended up twisting the brush to reach some of hard reachable spots, particularly where oarsman should be sitting.

Kit plan does not cover all details, particularly of keel ornament position. Turned out it has to go all the way to the main deck, where captain's enjoying the view but i was under impression it has to stop just shortly passing those two dolphin fins. Suggestion to kit manufacturer - spend a bit more time to make plan more detailed. Not that is a big deal but it would be worth effort.

There are some small items i already covered in the log so no repetition necessary.

I am still working on hoplites, painting the shields and marking them. Was not too happy with my first attempt so will be completing it today or tomorrow. Once Greeks are on board will snap few more pictures but for now, here are final pictures of the build.


Well done my friend...she looks realy good. And it was a pleasure to follow regularly your building log. Interesting, with a lot of hints and information. Many many thanks for your regular updates of your built.
And what comes next?...
PS: lessons learned is very important for every modeler at every stage
Thanks Uwek, much appreciated.
I have one Sultana kit from MS i started to build before moving to new place; it is kind of 1/10 completed. I think i am going to work on that one first.. Then we will see..
 
Back
Top