- Joined
- Mar 1, 2021
- Messages
- 315
- Points
- 168

We watched the first three episodes of Season 1. Great detail and loads of entertainment..we plan to watch two or three more today!Thank you,,, how's that black sail flick for you?
 |
As a way to introduce our brass coins to the community, we will raffle off a free coin during the month of August. Follow link ABOVE for instructions for entering. |
 |
 |
The beloved Ships in Scale Magazine is back and charting a new course for 2026! Discover new skills, new techniques, and new inspirations in every issue. NOTE THAT OUR FIRST ISSUE WILL BE JAN/FEB 2026 |
 |

We watched the first three episodes of Season 1. Great detail and loads of entertainment..we plan to watch two or three more today!Thank you,,, how's that black sail flick for you?



The best is yet to come. I have certainly made my share of mistakes, but this was probably the build to make them on. There is so much detail, you probably don’t know where the mistakes are unless someone tells you. You’re doing great, Rick. If I can be of any help, please let me know. I’ve learned tons after the build that I plan to use on my next one. God bless and have a great Memorial Day weekend.Captain's Log ~~~ May 28, 2021
Build time today: 2 hours
Total build time: 163 hours
Construction for the Black Pearl (All-Scenario version)
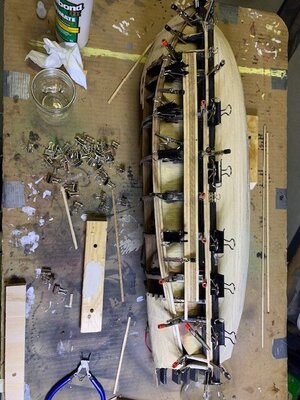
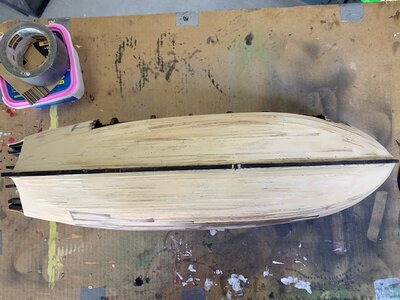
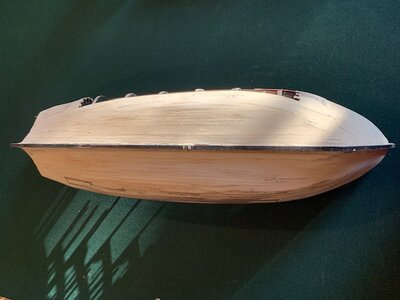
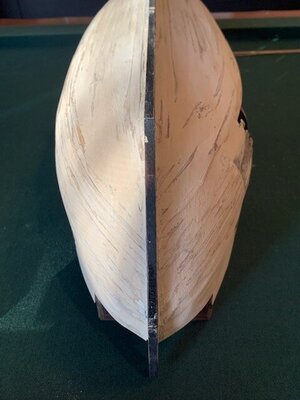
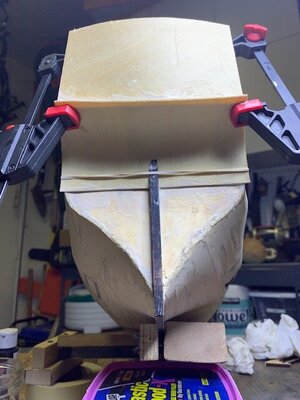
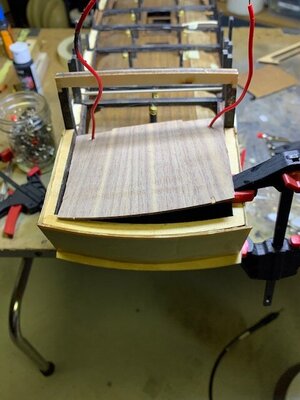
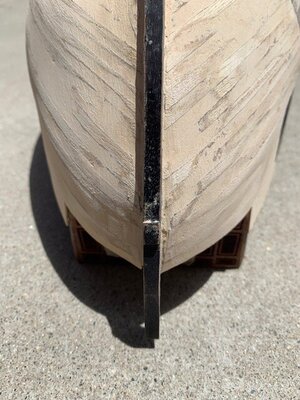
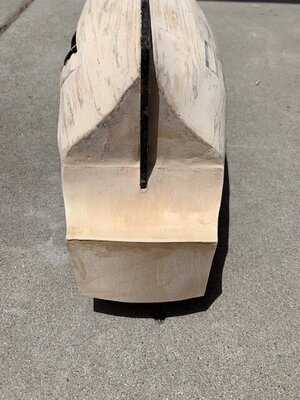
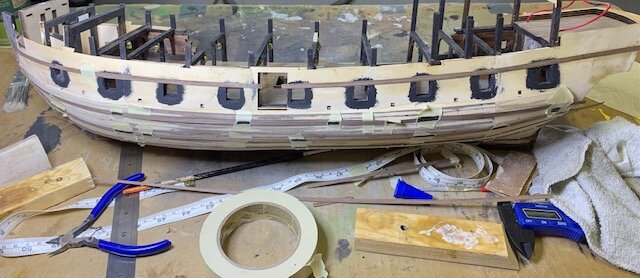
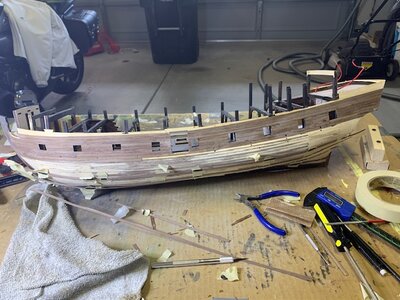
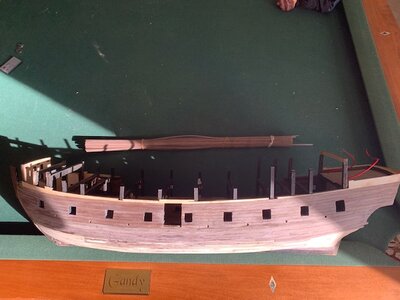
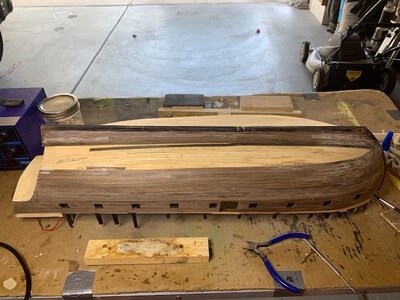
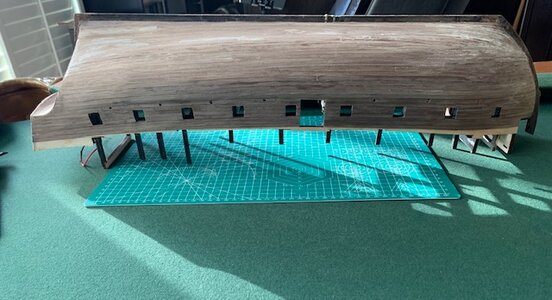
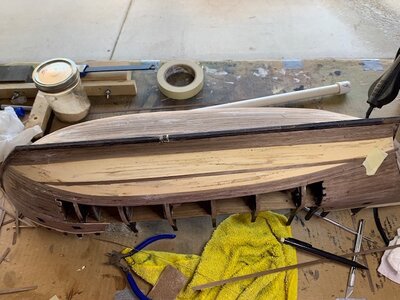
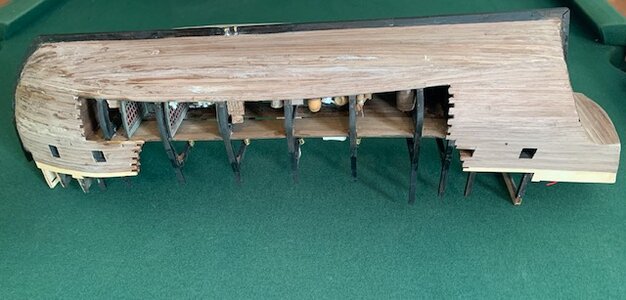
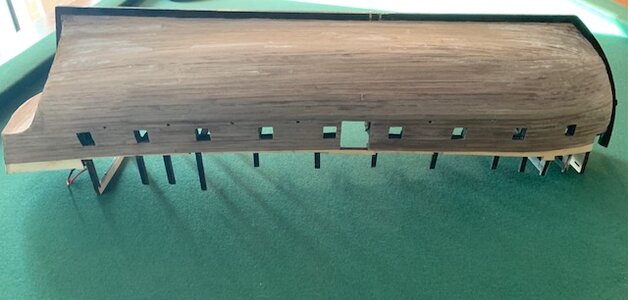
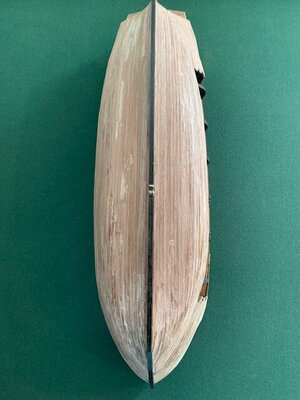
Build guidelines: Ahoy mates! Today officially marks the two month mark of our voyage through the build of this Black Pearl. At this juncture, I have completed the 2nd planking from the main deck down to the keel. I'll try to bore you less with words and give more pics as this planking stage was a first time for me and I'm glad that I'm finally through the worst of it. While I made many novice mistakes, I did learn a lot and gained experience for the future. Let's take a look what we accomplished this week.
View attachment 236023
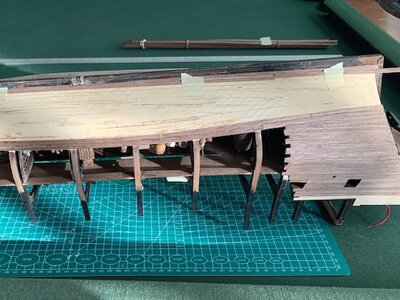
As I continued with the Portside planking, I started to work up from the keel alternating top to bottom.
View attachment 236024
Finally complete and I decided to go to the stern next.
View attachment 236025
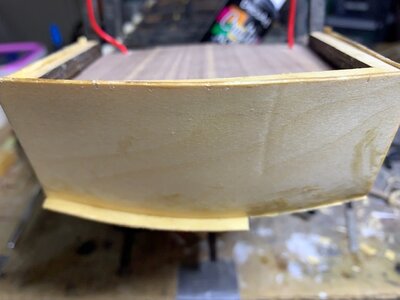
As I moved through the process, no matter how careful I was, my eyes deceived me many times. Butting a plank up against each other played tricks on me. I decided to not stain or paint the first layer of planking and just go with the 2nd layer over the natural wood. I figured this would force me to minimize any gaps between the planks and make me move slower through the planking process. Even though I tried, there were spots where gaps were visible.
View attachment 236026
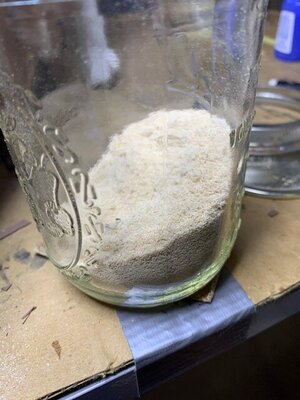
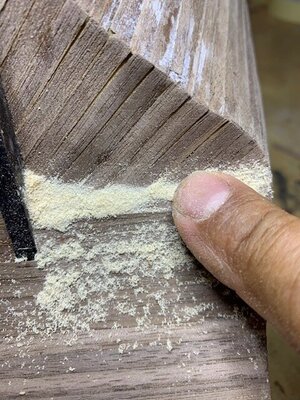
As I moved along, I went to the old mason jar of sawdust and tried to cover up any glaring gaps. I don't know if this is the right approach but it was all experimental for me and in the end, I figure things worked out OK.
View attachment 236027
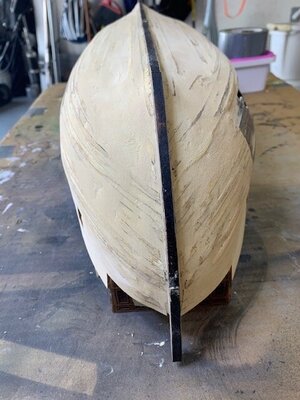
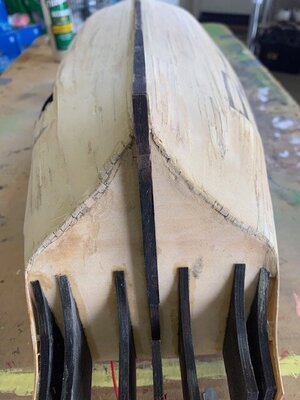
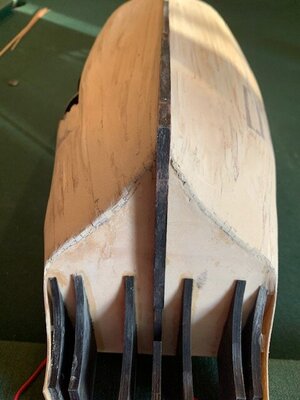
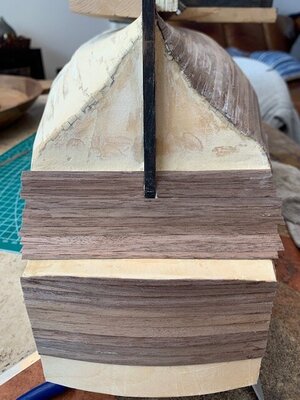
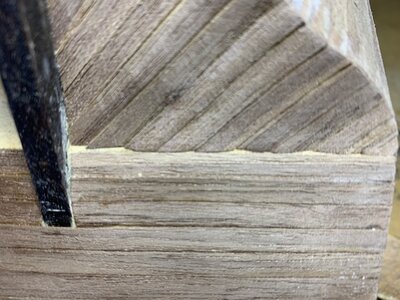
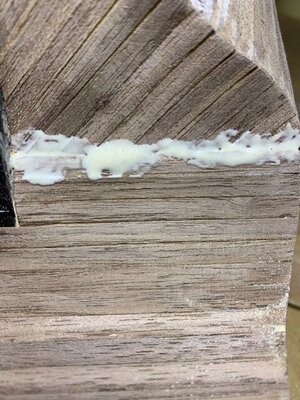
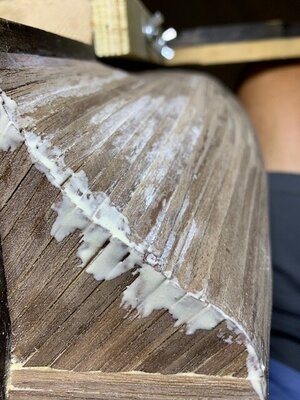
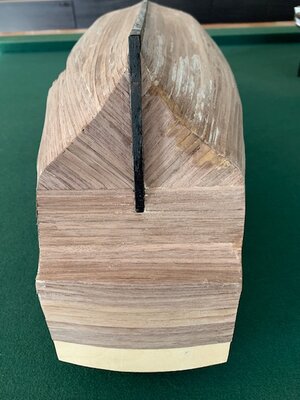
Here, you can see gaps on the stern. I stole Jodie's @MystRacing idea using diagonals on the stern instead of going horizontal all the way. So, out with the glue.
View attachment 236028
A bit sloppy I know....but what the heck do you expect from a greenie.
View attachment 236029
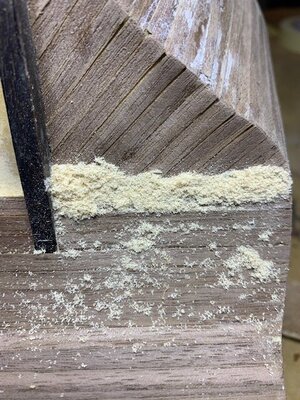
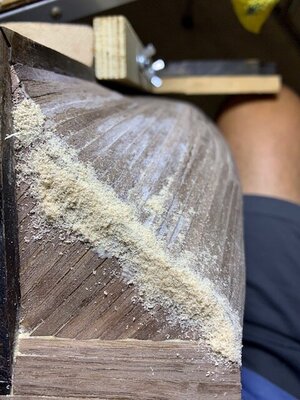
Then, I sprinkled the sawdust over the glue and worked it into the gaps.
View attachment 236030
View attachment 236031
View attachment 236033
After playing around with the stern area, I moved back to start the Starboard 2nd planking and laid the Garboard and a 2nd plank from the keel.
View attachment 236034
View attachment 236035
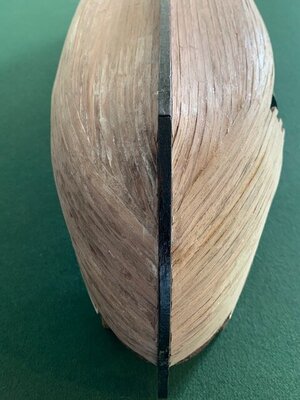
I was a bit lost at this point because the lack of a full hull on the Starboard side was throwing me off. I wanted to make sure that there was some symmetry and balance with the planks aligning at the bow and stern on both sides of the hull. I laid down this plank and tried to see where it would take me....here's where you mates can scold me and take me to school....any comments to help me for the future is greatly appreciated. How would you have planked this side of the ship?
View attachment 236036
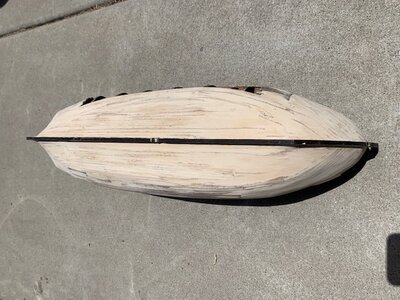
I was relieved to get beyond this point. However, after some light sanding and and some going over to check that no planks were lifting away from the hull, I can honestly say that I didn't need any wood filler and the hull is smooth and very few blemishes or bumps are noticeable. Here's some more pics.
View attachment 236037
View attachment 236038
View attachment 236039
View attachment 236040
While I re-stained the keel ebony, I will not do any further staining or finishing of the hull until I lay the main deck and finish planking the upper sides walls. The time away from the planking will give me a break to do other things so I can finish out the gun deck and secure the main deck and any other odds and ends.
View attachment 236041
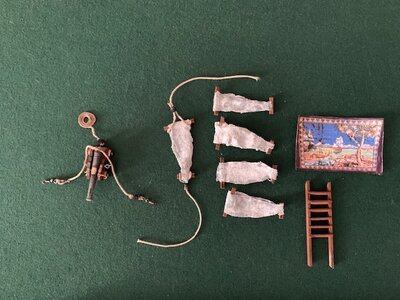
In the next couple of weeks, things will slow down a lot. I have to do all the cannons, I made five hammocks ( I just couldn't see if I was going to place a hammock(s) like the instructions show...there would only be 1 or 2. So, I made five and will decide to place them later if at all???? Also, I found a pic that I downsized for the carpet on the floor to the Captain's Quarters. Additionally, I'm working on creating some changes to the Captain's Quarters by adding a few cabinets, drawers, and maps...etc...So, now I'm moving into some of the artsy part of this build and for me, that's a killer. LOL!
Signing off for now mates....
Enjoy the weekend shore leave.
Ahoy all,
Rick

Good job on the planking, you'll learn a lot from this build.Vic, I greatly appreciate your kind words and the overall support for my build! I must admit, reading your build and Jodie’s is what got me to order the Black Pearl from ZHL! I surely will need your help when it comes to the rigging and sails! I am flattered you think I’m doing great for my first build! Truth be told, I’m really enjoying this challenge! I know I can’t expect to do the type of work many long time pro’s here can achieve, but at 66 I like turning on the radio, listening to my oldies and putting in some time among my other interests! I figure the Pearl will take me into next year. I have a secret to share!
View attachment 236042
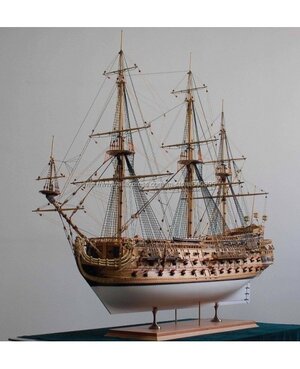
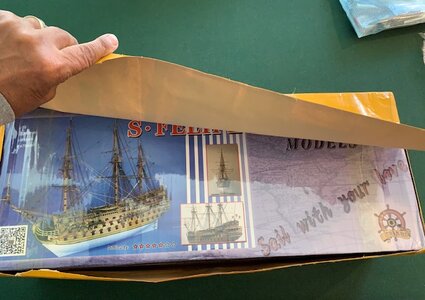
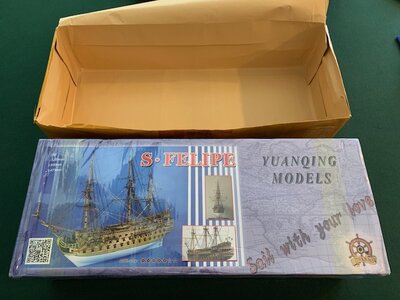
I ordered the San Felipe 1690 from ZHL this week! I know you are planning to build the Le Soleil Royal. I think my learning experience will allow me the opportunity to do one more build before I get too old...ha! Perhaps what I do wrong now, I’ll be able to right. So, I plan to go out with my second and last ship, the San Felipe!
You too, and family have a great Memorial Day weekend! I’m a GoldStar Dad and I respect and honor all the men and women who have served or who are currently serving our great Country!

Thank you Paul for that great tip.....I will file away your procedure for future use and as I finish up the top level planking! I continue to marvel at your beautiful ship build and I greatly enjoy your posts! Have a great Memorial Day weekend!Hi Rick. I was shocked to read it's only been two months since you started. Your progress is remarkable and you are certainly doing a fine job. The hull planking looks really nice.
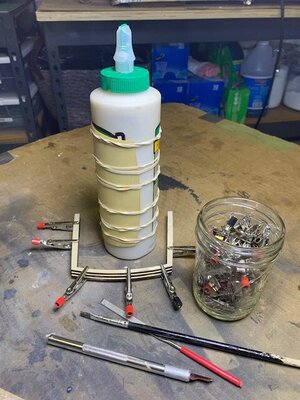
If I could...a nice way to fill gaps is to wipe in a little clear drying wood glue and then sand that area. The dust from the sanding gets caught up in the glue which is caught up in the gap and boom - the gap visually disappears because you are using the same wood species as the filler.
Anyway, keep up the good work - I'm enjoying following along very much.
First, I am sorry for your loss and I grieve with you. I served as well. My thoughts and prayers are with you and your family as we observe during this national holiday. I think many don’t realize what they are celebrating.Vic, I greatly appreciate your kind words and the overall support for my build! I must admit, reading your build and Jodie’s is what got me to order the Black Pearl from ZHL! I surely will need your help when it comes to the rigging and sails! I am flattered you think I’m doing great for my first build! Truth be told, I’m really enjoying this challenge! I know I can’t expect to do the type of work many long time pro’s here can achieve, but at 66 I like turning on the radio, listening to my oldies and putting in some time among my other interests! I figure the Pearl will take me into next year. I have a secret to share!
View attachment 236042
I ordered the San Felipe 1690 from ZHL this week! I know you are planning to build the Le Soleil Royal. I think my learning experience will allow me the opportunity to do one more build before I get too old...ha! Perhaps what I do wrong now, I’ll be able to right. So, I plan to go out with my second and last ship, the San Felipe!
You too, and family have a great Memorial Day weekend! I’m a GoldStar Dad and I respect and honor all the men and women who have served or who are currently serving our great Country!

Thank you for your kind words Vic. My best to you and your Admiral who I already find charming for calling me a sweet, YOUNG man!First, I am sorry for your loss and I grieve with you. I served as well. My thoughts and prayers are with you and your family as we observe during this national holiday. I think many don’t realize what they are celebrating.
Second, I didn’t start till I was a few months shy of 72. I should be starting my third before I reach 73. You’ve got a lot of good years left in you. I feel like I’ll finally get my moorings by my fourth ship. As they say, live and learn!
By the way, the Admiral said, “What a sweet young man. I like him!”

 s
s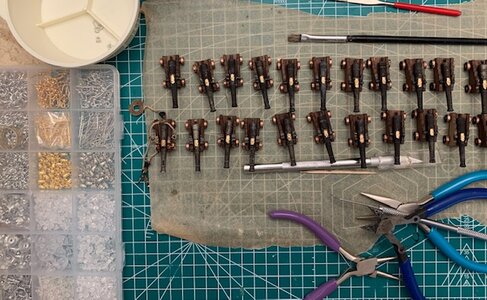
And you think the Pearl has a lot of cannons!Captain's Log ~~~ June 4, 2021
Build time today: 1 hours
Total build time: 170 hours
Construction for the Black Pearl (All-Scenario version)
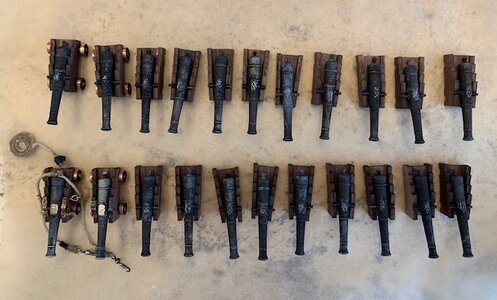
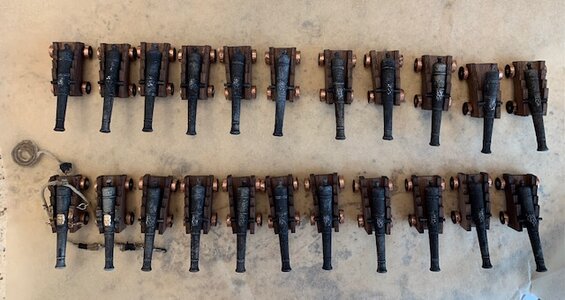
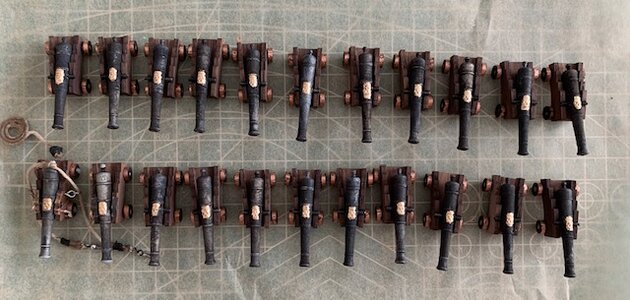
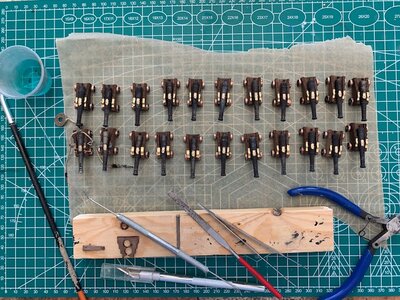
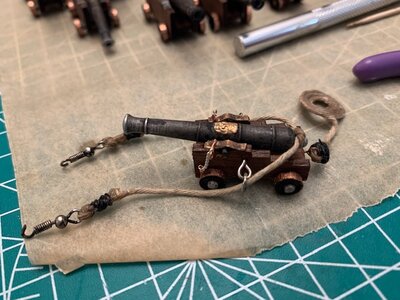
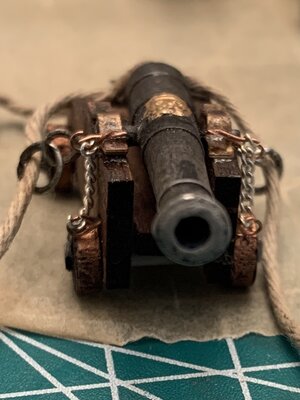
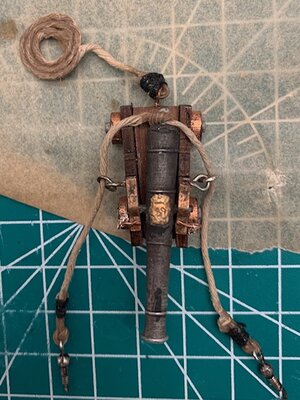
Build guidelines: The Captain only worked 7 hours this past week on the Black Pearl....The cannons I've designed for the ship are tedious to complete because of my design. (at least for me). It looks like the gun deck holds 18 cannons with half of them on full display. The other half on the Portside are barely visible so the question begs to ask how much detail should I put into these cannons.....the same or very little on the Portside...???? So, I decided to start with 22 cannons that I will fully dress because the main deck looks to hold 14 cannons which will be fully exposed. I'll likely detail 23 cannons fully dressed (9 on Starboard side of gun deck and 14 on main deck) The 9 Portside cannons of the gun deck which are less visible....I'll likely not add any chains or ropes to them. This may be a lot of overkill with all these cannon pics, but I feel that it is worth noting because of how long they take to make.
View attachment 237140
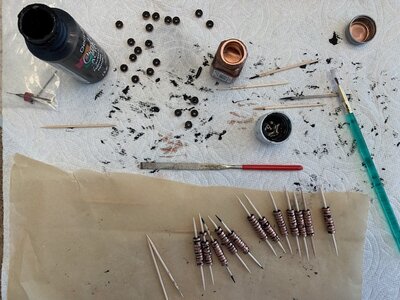
I started painting the cannon wheels by setting them up on toothpick and painting both sides with black acrylic paint and working in copper on the outer rims. I used the toothpicks to keep these little wheels from rolling everywhere. They are a real pain to find once they roll off the table.
View attachment 237141
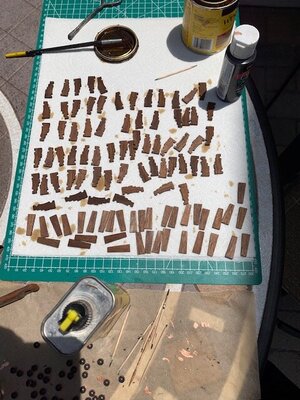
I then stained the bottom and sides of the cannons with Golden Oak stain.
View attachment 237142
The cannon on the left is my prototype....the cannon barrels were etched with Novacan Black patina and I rigged glued up the bases on twenty-two cannons.
View attachment 237143
The wheels and axles are glued into place after I painted the axles a pewter gray.
View attachment 237144
I used a toothpick to apply some gold Tester's model paint to the cannon emblems.
View attachment 237145s
I used the scrap brass pieces in the kit to make the cannon braces. I bent them over a nail that was super-glued into a piece of wood which you can see above. The nail was about the same width as the cannon arms. The other 2mm scraps were glued onto the piece of wood and were used as simple jigs for me to glue up the cannon bases.
View attachment 237146
I used the patina to discolor the brass to make it look weathered.
View attachment 237148
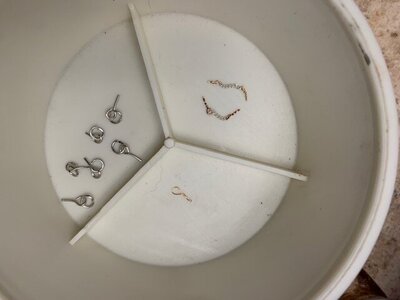
I purchased a box of costume jewelry parts to make earrings for $9. It had chain, hooks and loops for me to use for cannon rigging. The pic above shows you how small the pieces are and why it is so time consuming for me to rig up a cannon. I have to use my magnifying glasses and its a real slow process for me. Yet, the following three pics gives you an idea how these will look when finished. I'll probably shorten up the ropes on the cannon when I go to attach them to the deck....
View attachment 237149
View attachment 237150
View attachment 237151
So, next week I'll be drilling some holes into the cannon sides and rear to set the rings and chains....I use thin copper wire to make some of the hoops. I also use gun metal gray acrylic to paint the ends of the cannon and the rear cannon knob. So, off for now into another shore weekend.
Oh, there is one more exciting thing to add to the Pearl's story. She is really leading the way for me to better understand how to do things....I'll likely be working on her into next year but we both decided to have a sister ship....
Oh boy, look what arrived this week!
View attachment 237152
Hopefully, it will come out of dry dock sometime in late '22, God willing. This monster when finished will be almost as wide as my pool table....47" What a kit!
View attachment 237153
A great weekend to all you mates! Ahoy!
Nice job on the cannons, to good for a pirate ship. How are you going to keep your hands off the new kit?And you think the Pearl has a lot of cannons!

Good point Vic....I think over 100:cannons on the San Felipe. However, from what I can see a lot of them are fake 1/2 cannons glued to wooden blocks within the hull!And you think the Pearl has a lot of cannons!

Tony, good point! I guess my Pearl harbors a higher class of scoundrels!Nice job on the cannons, to good for a pirate ship. How are you going to keep your hands off the new kit?

Well, I pulled the illustrations and CD-ROM out to keep me from fiddling around and making me lose focus from the Pearl. Getting to understand them is enough for now. Ha! Actually, with inflation taking off again, I figured it was the best time to strike a deal with Max, so I ordered it! I plan to do a bit more study to acquaint myself with others who have build this behemoth!Nice job on the cannons, to good for a pirate ship. How are you going to keep your hands off the new kit?

Thank you Paul....coming from you and the work you do (beyond excellent), I’ll be smiling all weekend!Really lovely work on the cannons! The attention to detail is fantastic. You are going to OWN the San Felipe!

Try a Santa AnaAnd you think the Pearl has a lot of cannons!
