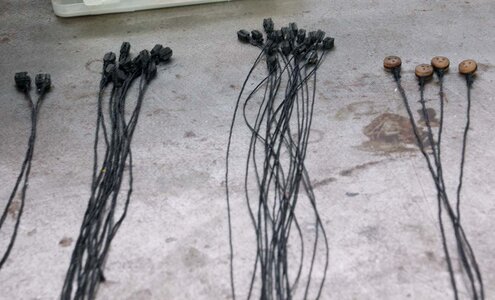
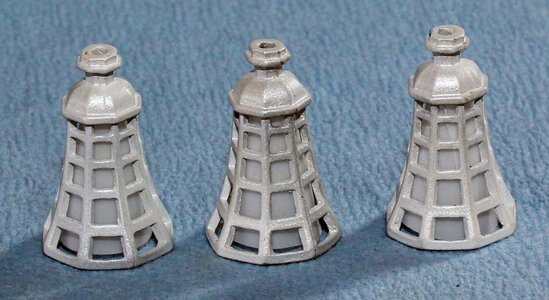
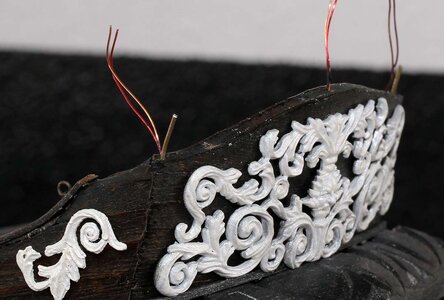
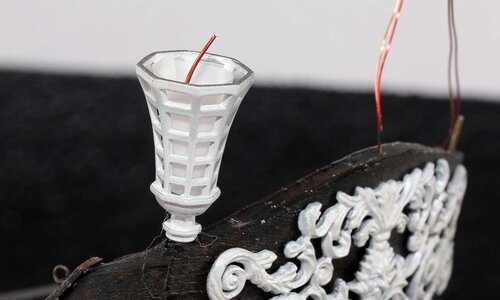
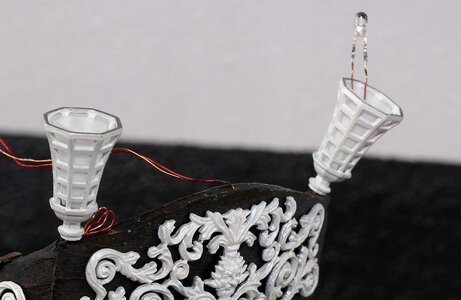
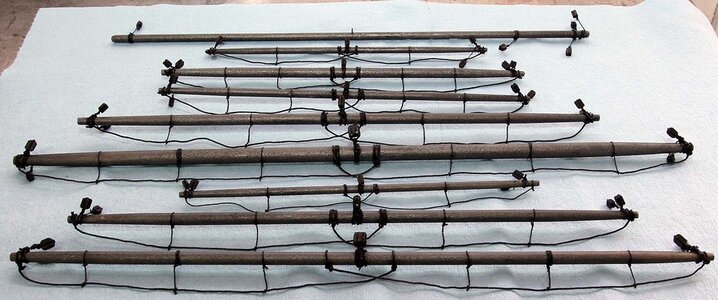
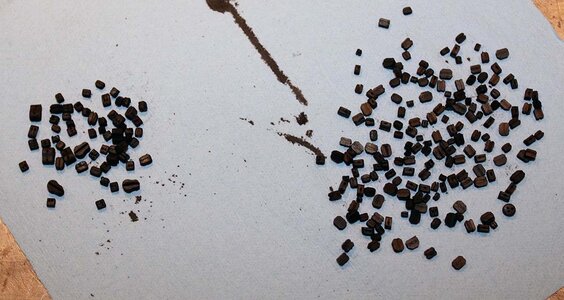
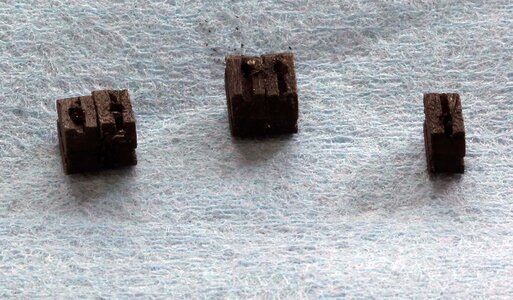
It’s getting toward time to start the serious rigging preparation. The first thing I did with this being the Black Pearl was to dump all the blocks in black stain. Here they are drying out.
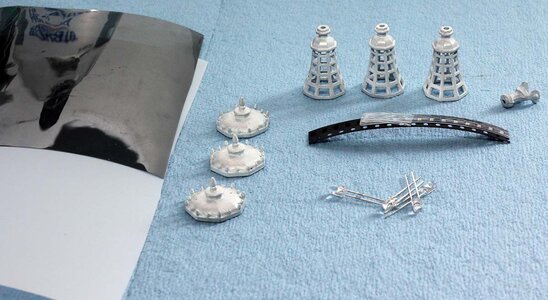
I’m going to go off on a bit of a tangent again and talk a little about my thoughts on the rigging for this thing. I don’t care all that much if this is rigged correctly but I don’t want the rigging to look silly. I can’t look at lines running through blocks etc and not immediately imagine what they do. On the plan for this ship it doesn’t take much effort to realize that the pyramid of blocks above the bow sprit and the 4 block pyramid above the aft sail don’t actually do anything. The front set could actually be just 2 blocks and the 4 blocks on the rear do absolutely nothing. The line would do the same thing if it was just tied to the boom. So I’m not going to be putting those on.
My thought is to concentrate on things that people will notice, and not sweat the things they won’t. So I wont be serving lines and tying proper knots on everything. I have come up with a few cheater things to simulate fancy knots that I’ll show along the way. So I’d highly recommend looking elsewhere if you want to see rigging done correctly. Check out @WarrLight Reggies black pearl, he did an awesome job on rigging his pearl if you’re looking for more historically correct style of rigging.
So basically what I’m getting at is I’m going to just make something up that looks a little fancy and reasonable to me. I’m using the rigging plans from my Mamoli Constitution and applying it to this ship to hopefully produce something that looks good. The Mamoli Constitution rigging isn’t 100% correct, but it sure looked good when it was done IMO.
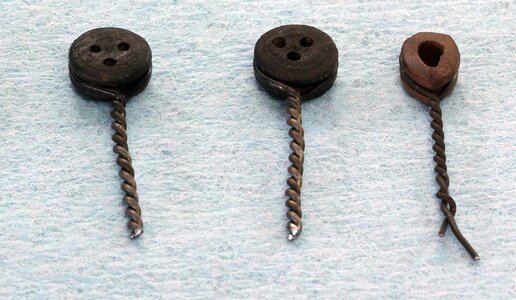
So that being said, the Mamoli rigging used triangular blocks on the stays, but the ones I have didn’t look right so I decided to go with the dead eyes like the ZHL instructions though attached differently. I twisted black wire around the deadeyes and will insert these into drilled holes..
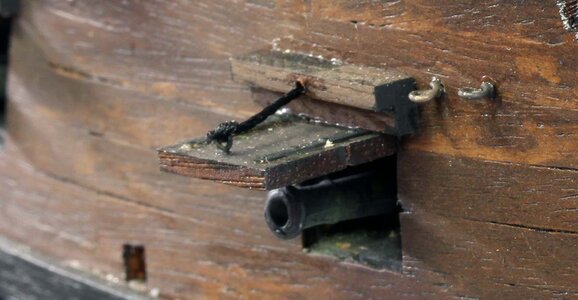
Next I went to work preparing to do rigging. In my experience the key to rigging is to do as much prep as possible before you start actually rigging. I took the rigging plans and started adding eye bolts where I need to tie blocks. For instance I added 2 eye bolts on each side of the hull for lines that go forward to support the bow sprit.
I make the eyelets as shown below. I highly prefer these over the typical kit provided ones because the won't stretch out when you pull on them. I took a piece of piano wire and bent it into an L shape and put it in a pin vise. Then I took cut a piece of 0.41mm annealed black wire I got from model expo and a pair of pliers, as seen here. (I also use 0.58mm wire for the larger ones)

I bent the black wire in half around the music wire and twisted it about 10 times. Sorry about the blurry photo, trying to hold about 4 things with two hands.

And the end result was this. I made 50 of these in about 20 minutes.

I also drilled some holes for eye bolts but didn’t actually put them in. Here is an example of where a stay will be tied to an eye bolt in the deck. It’s pretty tight here between the railing and the mast, so instead of putting the eye bolt in and trying to tie to it after the rat lines are done. I’m going to tie the line to the eyebolt, and then glue the eyebolt in the hole. With the ratlines in the way I guarantee it’ll be easier to glue the eyebolt in that it would be to tie a line to it. Then I’ll wait for it to dry and then tie the other end of the stay.

I added two eye bolts to the top of the stern galley because the rear mast just has the three ratline lines on the lower portion of the mast and I think it should have something higher on the mast. I’m not going to show photos of all of them but I added 45 eye bolts in various places. Some have a set purpose based on my plan and others are just because it doesn’t hurt to have extra places to tie stuff off.
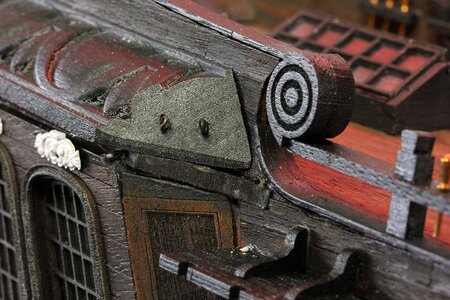
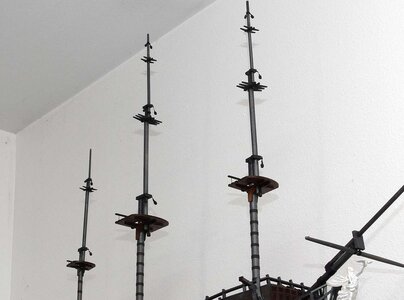
Another place that got even more eyebolts are the masts. Even the ZHL plans show tying blocks to the mastheads but they don’t actually tell you how to do that so I added eye bolts to the mastheads.
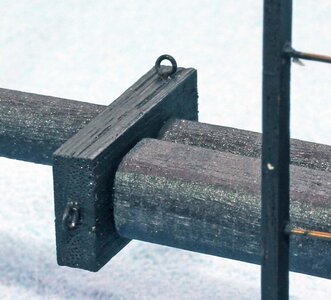
I also added eye bolts along the mast where the stays attach. On the ZHL plans they have stays run through blocks, which makes no sense being as the stays don’t move. You could even say they “Stay” in one place.
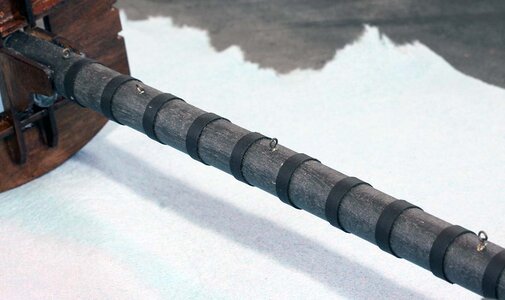
I also added them to top of the posts by the pin rails.
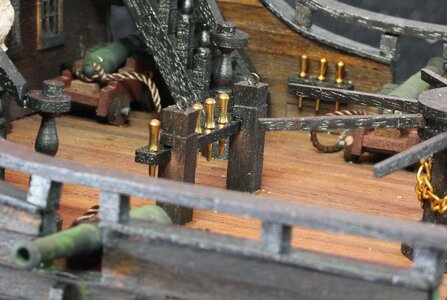
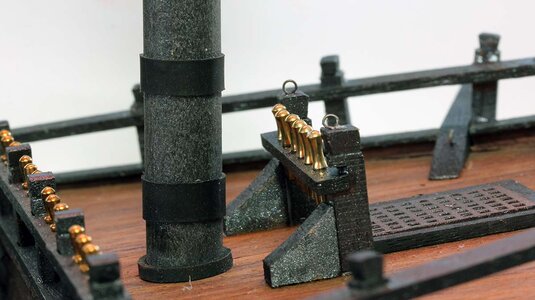
I promptly knocked the pin rail in front of the fore mast over. So I decided the pin rails that didn’t have them needed reinforced. So I added the triangular supports below.
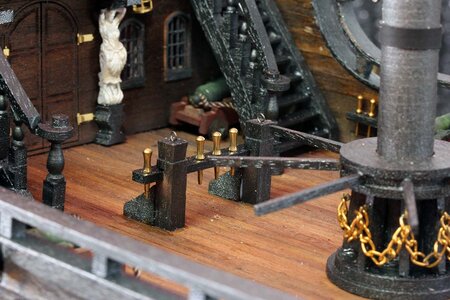
And also to the front.
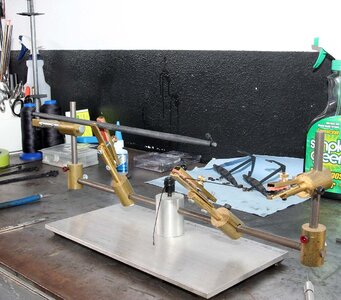
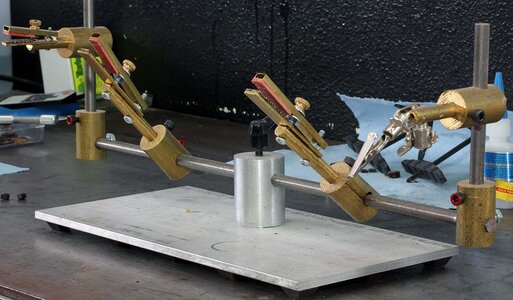
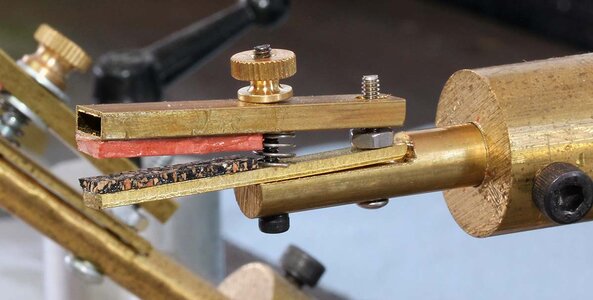
I then got out my home made third hand. I actually built this myself because I needed something to explain what “over built” means. That is just a joke, I love this thing. It is over built but it’ll hold about anything. These clamps work for most items. The rubber really helps them grab without excessive force. The whole thing is in here.
Next I decided I needed some large double blocks for the lower spars. It occurred to me that I could cheat and make them by just gluing the provided singles together. The lower yards on the Constitution actually have triples on them, but I think the doubles will look fine.
Here’s a cheater way of attaching a large block. I jut use a square not to tie it to the block inside the clamp and then put the other end of the line to the next clamp. This makes it straight and frees up both my hands.
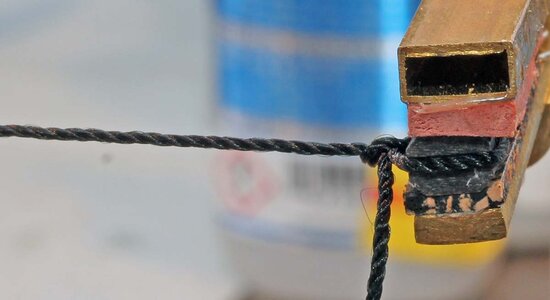
Then I wrap the line around it 5 to 7 times depending on how I want to look and drop a bit of CA on it.
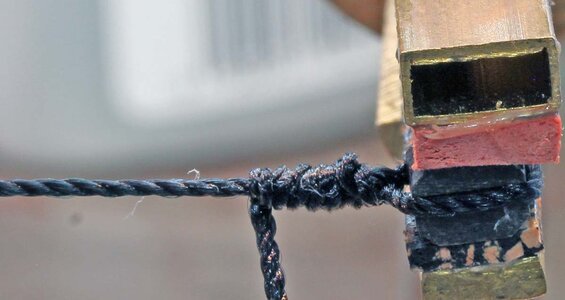
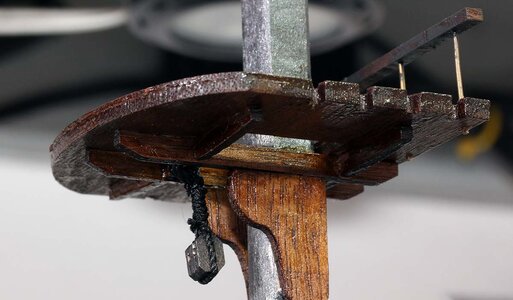
Cut the tail off and here is how it looks attached to the mast. Once again here is an example of placing a block before even attaching the mast. This would be a real booger to add after a bunch of stays and ratlines are in place.
Next I'll be working on preparing more blocks.

I’m going to go off on a bit of a tangent again and talk a little about my thoughts on the rigging for this thing. I don’t care all that much if this is rigged correctly but I don’t want the rigging to look silly. I can’t look at lines running through blocks etc and not immediately imagine what they do. On the plan for this ship it doesn’t take much effort to realize that the pyramid of blocks above the bow sprit and the 4 block pyramid above the aft sail don’t actually do anything. The front set could actually be just 2 blocks and the 4 blocks on the rear do absolutely nothing. The line would do the same thing if it was just tied to the boom. So I’m not going to be putting those on.
My thought is to concentrate on things that people will notice, and not sweat the things they won’t. So I wont be serving lines and tying proper knots on everything. I have come up with a few cheater things to simulate fancy knots that I’ll show along the way. So I’d highly recommend looking elsewhere if you want to see rigging done correctly. Check out @WarrLight Reggies black pearl, he did an awesome job on rigging his pearl if you’re looking for more historically correct style of rigging.
So basically what I’m getting at is I’m going to just make something up that looks a little fancy and reasonable to me. I’m using the rigging plans from my Mamoli Constitution and applying it to this ship to hopefully produce something that looks good. The Mamoli Constitution rigging isn’t 100% correct, but it sure looked good when it was done IMO.
So that being said, the Mamoli rigging used triangular blocks on the stays, but the ones I have didn’t look right so I decided to go with the dead eyes like the ZHL instructions though attached differently. I twisted black wire around the deadeyes and will insert these into drilled holes..

Next I went to work preparing to do rigging. In my experience the key to rigging is to do as much prep as possible before you start actually rigging. I took the rigging plans and started adding eye bolts where I need to tie blocks. For instance I added 2 eye bolts on each side of the hull for lines that go forward to support the bow sprit.

I make the eyelets as shown below. I highly prefer these over the typical kit provided ones because the won't stretch out when you pull on them. I took a piece of piano wire and bent it into an L shape and put it in a pin vise. Then I took cut a piece of 0.41mm annealed black wire I got from model expo and a pair of pliers, as seen here. (I also use 0.58mm wire for the larger ones)

I bent the black wire in half around the music wire and twisted it about 10 times. Sorry about the blurry photo, trying to hold about 4 things with two hands.

And the end result was this. I made 50 of these in about 20 minutes.

I also drilled some holes for eye bolts but didn’t actually put them in. Here is an example of where a stay will be tied to an eye bolt in the deck. It’s pretty tight here between the railing and the mast, so instead of putting the eye bolt in and trying to tie to it after the rat lines are done. I’m going to tie the line to the eyebolt, and then glue the eyebolt in the hole. With the ratlines in the way I guarantee it’ll be easier to glue the eyebolt in that it would be to tie a line to it. Then I’ll wait for it to dry and then tie the other end of the stay.

I added two eye bolts to the top of the stern galley because the rear mast just has the three ratline lines on the lower portion of the mast and I think it should have something higher on the mast. I’m not going to show photos of all of them but I added 45 eye bolts in various places. Some have a set purpose based on my plan and others are just because it doesn’t hurt to have extra places to tie stuff off.

Another place that got even more eyebolts are the masts. Even the ZHL plans show tying blocks to the mastheads but they don’t actually tell you how to do that so I added eye bolts to the mastheads.

I also added eye bolts along the mast where the stays attach. On the ZHL plans they have stays run through blocks, which makes no sense being as the stays don’t move. You could even say they “Stay” in one place.

I also added them to top of the posts by the pin rails.

I promptly knocked the pin rail in front of the fore mast over. So I decided the pin rails that didn’t have them needed reinforced. So I added the triangular supports below.

And also to the front.

I then got out my home made third hand. I actually built this myself because I needed something to explain what “over built” means. That is just a joke, I love this thing. It is over built but it’ll hold about anything. These clamps work for most items. The rubber really helps them grab without excessive force. The whole thing is in here.


Next I decided I needed some large double blocks for the lower spars. It occurred to me that I could cheat and make them by just gluing the provided singles together. The lower yards on the Constitution actually have triples on them, but I think the doubles will look fine.

Here’s a cheater way of attaching a large block. I jut use a square not to tie it to the block inside the clamp and then put the other end of the line to the next clamp. This makes it straight and frees up both my hands.

Then I wrap the line around it 5 to 7 times depending on how I want to look and drop a bit of CA on it.

Cut the tail off and here is how it looks attached to the mast. Once again here is an example of placing a block before even attaching the mast. This would be a real booger to add after a bunch of stays and ratlines are in place.

Next I'll be working on preparing more blocks.
Last edited:


