- Joined
- Sep 4, 2020
- Messages
- 2
- Points
- 0
Hola tengo todo menos los planos para poder montarlo.Dioni
 |
As a way to introduce our brass coins to the community, we will raffle off a free coin during the month of August. Follow link ABOVE for instructions for entering. |
 |
 |
The beloved Ships in Scale Magazine is back and charting a new course for 2026! Discover new skills, new techniques, and new inspirations in every issue. NOTE THAT OUR FIRST ISSUE WILL BE JAN/FEB 2026 |
 |
¿Tienes el equipo de ZHL? Llama Max de ZHL. Perhaps I should say this in English. I understand that Max at ZHL is pretty helpful to cover any deficiencies of his kits. Did you buy the kit fro ZHL and it had no instructions? Is that the problem?¿No lo tienes? ¿Porque no? ¿Tienes el equipo?
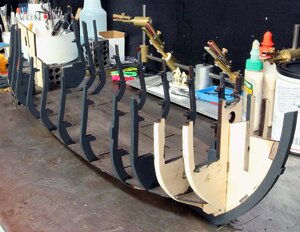
 BP065
BP065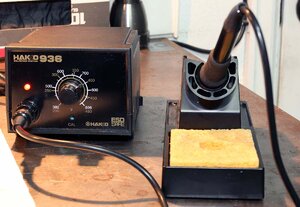
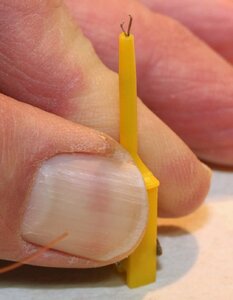
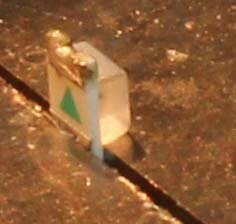
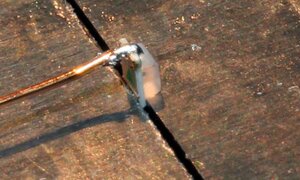
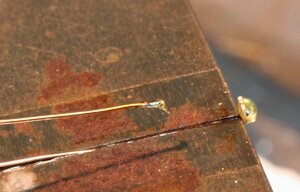
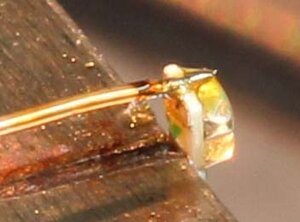
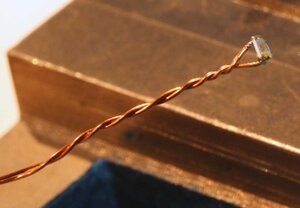
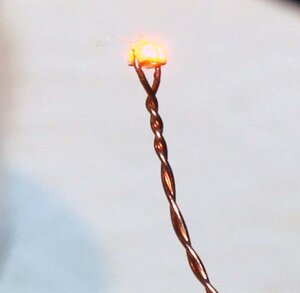
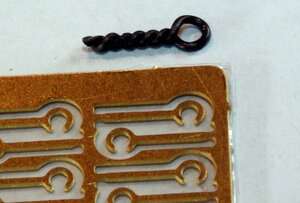
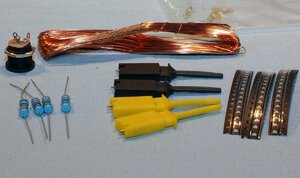
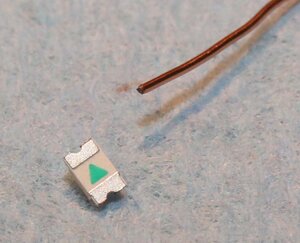
I'm totally befuddled. Never done anything like this before. I'll be following you. Hope I won't be burning up all my leds.When I pulled the gizmos below out of the bag, I was a bit confused by what they were for. I’m pretty sure these are actually test equipment leads. Based on the pictures in the manual, the idea is you push on them so the little claw comes out, and then lock the claw around a wire etc.
View attachment 179124
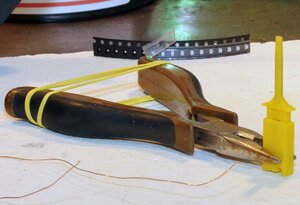
The instructions show placing a smd (Surface Mount Diode) in the claw of one of these clips. Then use pliers with a rubber band to hold it up while soldering.
View attachment 179125
I decided to give it a try. As it turns out these little clips, I tried one of each color, are actually magic. They make leds disappear right before your eyes. I never managed to get one to stay in one of these clips. I’m pretty sure there is one somewhere in the furnace and the dog wasn’t amused by being shot by some strange projectile while she was sleeping at my feet. I’m just kidding about the furnace and the dog, but I did shoot 3 of the smd’s off into oblivion.
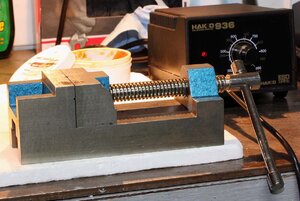
So my rather odd solution was to go back to what worked for me before. I have a small machinists vice. A machinists vice has jaws that run along a track which keeps the moving jaw from tipping therefore keeping the two jaws much more parallel to each other. This vice is about 2 inches(50mm) wide and 6” (300mm) long. I don’t know where I got it but I’d bet the Proxxon MS 4 Machine Vise would be just as good as long as it has metal jaws.
View attachment 179126
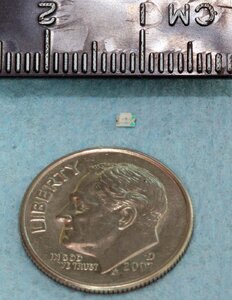
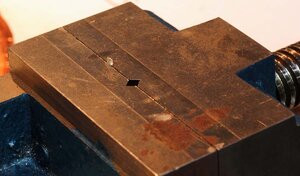
So I first put one ear in the vice as shown below. The tiny led makes the vice look massive.
View attachment 179127
Next I put a tiny bit of solder on from the top side.
View attachment 179129
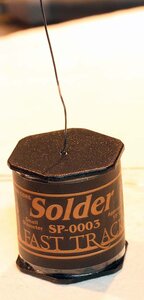
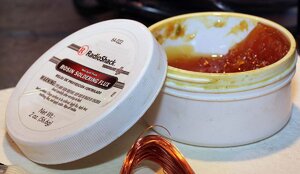
Then I tin the wire to melt the insulation off the very end and add a tiny bit of flux and solder the wire as seen below.
View attachment 179130
I then turn it sideways in the vice and clamp the wire holding the led with the other side up. Below you can see the tinned wire with a bit of paste flux, and the led on the right side of the vice.
View attachment 179131
And here it is soldered on.
View attachment 179132
Then twist the wire with the led. If your solder joints are good, they will be strong enough, you can take the led in one hand and twist the wires with it. I do that as a test because if it can't hold up to that, it is probably going to fall apart while you’re trying to install it.
View attachment 179133
And then it’s wise to use a battery and make sure you didn’t kill the led in the process of putting it together. I did cook one led myself because I got in a hurry and put way to much heat and solder to it. Here’s one being tested.
View attachment 179134
On to assembling lanterns tomorrow.
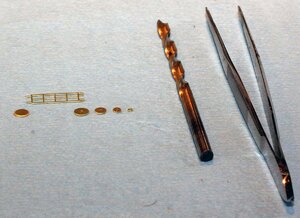
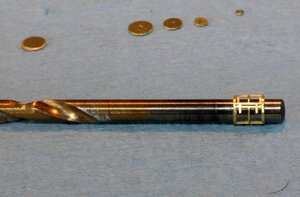
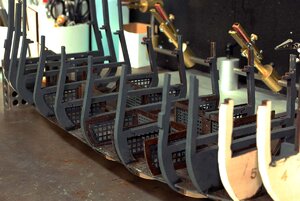
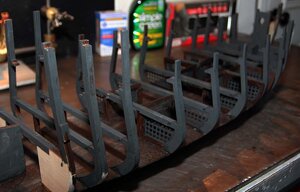
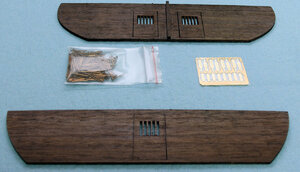
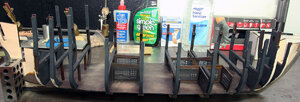

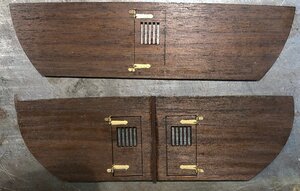
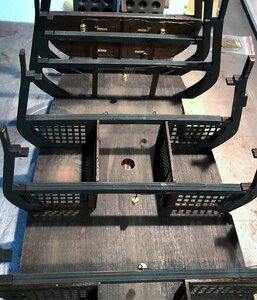
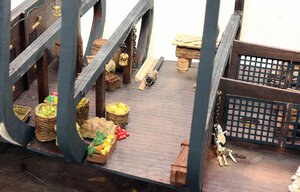
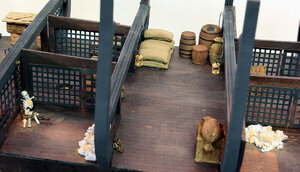
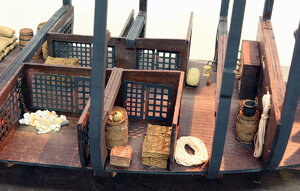


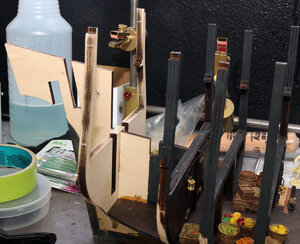


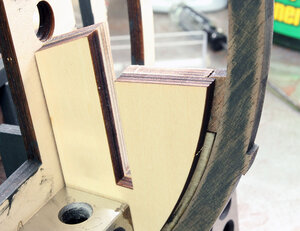
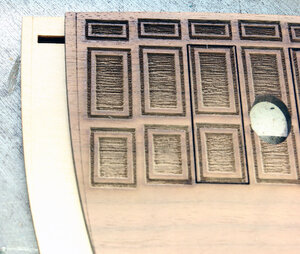
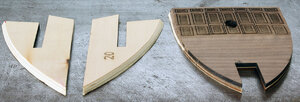
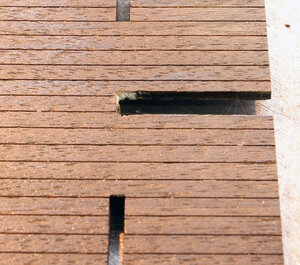
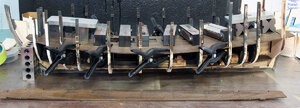
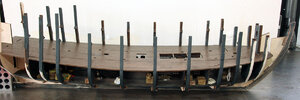
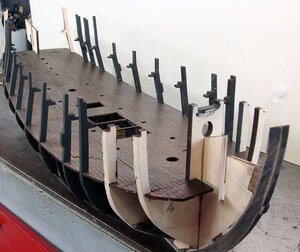
Too late now Jodie but for another time sake maybe, if you glue paper to one part and glue the other part to the other side of the paper, it should be easy to take apart, leaving a thin layer of paper on both parts that can easily be sanded away.I did put a small amount of glue under the “removable” panels. I’m sure I can get them out without damaging them (significantly anyway)
