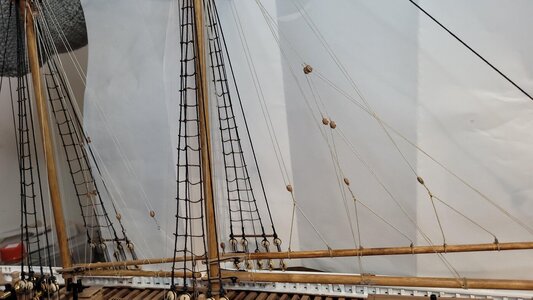
Bluenose by Mallacoota [COMPLETED BUILD]

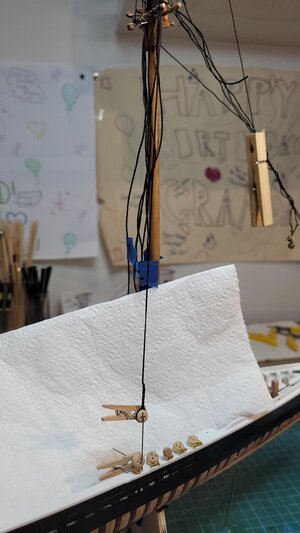
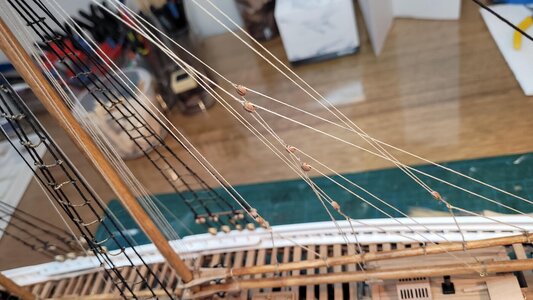
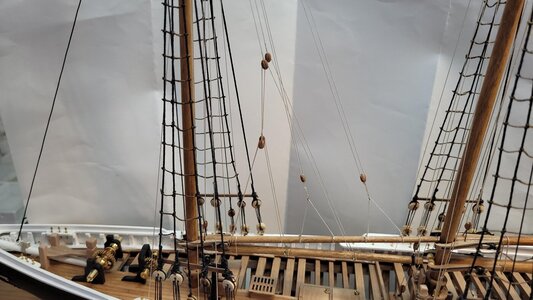
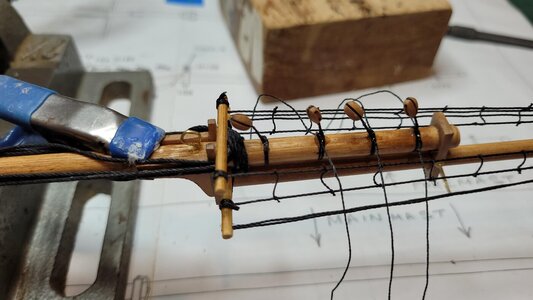
Tied in Zoly's beautiful blocks to the mast which I find much more satisfactory than inserting pins which I have a lot of trouble securing tightly enough to take rigging tension.
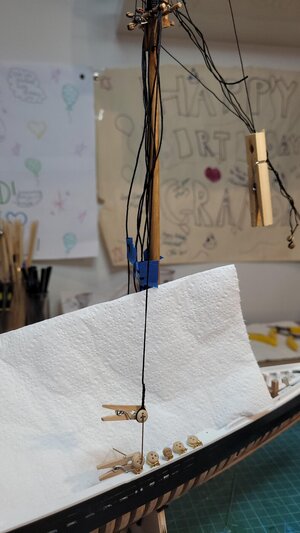
Been tying in the shroud deadeyes and then tying the shrouds to the mast on alternate sides using a bent piano wire spacer to get even lanyard length. I find it very difficult to tie in the upper deadeyes at the right length if the shrouds are already fixed. this method allows for the increasing length of the shroud as you go aft and keeps the lanyard gap the same.
IMG_20210714_111746.jpgIMG_20210715_090547.jpgIMG_20210715_090547.jpg
 
This looks like a good method to ensure equal spacing between the shrouds and lanyards. I am really amazed at all the different solutions our builders find for the same challenge. Keep up the good work!
 
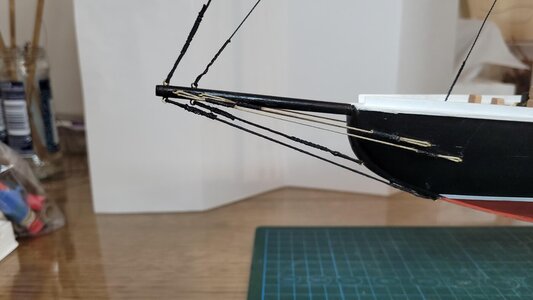
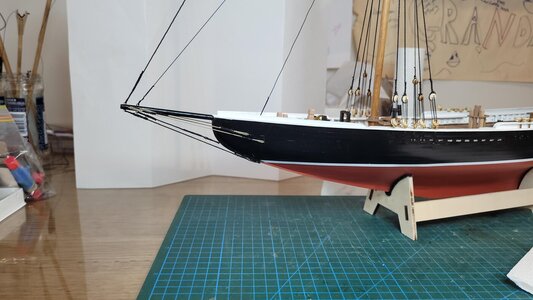
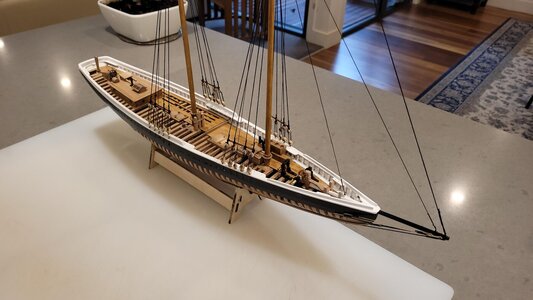
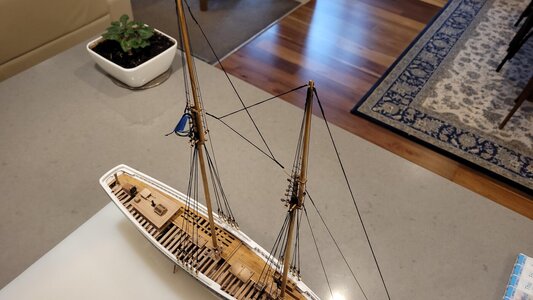
Have stood up the foremast and shrouds rigged. Did not glue the mast in place. The standing rigging holds it well and if you have to move house or whatever you can just cut some rigging and unstep the mast. Finished the bowsprit stays. Hard to believe they cant be tensioned still if thats what they are like then I have done it that way.
Photos are pretty unforgiving arent they...all your mistakes seem to be highlighted...!

IMG_20210716_133322.jpg
IMG_20210716_133315.jpgIMG_20210716_132958.jpg
 
Have stood up the foremast and shrouds rigged. Did not glue the mast in place. The standing rigging holds it well and if you have to move house or whatever you can just cut some rigging and unstep the mast. Finished the bowsprit stays. Hard to believe they cant be tensioned still if thats what they are like then I have done it that way.
Photos are pretty unforgiving arent they...all your mistakes seem to be highlighted...!

View attachment 244450
View attachment 244447View attachment 244448
Hi John, That looks pretty tight. Thumbs-UpA complex piece of rigging.
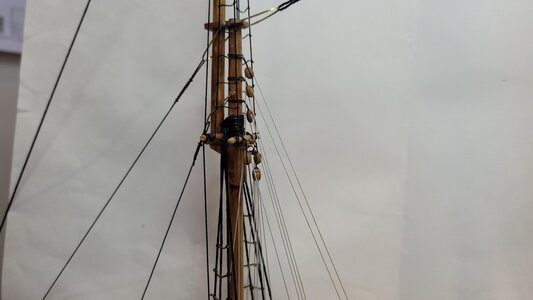
And about the ‘unforgiving pictures’: We all know about them, and we keep making them. ;)
For yourself they are a great help to further improve your model, if you deem it necessary to change.
If you don’t tell us what mistakes there are (in your opinion), we (probably) won’t see them.:)
Regards, Peter
 
Hi John,
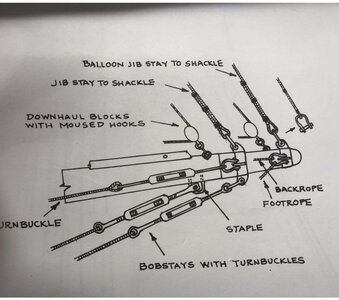
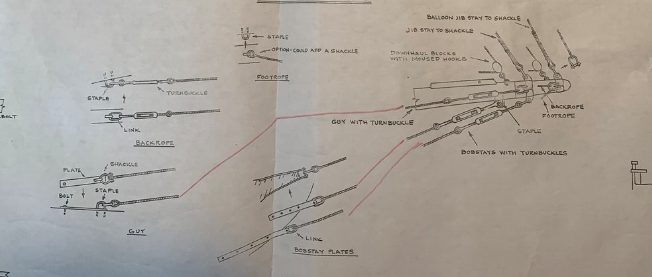
The bowsprit stays were tensioned with turnbuckles...I have some tiny turnbuckles I purchased, but was going to make some. You can use small tubing and an eye on each end. Here is a picture of the bowsprit rigging...
IMG_2675.jpg

The backrope has a turnbuckle on the end that attaches to the hull on the ship. See below...

1626435195301.png
 
Last edited:
Have stood up the foremast and shrouds rigged. Did not glue the mast in place. The standing rigging holds it well and if you have to move house or whatever you can just cut some rigging and unstep the mast. Finished the bowsprit stays. Hard to believe they cant be tensioned still if thats what they are like then I have done it that way.
Photos are pretty unforgiving arent they...all your mistakes seem to be highlighted...!

View attachment 244450
View attachment 244447View attachment 244448
Photo‘s are not forgiving , and to be honest who cares ? Your build is outstanding , congrats
 
Have finished the ratlines and rigged the stern. Treated the running backstay as standing rigging and did it in black and the boom port and starboard main sheets as running rigging in natural. The central downhaul which I can only think was a securing rig for when the boom was in it's cradle I also did in natural. I kit bashed slightly and did not do the two slotted pulleys for the forward pieces of the backstay downhaul preferring two single blocks lashed to the boom. I really wasnt equipped to cut a neat enough slot ( actually two slots) and had no tiny pulleys to slip in there anyway.I cant guess why they did it that way..a couple of blocks is a lot easier to maintain...? whatever..! I am sure they had their reasons. Also added a cleat to the top of the boom to tie off the downhaul....and no, I cant find a way to thread the double block which doesn't twist....move on, nothing to see here. Another minor kit bash is that I added a beam of 4 x 4 walnut across the bottom of the transom to take the heavily loaded blocks mouted at the floor. I have a bad habit of hauling on my rigging to get tension and this time I outsmarted myself. Needs a matt coat to remove those glue marks.

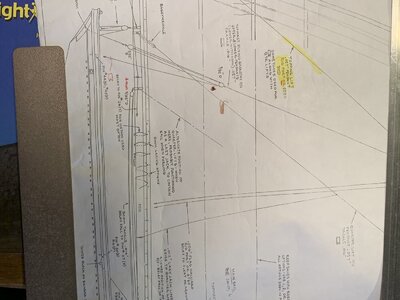
I probably should finish off the detail on the outside of the hull but I like doing the rigging so it can wait. The running rigging plan is not easy to understand with lots of lines of the same colour and thickness merging and then parting again....have to make some not very educated guesses.

View attachment 245442View attachment 245443View attachment 245444
You made your assumptions from what you have but there are differences in the fittings and rigging lines in this area that the attached details photos will show:
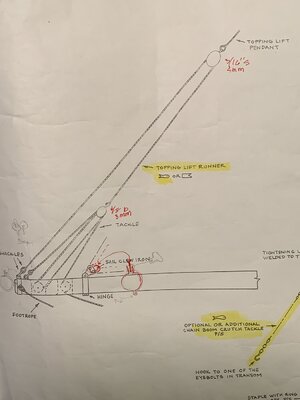
For the end of the Main Boom, recall that the main sail is secured along the top. The fittings include two sheaves set inside of the boom and the lines run accordingly to below the boom and forward to the boom tackle which is critical in running with the wind:
Main Boom Aft End Fittings and LInes.jpg
Here is a more complete elevation view showing that boom tackle:
Main Boom Rigging.jpg
How you proceed from where you are in this area at this time will be your decision but possibly these details will be for consideration for other builders. Your work so far shows that you are proceeding with care. Rich (PT-2)
 
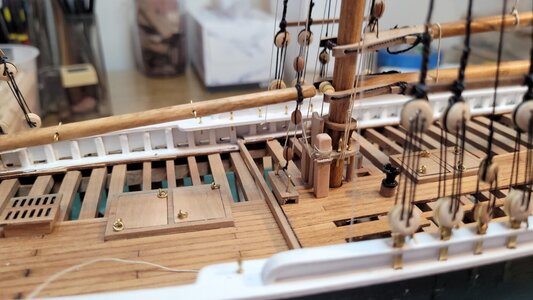
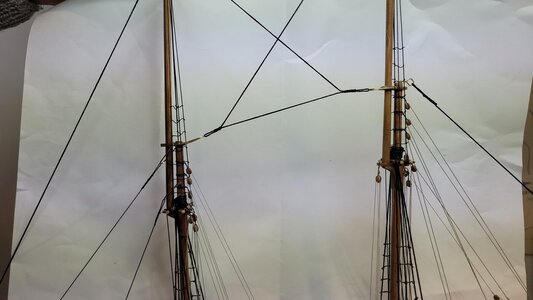
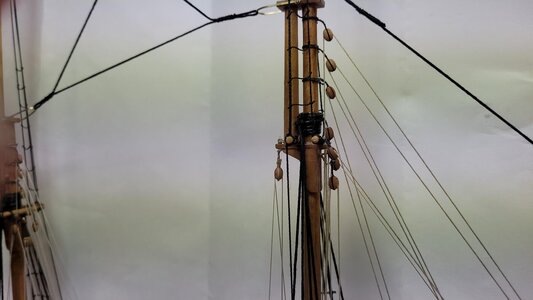
Rigging progress, this is the only area i have stepped outside the kit using Zoly's blocks and my own thread. Everything else is as provided. Once you realise that the boom lifts are duplicated on either side of the gaff lifts it becomes clearer..The drawings are a challenge without any English and probably more difficult to interpret than the hull construction.

IMG_20210805_100919.jpgIMG_20210805_100955.jpgIMG_20210805_114718.jpgIMG_20210805_114901.jpgIMG_20210805_114911.jpgIMG_20210805_114906.jpgIMG_20210805_115000.jpg
 
Last edited:
Finished the rigging, quite happy with it. For the benefit of anyone who is thinking of buying blocks I used 54 single blocks and 3 doubles only. I may not have done it exactly to plan but pretty close so you can estimate from that. I used lighter guage than the plan suggests. Most of my standing rigging is black 0.6mm and most of the running rigging is 0.25 natural. Having said that I think the sizes are "nominal" to say the least. It is easy enough to know the exact diameter by wrapping 1 cm on a stick and counting the wraps...but they dont sell it like that.
 
Well done John! This is a major step forward and you can be well pleased with the outcome! Thumbsup
 
Back
Top