• Win a Free Custom Engraved Brass Coin!!!
    As a way to introduce our brass coins to the community, we will raffle off a free coin during the month of August. Follow link ABOVE for instructions for entering.

Bluenose I - YuanQuin 1:72 - Loracs (in progress)

@Peter Voogt, thanks... greatly appreciated.
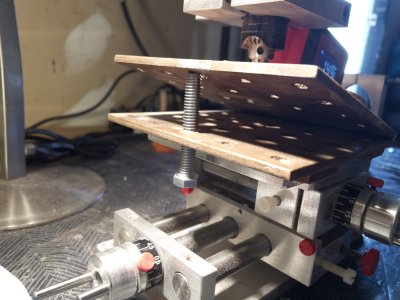
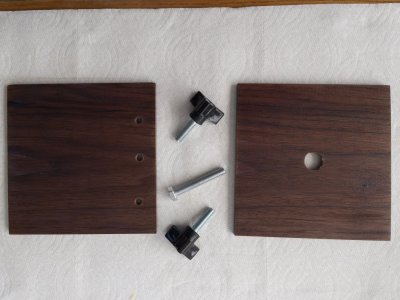
@Rob444, Greeting, I build it... pretty simple to make. Simple pieces of hard wood, a few holes and an aluminum bar glued on top (all from the hardware store). It is nice as a holder, as well as to taper strips lengthwise with a mini planer. The extra brass rods keep the boards aligned (mostly, better if you place a piece of wood the same width at bottom if you want more precision). The screws and t-bolts do the rest. Here the components...
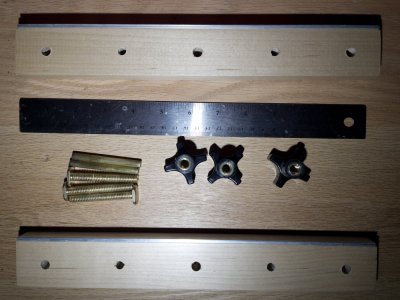
IMG_3534.jpeg
 
Last edited:
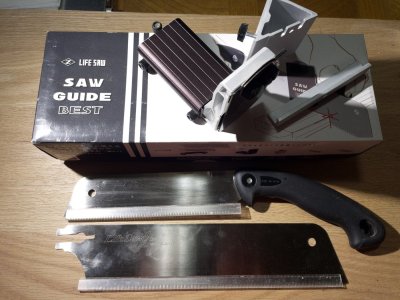
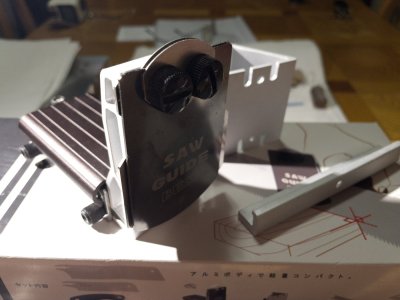
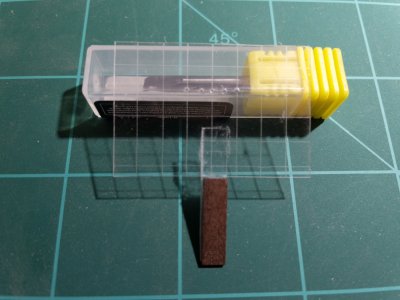
I don't have much anything in terms of power tools (no room). However, for making small jigs, this Japanese saw guide (Z Life Saw or similar) is fantastic. Perfect straight and square cut all the time. I just cannot live without it anymore. Five years old and still cuts hardwood like butter.

IMG_3535.jpegIMG_3536.jpeg
 
Last edited:
@Peter Voogt, thanks... greatly appreciated.
@Rob444, Greeting, I build it... pretty simple to make. Simple pieces of hard wood, a few holes and an aluminum bar glued on top (all from the hardware store). It is nice as a holder, as well as to taper strips lengthwise with a mini planer. The extra brass rods keep the boards aligned (mostly, better if you place a piece of wood the same width at bottom if you want more precision). The screws and t-bolts do the rest. Here the components...
View attachment 551485
Thanks so much looks like my next project~
 
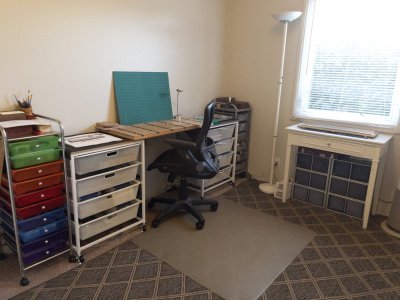
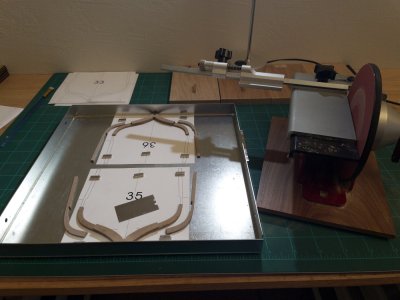
The captain relocated my shipyard to a larger open space. After nearly 3 years, I lost my building dock at the dining table, which frankly is great! Taking few days to explore the new possibilities... I'm a happy camper and the captain is please too. Will be back to the build after a brief detour.
 
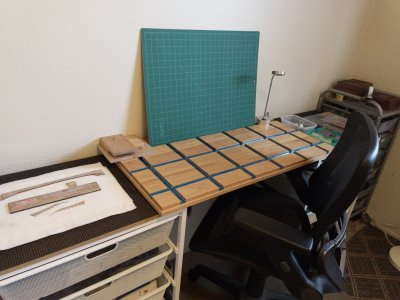
Completed relocation: having space to work is quite nice. I can still use my custom T-Bolt table that I built 2-3 years ago and just drop a large cutting mat on top if I want a flat surface to work on. I am still missing a 46 inch adjustable height table... waiting for black Friday sales. Overall, I like it... plenty of storage, already 2/3 full tho.
IMG_3547.jpegIMG_3548.jpeg
 
Congratulations on your new shop. Can't go wrong with adequate space and lots of storage for your creations. Your story of building on the dining room table reminds me of a widowed friend of mine who also built on the dining room table after his wife passed away. He always used to say to me that "his wife would be rolling over in her grave if she seen what he was doing to the dining room table". He has since passed away also, and I always wondered if she was putting a beating on him in the afterlife.:eek:;)

Jim
 
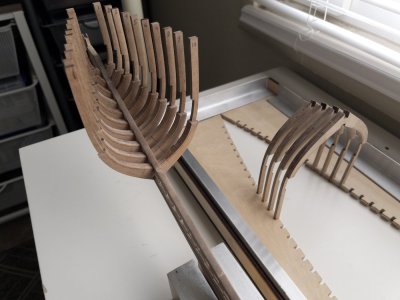
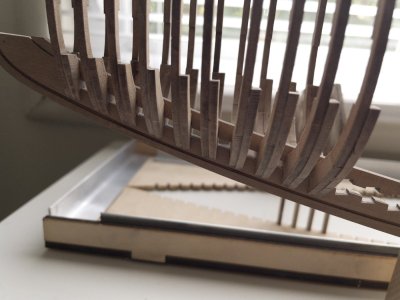
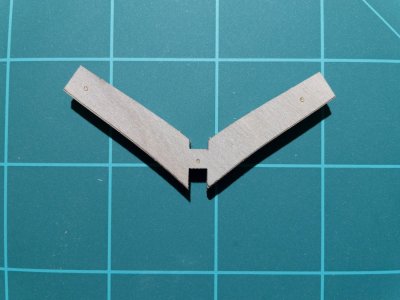
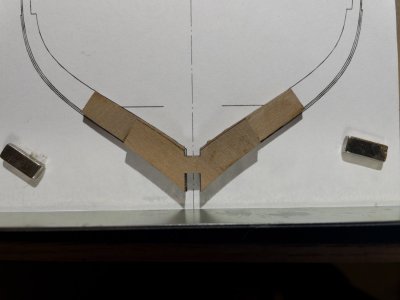
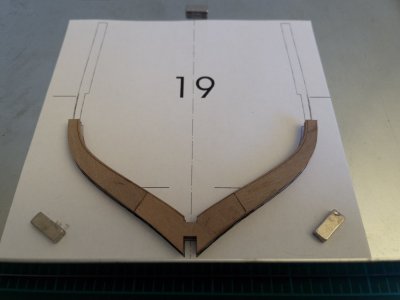
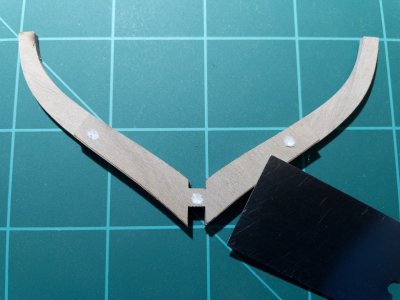
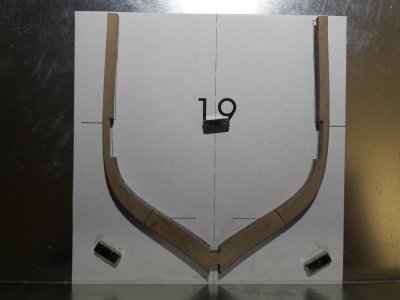
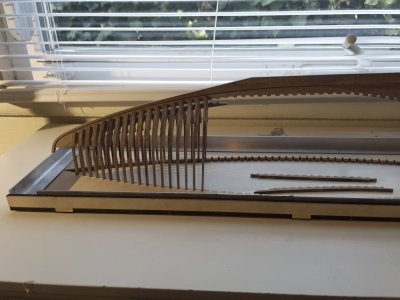
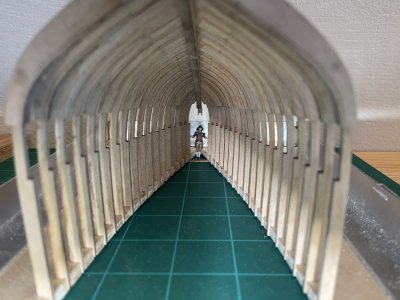
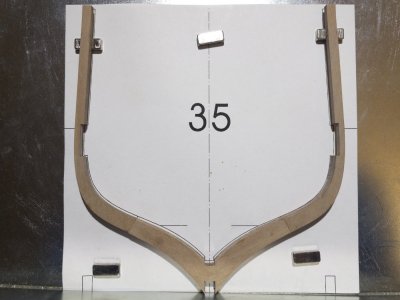
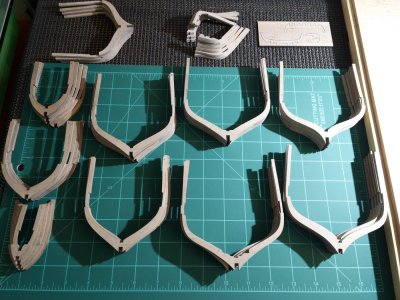
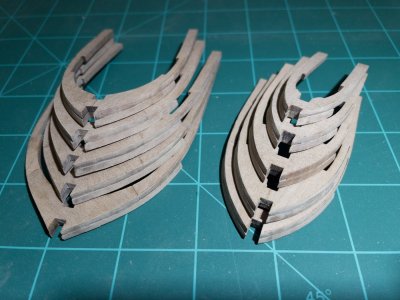
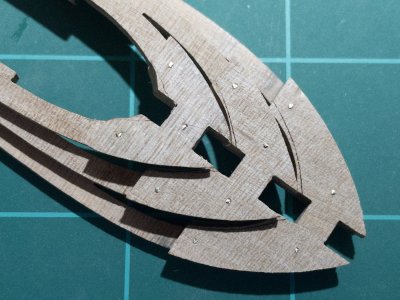
Frames: Just completed the first 20 frames. Now is a good time to give a short summary of my process, which is very slightly different. It is obvious but the first few steps in the assembly are quite important. The "knotch" need to be well aligned/flat on both sides of the frame to ease assembly to the keel and keelson. In addition, the parts need to be straight with each other to avoid too much deviation as you progress.

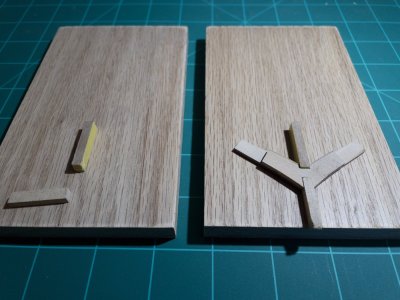
1) I started with a small rig, a flat piece of wood where I glued a spacer. The fit is very tight. In addition, the small spacer is taped all around so it does not get glued to the frame. The pieces are fitted flush using another insert. Check the alignment at the back so the two pieces are flat vertically on both side (using forcep or blade).

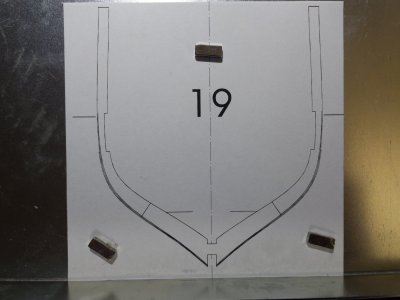
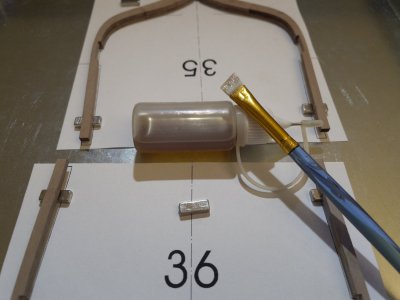
2) I only use the right side of the plan, I find it easier. I glued the assembly above to the plan using three very small dots. Note: the assembly is upside down (when comparing to the plan) at this step. I use hide glue so it does not stain the wood. Tack glue is likely another option.

3) The next two pieces are then glued in place, checking that the parts are flush vertically at the inside of the frame. Note: they will be slightly staggered at the outside of the frame. Once dry, I removed it from the plan, cleaned up the stuck paper and finally flipped it again (upside down) according to the plan.

4) The last parts are then glued. As always, I check both alignment to the plan and that the parts are flush vertically on the inside of the frame. That's it, done...

The following illustrates the assembly. This works for me... but your mileage may vary.

IMG_3560.jpegIMG_3562.jpegIMG_3564.jpegIMG_3565.jpegIMG_3566.jpegIMG_3589.jpegIMG_3590.jpeg
 
Last edited:
Back
Top