-

Win a Free Custom Engraved Brass Coin!!!
As a way to introduce our brass coins to the community, we will raffle off a free coin during the month of August. Follow link ABOVE for instructions for entering.
-

PRE-ORDER SHIPS IN SCALE TODAY!
The beloved Ships in Scale Magazine is back and charting a new course for 2026!
Discover new skills, new techniques, and new inspirations in every issue.
NOTE THAT OUR FIRST ISSUE WILL BE JAN/FEB 2026
You are using an out of date browser. It may not display this or other websites correctly.
You should upgrade or use an alternative browser.
You should upgrade or use an alternative browser.
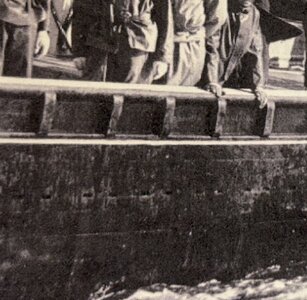
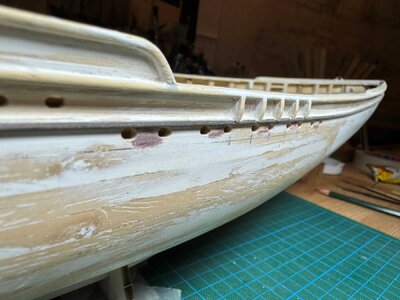
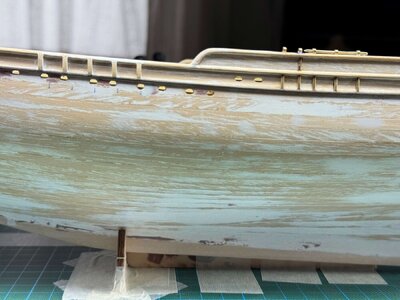
I didn't depict the deeply recessed, flush-mounted steel bands on the hull - the effort seemed disproportionate to the benefit here 
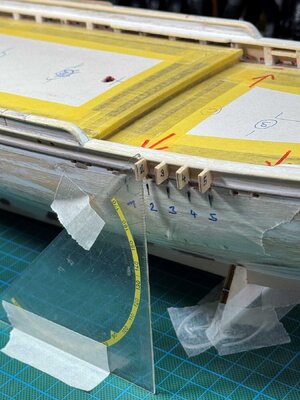
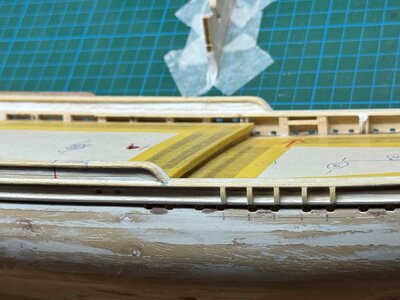
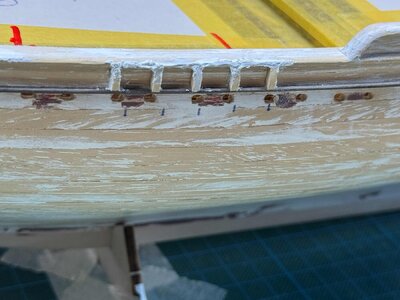
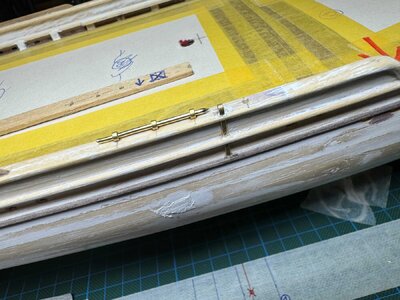
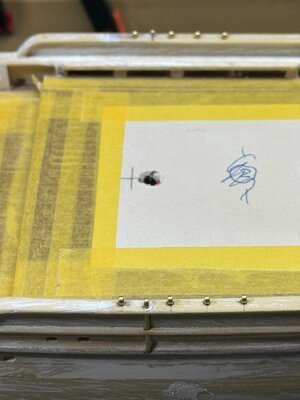
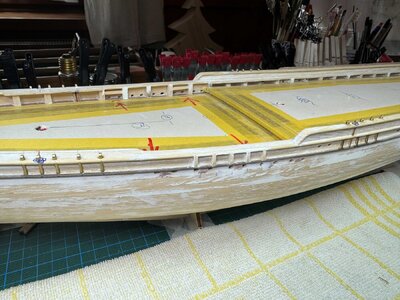
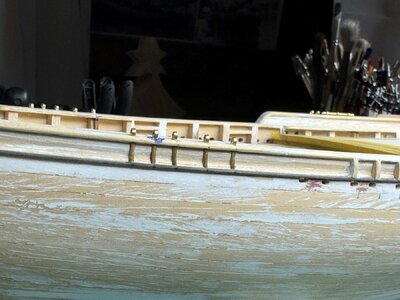
I positioned the shrouds for the mastheads slightly outward on the main deck to avoid collisions with the other shrouds.
I positioned the shrouds for the mastheads slightly outward on the main deck to avoid collisions with the other shrouds.
Very good work - I like your "style"
Thank you very much, one grows with the task.Very good work - I like your "style"
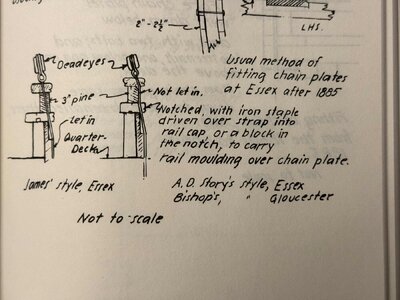
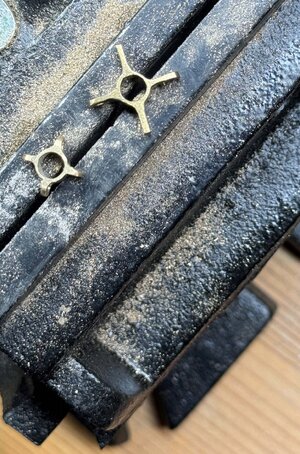
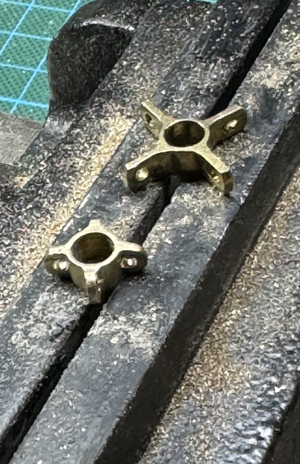
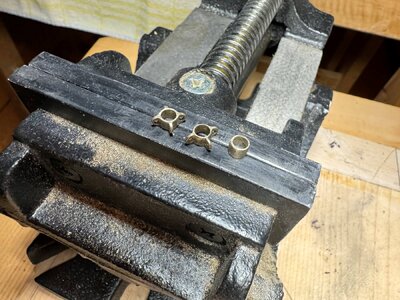
A nice idea for the shroud fittings, Frans. About the steel bands on the hull, it’s always a trade-off between scale and visibility. Once painted it dampens the thickness.The next step is the fittings for the shrouds
View attachment 432435
View attachment 432436
View attachment 432437
View attachment 432438
View attachment 432439
Regards, Peter
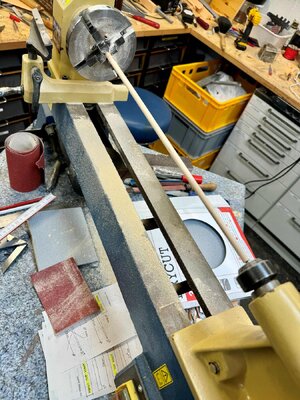
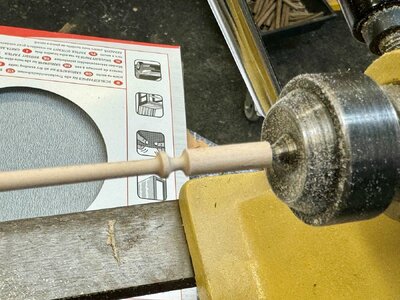
In the meantime, I have attended to the masts and booms. The kit contained only round rods that still required processing. I have an acquaintance who is a crib builder, and there I was able to taper the masts and booms on a lathe machine. The "ornate baroque curls" represent the two mast tops. I adhered to the proportions outlined in Mr. Eisnor's plans, which have proven to be immensely helpful. Here are the results:
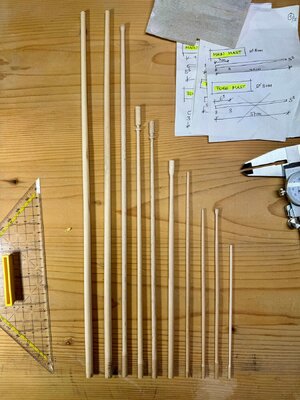
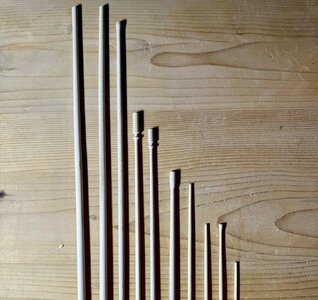


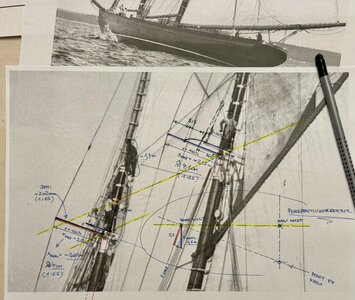
A nicer approach, Franz. In scale, they are fragile, but gives the masts some elegance.Some reflections on the dimensions of the cross trees, which were indicated in my kit at a relatively robust scale of 4x4mm, 1:65(!).
View attachment 434866
Regards, Peter
Hello Peter! I was astonished by the multitude of diverse length and dimension specifications of the crosstrees in the plans, and it was only upon seeing this photo that I truly appreciated the delicate nature of the stay reinforcements. If depicted to scale, they would likely lean towards a thickness of around 1mm. I will examine this closely during construction to assess whether the proportions align appropriately or if they are indeed undersized. Time will tell. Regards, Franz.A nicer approach, Franz. In scale, they are fragile, but gives the masts some elegance.
Regards, Peter
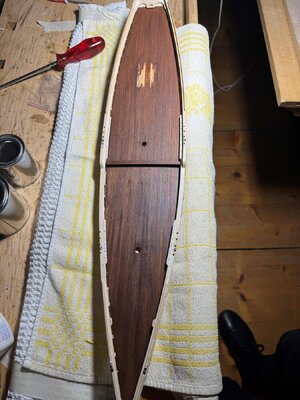
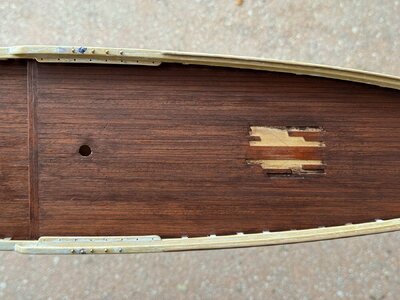
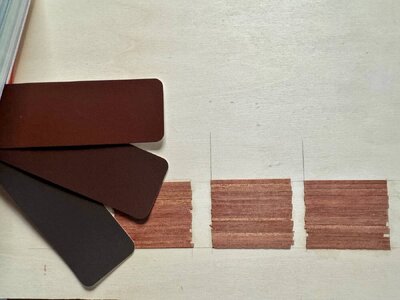
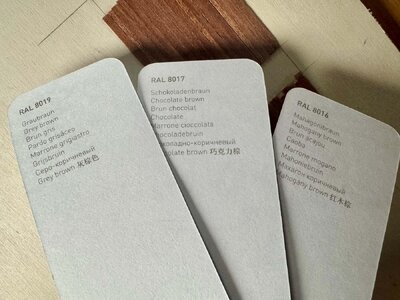
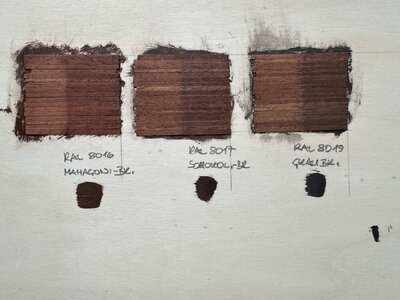
Next agenda item: the deck. Unfortunately, at the outset, I employed the deck planking provided by the kit and coated it with a pore filler to shield it from contamination. Only subsequently did I delve deeper into the intricacies of the Bluenose, wherein it became apparent that a mahogany deck might not be the optimal choice. My wife aptly pointed out that the Bluenose did not partake in the America's Cup and did not boast or should not boast a highly polished mahogany deck. As my wife is invariably correct  , I endeavored to alter the deck color with the following color samples:


Last edited:
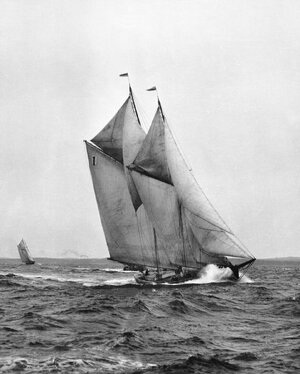
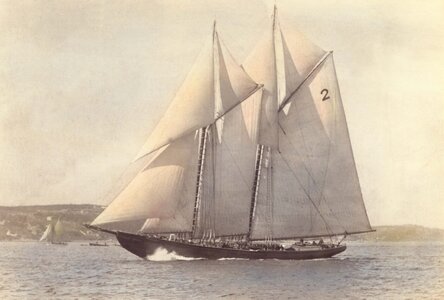
With that, I believe I have finally made the fundamental decision that I've been procrastinating on for quite some time – the condition in which I'll depict the Bluenose. The photos that heavily influenced my decision to build the schooner depict it in a beautifully weathered state. So, that's the aim. We will see...


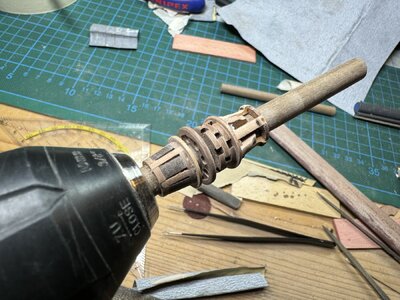
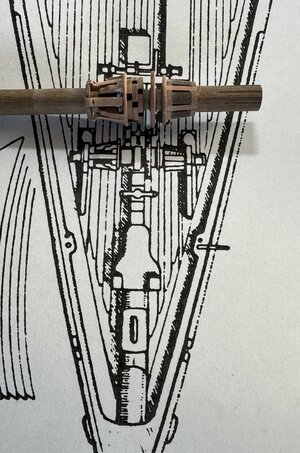
And in between, so that I can precisely determine the position of the winch and the length of the bowsprit, I have started with the winch shaft. I am building it with the means at my disposal. Since the parts are much too large, I am grinding them down to size. Due to the scale and my capabilities, I will omit some details, as the construction of small-scale accurate parts (especially the teeth of the gears) is simply not possible for me. It will be a "reduced symbolic representation" 
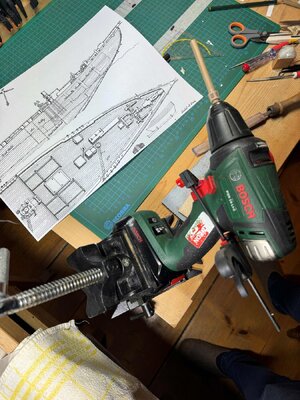
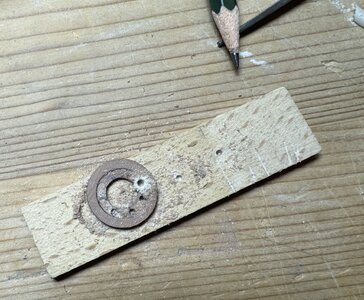
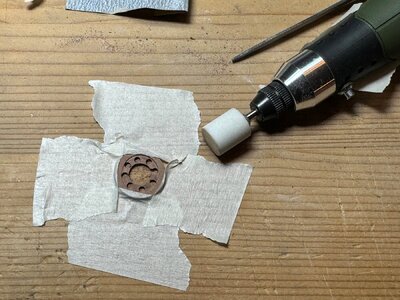
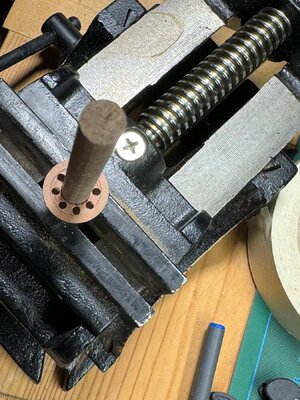
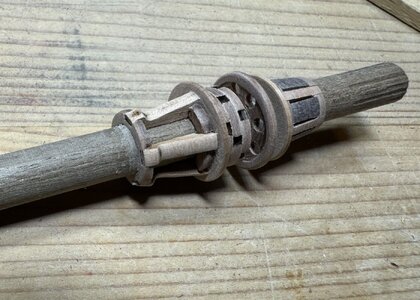


You are doing a nice job, Franz. It’s indeed a challenge to build the winch in a representative scale. But that’s for all the detailed parts.I will slightly reduce the diameter of the raised parts on the left side. Into the cleats of the winch on the right side, a wire will be inserted each.
View attachment 437961
Regards, Peter
Last edited:
Hello Peter! Thank you for your feedback.
It´s in deed a challenging balance between reality and chosen representation. For the winch, I opted to construct it without wire inserts, retaining the slots between the planks. After trimming, it now fits proportionally, and reducing the diameter of the minor pulleys, along with an additional lowering in the center, makes the whole assembly less bulky and cumbersome.
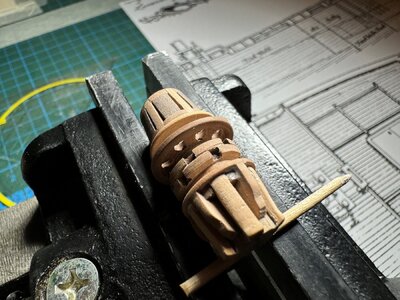
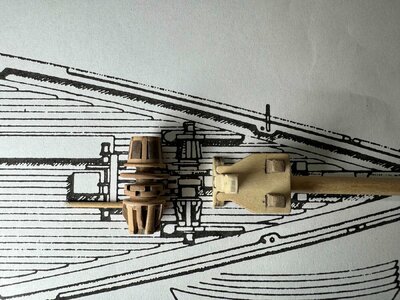
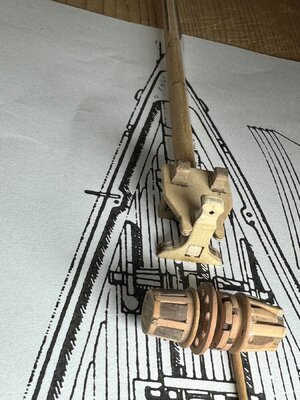
It´s in deed a challenging balance between reality and chosen representation. For the winch, I opted to construct it without wire inserts, retaining the slots between the planks. After trimming, it now fits proportionally, and reducing the diameter of the minor pulleys, along with an additional lowering in the center, makes the whole assembly less bulky and cumbersome.


