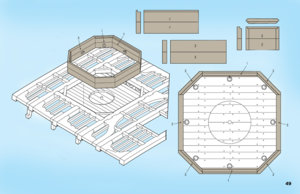
Bomb vessel cross section - scale 3/8 or 1:32

Cutting half-mortises for ledges is probably the most intimidating part of framing the deck. In the Blandford build, all the mortises are full thickness, so they can be cut out on a miniature table saw. The half mortises are a different story. Your method looks like a winner! I'll practice the technique a bit before framing my next deck. Thanks again!
You are not too deep into small details! Very informative.

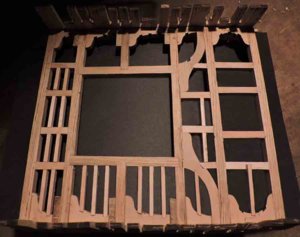
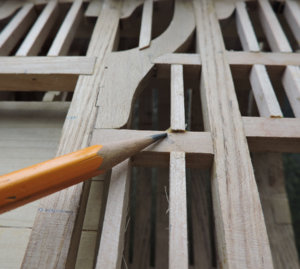
you might notice in the photo when i laser cut the notches in the knees they are cut all the way through. When i said in the above post about short cuts this is one of them. Once the ledge is joined into the notch there is no way of knowing if it is a half mortice or cut through without taking it apart.
i can lower the power on the laser and etch in a notch but that takes much longer to do and laser time is expensive for something that really does not matter.

this is something to ponder in offering a set of laser cut parts for this project. notches cut all the way through or no notches at all. Laser cut the carlings with notches or not?


notch14.jpg
 
ok so I will continue
I did not want to go blow by blow thought by thought cut by cut when readers are thinking ok already get on with it.

I don't think you could ever provide too much practical information and descriptions on how to do something. What's really great is that you take the time to do it. It just goes to show that you don't need the most advanced miniature power tools to get the job done and done well.
 
Thanks for the great information and good pictures of your work, very educational, thank you.
 
going back a few posts I covered how to cut the notches in the beams so there is really no need to go over all 20 notches in the beams and 20 notches in the ends of the carlings and all the notches for the ledges. I realized if i were to go into such detail on this build it will take a long time.
To speed things up i decided to skip the finer details and get on with the build.

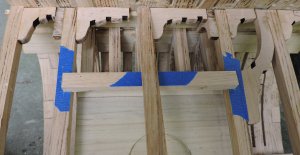
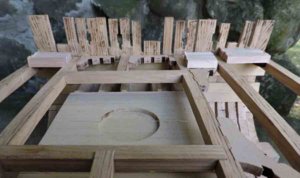
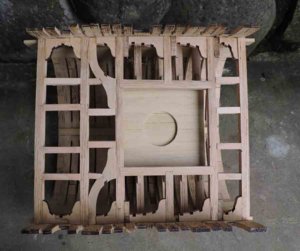
First thing to do is mill out the size of the carlings and cut them to length to fit the three sections of the deck. I am cutting the carlings to fit between the beams and skipping the notching.

carlings1.jpg

I cut the length slightly smaller so I have a tiny gap for the glue. to prevent the carling from slipping down I set the model on end and set the carlings in place like the studs in a wall.

carlings2.jpg

On thing to watch out for is keeping the carlings square to the beams

carlings3.jpg

This took a couple hours to place all the carlings in.

carlings4.jpg
 
Last edited:
doing all the joinery work is taking this model to another level, if you are a first time builder I would suggest skipping all the joinery. It will take time and effort just to build the model straight and square. I knew a model builder years ago who told me " adding finer detail to a model is something only noticed by fellow model builders and yourself, the general public is looking at the over all model and would not know if the detail is there or missing, nor do they really care." If your building for competition or to teach yourself finer wood working then by all means do the joinery. What I am saying is do not be intimidated by seeing a high level of craftsmanship and thinking I can't do that so you don't try. Build at "your" level and what makes you relaxed and have fun doing it.

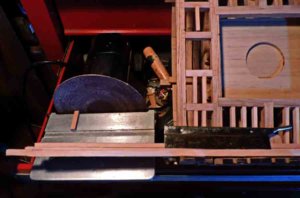
With that being said on to adding the ledges. My setup for this is nothing more than a hand razor saw and a 4 inch hobby size disk sander. At this stage of model building those smaller hobby power tools work just fine, that is as long as you have the bigger tools to cut the material down to size. or just purchase resawn material that the smaller tools can handle.

ledge2.jpg

This was an afternoons work from milling out the material to cutting and fitting the ledges, about 4 hours. If i were to cut the joinery i might get 4 ledges done in a couple hours. Like most model builders finding time to sit down and actually do model work is kind of tough. Maybe a few hours a week which would drag fitting and cutting all the joinery for this deck into weeks rather than hours.

ledge1.jpg
 
Dave, How is the kit going to be set up, and do the plans indicate the NOTCHES, I am at that stage where I think i can do this, after doing the blandford have some expeirence doing this, and with the addition of my MIN-MILL that should help. THANKS AGAIN Don
 
actually you can go over to the navy board site and download the plans and check it out. Jeff did a good job setting up the build and the drawings.

as far as a kit I would like to see it as a custom kit made to order. each builder has different skills, different tools, and different ideas on what wood they want to use. Maybe a builder wants to build in a jig and someone else like me used a stacking method. A builder may want to cut everything them selves and someone would rather have laser cut parts.

I have this idea of custom made kits. Rather than having to buy a complete kit maybe all you want is a set of bulkheads or just the fittings, maybe you don't want the wood supplied in the kit so you don't have to purchase that. Could be you like the cannons from another company so don't buy the cannons supplied in the kit.

it's the old "kit bashing" idea revised so you don't have to buy stuff you plan on replacing or making yourself.
 
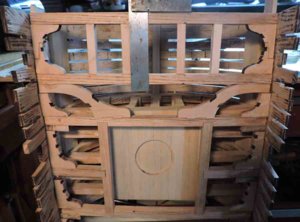
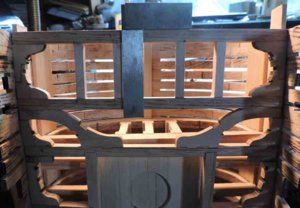
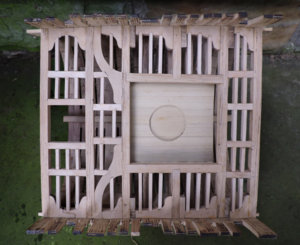
my last post on this project was Oct. 10th it takes longer to "get around to it" than it does to actually do the work. but I finished the ledges and this is the look I was trying for, all the timbering and framing. As i said in an earlier post i skipped the joinery to speed thing up. If i were to be cutting all the joinery i would still be at it.


finished1.jpg

as you can see not everything is sitting flush but that is no big thing. Now that all the timbering is done I will sand the deck so all the pieces and parts sit nice and flat.

finished2.jpg
 
FANTASTIC AGAIN DAVE, USING MODERN TECH. TO MAKE IT POSSIBLE AND BETTER FOR THE MAJORITY OF MODELERS, THIS TYPE OF DETAILS WILL KEEP THEM COMING BACK WITCH IS ALWAYS BEEN MY PURPOSE. Don
 
Back
Top