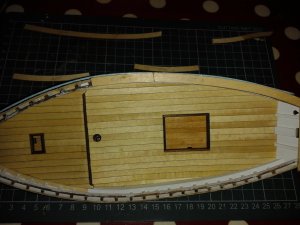
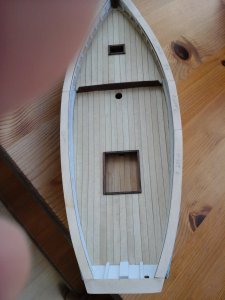
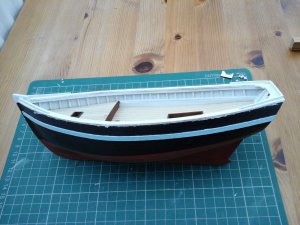
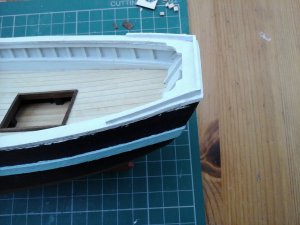
Bon Retour Artesania Latina 1/25 scale

Thanks Paul, I agree Caldercraft do very good rigging instructions.
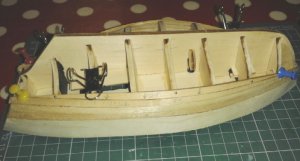
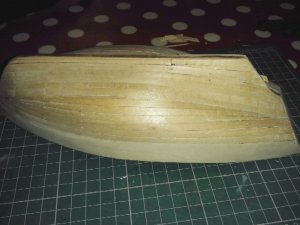
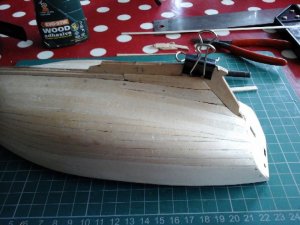
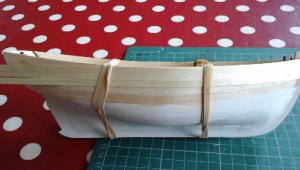
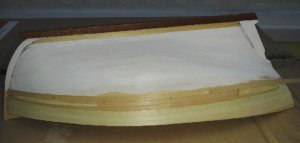
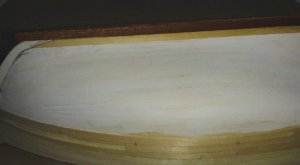
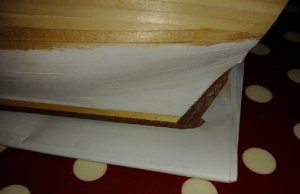
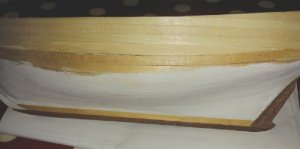
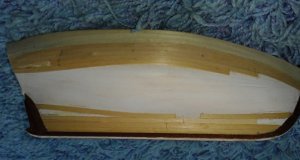
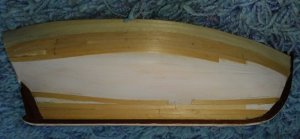
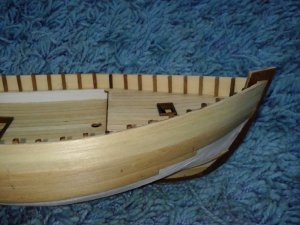
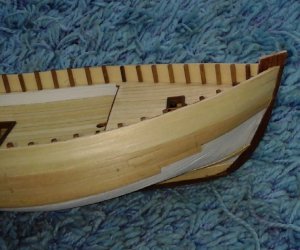
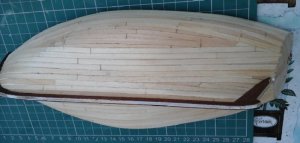
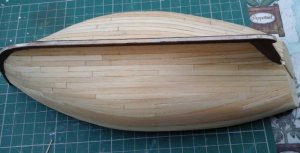
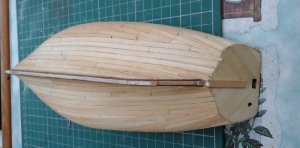
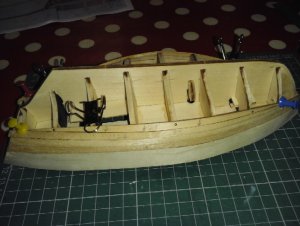
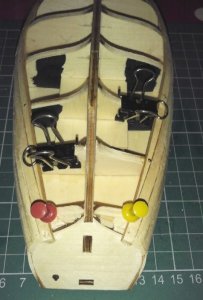
Continuing on with the planking, the next 5 planks are already tapered but they are thicker than the none tapered planks. Before soaking the first tapered plank I decided to file the top edge so that it fitted against the previously fitted plank. It was soaked in boiling water and then pinned in place, I "borrowed" my Daughter's hair dryer to dry them, but I still had to soak them again before I glued them in place. The next couple of planks were a bit of a problem because I couldn't get both ends to finish on a Bulkhead so I ended up with a few small gaps. The finished Hull should be painted so it won't matter if I have to use some filler, but I am thinking about putting a second layer of planks on using some 0.5mm thick planks that I have. It would be nice to be able to see each plank even if it is painted.
RetourH2.jpg


RetourH3.jpg

RetourH4.jpg
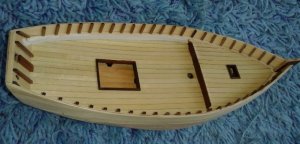
Once I had fitted all the tapered planks it was back to fitting the untapered planks. I couldn't get the next plank to fit against the plank above it so I decided to leave a gap, let the plank follow it's natural run and then fill the gap in later. I also started the next 2 planks from the second Bulkhead back, I figured it would be easier to fit shorter planks that needed some tapering at one end.
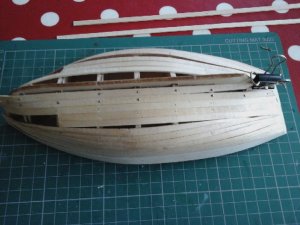
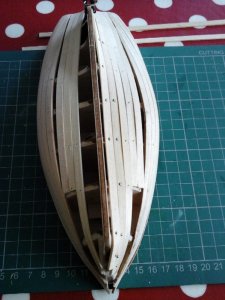
RetourH5.jpg
RetourH6.jpg

Cheers Andy
 
Last edited:
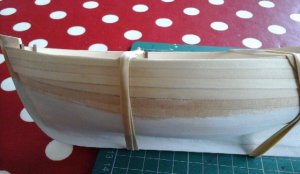
It's been a while since I updated this, I have finished the Hull planking, there are a few small gaps but now that I have smoothed it down it doesn't look too bad. I had initially decided to add a second layer of planks to the Hull but I have now decided not to, I am going to use some filler to cover the small gaps.
RetourH8.jpg
The Keel pieces, the Stern Post and the Stem were cut out, cleaned up, and then dry fitted. I must have been fairly accurate with my building because it only needed a few minor adjustments to get everything to fit.
RetourH10.jpg
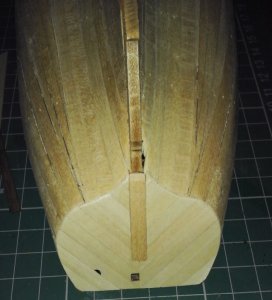
I wasn't happy with the look of the Transom so I added some planking to it. I used 0.6mm by 5mm Basswood that was left over from the Deck planking. I glued it in place at a 45 degree angle to the Stern Post, it may not be accurate for a boat like this but I like the look of this style of stern planking.
RetourI7.jpg

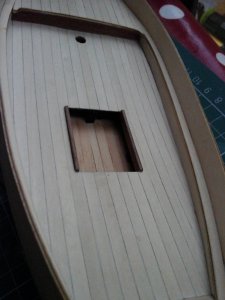
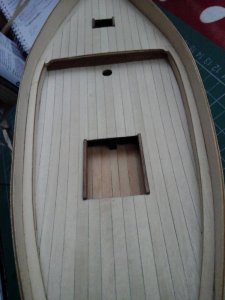
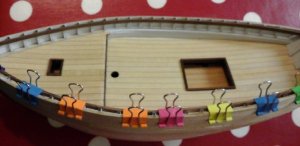
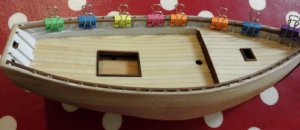
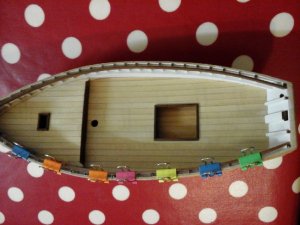
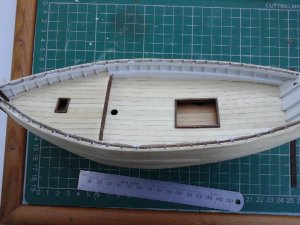
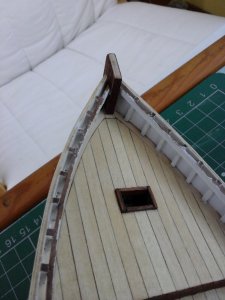
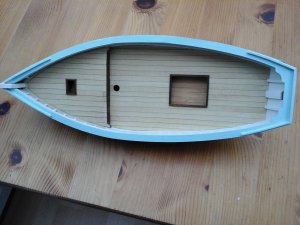
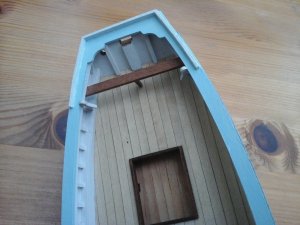
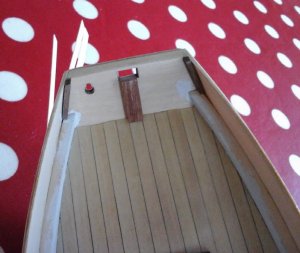
The Hull was given a coat of wood filler and whilst this was drying I made the Coamings for the 2 Hatches. These are made from 6mm by 1.5mm Walnut strip, the for and aft Coaming was first fitted inside the Hatchway making sure it was about 1mm higher than the Deck. This proved to be a little fiddly on the Fore Hatch due to the small opening and I didn't want to lose the strip inside the Hull. This was left overnight and then the cross deck Coamings were fitted. I then gave the Deck and Coamings a coat of wood oil.
RetourI9.jpg
RetourI11.jpg

RetourI8.jpg


Cheers Andy
 
Last edited:
Andy

Yes shorter planks could be a good idea. I am not very good at planking myself but the more experience modelers will give you some sound advice.

I also use the bulldog wire clamp method that I saw on one of my fellow friends build log.

The best way to get advice is to post mistakes. We all started not knowing a thing about model ship building and can make good friends in the process of making a Model Ship. I know I have.

Cheers
Geoff
 
Thanks Geoff and Zoltan. I have been thinking about this build and reached the conclusion that maybe I am rushing things a bit to get it finished. Far better to take my time, so I am going to add a second layer of planks to the Hull,

Cheers Andy
 
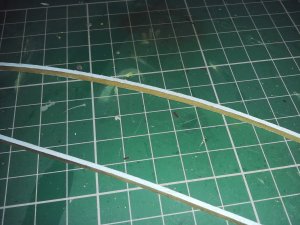
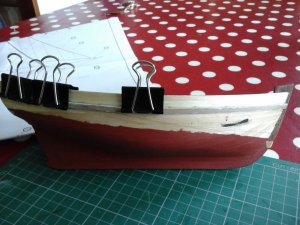
I had 6 Deck planks left over so I double checked the parts list and found these strips were not needed for anything else so I could use them to plank some of the Hull. The first plank was fitted using contact adhesive, running it parallel with the Keel and about 4mm below the top of the top edge of the Hull. The next plank was fitted above this first plank and the third plank below these. This is the first time I have used contact adhesive and apart from it being a little "stringy" I found it easier to use than C.A. glue.
RetourJ1.jpg

RetourJ2.jpg
RetourJ3.jpg
I left it overnight and then used some offcuts to complete the top part of the Hull, and then filed it down to match the top part of the Hull.
RetourJ4.jpg
RetourJ5.jpg
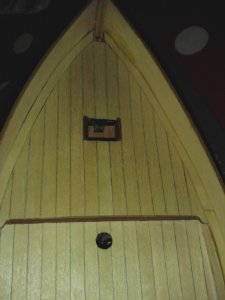
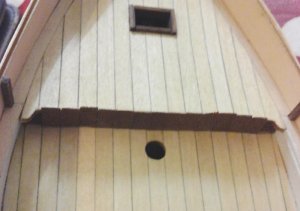
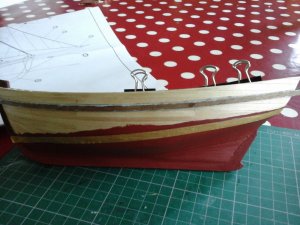
Whilst I was checking the parts list I realised I had planked the "step" between the 2 Decks the wrong way, I had laid the planks horizontally when they should be vertical. I had a few spare Mahogany strips left over so I have made a start laying the strips the correct way.
RetourJ8.jpg

RetourJ7.jpg
Cheers Andy
 
Last edited:
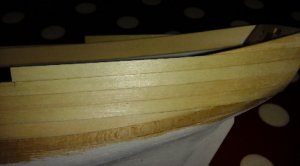
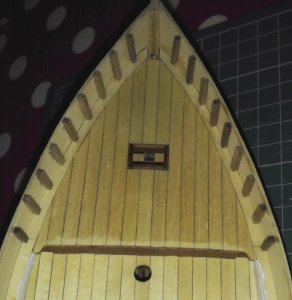
As a bit of a change from the Hull planking I decided to make a start on fitting the Ribs on to the inner Bulwarks. These are 1.5mm square Walnut and although the number of Ribs is mentioned in the instructions I couldn't find the spacing between each Ribs so I measured the length of the Bulwark and worked out the spacing that way. Each one was cut slightly over length and then glued in place with wood glue.

RetourJ9.jpg
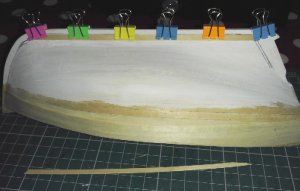
Moving back to the Hull and I next fitted the Garboard plank. I cut this over sized and gradually trimmed it down until it fitted. I used wood glue to fix it in place as this gave me some time to get the plank in the correct place. It was then clamped and left overnight.
RetourJ11.jpg

I have never really been happy with the look of the Keel, Stem and Sternpost. I have 4 strips of 0.5mm by 5mm Mahogany left over so I have decided to cover the Keel with this strip, just giving myself a bit more to do. Because the Mahogany is brittle I soaked it in Sanding Sealer and it has made it easier to cut and file without small bits breaking off.

RetourK1.jpg
RetourK2.jpg

RetourK3.jpg

RetourK4.jpg
Cheers Andy
 
Last edited:
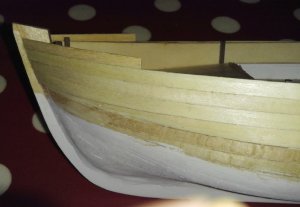
This is just a short update before Christmas because I'll not be able to do any modelling work for the next week. I have been carrying on with the Hull planking and have made a bit of progress and I am finding it easier using shorter plank lengths. I have also finished fitting the Ribs to the inner Bulkwarks and they are now all filled down and ready to be painted white.

RetourK6.jpgRetourK7.jpgRetourK9.jpgRetourK10.jpgRetourK8.jpg
Cheers Andy
 
Last edited:
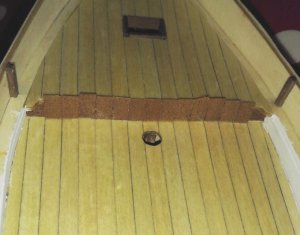
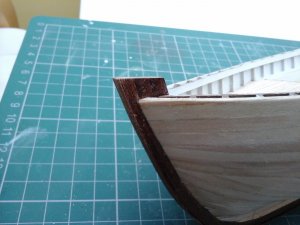
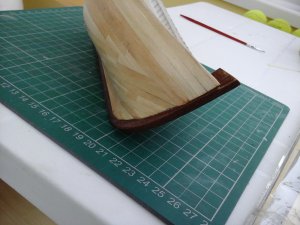
I finished fitting the planks to one side of the Hull and started to smooth it down, I found the surface of some of the planks were starting to rough up a bit. I decided to leave them and fitted the Mahogany strips to the other side of the Keel, Stem and Stern. Once this was done I then got on with fitting the Hull planks, again using Contact Adhesive to fit them. This has taken me about 3 weeks to do, I firstly fitted full width planks letting them follow their natural line and then filled in the gaps, which has taken most of the time. I know this is not really the correct way to fit planks but I was more interested in practicing the fitting and shaping of planks and just wanted to get a good even finish. After I had finished the Hull planking I gave the Hull a couple of coats of Shellac Sanding Sealer, I hope this will stop the planks roughing up when I smooth then down. I am going to paint the Hull but I going to use light coats of paint so that the planking shows through.

RetourL1.jpg
RetourL2.jpg
RetourL3.jpg

Cheers Andy
 
I decided to leave the Hull for a few days to let the Sanding Sealer dry out. The 2 Inner Bulwark Rails were next on the list. These are 3mm by 1.5mm Walnut and run the entire length of the boat, they have to be fitted on the Ribs and the top edge is parallel to the top of the Bulwarks. It was difficult measuring the length due to the curve of the Hull and the Stem Post, so I measured the outside of the Hull several times and then cut the Rail, it was slightly too long which was fine, better than being short. I filed a chamfer at one end so that it would fit against the Stem Post and used a couple of clamps to hold it in place whilst I trimmed it to length making sure it had the correct angle to fit against the Stern. Once I was happy with the fit it was glued in place using wood glue, clamped and left overnight. The following evening I repeated the whole process with the other Rail.
RetourL4.jpg
RetourL5.jpg
RetourL6.jpg
After a couple of days I gave both Rails several coats of white paint.
RetourL7.jpg
Now that I had the Rails fitted and painted I fitted a strip of Mahogany to the inside of the Stem Post.
RetourL8.jpg
Cheers Andy
 
I used one strip of Mahogany to finish off the Keel. Using contact adhesive I started at the Stern and gradually worked my way to the Bow gluing on a couple of inches at a time making sure I kept everything in line and square. Once the strip was fitted I then gave it a couple of coats of Shellac Sanding Sealer and left it for a couple of days to harden. All the rough edges were then filed down and the Keel sanded with a sponge sanding block.

RetourM1.jpg
RetourM2.jpg
RetourM3.jpg

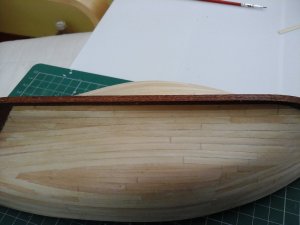
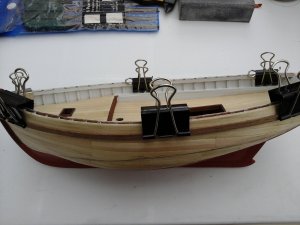
Before painting the Hull I decided it would be easier to fit the Rubbing Strake. This is a 4mm by 1.5mm Walnut strip. Using the plans I marked the position of the top of the Rubbing Strake first of all, then soaked the 2 Strakes in hot water before clamping them to the Hull and using a hairdryer to dry them.
RetourM4.jpg

This was then left a few days and then I painted the edges of the Strakes with Azure coloured paint. I get small "Match Pots" from a local DIY store, these only cost a couple of quid and are ideal for painting models like this.
RetourM5.jpg

Using a combination of C.A. gel, and wood glue I then attached the 2 Rubbing Strakes to the Hull.

RetourM7.jpg
RetourM6.jpg

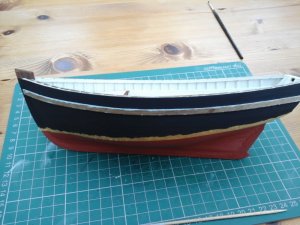
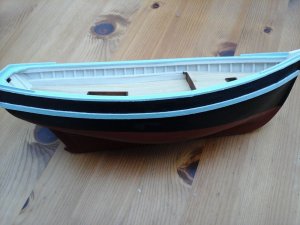
I used Admiralty Red Ochre paint for the Hull, this goes onto wood really well and only needed 2 coats to give a nice finish. Using the plans again I marked out the waterline and then used Tamiya masking tape. The Hull was then painted with a matt black making sure that I was very careful near the Rubbing Strake.
RetourM8.jpg

Cheers Andy
 
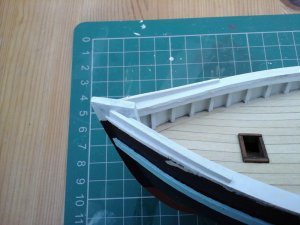
The next stage has caused me a few problems and that is the fitting of the Stern and Bulwarks Plank Sheers. These are pre-cut pieces, the Stern Plank Sheer is too narrow and the Bulwark Plank Sheers have too much of a curve at the Bow. I started with the Stern piece, traced round the original part onto a piece of Plywood the same thickness and then cut it out so that it was over sized. I glued it into place making sure the front edge was lined up with the inside of the Transom. With the two Bulwark Plank Sheers I decided rather than try and fit the whole plank, I would cut it into shorter lengths and it would be easier to fit. I started at the Stern and worked my way towards the Bow using contact adhesive, Once it had dried I then trimmed down the Plank Sheers so that I had about a 1mm over hang.
RetourN5.jpg
RetourN6.jpg

Any small gaps were filled with wood filler and smoothed down. Next up were the Stern Mouldings and the Bow Breakwaters. These are made from 3mm by 1.5mm Basswod strip and are cut to size using dimensions from the plans. These were fitted using C.A. gel. Once everything was dry I then painted the Sheer Planks, Mouldings and Breakwaters with white paint.

RetourN7.jpg
RetourN8.jpg
RetourN9.jpg

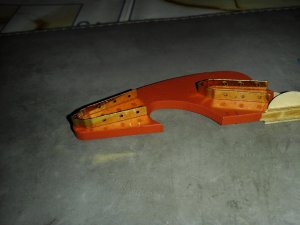
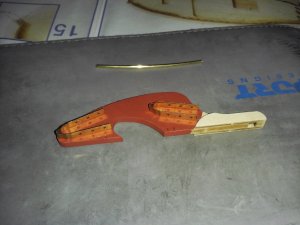
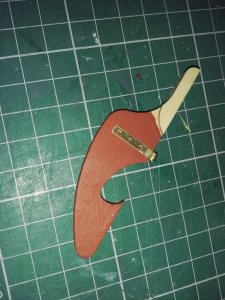
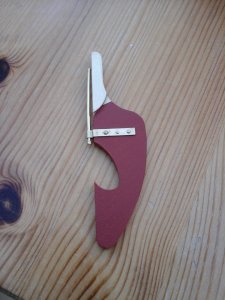
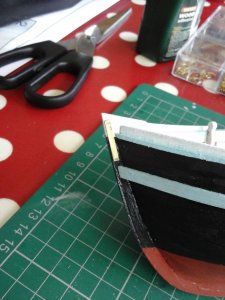
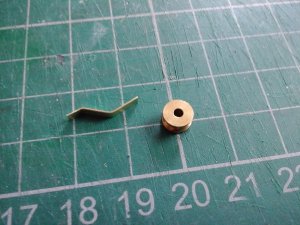
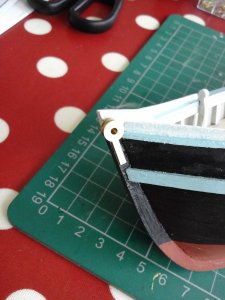
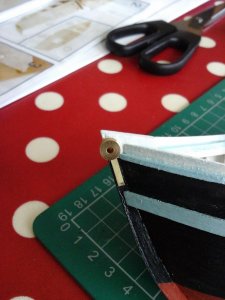
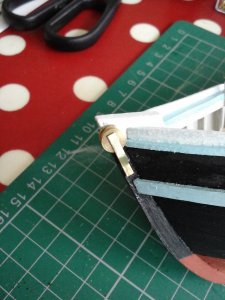
I have also made a start on the Rudder, I first of all painted the lower part of the Rudder red and glued 2 smaller parts, Rudder Stiffeners, to the top of the Rudder. The Rudder Hinges are pre-shaped brass strip with 6 holes in them. The problem is the part where the Rudder Shaft fits is too big and the Rudder will be too far from the Hull, so I decided to re-make the Hinges, 3 hours later I finally managed to get the Hinge to look right. The upper Hinge was then glued to the Rudder. I drilled 6 holes into the Rudder through the Hinge, cut the heads off of 6 pins and then glued the heads into the holes in the Hinge.

RetourN1.jpg
RetourN2.jpg
RetourN3.jpg
RetourN4.jpg

Cheers Andy
 
Very good progress after the last posting.....she is coming out nicely....good work with solving the problems sitzt he kit.
 
G'day Uwek
I've just found this build log. You're going great guns and the whole model is looooooking great.
I haven't done this A.L kit before. To tell the truth, I'm not generally a big fan on all A.L kits, but this one seems to be out of norm to me.
Havagooday mate
Greg
 
G'day Uwek
I've just found this build log. You're going great guns and the whole model is looooooking great.
I haven't done this A.L kit before. To tell the truth, I'm not generally a big fan on all A.L kits, but this one seems to be out of norm to me.
Havagooday mate
Greg
Thanks Greg, the quality of the parts is good but some of the instructions are a bit vague, but that's half of the fun building models.
I used the same colour, azure, that I used on the Rubbing Strake, on the Sheerplanks, Breakwaters and Stern Mouldings.

RetourO1.jpg
RetourO2.jpg

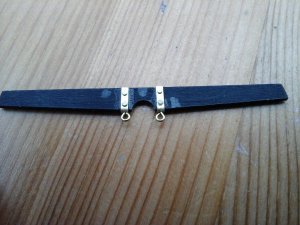
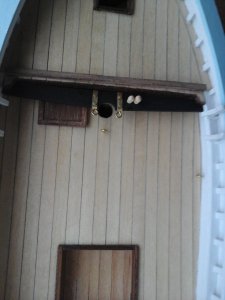
Whilst the paint was drying I made a start on the various bits of Deck "furniture". The Mast Seat is a piece of pre-cut Plywood that I painted black. 2 Brass Mast strengtheners have to be fitted, these were made from 2mm by 15mm Brass strip, glued in place using C.A. gel. Using the plans I drilled 2 holes in each Strengthener and fitted cut off pin heads, and then being very careful, I drilled a hole through the Strengthener on the front edge and fitted a eyepin in each side. 2 more holes were then drilled and 2 wooden Belaying pins glued in place.
RetourO3.jpg

RetourO6.jpg

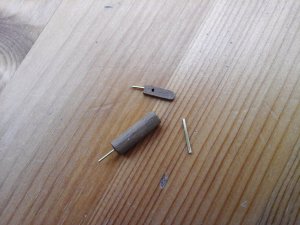
I next turned my attention to the Deck Pump. This is made from 5mm diameter Walnut and I drilled holes at both ends for pins to strengthen the joins. A piece of 3mm by 1.5mm Walnut was then added, a hole was drilled in the top part and 1mm diameter Brass rod was fitted for the handle.


RetourO4.jpg

The Helmsman's seat was next, made from 5mm by 2mm Walnut, I cut it over length and gradually trimmed it down until it fitted, it was glued in place and a piece of 1.5mm square Walnut was then fitted as a seat support.
RetourO5.jpg

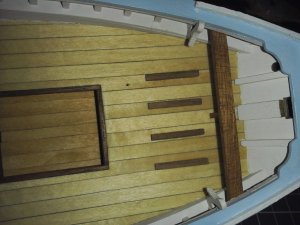
Just forward of the Helmsman's seat are 4 strips fitted to the Deck to help the Helmsman's feet get some grip, these are made from 1.5mm square Walnut and were glued using wood glue.
RetourO7.jpg

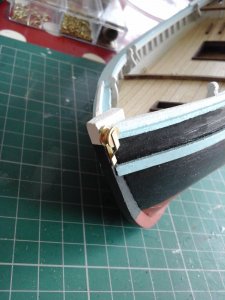
It was when I started work on the Pulley that fits to the port side of the Stem that I noticed that the Breakwaters and Stern Mouldings should be painted white not the azure that I had used so a couple of coats of white paint were put on. The first part of the Bow Pulley is a strip of 2mm by 15mm Brass strip glued to the port side of the Stem. The Brass Pulley was then glued on and then another 2mm by 15mm Brass strip that needed bending in 2 places.

RetourO8.jpg
RetourO9.jpg
RetourO10.jpg
RetourO11.jpg
RetourO12.jpg
RetourO13.jpg

Cheers Andy
 
G'day Andy
You are doing a great job.
Your speed is astonishing!
Do you ever sleep?
Havagooday and happymodeling
Greg
 
G'day Andy
You are doing a great job.
Your speed is astonishing!
Do you ever sleep?
Havagooday and happymodeling
Greg
Thanks Greg, I only tend to work on this boat in the morning at the weekend
, during the week I have to go to that 4 letter word beginning with a "W". I won't mention it's taken me nearly 2 weeks to get the Rudder fitted and that's not finished yet.
Cheers Andy
 
Thanks Greg, I only tend to work on this boat in the morning at the weekend
, during the week I have to go to that 4 letter word beginning with a "W". I won't mention it's taken me nearly 2 weeks to get the Rudder fitted and that's not finished yet.
Cheers Andy

G'day Andy
I'm glad that you didn't mentioned the 'W' word here. We at SOS don't like foul and extreme language.
o_O:):p
Havagooday and happymodeling
Greg
 
Back
Top