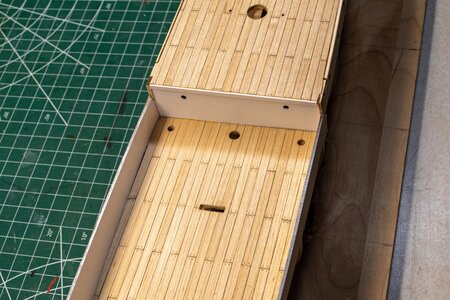
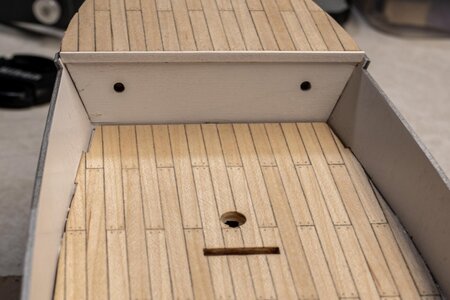
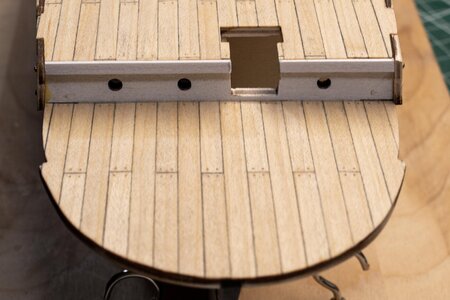
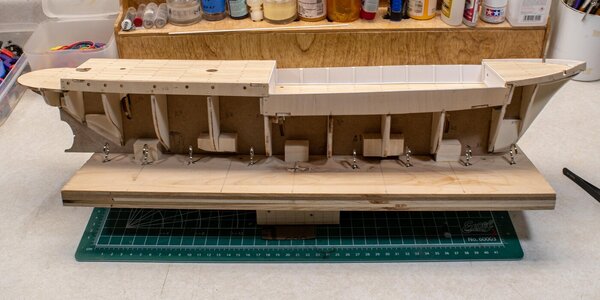
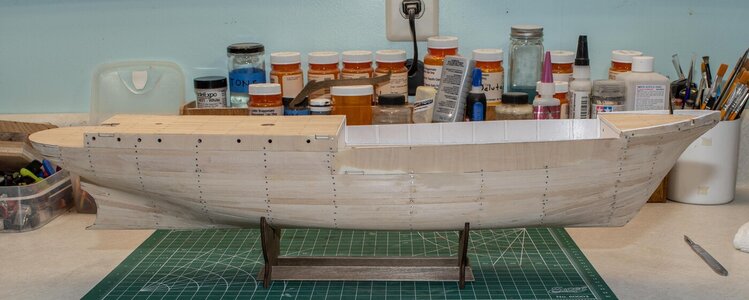
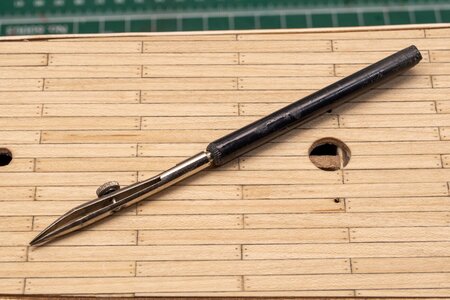
I did half a dozen sample deck planking mockups and finally got one I like. This is my process.
First I give each plank a coat of sanding sealer (Alcohol based Shellack). Very fast dry time.
View attachment 254786
After that dries I sand the flats and the edges with 320 grit. I made a small jig for the edges as the planks are only .5mm.
View attachment 254788
I set up another jig and cut each plank to size. 6mm in this case.
View attachment 254789
Jig #3 is setup with a very small bit in my drill press and I drill treenail hole number one, flip the plank and drill hole 2. Then turn the plank around and repeat for the other end. It takes a while but it's the only way I can get equally spaced holes.
View attachment 254790
Clamp a bundle of planks together and darken the edges with a # 6B pencil. I used to use a felt tip marker but the ink bled into wood way to much which is why I now seal the wood before I do the edges. Also wipe the lead dust off before you release the bundle. Keeps the planks from getting smudged during handling. You don't need much lead.
View attachment 254791
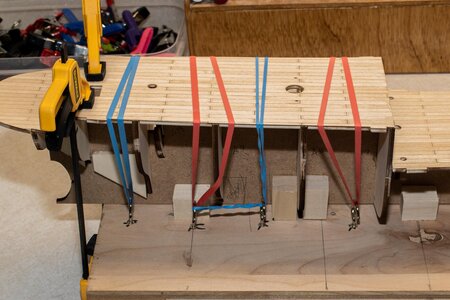
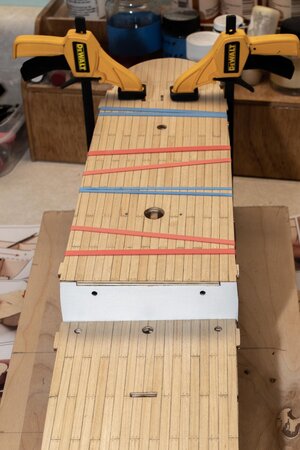
Glue the planks down with what ever pattern you choose.
View attachment 254792
Trim the edges and sand. This is the first time I have tried scraping the planks down with a blade. It gets rid of the excess glue and stains from the pencil lead. A quick sand with 320 grit followed by a pass with 600 grit. Ready to paint.
View attachment 254793
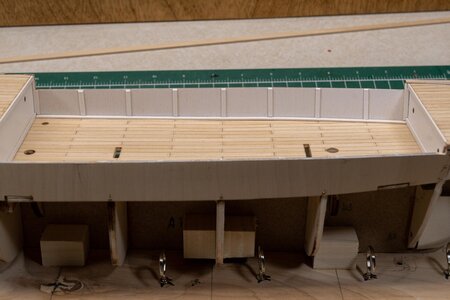
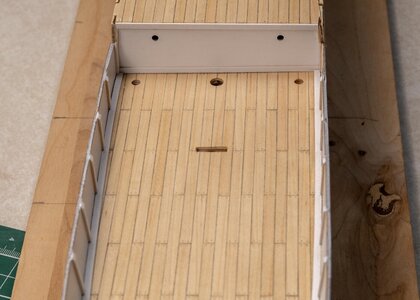
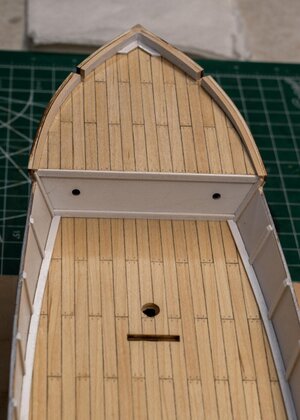
Finally a coat of Teak oil. I tried Teak oil, Tongue oil and matte poly but prefer the Teak. Next step is to repeat for two more decks and I'll be ready to install.
View attachment 254794
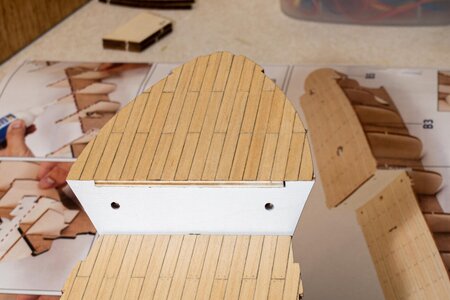
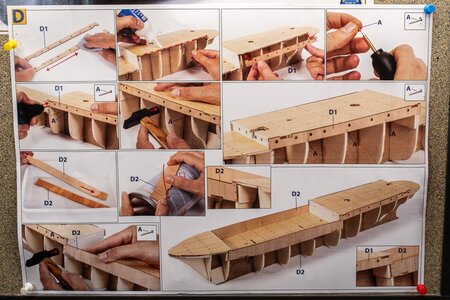
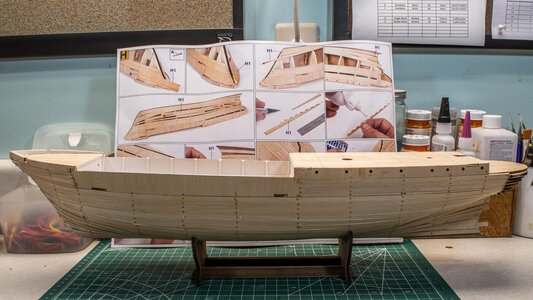
So far I only made one mistake and that was easy to fix. A very good kit and I like the picture instructions. The english written instructions are a little tough but the photographs and the CcCre build videos on YouTube and a great asset. A separate parts list booklet would be nice also. Hope this helps another beginner with planking a deck.
