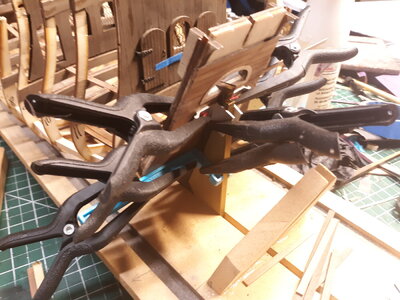
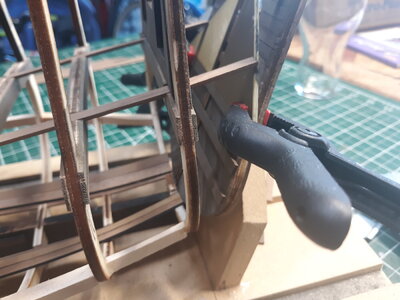
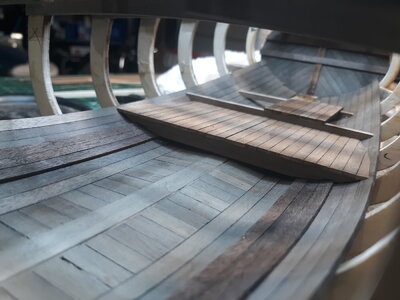
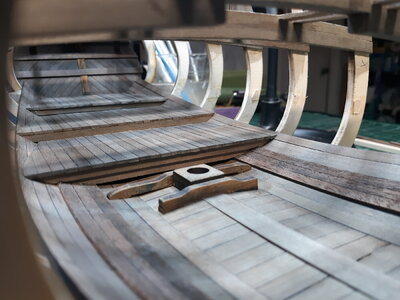
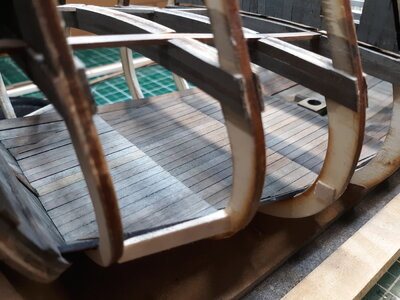
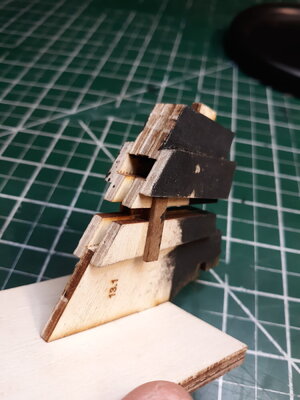
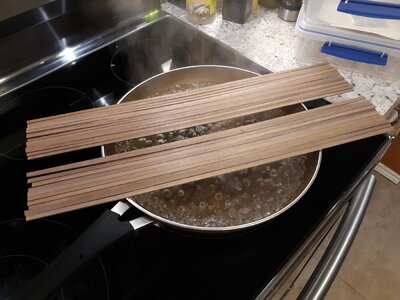
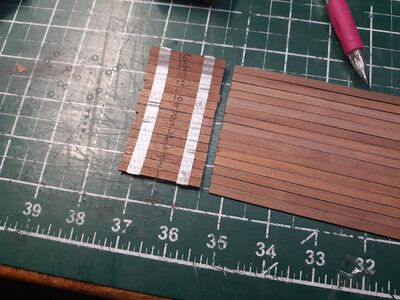
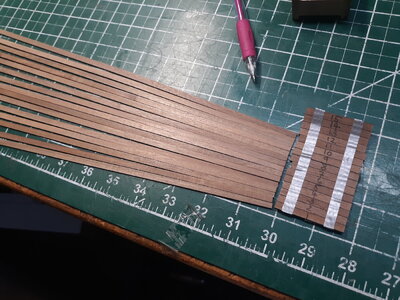
Very nicely done. Your skills with CAD and 3-D printing seem to be more of a norm now than my old school days and crafting my hand, measure carefully, cut carefully after checking, file and sand for dry fitting, . . . hands on with tactile feedback all the way. I don't know how many of my older generation and octagenarians would naturally go to their electronically driven resources comfortably. Good for you. Rich (PT-2)I cut the flooring strips a little oversize and glue them together off the model. After they set, I spritz them with water to give a little flexibility and lay them in position next to the keelson. I mark the edge of the support strip 20 (they're supposed to end in the middle of this strip.) I then cut them accordingly. The flooring twists as it approaches the bow, so the glue didn't hold the stiff walnut in a couple of joints. It took a lot of clamps to hold them down.
View attachment 251873View attachment 251874View attachment 251875View attachment 251876View attachment 251877View attachment 251878
-

Win a Free Custom Engraved Brass Coin!!!
As a way to introduce our brass coins to the community, we will raffle off a free coin during the month of August. Follow link ABOVE for instructions for entering.
-

PRE-ORDER SHIPS IN SCALE TODAY!
The beloved Ships in Scale Magazine is back and charting a new course for 2026!
Discover new skills, new techniques, and new inspirations in every issue.
NOTE THAT OUR FIRST ISSUE WILL BE JAN/FEB 2026
You are using an out of date browser. It may not display this or other websites correctly.
You should upgrade or use an alternative browser.
You should upgrade or use an alternative browser.
Build Log: MarisStella Ragusian Cog
- Thread starter Chakotay
- Start date
- Watchers 23
-
- Tags
- marisstella ragusian cog
your small 3D-printed bending tool is great !!!!
Very good work
Very good work
- Joined
- Oct 13, 2020
- Messages
- 63
- Points
- 113

That looks like a precise and delicately woven basket or maybe fish trap waiting for new arrivals. Well done. Rich (PT-2)Attached the bottom part of the transom. I'm leaving the top half of the transom (part 17) and the multi-piece part 13 off until later.
Then glued the cross beams. Since I planked the inside of the transom with the 5x1.5 mm strips, my cross beams are only 1 plank thick.View attachment 252391View attachment 252392
- Joined
- Oct 13, 2020
- Messages
- 63
- Points
- 113

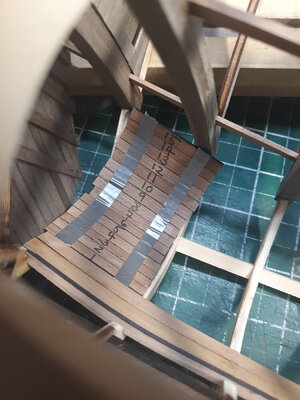
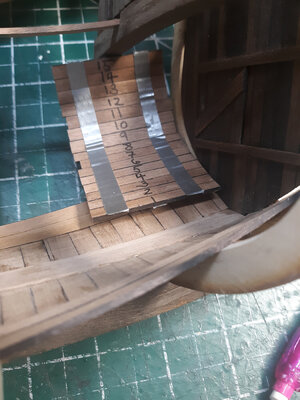
Planking the inside (ceiling) of the hold. First comes two 7x1.5 mm planks on either side of the rows of short floor planks. The instructions say these are to stay the same width throughout. The rest are the 5 x 1.5 mm planks which need to be tapered. The way I normally do this is to create a small cross-section out of scrap planks and determine how many fit in the widest part of the ship. Then measure how many fit in the smallest. The difference between these two (divided by the number of planks I'm using) is how much needs to be trimmed off the planks. It's more of an educated guess. I'm mostly concerned about keeping the plank tapering as consistent as possible.
On this model it looks I can fit 15 planks max mid-ship (the widest part):
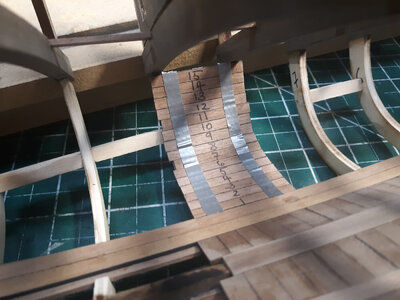
The spacing stays more or less consistent at the stern. This is good: I won't bother tapering that end:
As I approach the bow the space for planks get tighter. Looks like only about 11 planks can fit here:
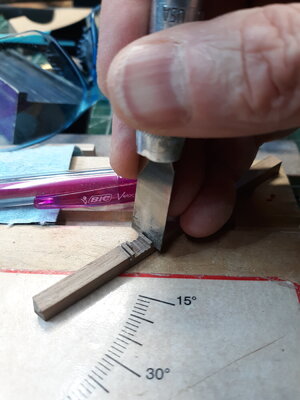
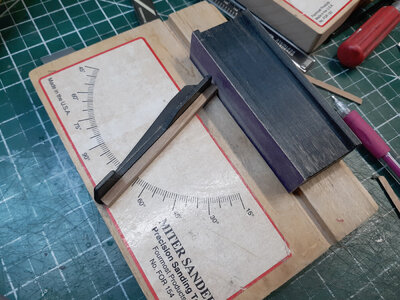
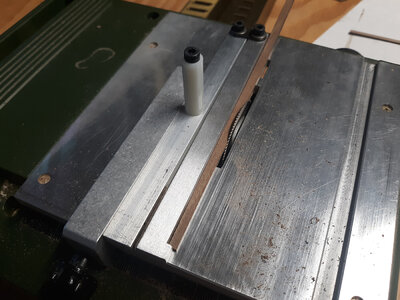
I won't bore you with the math. But I calculate how much needs to be trimmed to get 15 planks to fit into the space at the bow. I like to cut/taper them all at once for uniformity sake. I'm using a tapering jig from Micro-Mark. It LOOKS like it should work. But It may be a bit before I can plank up all the walls.
On this model it looks I can fit 15 planks max mid-ship (the widest part):

The spacing stays more or less consistent at the stern. This is good: I won't bother tapering that end:

As I approach the bow the space for planks get tighter. Looks like only about 11 planks can fit here:

I won't bore you with the math. But I calculate how much needs to be trimmed to get 15 planks to fit into the space at the bow. I like to cut/taper them all at once for uniformity sake. I'm using a tapering jig from Micro-Mark. It LOOKS like it should work. But It may be a bit before I can plank up all the walls.


Your approach for the inner ceiling planking is a good idea for whole and tapered ceiling planks. Will you do the same for the outer hull planking? I did not know about the tapering guide jig bit it makes for sense than my basic variable-T accessory. I'll keep watching from the pier as you progress with your well thought out work. Rich (PT-2)+Planking the inside (ceiling) of the hold. First comes two 7x1.5 mm planks on either side of the rows of short floor planks. The instructions say these are to stay the same width throughout. The rest are the 5 x 1.5 mm planks which need to be tapered. The way I normally do this is to create a small cross-section out of scrap planks and determine how many fit in the widest part of the ship. Then measure how many fit in the smallest. The difference between these two (divided by the number of planks I'm using) is how much needs to be trimmed off the planks. It's more of an educated guess. I'm mostly concerned about keeping the plank tapering as consistent as possible.
On this model it looks I can fit 15 planks max mid-ship (the widest part):
View attachment 252393
The spacing stays more or less consistent at the stern. This is good: I won't bother tapering that end:
View attachment 252394
As I approach the bow the space for planks get tighter. Looks like only about 11 planks can fit here:
View attachment 252395
I won't bore you with the math. But I calculate how much needs to be trimmed to get 15 planks to fit into the space at the bow. I like to cut/taper them all at once for uniformity sake. I'm using a tapering jig from Micro-Mark. It LOOKS like it should work. But It may be a bit before I can plank up all the walls.
View attachment 252396View attachment 252397View attachment 252398
Rich, the outer hull planking will never be a consistent taper over the length of the board, it will vary from frame to frame, some frames having the same width, and the amount of taper can change abruptly towards the bow.Your approach for the inner ceiling planking is a good idea for whole and tapered ceiling planks. Will you do the same for the outer hull planking? I did not know about the tapering guide jig bit it makes for sense than my basic variable-T accessory. I'll keep watching from the pier as you progress with your well thought out work. Rich (PT-2)+
Yes, you are right. I had to do that in planking the hull of my MS2130 hull but didn't know if the tapering jig could be used following a scribed edge line. Part of it may be related to the length of the plank that is being laid down. Some do it in scale lengths and others in as long a piece as they can lay down. I was mostly curious as to how that would be approached in his hull. RichRich, the outer hull planking will never be a consistent taper over the length of the board, it will vary from frame to frame, some frames having the same width, and the amount of taper can change abruptly towards the bow.
Very clever idea with this sample planking package
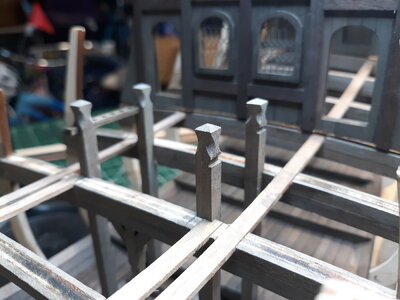
Very good photos of your well placed work. Rich (PT-2)Installed the mast step and platforms ("storage for the animals" as the instructions call it). These were more of a PITA than I expected....
View attachment 253445View attachment 253446View attachment 253447
- Joined
- Oct 13, 2020
- Messages
- 63
- Points
- 113

- Joined
- Oct 13, 2020
- Messages
- 63
- Points
- 113

Question for the experts (since I'm certainly NOT one): It concerns me that this kit has no accommodation for a capstan or windless. Wouldn't it need one for the anchors or spar?
Or would just the bitts be appropriate for a ship of this time period?
Or would just the bitts be appropriate for a ship of this time period?
- Joined
- Oct 13, 2020
- Messages
- 63
- Points
- 113

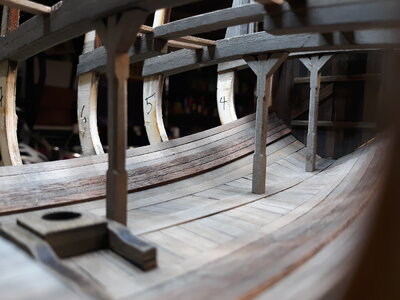
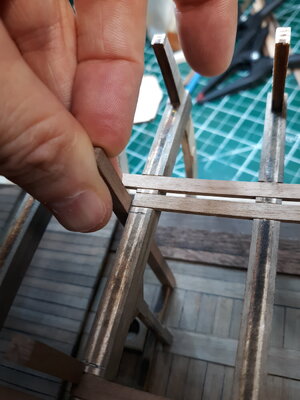
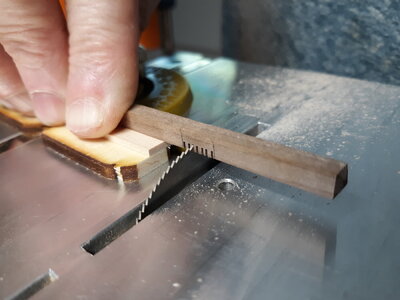
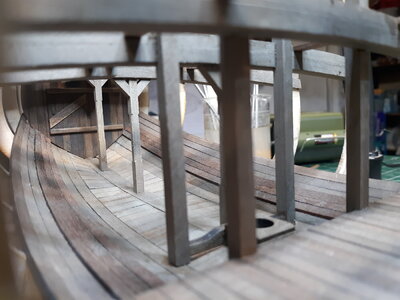
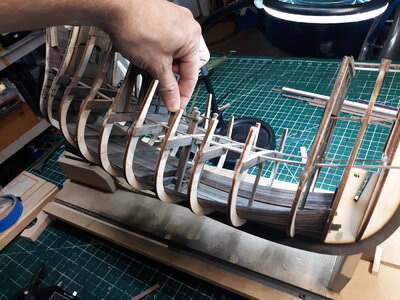
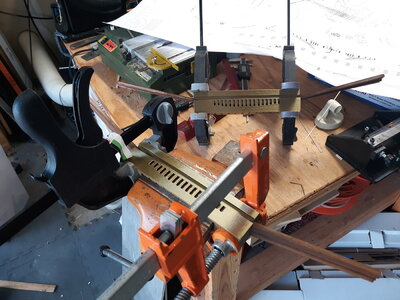
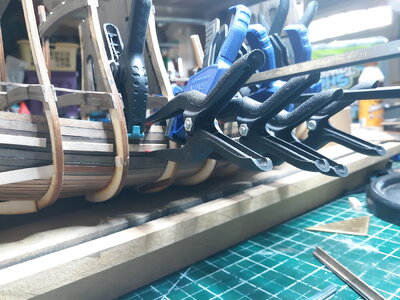
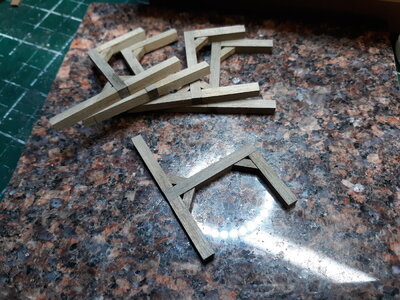
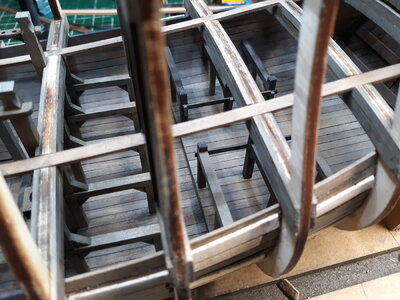
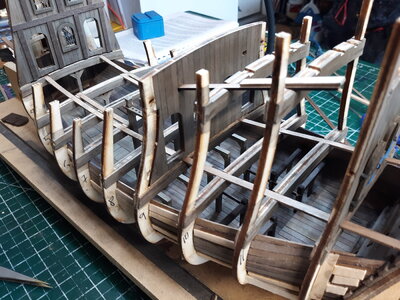
Finished planking the hold. A bit tricky as the planks really take a twist from stern to bow. The edge-bent strips I made earlier made it much easier. As I worked my way up, I glued support pieces which helped keep the plank edges even with each other and to provide a surface to attach clamps to keep the edges together.
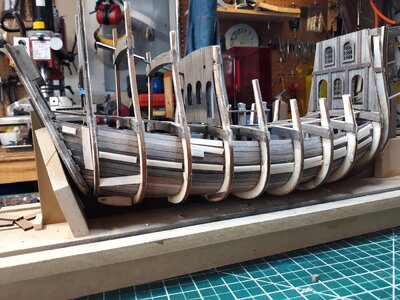
Also added the stables for the horses...


Also added the stables for the horses...


- Joined
- Oct 13, 2020
- Messages
- 63
- Points
- 113


