-

Win a Free Custom Engraved Brass Coin!!!
As a way to introduce our brass coins to the community, we will raffle off a free coin during the month of August. Follow link ABOVE for instructions for entering.
-

PRE-ORDER SHIPS IN SCALE TODAY!
The beloved Ships in Scale Magazine is back and charting a new course for 2026!
Discover new skills, new techniques, and new inspirations in every issue.
NOTE THAT OUR FIRST ISSUE WILL BE JAN/FEB 2026
You are using an out of date browser. It may not display this or other websites correctly.
You should upgrade or use an alternative browser.
You should upgrade or use an alternative browser.
Build Log: MarisStella Ragusian Cog
- Thread starter Chakotay
- Start date
- Watchers 23
-
- Tags
- marisstella ragusian cog
- Joined
- Oct 13, 2020
- Messages
- 63
- Points
- 113

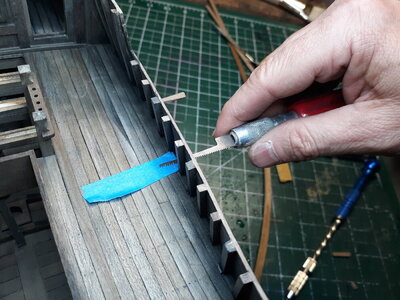
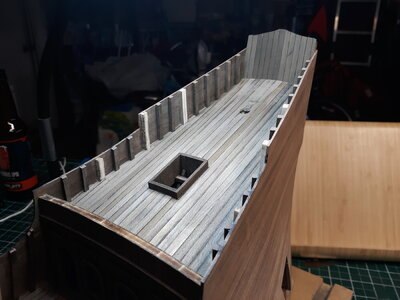
Now I have to finish out the deck planks. Theoretically, I could have done this before planking (which would have made it A LOT easier), but since the bulkhead extensions need to be thinned down (hence, weakened) I decided to wait until afterwards. The walnut is very stiff and I wanted the extensions to be at their full strength while I was planking. I also use my electric mini-sander to smooth down the inside of the bulwarks.
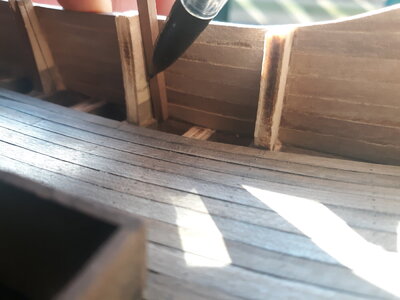
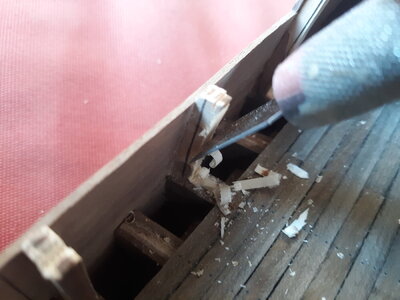
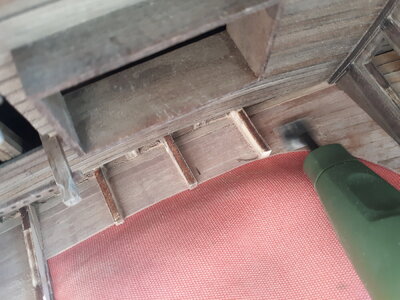
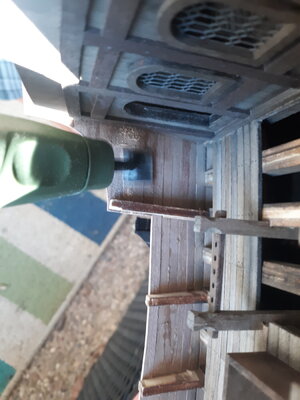
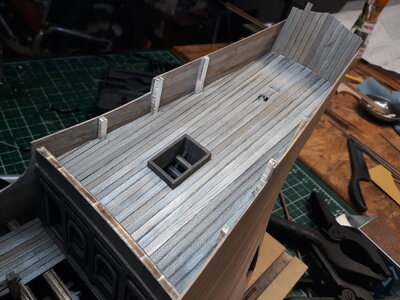


a very good example how and where the Proxxon pen-sander is useful 
- Joined
- Oct 13, 2020
- Messages
- 63
- Points
- 113

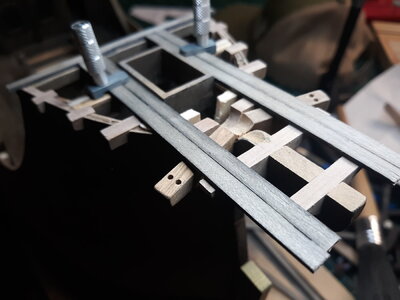
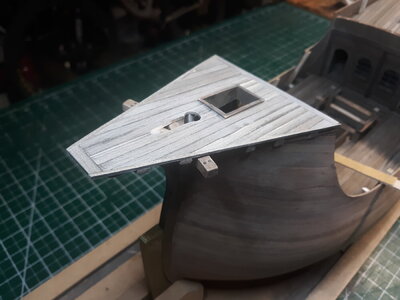
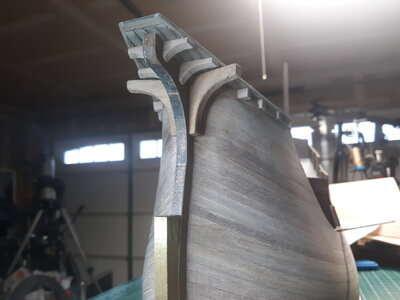
Decking the forecastle. Unfortunately, the kit doesn't really give much detail as to exactly how this should be constructed. I'm mostly going off the pictures of the finished model in the booklet. So it may not be correct, but this is how I went about it:
First I made a copy of the one schematic you're given in the kit as a general guide.
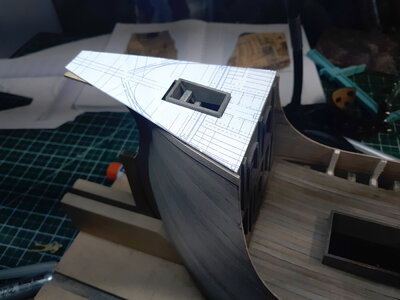
Shaping up the catheads and some of the other pieces . . .
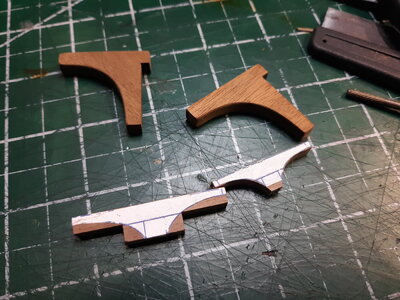
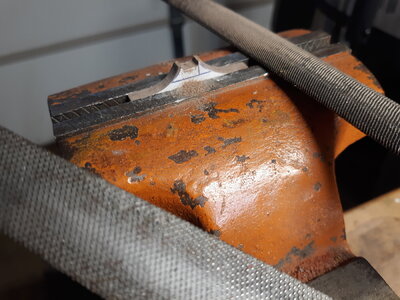
It's a bit of a rat's nest, but I ran a sanding block over all this to make sure everything is level:
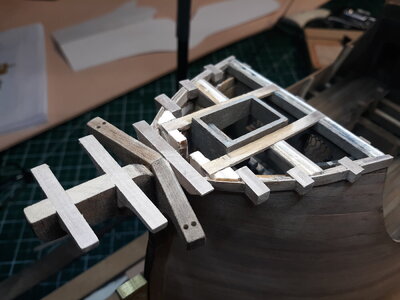
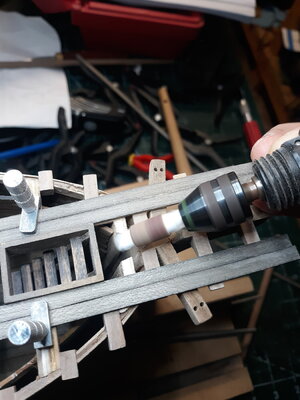
The foremast and bowsprit have to fit in here at some point so I use my Dremel to shape out space for them:
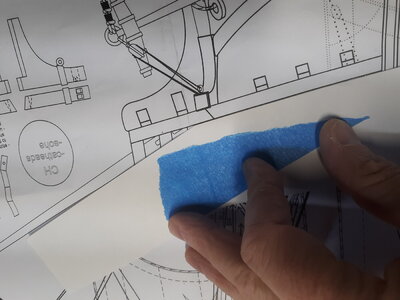
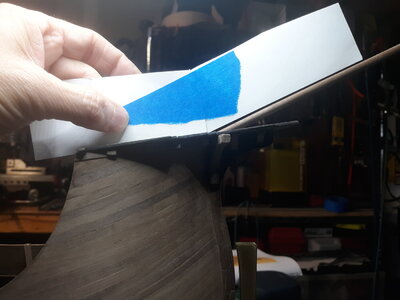
Once I've planked it, I finalize the angle of the bowsprit by taping two pieces of cardstock to match the schematics . . .
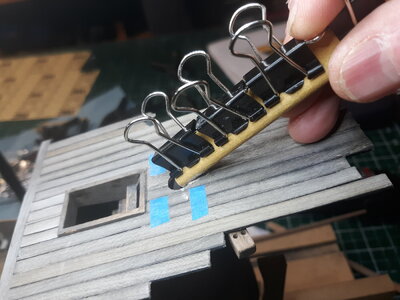
When the planks set, I use a razor saw to cut to final shape. Add a small trim piece around the perimeter and cut/sand all the extensions except the catheads...
First I made a copy of the one schematic you're given in the kit as a general guide.

Shaping up the catheads and some of the other pieces . . .


It's a bit of a rat's nest, but I ran a sanding block over all this to make sure everything is level:

The foremast and bowsprit have to fit in here at some point so I use my Dremel to shape out space for them:


Once I've planked it, I finalize the angle of the bowsprit by taping two pieces of cardstock to match the schematics . . .


When the planks set, I use a razor saw to cut to final shape. Add a small trim piece around the perimeter and cut/sand all the extensions except the catheads...


Last edited:
- Joined
- Oct 13, 2020
- Messages
- 63
- Points
- 113

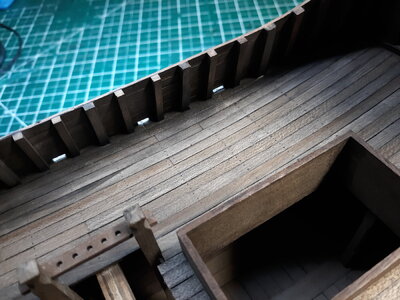
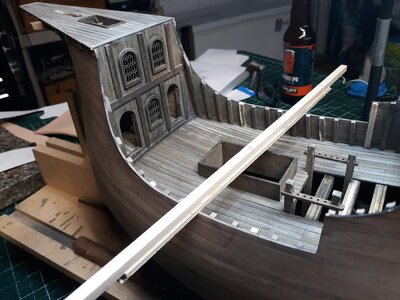
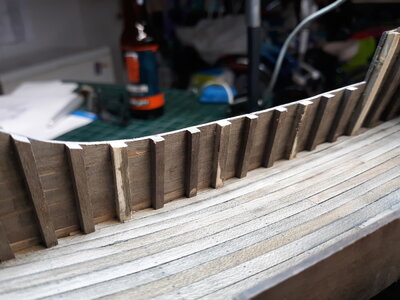
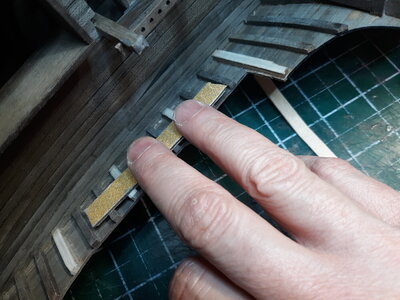
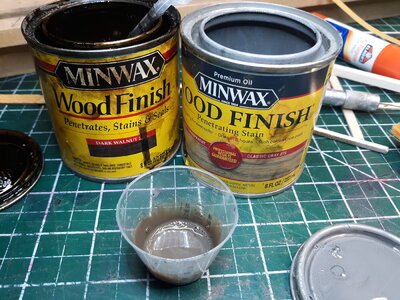
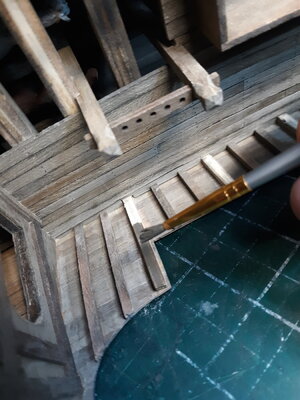
Since this is a plank-on-bulkhead and not a plank-on-frame kit, we have to add frame detail to the inside of the bulwarks. Pretty straight-forward here: cut walnut strips and glue them to the inside to look like frame extensions. Then sand them all level. The bulkhead extensions that are in the lighter basswood I color match with wood stain (in this case, I use a mix of Minwax dark walnut and classic grey to match my weathering).
I crush up some artist charcoals/pastels to add to the weathering effects.
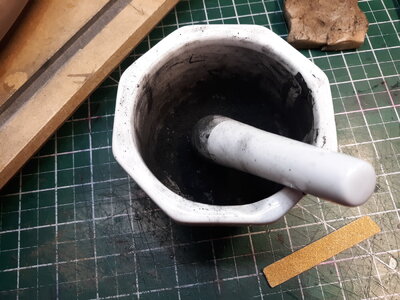
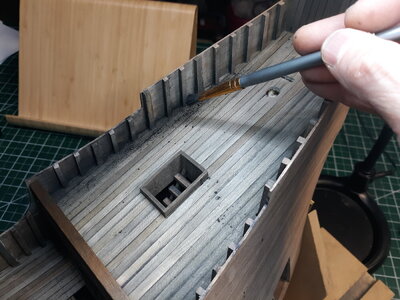
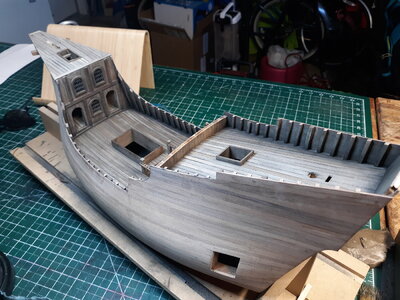
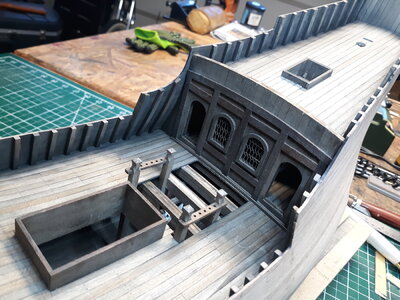


I crush up some artist charcoals/pastels to add to the weathering effects.


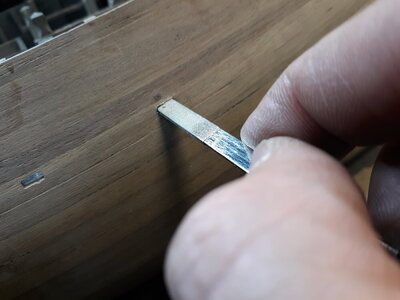
the old shipwrights also used the material what they had in the yard ......, but the builders of my ship decided to make them exactly the same size as my mini file.
Looking good! And thanks for the detail on weathering..(now I know why I should have kept my mortar and pestle.) Detail like that is really helpfull to many log readers. Many logs, mine included, just show pics of work completed which is OK but showing how work is done is really great. It takes a lot more effort though in logging.
Thanks again.
Fair winds.. Ed
Thanks again.
Fair winds.. Ed
- Joined
- Oct 13, 2020
- Messages
- 63
- Points
- 113

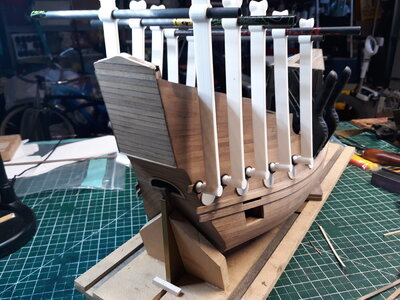
Installing the Wales. There's several of them on this model. I didn't have any clamps of the right size or type that would hold them in position so I had to invent and print some on my 3D printer. They're based on the Berna clamps I have but with longer and wider reach.
They have ball joints to conform to the various surface angles. I glued on a patch of craft foam for grip. Then I cut up some carbon fiber arrows for the bars.
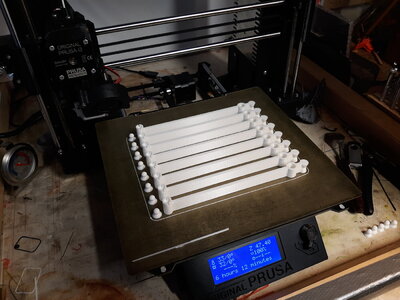
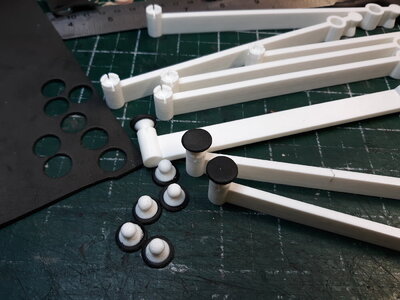
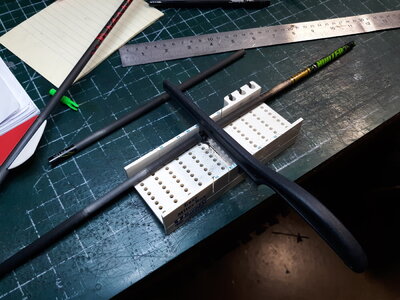
The white circles are spacers I printed to ensure even spacing between the Wales...
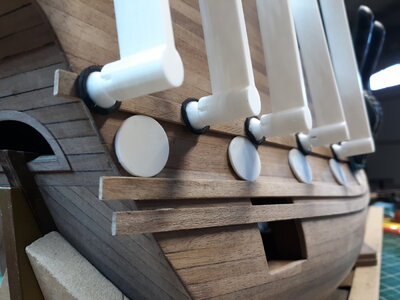
They have ball joints to conform to the various surface angles. I glued on a patch of craft foam for grip. Then I cut up some carbon fiber arrows for the bars.


The white circles are spacers I printed to ensure even spacing between the Wales...


Carbon fiber clamps... now that's class!

Fair winds.. Ed

Fair winds.. Ed
6 hours 12 minutes. What material did you make the arms from
- Joined
- Oct 13, 2020
- Messages
- 63
- Points
- 113

standard PLA6 hours 12 minutes. What material did you make the arms from
Hallo @ChakotayDespite already being a few steps into the process, I’m starting this build log of MarisStella’s 1/48 Ragusian Cog on the suggestion of fellow modeler Bluebeard, who’s own log of same subject I’ve been following:
His build log has helped me greatly as the kit's instructions are very . . . um, brief (I'll go into this later).Marisstella Cog 1:48
Hi guys and gals: This is my first build log ever and I hope you like my orientations and pictures. By no means I consider myself a “Pro” since I have only built 5 wooden models that later I will post pictures of them. Before my wooden models I built many plastics model ships like many of the...shipsofscale.com
Special thanks to Rick Shousha of Modeller’s Workshop for helping me import this kit to the U.S. from Croatia.
Let me say that the materials of this kit are excellent. The wood (almost all walnut) is top quality. The dowel rods are straight and round. The laser cuts are square (a first in my experience). The cannons are turned brass. The ropes I may actually use (instead of ordering from Syren). I may replace the blocks though.
we wish you all the BEST and a HAPPY BIRTHDAY

Chakotay, first of all congratulations with your birthday
I have been looking through your build log and love the way you are showing us your construction methods. Very informative. I especially admire your planking and weathering techniques. The colors are well chosen, she is growing into a very beautiful model!
Herman
I have been looking through your build log and love the way you are showing us your construction methods. Very informative. I especially admire your planking and weathering techniques. The colors are well chosen, she is growing into a very beautiful model!
Herman
- Joined
- Oct 13, 2020
- Messages
- 63
- Points
- 113

Well, it's been a while. Sometimes I have to step away from a project because I just get tired of it. That "sometimes" can last a few months . . . or years! I took a decade-long break from my Model Shipways Rattlesnake.
It MIGHT be because I knew this next step was going to be a tedious pain in the butt.
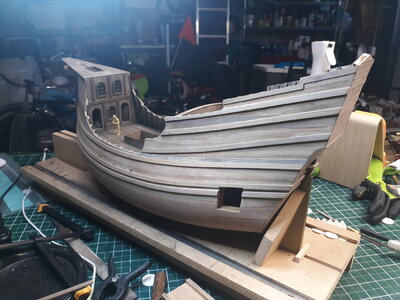
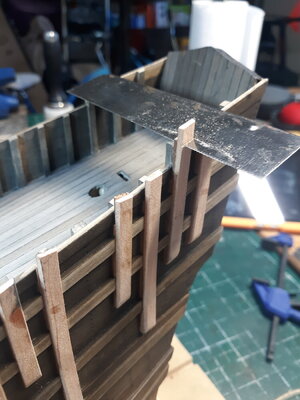
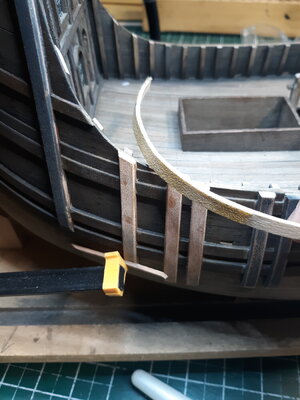
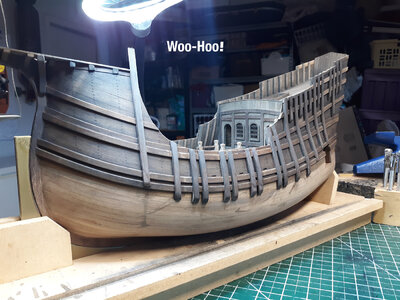
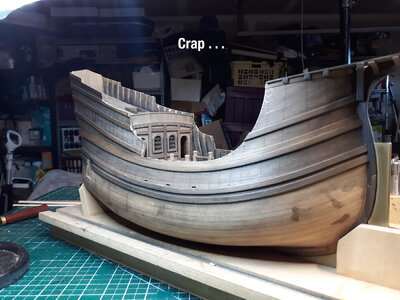
The MarisStella Ragusian Cog -- as pictured on the box and laid out in the plans --- has a ridiculous amount of these "vertical side reinforcements" (vertical rubbing strakes?). I thought of a few ways I could do these, ranging from "I'm not putting myself through that" to "quicker & easier, but will look like crap". I decided to split the difference and am doing them this way:
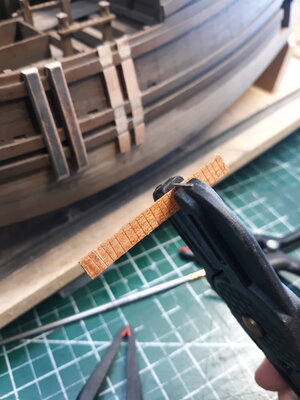
1. Fill the gaps between the wales . . .
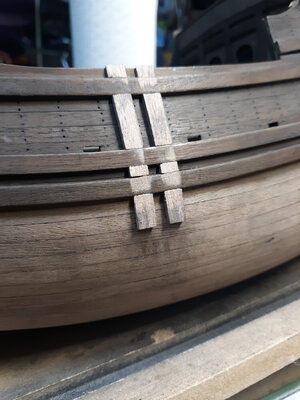
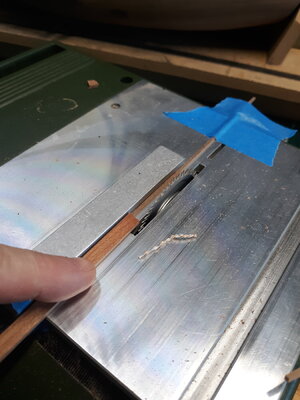
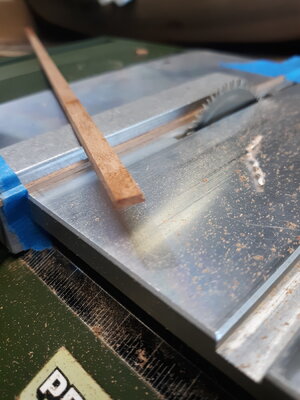
2. My table saw doesn't have a titling blade, so I tilt the wood with a smaller piece of wood to give it a little bevel . . .
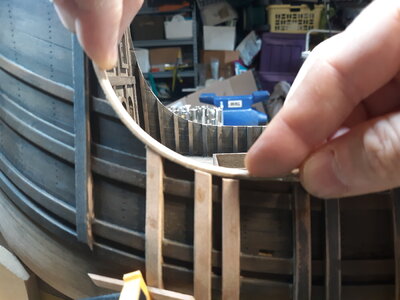
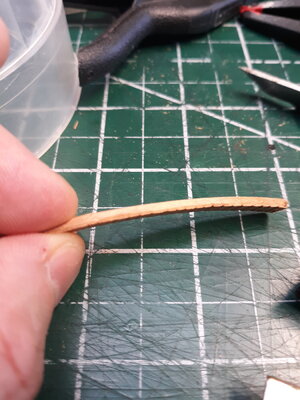
3. I use a plank bender to give it a curve....
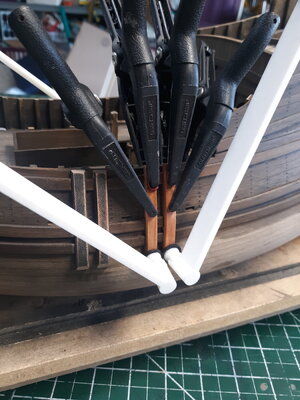
4. repeat . . .
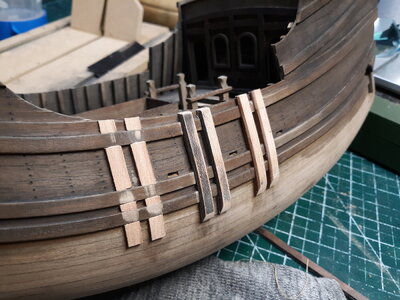
Now I just have to do that 50 more times . . . Will be back!
It MIGHT be because I knew this next step was going to be a tedious pain in the butt.
The MarisStella Ragusian Cog -- as pictured on the box and laid out in the plans --- has a ridiculous amount of these "vertical side reinforcements" (vertical rubbing strakes?). I thought of a few ways I could do these, ranging from "I'm not putting myself through that" to "quicker & easier, but will look like crap". I decided to split the difference and am doing them this way:
1. Fill the gaps between the wales . . .

2. My table saw doesn't have a titling blade, so I tilt the wood with a smaller piece of wood to give it a little bevel . . .


3. I use a plank bender to give it a curve....


4. repeat . . .

Now I just have to do that 50 more times . . . Will be back!
Work smarter not harderWell, it's been a while. Sometimes I have to step away from a project because I just get tired of it. That "sometimes" can last a few months . . . or years! I took a decade-long break from my Model Shipways Rattlesnake.
It MIGHT be because I knew this next step was going to be a tedious pain in the butt.
The MarisStella Ragusian Cog -- as pictured on the box and laid out in the plans --- has a ridiculous amount of these "vertical side reinforcements" (vertical rubbing strakes?). I thought of a few ways I could do these, ranging from "I'm not putting myself through that" to "quicker & easier, but will look like crap". I decided to split the difference and am doing them this way:
1. Fill the gaps between the wales . . .
View attachment 322838
2. My table saw doesn't have a titling blade, so I tilt the wood with a smaller piece of wood to give it a little bevel . . .
View attachment 322839
View attachment 322840
3. I use a plank bender to give it a curve....
View attachment 322841
View attachment 322842
View attachment 322843
4. repeat . . .
View attachment 322844
Now I just have to do that 50 more times . . . Will be back!


