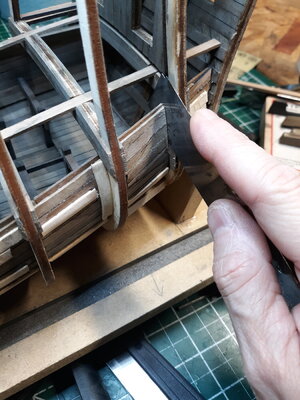
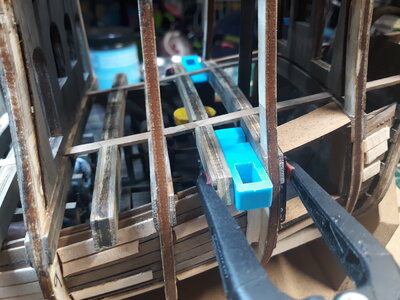
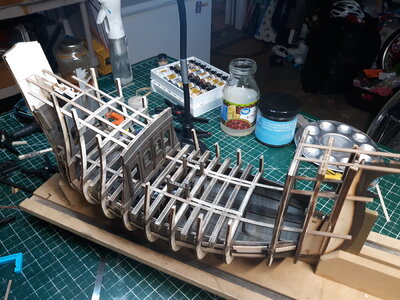
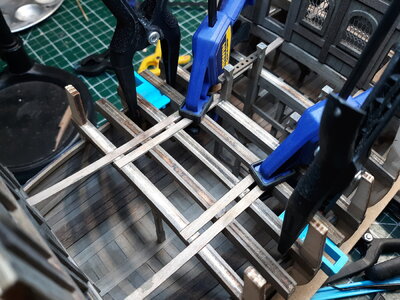
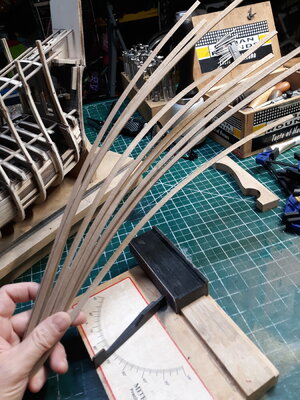
Are the bending jigs around the planks commercial or ones that you created? They look like they do a very good job in holding the curve that you want. I was using a trial and rebend process with an electric bender and my own fingers which can only create at best a close approximation. Rich (PT-2)At some point, outer planking will begin. The walnut is very stiff and difficult to work with. I'm going ahead and getting some strips steamed and in my edge-bending jigs. The longer they have to 'set' the better.
View attachment 255690View attachment 255691
-

Win a Free Custom Engraved Brass Coin!!!
As a way to introduce our brass coins to the community, we will raffle off a free coin during the month of August. Follow link ABOVE for instructions for entering.
-

PRE-ORDER SHIPS IN SCALE TODAY!
The beloved Ships in Scale Magazine is back and charting a new course for 2026!
Discover new skills, new techniques, and new inspirations in every issue.
NOTE THAT OUR FIRST ISSUE WILL BE JAN/FEB 2026
You are using an out of date browser. It may not display this or other websites correctly.
You should upgrade or use an alternative browser.
You should upgrade or use an alternative browser.
Build Log: MarisStella Ragusian Cog
- Thread starter Chakotay
- Start date
- Watchers 23
-
- Tags
- marisstella ragusian cog
- Joined
- Oct 13, 2020
- Messages
- 63
- Points
- 113

I designed them myself in Tinkercad (a very simple, free, online software) and printed them on my printer. The first steps of the instructions have you veneering the bulkheads and beams. This is easier to do with the planks edge bent. The walnut is very hard and I was having trouble doing this my 'normal' way.Are the bending jigs around the planks commercial or ones that you created? They look like they do a very good job in holding the curve that you want. I was using a trial and rebend process with an electric bender and my own fingers which can only create at best a close approximation. Rich (PT-2)
- Joined
- Oct 13, 2020
- Messages
- 63
- Points
- 113

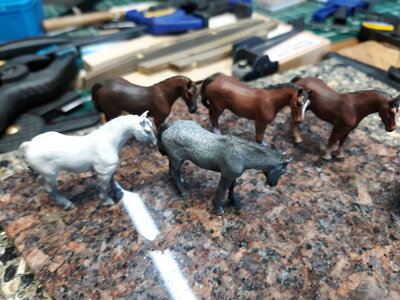
yep. I bought the same horses you did Bluebeard. I tried to find some good, digital models online I could just print myself, but only found one that was decent.Looking great
Excellent job with the horse stables.
Are you planning to get some horses in there.?
Hopefully I can paint them as well as you did.
Digital horses sound great as there will only be virtual droppings to clean up.yep. I bought the same horses you did Bluebeard. I tried to find some good, digital models online I could just print myself, but only found one that was decent.
Hopefully I can paint them as well as you did.
- Joined
- Oct 13, 2020
- Messages
- 63
- Points
- 113

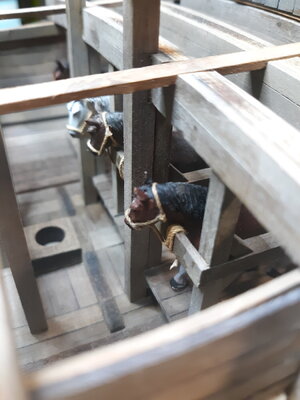
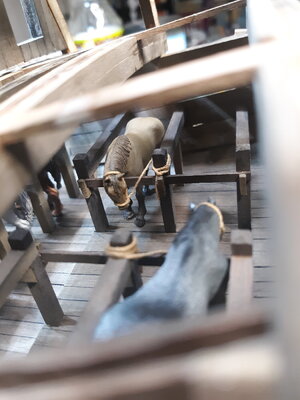
I have a bunch of cargo in the form of barrels and crates and bags to fill my hold, but I'm going to wait until I'm further along in the build. There's a lot of chiseling and sanding still to do and I don't want sawdust filling all the nooks between details. However, the horses would be very difficult to install later so I'm going ahead and gluing them in...


- Joined
- Oct 13, 2020
- Messages
- 63
- Points
- 113

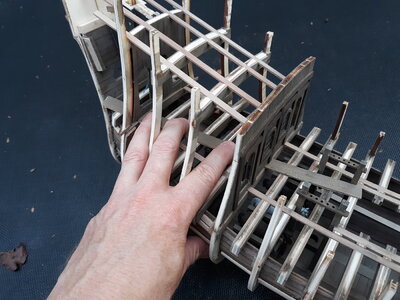
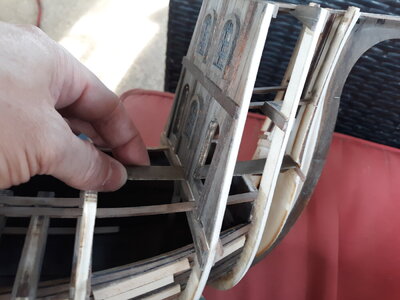
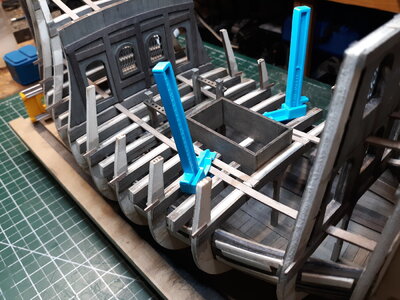
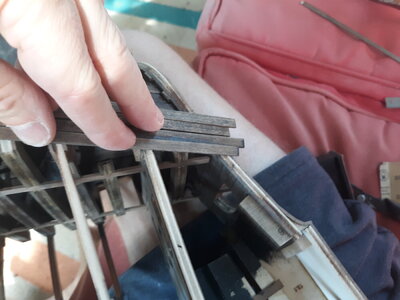
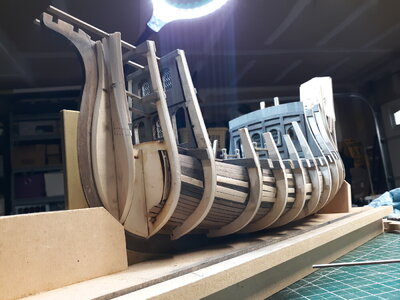
Finally time to fair the bulkheads in preparation for planking! My favorite tools for this are sanding blocks and a long piece of thin, flexible wood with sandpaper glued to it. I never use anything "soft" (like sanding sponges) as they round the edges of the bulkheads. Took my time and checked frequently with planks. Took me most of the afternoon.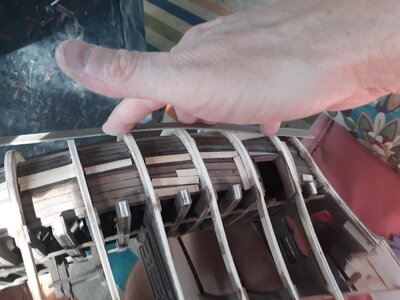


You are a good wrangler as well as model builder. RIch (PT-2)Finally time to fair the bulkheads in preparation for planking! My favorite tools for this are sanding blocks and a long piece of thin, flexible wood with sandpaper glued to it. I never use anything "soft" (like sanding sponges) as they round the edges of the bulkheads. Took my time and checked frequently with planks. Took me most of the afternoon.View attachment 259595View attachment 259597View attachment 259600
- Joined
- Oct 13, 2020
- Messages
- 63
- Points
- 113

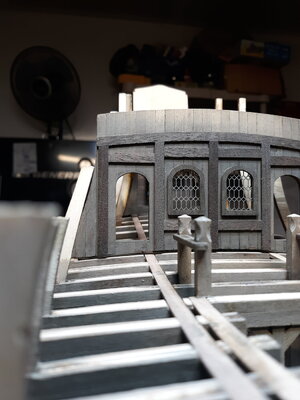
That bulkhead with windows looks very nicely done. Rich (PT-2)This next step was a bit tricky: sanding the main deck. There's lots of bulkheads and framing in the way . . . not to mention the bits, but I was able to get my thin sanding plank in contact with all top surfaces. Again, the forecastle takes a steep curve up at the bow and required extra attention.
View attachment 260594
View attachment 260595
View attachment 260596
Very well cut and set. That saw looks like a razor with teeth. I don't have one that thin or a fine tooth spacing. More $$$ appearing before by bow. Rich (PT-2
- Joined
- Oct 13, 2020
- Messages
- 63
- Points
- 113

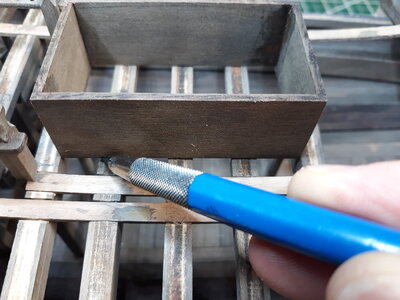
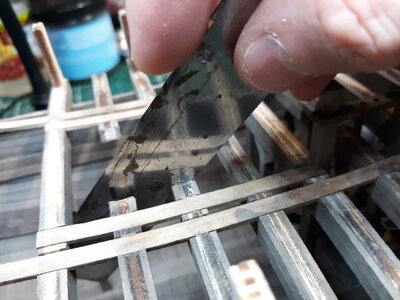
It's just an old razor saw blade that became detached from it's spine/handle. It's actually very useful for making flush cuts.Very well cut and set. That saw looks like a razor with teeth. I don't have one that thin or a fine tooth spacing. More $$$ appearing before by bow. Rich (PT-2
- Joined
- Oct 13, 2020
- Messages
- 63
- Points
- 113

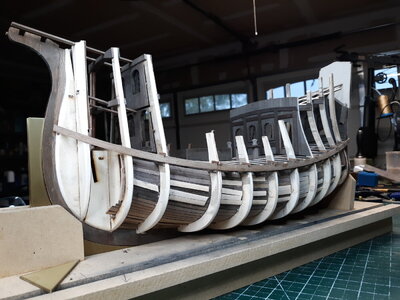
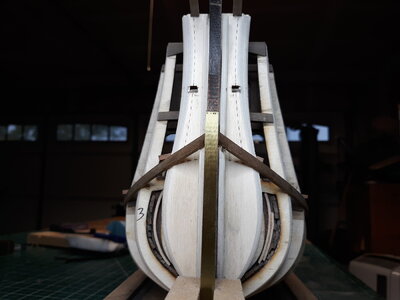
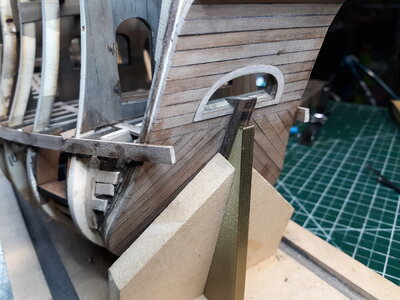
Huzzah! The first planks . . . the planks upon which all the rest will be based . . . are on!
I glued scrap tabs onto the bulkheads at the deck line to mark the upper edge of the first planks. Then used the edge-bent strips I steamed and put into my jigs earlier. I make sure the planks start and end at the same point on both sides.
I glued scrap tabs onto the bulkheads at the deck line to mark the upper edge of the first planks. Then used the edge-bent strips I steamed and put into my jigs earlier. I make sure the planks start and end at the same point on both sides.


Very good work - and thanks for the explanations - highly appreciated


