Build Log: MarisStella Ragusian Cog

Joined
Oct 13, 2020
Messages
63
Points
113

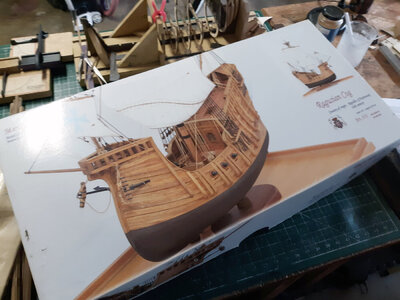
Despite already being a few steps into the process, I’m starting this build log of MarisStella’s 1/48 Ragusian Cog on the suggestion of fellow modeler Bluebeard, who’s own log of same subject I’ve been following:
His build log has helped me greatly as the kit's instructions are very . . . um, brief (I'll go into this later).

Special thanks to Rick Shousha of Modeller’s Workshop for helping me import this kit to the U.S. from Croatia.

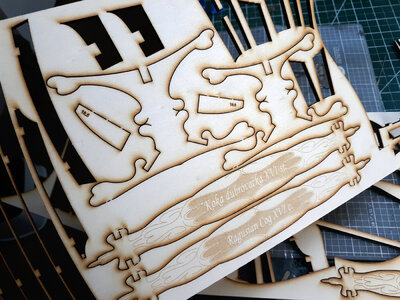
Let me say that the materials of this kit are excellent. The wood (almost all walnut) is top quality. The dowel rods are straight and round. The laser cuts are square (a first in my experience). The cannons are turned brass. The ropes I may actually use (instead of ordering from Syren). I may replace the blocks though.
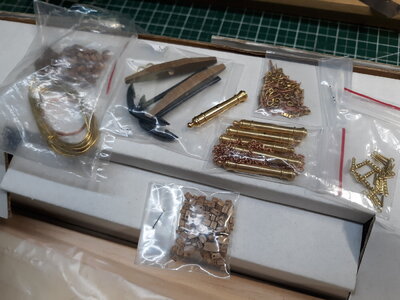
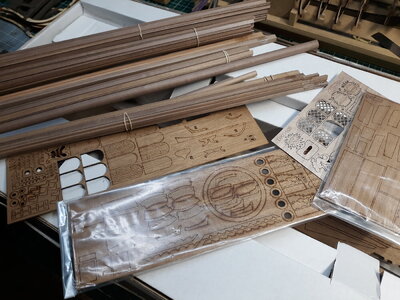
20210814_081616.jpg
20210814_081901.jpg
20210814_082335.jpg
20210814_082756.jpg
20210814_082224.jpg
 
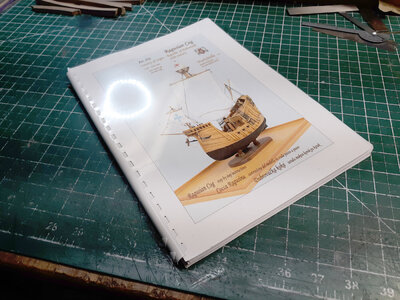
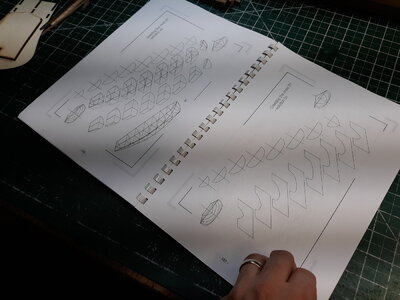
My only disappointed with the kit is the instructions. It looks like an impressive booklet, and I was anticipating many detailed construction steps ---similar to the Model Shipways kits I've built. Alas, this is not the case.

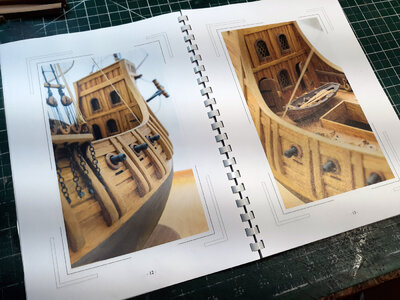
It has several full-color closeup images of the finished model, which I really appreciate.
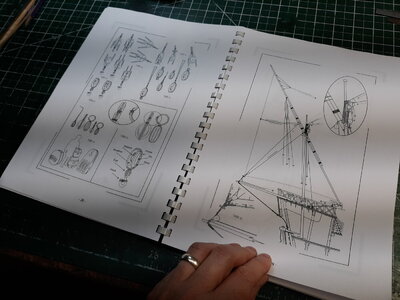
It goes into great detail about rigging . . . but strangely not for this particular ship. It's rigging for the Ragusian Carrack. I do understand that I can apply the same concepts to this ship, but still.
It devotes a full 21 pages to the ship's boat. The gist: You're carving it out of a piece of balsa wood. (Not me: I'll be 3D-printing my own boat).

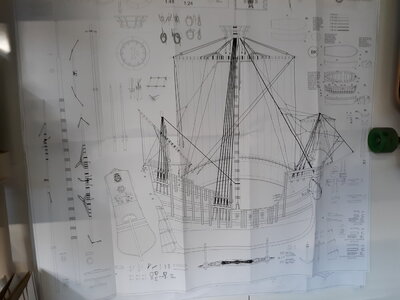
There's two sheets: One with elevation/bulkheads, and one for rigging.

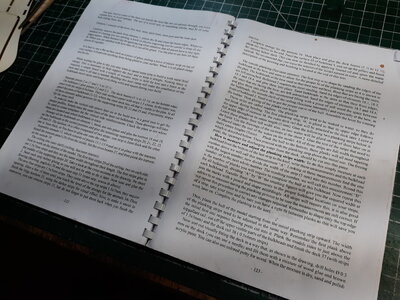
The actual construction steps are 5 pages of translated text. It leaves a lot to the imagination. Like, A LOT.
Many construction details not identified or not obvious even after careful study.
If it weren't for Bluebeard's build log on this model I would have been stumped -- and I consider myself an experienced scale modeler.


20210814_083821.jpg
20210814_083806.jpg
20210814_083836.jpg
20210814_083955.jpg
20210814_084054.jpg
20210814_083225.jpg
20210814_083402.jpg
 
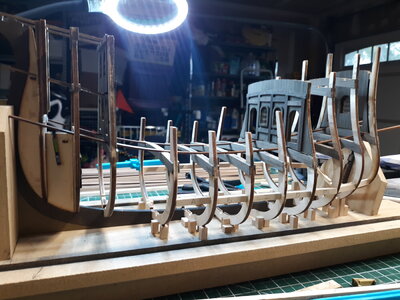
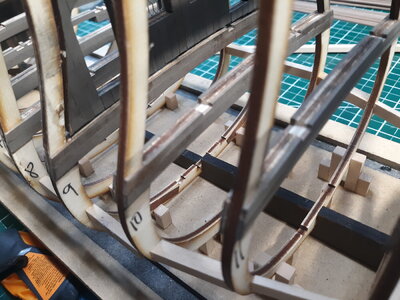
As mentioned, I decided to start a build log after already into the process. But suffice to say that since this model has interior detail (one of the main reasons I purchased it) the bulkheads require dressing up before installing onto the keel. This is identical to Bluebeard's build and you can check his log for details.

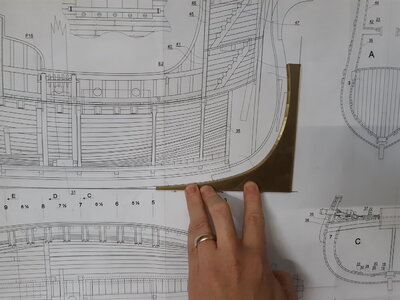
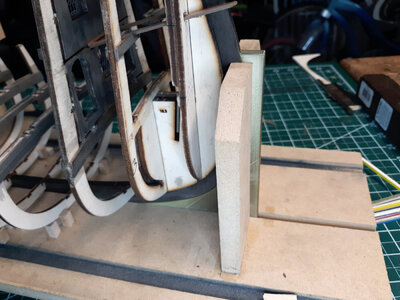
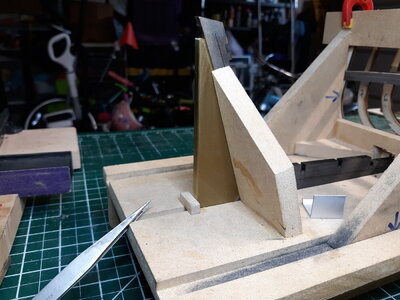
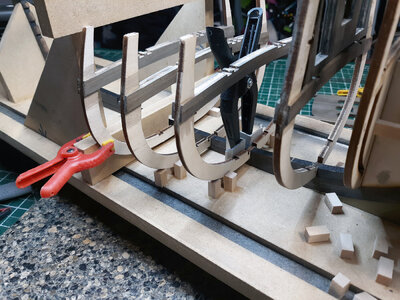
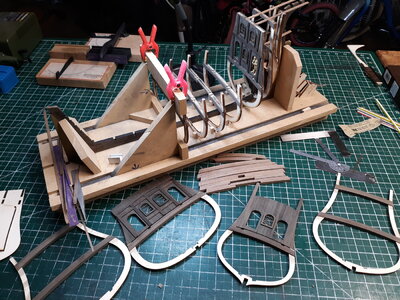
I built a frame similar to Bluebeard's to keep bulkheads square. It's important to note that the bottom of the keel is not flat--it has a slight compound curve-- so you can't just place the keel on a flat surface and use a square to keep things straight up and down; It will rock back and forth. So I traced the keel from the provided sheet and designed and 3D printed profiles to support the bow and stern.20210814_085058.jpg20210814_084326.jpg20210814_084338.jpg
 
Congratulations!!!!!
You finally did it.
I can understand your frustration about the building instructions, but help is in the way soon. Marisstella owner Zoran knows this fact and he is working with the photos I sent him to create a step by step instructions.
Meanwhile I can tell you what I understood from the instructions and pass it down to you and you could do the same as well.
Just one thing I would not do, is to change the color of the wood with chemicals. From the pictures you sent me I can see that the chemicals darkened the model too much. If you would have told this before, I would have not recommended it, but then again "Beauty is in the eyes of the beholder".
 
Thanks Bluebeard. Your build helped me make the decision on what was my next kit purchase.

As for the wood aging, this is something I've wanted to do for a while. I've built enough ships with "box-top-picture" colors.
I wanted to make something that looks OLD. This is my inspiration (dibs if you can guess what movie it's from):

Screen Shot 2021-08-14 at 8.45.32 PM.png
 
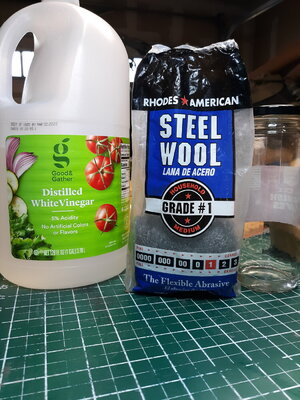
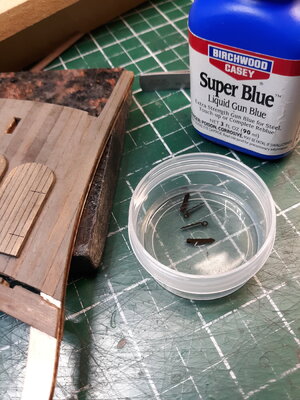
If case anyone is wondering. All you need is some white vinegar, steel wool, and a spare container. The process is called "vinegaroon" or "vinegar black"
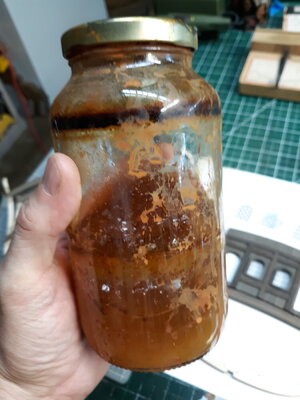
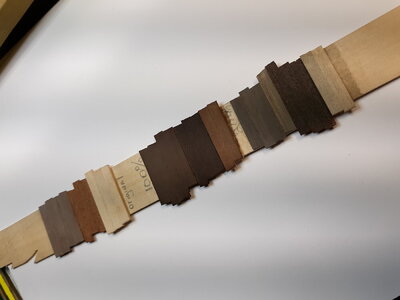
Clean the steel wool with soap and water to remove the manufacturing oils then put it in a jar. Fill the jar with vinegar and let it sit for a few days. The vinegar dissolves the steel wool and you end up a jar of rusty vinegar water. You can use it straight or cut it with water to make the effect more subtle. As you can see, the effect depends on the strength of your mixture, the species of wood, and the how much you put on. . .

20210814_092136.jpg20210814_092506.jpg20210814_114459.jpg
 
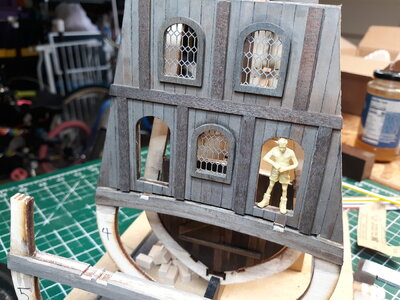
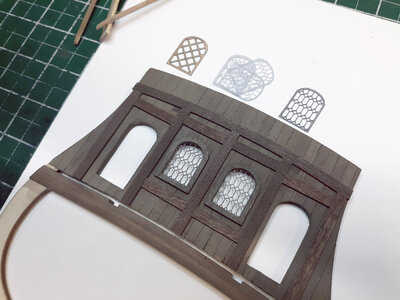
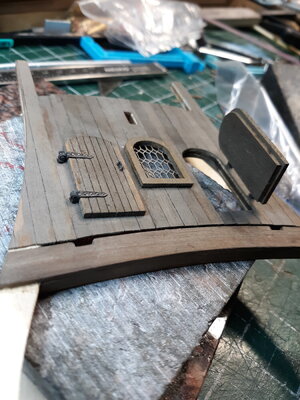
I created alternate window panes with my 3D printer to replace the wood ones that come with the kit. I painted them dark grey to simulate lead (or whatever was used back then.) I'll add some thin plastic "glass" later on. It would just gather sawdust if I put it on now.

20210814_084636.jpg
 
I knew you will come up with something innovative.
WOW
100 points for you
I will see if I could unglued them and do what you did.
Thanks a million.
 
GReat start of your building log - and very informative
I am looking forward to see your work .....
 
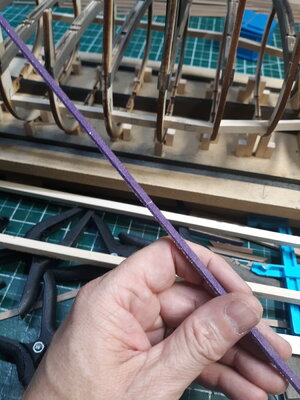
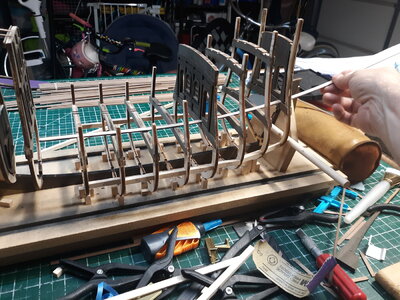
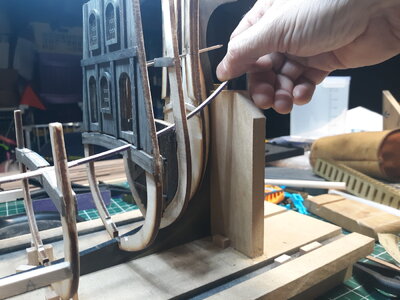
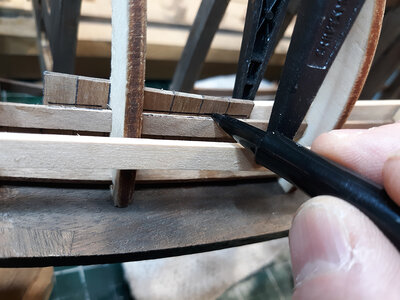
Shaping the channels for supporting strips 21 through 25. Before starting, I glue some support timbers between the bulkheads on the sides. I take a spare strip of basswood and glue sandpaper to it, making sure the sandpaper covers the sides of the strip as well. Then, working from the back, carefully feed the strip through each of the bulkheads.

This way I can sand all the bulkheads at once and ensure a smooth, even curvature with no flat spots. The deck takes a relatively sharp, upward turn at the forecastle, so It takes some special attention.


20210818_184605.jpg
20210818_190739.jpg
20210818_204902.jpg

20210819_085028.jpg
20210818_190931.jpg
 
Great work!!!!!!!
Your model is coming out fantastic.
All you do are great ideas for this particular models.
 
Very nice clean work! You have my envy!
I think your "inspiration" photo came from one of my all time favorite movies "Time Bandits".

"We can turn peas into beans!"
 
Shaping the channels for supporting strips 21 through 25. Before starting, I glue some support timbers between the bulkheads on the sides. I take a spare strip of basswood and glue sandpaper to it, making sure the sandpaper covers the sides of the strip as well. Then, working from the back, carefully feed the strip through each of the bulkheads.

This way I can sand all the bulkheads at once and ensure a smooth, even curvature with no flat spots. The deck takes a relatively sharp, upward turn at the forecastle, so It takes some special attention.


View attachment 251428
View attachment 251429
View attachment 251430

View attachment 251441
View attachment 251440
Excellent progress. Thanks for taking the time to provide some photos from the instruction book and details. . . that is a book review in itself worthy of What's New on my Bookshelf. Rich
 
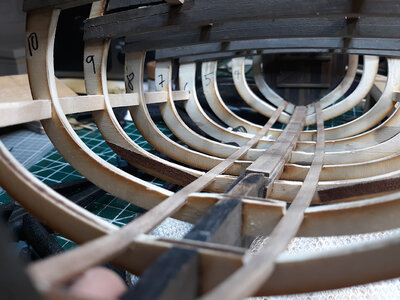
On to the cargo hold. Space is a little tight working inside the bulkheads, but it's actually not too bad. If you have fat fingers you may have some troubles.
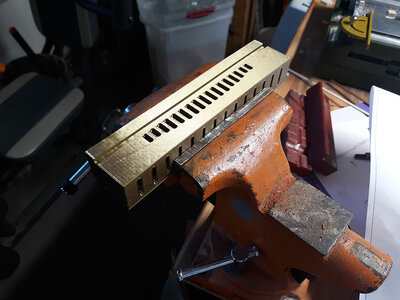
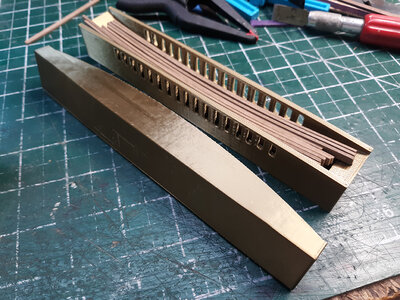
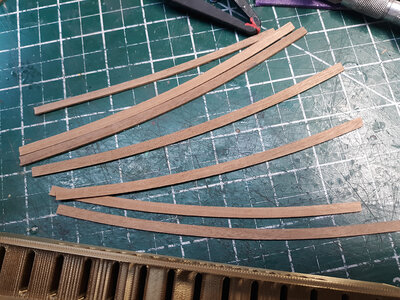
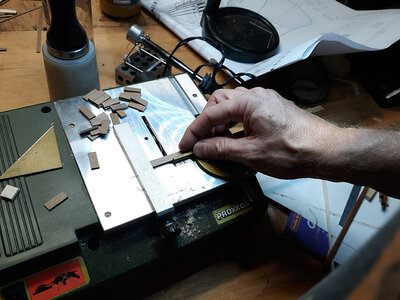
The keelson is made of a thick, precut basswood strip with walnut veneers. The two side pieces need to be edge bent. I 3d printed a jig for edge bending walnut strips (this is how I previously bent the veneers for the bulkheads).

20210820_174355.jpg20210820_174314.jpg20210820_174233.jpg20210820_185740.jpg20210820_190146.jpg
 
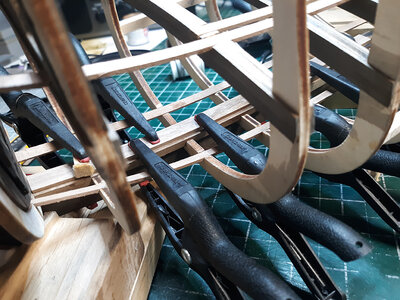
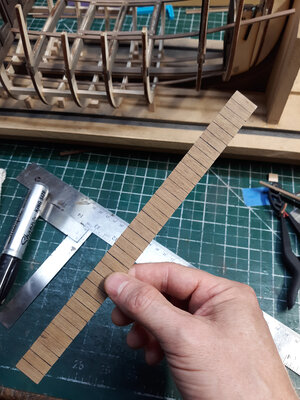
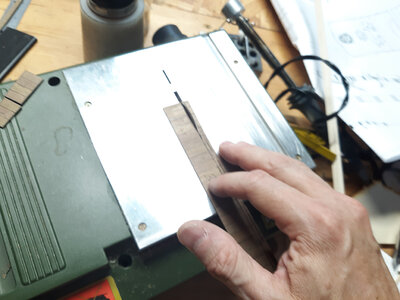
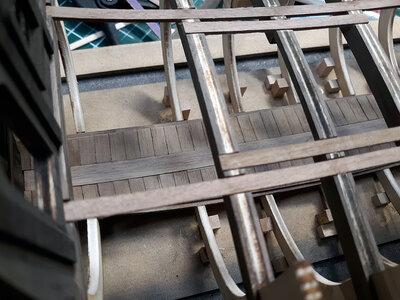
I cut the flooring strips a little oversize and glue them together off the model. After they set, I spritz them with water to give a little flexibility and lay them in position next to the keelson. I mark the edge of the support strip 20 (they're supposed to end in the middle of this strip.) I then cut them accordingly. The flooring twists as it approaches the bow, so the glue didn't hold the stiff walnut in a couple of joints. It took a lot of clamps to hold them down.

20210820_222605.jpg20210821_082610.jpg20210821_151816.jpg20210821_152841.jpg20210821_185339.jpg20210821_185056.jpg
 
Back
Top