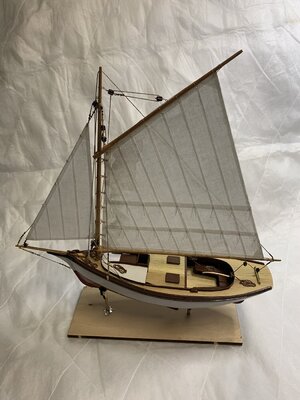
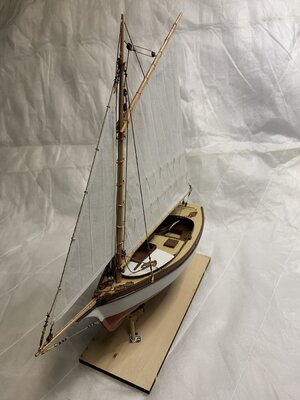
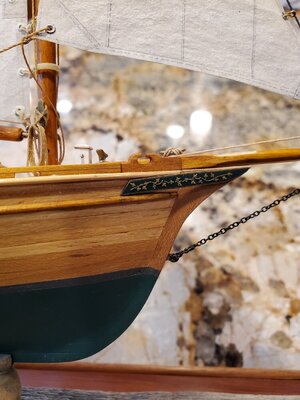
Build Log Muscongus Bay Lobster Smack [COMPLETED BUILD]

View attachment 290684
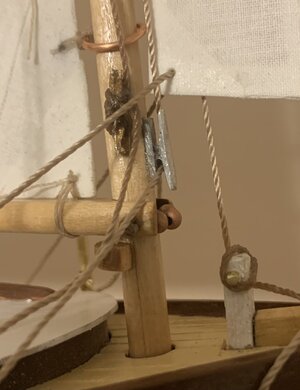
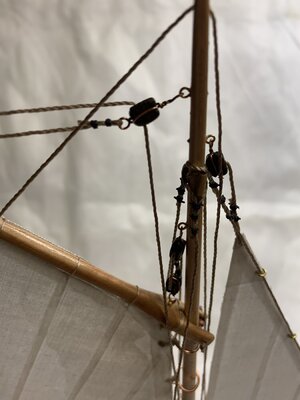
This was a pain in the ….. The turnbuckles in the kit are junk. I found some real ones at harbormodels.com and made this tensioner. It was not easy for me. I think I am going to make a wide pan to work in with these small parts. (I’m tired of sweeping the floor looking for parts. ) I also ground down some needle-nose and round-nose pliers to work with these small parts. Patients. Patients. Patients.
Good morning Duncan- it looks like your patience paid off. Thumbsup
 
Question. The directions say the the jib halyard goes through the block on the mainmast and then goes down and “temporarily” tied off to the Sampson post. Now the topping lift is also tied off to the Sampson post. Should the jib halyard now be tied off somewhere else or do both lines stay tied off to the Sampson post? Did I miss something in the directions?
 
Question. The directions say the the jib halyard goes through the block on the mainmast and then goes down and “temporarily” tied off to the Sampson post. Now the topping lift is also tied off to the Sampson post. Should the jib halyard now be tied off somewhere else or do both lines stay tied off to the Sampson post? Did I miss something in the directions?
I am surprised that there is not a cleat on the mast side to tie off the jib halyard. It would be very small as only a few figure--8 turn would be needed and then using reversed hitch around the top arm of the cleat the bitter end would loosely fall down the mast side to the deck. Just a recollection of a jib halyard from my long ago small boat racing in similar craft. Rich (PT-2)
 
AFC099A5-D556-4859-9AE1-D1C796E20BF9.jpeg
Well the jib is on. I removed the topping lift rope from the Sampson post leaving only the jib halyard and made a cleat from a piece of aluminum angle for topping lift rope. I’ll paint it later.
454825A0-DD8C-4532-9260-D1B36AF1880C.jpeg
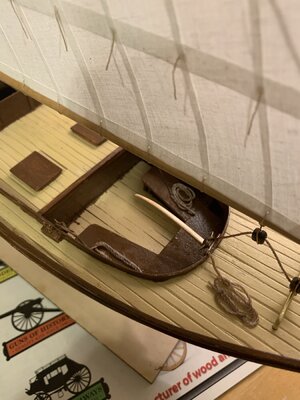
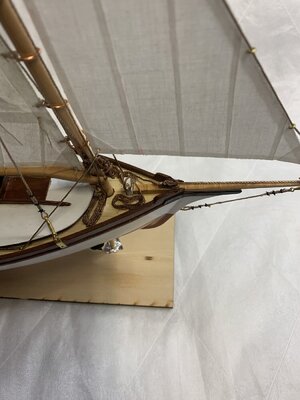
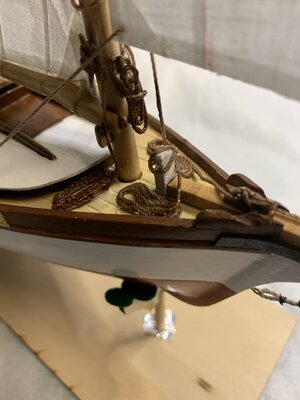
All the rope lines are in place. Now what to do with the ends? The rope coils don’t look like a real boat to me so I’m going to try to make something more like what I would expect to see on my boat.
 
Last edited:
View attachment 291896
Well the jib is on. I removed the topping lift rope from the Sampson post leaving only the jib halyard and made a cleat from a piece of aluminum angle for topping lift rope. I’ll paint it later.
View attachment 291897
All the rope lines are in place. Now what to do with the ends? The rope coils don’t look like a real boat to me so I’m going to try to make something more like what I would expect to see on my boat.
If you were racing the ends of the lines would have been "dropped in place" Between races the crew would sort them out in a neat loose coil and not in circular coils that we see when the boat is being stored. How you want to present those will be related to how you see things. With the sails up I would expect the crew is aboard and sailing so the dropped in place would be more accurate.
If you are social sailing then you may have them more neatly stored but remember when tacking or gybing they need to be loose and in a readily accessible manner. Just some recollections from my past years of racing as well as some social outings. Rich (PT-2)
 
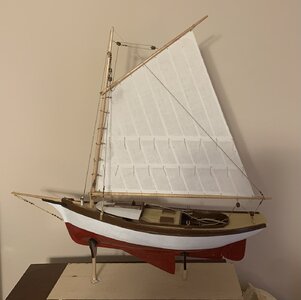
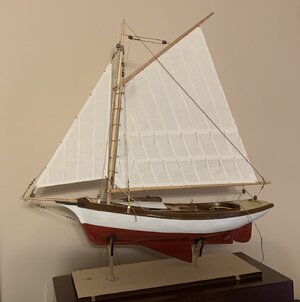
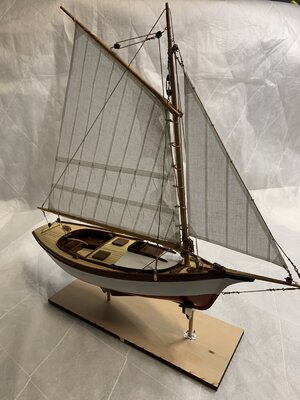
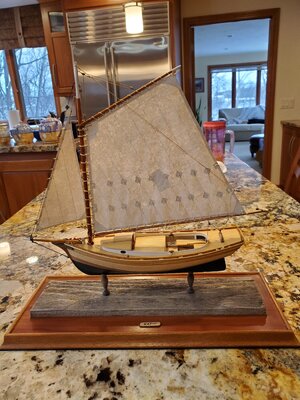
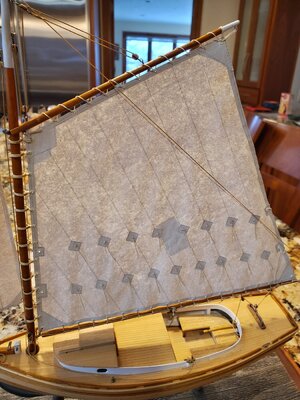
Well it is finished. With the exception of the mounting. (That is drying in the shop.) I learned a lot with this build. Now I am ready for the Glad Tidings Pinky Schooner. The work bench is clean and the tools are in place. Thanks to all of you for your help and encouragement with the Lobster Smack build.
077DDAD6-9AD7-451A-9C0E-82305AB1313F.jpeg

4E9EDEF5-6A95-475A-BAC7-4B71DB94EA7D.jpegA8E13B8A-3F5D-4F5A-BCDF-6DFAD27FB84B.jpeg
B9C6011E-B125-4E19-A272-7935CDF38203.jpeg1DD2D75E-102C-41C2-A36E-7C91314BAB63.jpeg

7F7DFFEC-F231-49EE-8BEA-8404D9C359A5.jpeg
 
Congratulations from my side - very well made model
I am looking forward to see and follow your new project
 
Nice model with crisp detailing. Your time was well spent building hours of memories.
Rich (PT-2)
I left model building to reengage in precision pistol shooting and reloading as every month age brings increasing arm/hand instability for single hand longer range shooting. Somewhere in the future I may return to model boats when you have continued forward in your own course. Enjoy the future.
 
Technique that works for me.
(I am new to model making, so more than likely everyone knows how to do this but it’s new for me. I thought I would share it for other new model builders. )
View attachment 284545
Use a push pin to make a hole in the glue container. Insert the syringe. Pull the plunge back and use a piece of something to hold the plunger back. The vacuum created will draw the glue into the syringe.
When you have what you need, remove what is holding the plunger back, with the needle still in the bottle. The pressures will equalize. Remove the syringe and put the pushpin in the hole.
With the syringe load with glue, you can put a small drop where you need it or run a long tiny bead for sail making or planking.
When you finished, if there is glue remaining in the syringe, stick the syringe in the little hole in the glue container and eject the unused glue back into the container.
View attachment 284546
Replace the pushpin to seals the hole. When you need to use the syringe again just twist the pin, pull it out and insert the syringe and repeat the syringe loading process.
Now I see this LoL, I just blew up a 1/2 a bottle of yellow glue trying to put it in a smaller bottle better suited for my immediate needs. Great idea, I'll stop wasting little specimen cups and glue.
 
I have read that this type of sloop as originally designed as a lobster smack did not use shrouds, which were later added as they were converted into "Friendship Sloop" yachts. I say "I have read" because I find that these data vary, depending on the source.
Therefore, IMHO, @ilanortho, you need not add shrouds to your lovely model and that she passes muster just fine as she is! Thumbs-Up
 
Back
Top