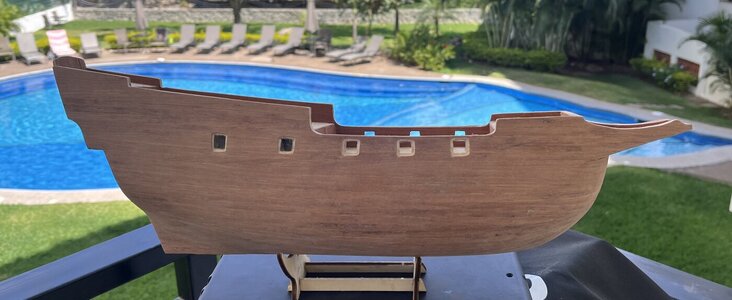
Buccaneer 1:100 by Occre - Build log

8/6 to 8/11
I’m back in Vallarta for a week. Not much time for the Molino as we have a LOT to do to our condo because we had a number of renovations completed while we were gone.

The one thing that I expected to have time to do was putting a coat of satin varnish on the decks. I couldn’t do it when I was “supposed” to since I didn’t bring any paint, varnish, or stain with me when I brought the kit down here in May. Included in the handful of tools and supplies I brought down this trip were hopefully all the various paints I need for completing the ship. I’m sure I’ll decide to do something that will require some color I don’t have but I’ll cross that bridge when/if I get there.
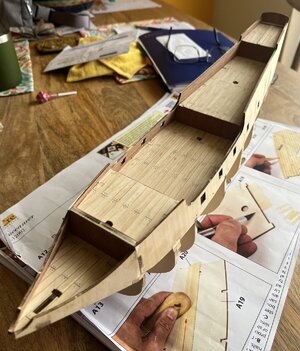
IMG_4168.jpeg
IMG_4170.jpeg
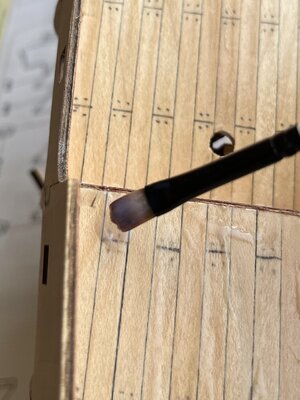
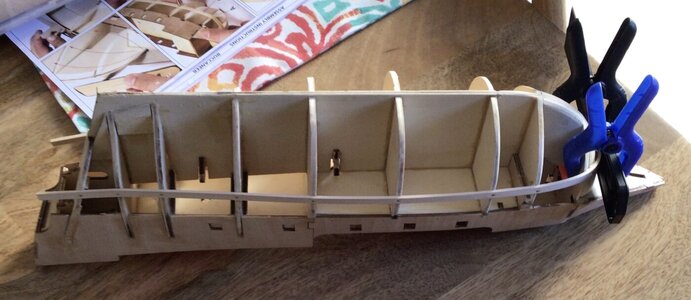
Varnishing the deck was very straightforward except that since the gunwales (I think that’s what to call them) were already in place (because i didn’t want to not work on the Molino until i came back with varnish), I decided to varnish them as well.
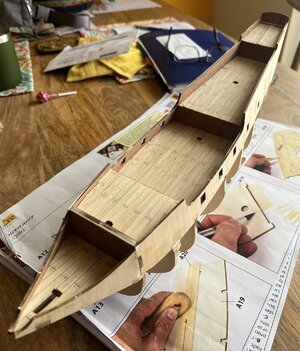
IMG_4168.jpeg
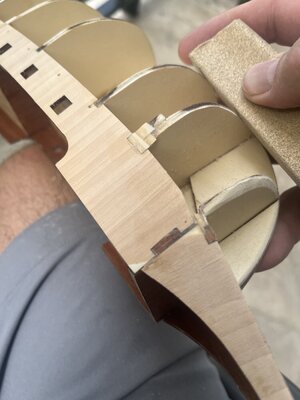
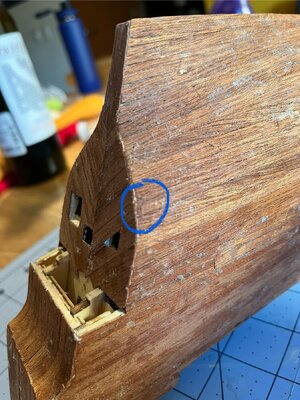
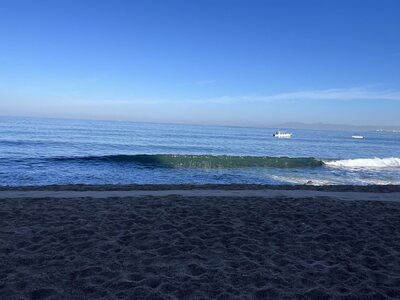
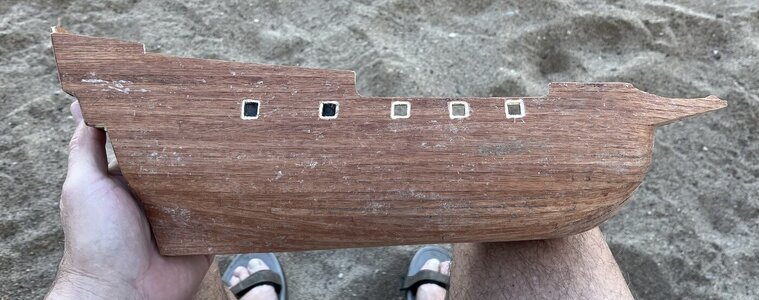
Now a bunch of sanding to fair out the bulkheads. And what better place to sand than on the sands of Banderas Bay, my workshop this week.
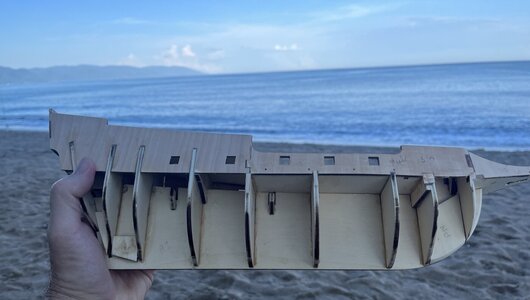
IMG_4185.jpeg
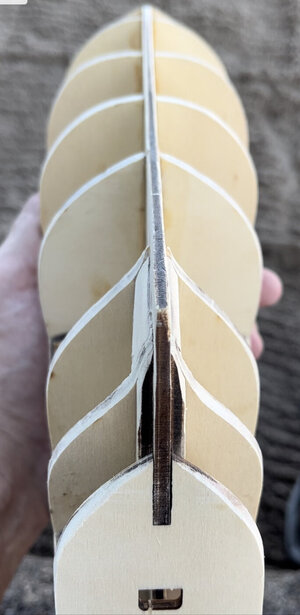
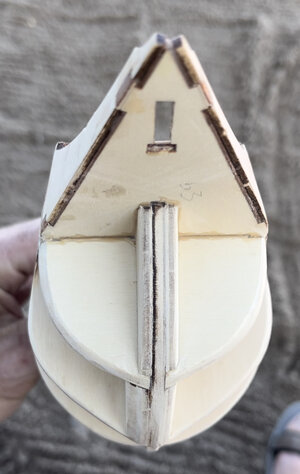
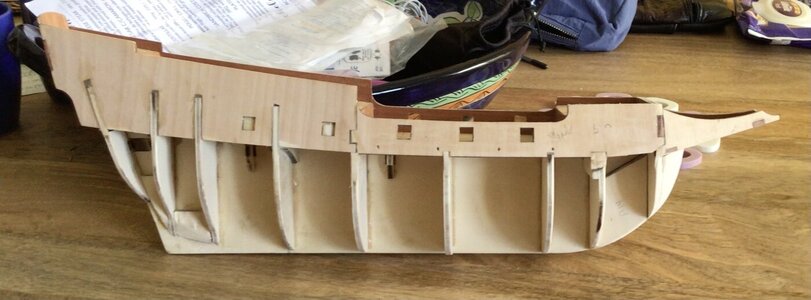
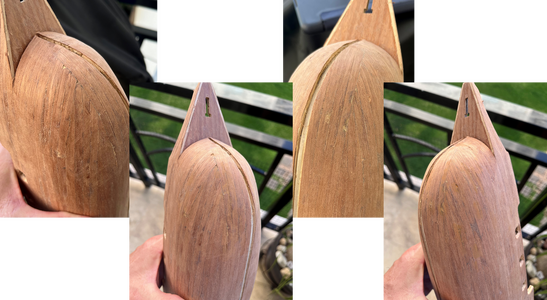
Fairing on the Molino is quite a bit different from what I did on my Bluenose as it has a very sleek profile compared to that of a galleon.
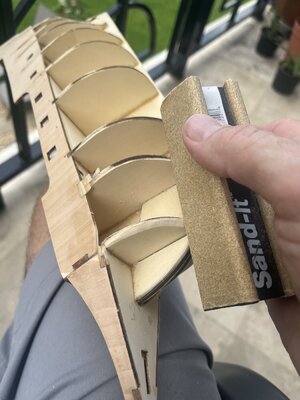
IMG_4181.jpeg
IMG_4180.jpeg
That’s it for this trip.
IMG_4199.jpeg
IMG_4200.jpeg
We might try to come down for another short “work” trip in September. Worst case, we’ll be back for a nice 2 month stay starting in early December.

Time for this portion: 4 hours
Total time to date: 33.5 hours
 
Last edited:
Looking good, you are making progress! ;)
Be sure to use a plank to check the fairing. Place and bend across at least 3 to 4 frames at a time and check for low or high spots. And adjust as needed prior to planking the hull. I just mark in pencil below the plank a + or - depending if it needs material removed or added. You can use whatever marking makes sense to you. ;)
Thanks for the reminder about using a plank @Dean62 . Took the Molino to my workshop again this morning along with a plank. Sanded on and off for about an hour while enjoying coffee and conversations and believe the fairing is complete.
 
10/17
No actual work being done, more just what Im going to do (when I return to Vallarta inDecember).

After reading through @Alan56 post titled Bulkhead filler block, I decided to add filler blocks to the bow of the Molino to aid in the shape.

I’ve purchased the basswood blocks, so I’m all set.

Can’t wait until December.

Time for this portion: 0 hours
Total time to date: 34.5 hours
 
12/7 to 12/11
Back in Vallarta for an extended stay and after a few days of getting unpacked and completing PV honey-dos for the Admiral (who is doing wonderful after her recent DBS surgery), the condo is in enough order for me to pull out the Molino.

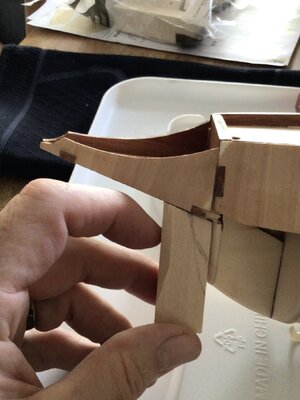
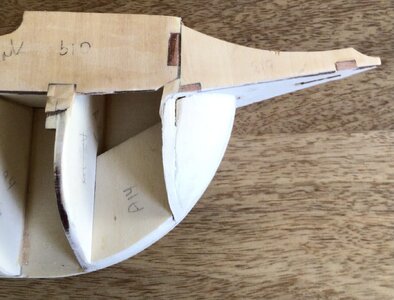
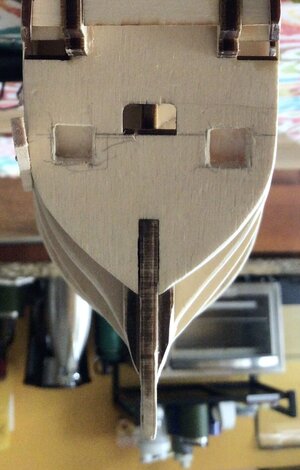
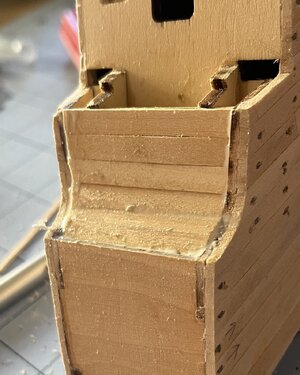
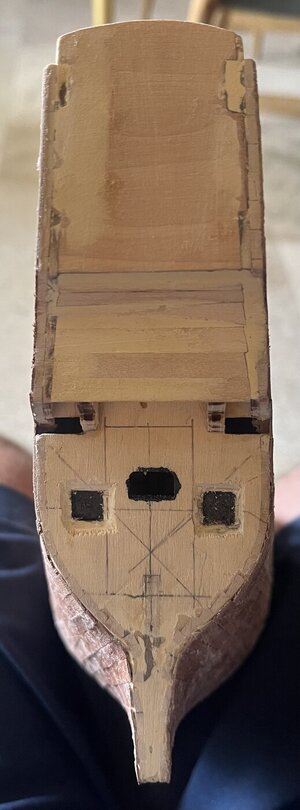
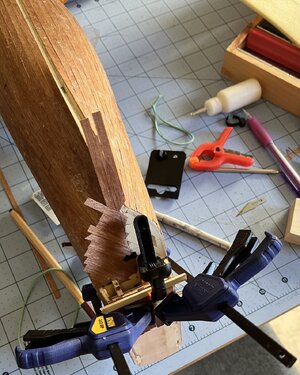
My first task was to add filler blocks to both sides the bow to aid in the shape of the planking. This is an extra step I decided to do after reading through Bulkhead filler blocks by @Alan56. I haven’t planked a ship with the drastic curve of the hull like the Molino has so I thought filler blocks would give me the support to keep the curve plus give me some additional carving practice.

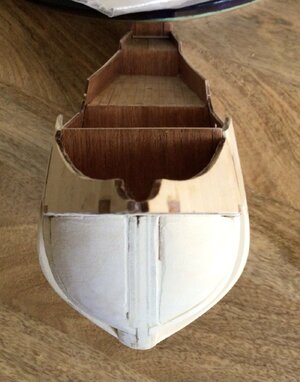
I picked out two of the smaller blocks (2”x1”x.75”) I brought down as they fit nicely into the area between the prow and the front most frame, being only about 1/2” too long (top to bottom). The angle of the picture makes it seem like a lot more.
IMG_0589.jpeg
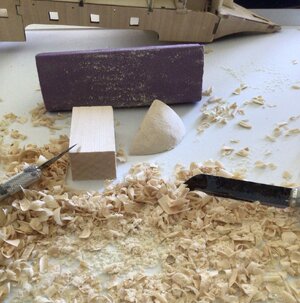
I carved and sanded the 1st one inside the condo
IMG_0591.jpeg
and then moved to my outdoor workshop on the malecón to work on the second one.
20231209_082828.jpeg
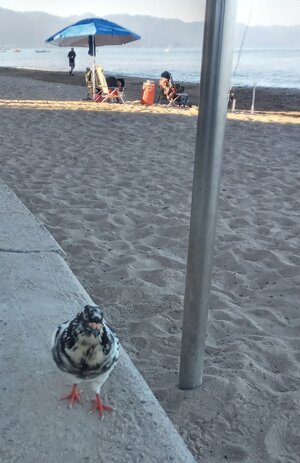
While I unfortunately can’t do all my work on the malecón, it’s a marvelous place to work when I can. This morning I was interrupted by a pod of whales swimming by (couldn’t get my camera out in time) and an inquisitive pigeon who couldn’t understand why my wood chips weren’t tasty.
20231209_084406.jpeg
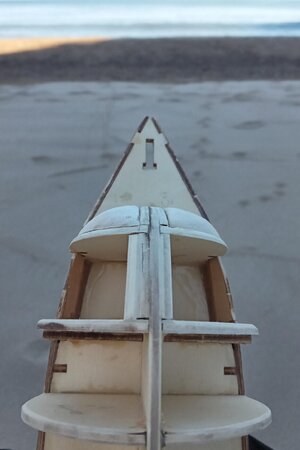
My goal is to get the filler blocks fairly close to what they need to be, glue them in place, and then do a final sanding to get them faired in with the front most frame and the prow. The port side is close, but the starboard side still needs a bit of work.

Even though my friends from yesterday (the whales and pigeon) were no shows, I wrapped up the rough carving and sanding on the filler blocks and glued them in place.
20231210_092909.jpeg
The final sanding of the filler blocks was quick and easy, after all, they are going to be planked over.
IMG_0610.jpeg
IMG_0611.jpegI almost missed two small items; I needed to glue the false gunport walls to the four aft-most cannons and open up the bowsprit hole at the bow. I had forgotten to cut out the hole when I planked over it on the forepeak wall.

(UPDATE - I recommend waiting to glue the false gunport walls until the upper part of the hull has been planked as it would have been easier to cut and sand them without the walls in place. Just glue them before starting the bottom half of the hull planking.)

Additionally the foremast support partially blocks the hole so it needed some sanding. Easy fixes, but I’m glad I caught them now.
IMG_0613.jpeg
In looking over build logs, I saw one on Model Ship Builder by Baltic_submariner where he added chase guns on the transom. Since this is a mythical ship, I can add them if I want to. If I decide to add them, it will give me the opportunity to hand-make the cannons.

Next up, the first layer of hull planking.

Time for this portion: 6.5 hours
Total time to date: 41 hours
 
Last edited:
12/12 to 12/20
The first layer of hull planking starts by placing a mark on each frame 20mm below the bottom of the bulkwards. The top of the first plank will align with the 20mm marks, allowing an additional 4 planks to be installed between the bottom of the bulkward and the 1st plank.

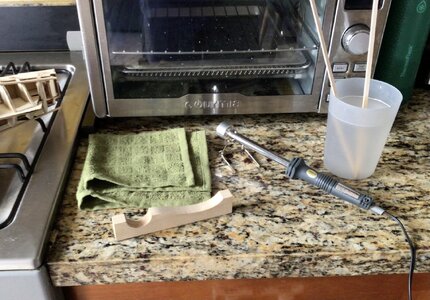
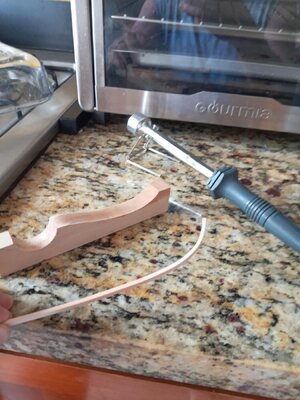
I don’t have a lot of practice bending planks (this is only my second attempt) and these planks are a lot thicker than my previous venture (look at the entry from 12/2/23 of my Bluenose build log showing the bending of the monkey board). I took over a portion of our kitchen counter as my bending station.
IMG_0642.jpeg
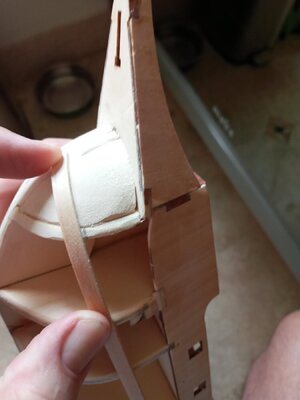
I soaked a plank on hot water for about 5 minutes while my plank bender was heating up and then placed the soaked plank on top of the bending board and applied gentle pressure while rotating the head. Several soaks and bends later, I had a decent looking bend.
20231213_113443_mfnr.jpeg
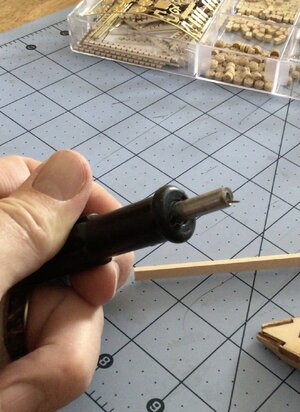
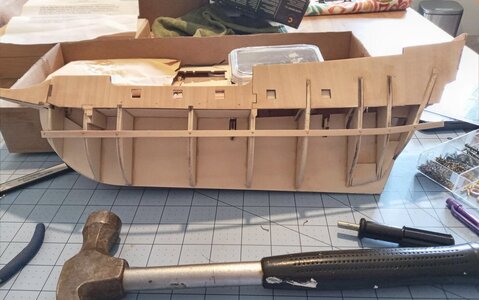
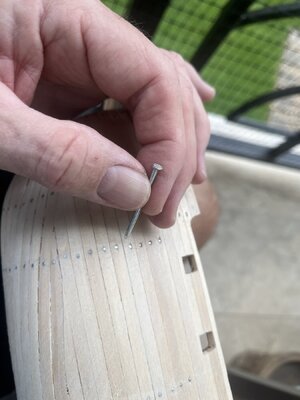
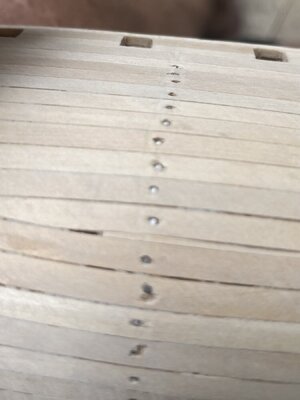
20231213_113601.jpegIn addition to the radical bend, the planks are not just glued to the frames, but are also nailed. I don’t have a “real” pin pusher, but I made one using an old screwdriver that I cut the tip off of and drilled a hole. I made this a while back in the States without having access to the kit supplied pins, so I really had no idea if or how well it would work. The hole is a bit wider and deeper than I would prefer, but it holds the pin and allows the pin to be pushed far enough into the plank to hold the pin in place. I then use an existing slot in the handle to gently push the pin further and then wrap up by using a hammer.
IMG_0636.jpeg
Not ideal, but it works. After an hour or so I had the first port side plank on.
20231213_115243.jpeg
At this point I realized that I had better make up my mind about adding chase guns as accessing between the frames will quickly become difficult - so I decided to go for it. I drew them out and then drilled a few holes and cut and filed them into shape. I then added false gunport walls on the backside of the aft-most frame. The chase gunport are ready. If I decide later that I don’t want them, it will be very easy to plank over them.
IMG_0625.jpeg
As with most things, the more you do something, the better you become. The 2nd plank (the 1st on the starboard side) went on smoothly. And while I had tried to use a clamp on the bow on the 1st plank on the port side, the curve wouldn’t let me, but this time I placed a plastic puddy knife over the tips of the boards and voila, the clamps held.
IMG_0638.jpeg
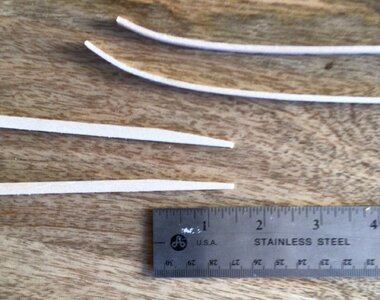
I tapered the front 1.5” of the next planks (one on each side) from 5mm to 2.5mm, bent them, glued, and then nailed them in place. This one taper should be the only one needed on the top half of the planking.
IMG_0643.jpeg
At this point I switched it putting the nails in with a pair of small needle nose pliers, as it gave me more control over where the nail went, and ultimately was just faster.

After another plank on each side, I decided to plank the underside of the forepeak using the same strips that I used for the bulwards and that will be used for the 2nd layer of the hull. A quick trim, sanding, and satin varnish and I’m ready to continue planking the hull.
IMG_5584.jpeg
Next 2 planks up go smoothly, but at the this point two planks are needed to run the entire length.
IMG_5592.jpeg
Next up, cleaning up the last 2 planks, cutting out the gunports, and continuing the planking.

Time for this portion: 9 hours
Total time to date: 50 hours
 
12/21 to 12/31 - Feliz Año Nuevo!

Before moving to the next plank up, I need to clean up the openings of the gunports as the next plank will completely cover them.

The front 3 are easy since they are open, but the back 2 are a bit more difficult since I had already glued the false walls behind the openings.
IMG_5621.jpeg
While these false walls need to be installed before the hull planking is complete, it would have been easier to wait until there were 8 or 9 planks up installed. You would still need to clean up the bottom half of the openings after completing the 7th plank, and then clean up the top half of the openings after the 8th or 9th plank up was installed, but it would have been easier.

At that point there is still plenty of room to install them from opening in the hull beneath the 1st plank that had been installed. Not a huge deal, but cutting the planks around the gunports, and probably more importantly sanding these openings would definitely be easier if I hadn’t already installed them.

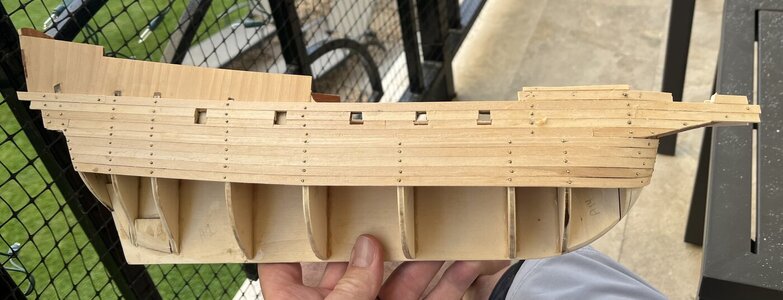
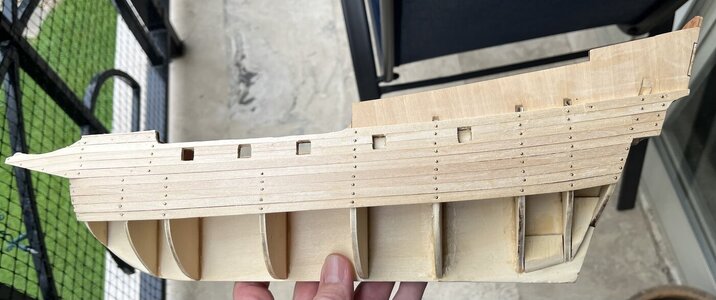
After installing the 9th plank up (which extends above the bulward of the main deck), I tackled the additional planks needed on the front 1/3rd of the ship. The very tip of the forepeak needed a section of plank around 1/2” in length, while the section above the fore-castle (fo’c’sle?) deck needed 1 full (height-wise) plank about 3” and then another one of about the same length that had been cut in half (height-wise). The remaining 1/2 height plank will be used on the other side.
IMG_5629.jpeg
After everything had dried overnight, I took to cleaning up the planks by carving them down to the bulwards. These areas still need to be sanded, but I’ll wait until the hull planks on the bulwards of the quarterdeck and poop deck are completed.
IMG_5632.jpeg
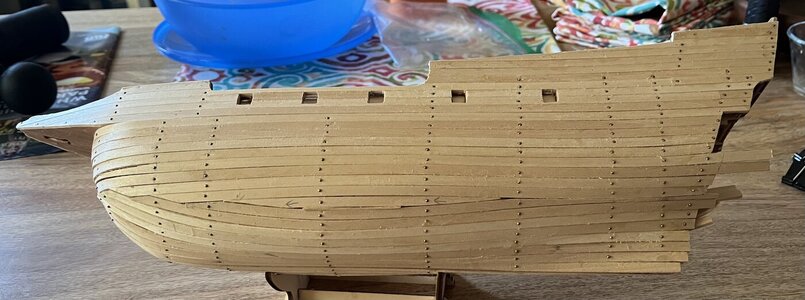
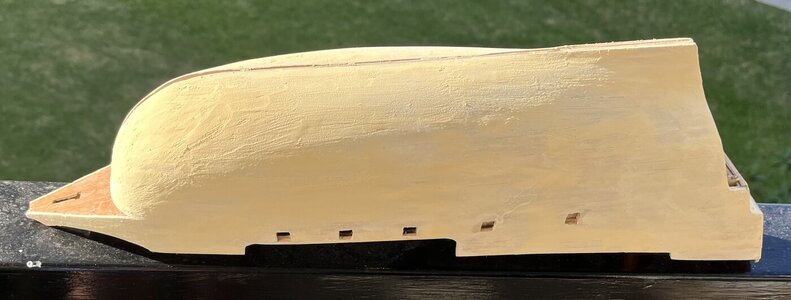
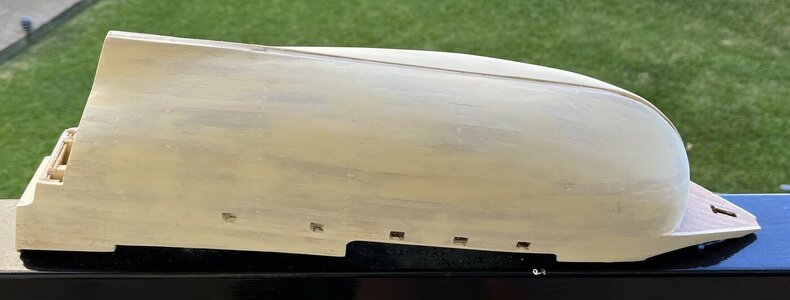
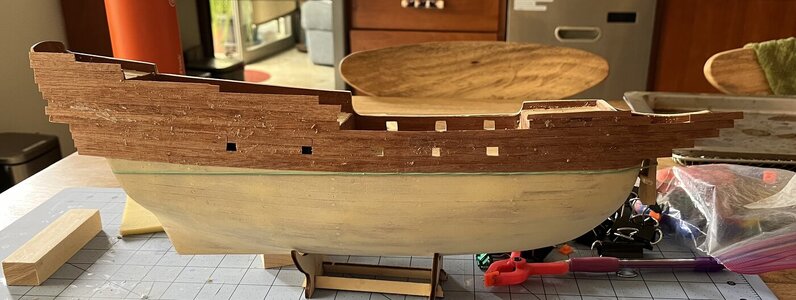
A total of 7 additional planks “up” were needed to finish the rear half of the upper planking. A little carving and they are ready to be sanded. In my head I thought I’d sand at this point, but I think it would be better if I waited until the bottom half of the hull is planked.

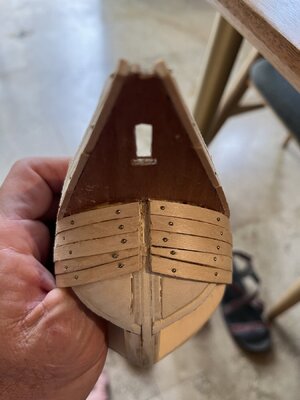
Before moving onto the bottom half of the hull planking, I begin to carefully cut a 4mm “gap” between the ends of the planks where they meet at the bow. The stem, keel, and stempost will be installed later in this gap.
IMG_5683.jpeg
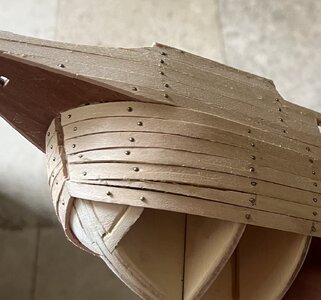
The instruction video show the 1st plank down stopping at the 2nd frame from the bow, but instead I tapered the front 2” of the plank (one on each side) from 5mm to 2.5mm, bent, glued, and then nailed them in place.
IMG_5687.jpeg
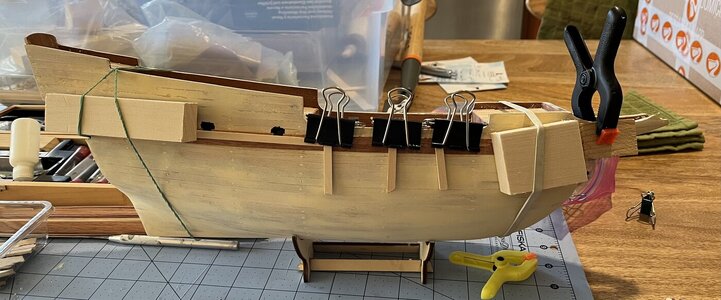
The next plank down is simply bent, glued, and nailed in place. Much like I did on the planks above these 2, I used a combination of clamps, rubber bands, and a piece of wood (moved on from the plastic puddy knife) to hold the very tips of these planks tight against the bow as the glue dried.

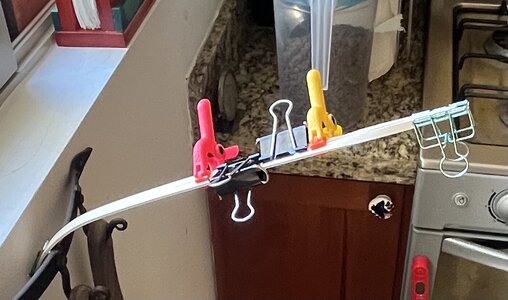
Next up are the very bottom planks, which in addition to a bend at the front end, need to be twisted almost 90% at the stern. The bend should be easy. To create the twist, I soaked two planks and then used a clip to hold them together at one end, while flattening/separating them at the other end. The 4 bottom-most planks (on both sides) will need a twist.
IMG_5688.jpeg
Did I say the bend would be easy?! Of course I broke the plank on the very first one, making me rethink my process. Even though the bend isn’t much, it will be better if I use the plank bender. So my process is soak the stern- end of 2 planks, then use clips to create the twist, then after the twist has dried a bit, cut some of the plank at the bow-end off, soak the bow-end of the plank, and then finally bend the plank.
IMG_5691.jpeg
Once the twist and bend are complete, I placed the planks into our pot/pan holder and let gravity help with the bend.
IMG_5700.jpeg
After they have dried, the 2 planks can be installed. Basically means I can do one, maybe 2 sets (of 2) of planks a day - not ideal but given my normal day-to-day activities, it works.

The 5th plank up does not need to be twisted, but it needs to be bent at both ends.

I alternate between installing a plank on the bottom (of the opening) to one on the top for the next 4 planks. The remaining opening is not even and I’ll need to tweak the next plank quite a bit from the quarterdeck back. I taper the plank down to 1.9mm then it widens to about 2.5mm.
IMG_5736.jpeg
The middle of the remaining opening is just slightly wider than a full sized (5mm) plank, but each end requires tapering to a “point”. The middle 2” need a small 1mm sliver of plank to close the port side of the hull.
IMG_5770.jpeg
I was able to complete the starboard side while watching my Broncos beat the Chargers but still be eliminated from the playoffs (Playoffs?! Did you say playoffs?) for the 9th year in a row when the Chiefs (my wife’s team) beat the Bengals.

With the hull planking complete, I’ll be able to start the new year sitting on the malecón sanding away.
IMG_5773.jpeg
Time for this portion: 13.5 hours
Total time to date: 63.5 hours
 
1/1/24 to 1/7
The next few mornings will be spent sitting on the malecón cleaning up the hull and sanding.

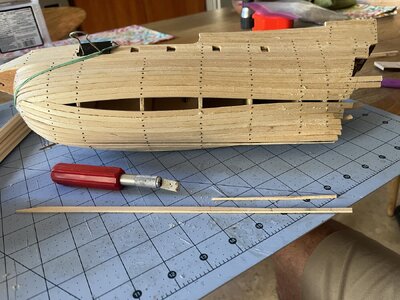
I started by sawing off the extra pieces of planks at the stern
IMG_5771.jpeg
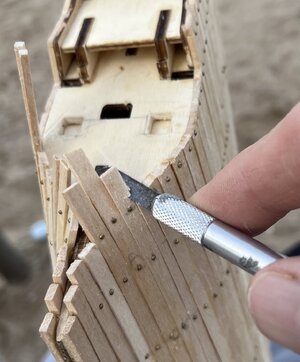
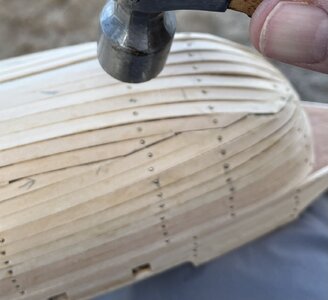
and hammering in the nail heads. This would be easier if I had a small hammer but I made do.
IMG_5772.jpeg
Then I started sanding.

During my second sanding session I decided that I needed to spend a bit more time hammering in the nails. I had used a regular sized hammer and while I thought it worked, the nails definitely could be hammered in more consistently and throughly.

I used a 2” nail and a hammer to tap the nails on the port side in to just below the level of the planks. This wasn’t too difficult since the majority of the nail heads had been sanded away, but when I tried on the starboard side, I ran into issues since those nails had not been sanded. I’ll wait to tap them in until after my first round of starboard sanding.
IMG_5780.jpeg
Sanding the port side with the nail heads tapped in fully is a lot more productive and now the 1st round of sanding on the port side is complete.
IMG_5781.jpeg
It was at this point that I saw a post in @Almoisey’s Buccaneer build log, and @Davejed response about keeping the nails in or removing them once the glue has dried. Since the glue is dried, they can be removed which makes the sanding and 2nd layer of planking a lot easier. Unfortunately even though the info was there for me, I missed the question and answer about the nails. So I stead of removing the nails before sanding, I had tapped them further into the planks, making them impossible to remove. My process of using a nail to tap them in even further works fine, and probably takes about the same amount of time as removing them, so who knows which is better… tases great, less filling…

Since I could not remove the nails, I needed to sand a bit, not for the normal benefits of sanding, but to remove at least some of the nail heads. I then used the 2” nail to tap the nails into the planks. I wrapped up the starboard side with some more sanding.

The next major step is applying puddy/filler, but before I do that, I needed to plank the back of the transom
IMG_5786.jpeg
and clean up the 4mm gap between the ends of the planks where they meet at the keel. A quick test fit and I’m happy with how the stem, keel will look when it’s time to install them.
IMG_5790.jpeg
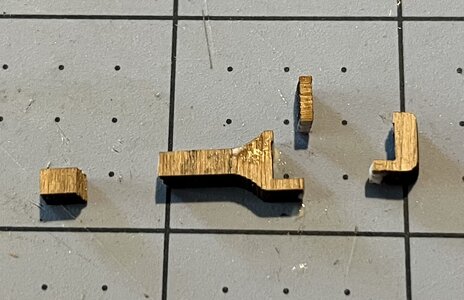
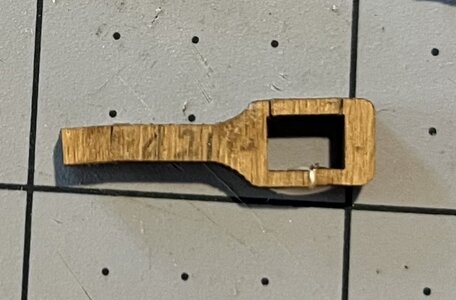
A BIG warning when cutting out these pieces. On the same board is part D21. Not sure of the name but the top of the rudder will be installed “through” this piece. Take EXTREME care when cutting it out. Even though I used a brand new #11 blade, it still broke.
IMG_5791.jpeg
I’ve glued it together but won’t know until later if I salvaged it. If I did, great. If not, I should have enough extra board to cut another one.
IMG_5792.jpeg
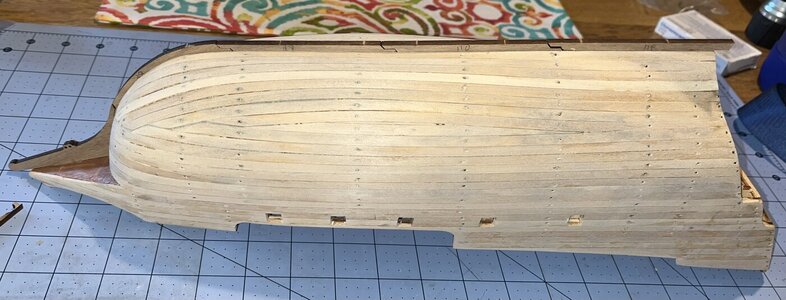
Put a thin coat of wood filler on the hull. I’ll let it dry overnight and then sand it thoroughly tomorrow morning on the malecón.
IMG_5793.jpeg
Beautiful morning on the malecón sanding the hull. Can’t wait to start the 2nd planking.
IMG_5796.jpeg

Time for this portion: 9 hours
Total time to date: 72.5 hours
 
Hi Hugh,

I want to thank you for your kind words on my Buccaneer over on the MSW forum. I've created a build log on this forum, as well, which seems a bit more forgiving.

I had the same problem with the very small piece that attaches to the top of the rudder. Mine actually crumbled so I had to rebuild it from the pieces I had left and a whole lot of polyfilla. We'll see.

I'm following your build log with great interest. It's looking fantastic so far. The block fillers are an excellent addition. Wish I would have done something similar.

Adios, for now.
Thanks @Toni_S. My time in Mexico is almost done (I head home on Saturday) but I have a write up on my second planking that will go up tomorrow or Saturday morning. Good luck to both of us with the rudder piece.
 
Congrats on the 2nd planking done. I'll be checking in for your next post.

Will you be leaving your Molina behind when you go home?

Safe travels, my friend!
 
1/8 to 1/20
My time in Vallarta is coming to an end and I’m really trying to NOT set a hard and fast “goal”, but I hope to finish the 2nd planking and start sanding. A bunch to do in less than 2 weeks.

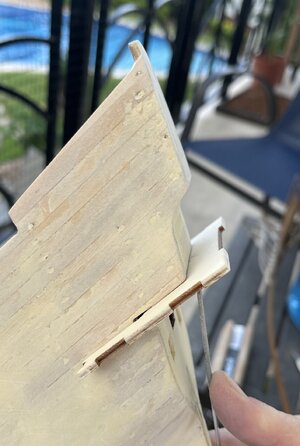
Before starting the 2nd planking I need to cut out the slots near the stern that the balcony will be inserted into. The balcony won’t be installed yet, but I cut and sand it until it fits nicely into place. It will need a little more sanding once the 2nd layer of planking has been added.
IMG_5801.jpeg
The 6 false gunports are painted black. The six real ones will be stained after the 2nd planking.
IMG_5809.jpeg

NOTE: I believe that the 2nd planking would have been a lot easier if I had used contact (cobbler’s) cement instead of my normal gorilla glue. Unfortunately I didn’t have any and couldn’t easily get some in Mexico. Live and learn.

The first plank is installed right below the gunports and then I work up. Since these are such a thin veneer, they go on fairly easily/quickly with the only issue being how to clamp them down while the glue dries.

The glue dries quite a bit slower here in Vallarta (it’s humid since I’m so close to the ocean) than it does in Colorado (which is really a mountain desert).

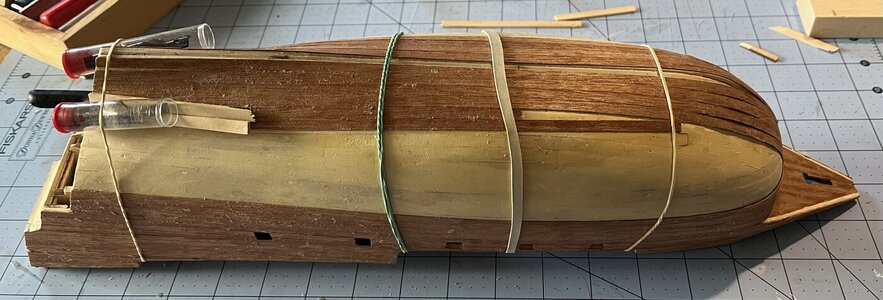
I use a variety of clamps, clips, and rubber bands in addition to a number of wood scraps to hold them down.
IMG_5833.jpeg
The next plank up is right at gunport height so it’s not one single plank but multiple pieces.

It’s then back to a single plank plus about 2” to go the complete length.

Then it’s a bunch of shorter sections because of the differences in the heights of the bulwards on both the bow and stern.

I removed the majority of the excess as well as cleaning out the slots for the balcony with a new #11 blade - any remaining will be removed during sanding.

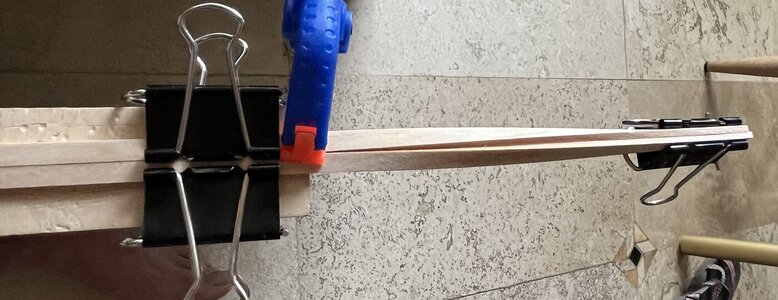
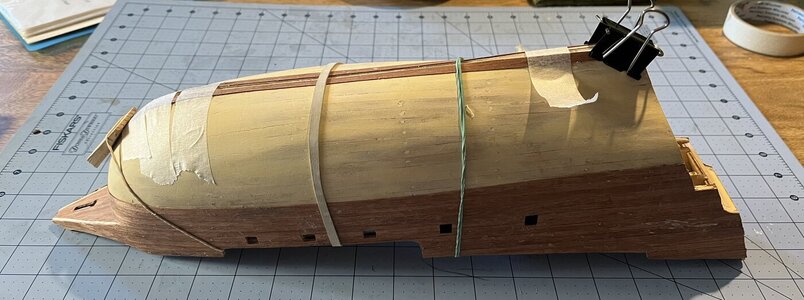
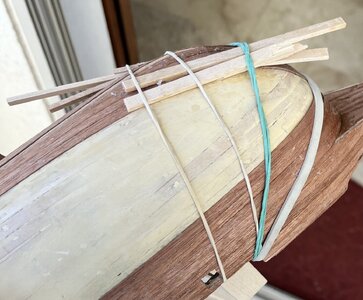
The first plank down goes directly underneath the forepeak at the bow. Holding this down at the bow requires a rubber band around the entire ship, bow to stern, plus a piece of wood.
IMG_5837.jpeg
Two more planks down, both needed to be held at the bow with a rubber band and small piece of wood.

Switching to the port side and I install the first plank below the gunports and then plank up until the bulwards are covered.

I then plank down 3 to even up the sides and then add one more down on each side.

Using another new #11 blade I remove the excess allowing me to work more freely on the bottom most planks. By working freely I mean that I can both handle the ship and move rubber bands around with less worry about breaking the excess planks. The hardest part of first planks on each side is their twisting AND that I don’t have large clamps here in Vallarta. I end up using a few rubber bands (need to bring some more down next time), a piece of wood, and some masking tape. I hope the tape comes off without damaging anything.
IMG_5869.jpeg
Tape came off pretty easily and did what I wanted it to do.

The next 3 planks go on smoothly with me leaving a very small triangular gap at the stern between planks 1 and 2. To speed up the process I only glued each plank from the stern to the curve near the bow. Each of the remaining sections require some tapering in addition to the bend and a slight twist. My reasoning for leaving this until later is that I feel that it will be easier with the majority of the plank glued in place and then I’ll focus on the front 2” of each plank.
IMG_5891.jpeg
The cutting and glueing of the planks at the front went fairly smoothly. My only issue was my lack of rubber bands. A few more would have made a world of difference. A thick flexible piece of rubber/plastic would have helped as it would bend to the curve and twist of the hull and be able to hold the planks firmly in place while the glue dried.
IMG_5896.jpeg
I’ve also accepted that I will NOT be able to finish the 2nd layer of planking on this trip. It’s a bummer but I’m not going to pour all my remaining time here into the Molino, just so I can meet my self-imposed goal.

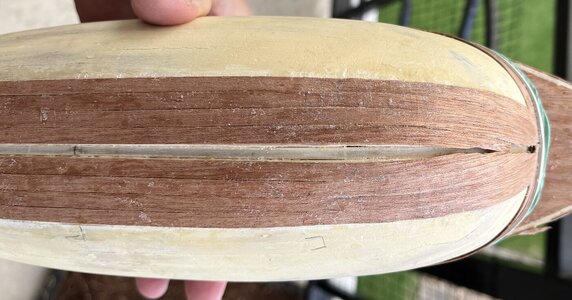
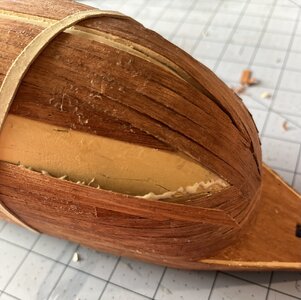
The planking on the bow turned out okay… I cleaned up the area as best that I can, but will need to add some glue to a few places and rubber band them down to get a smoother planking.
IMG_5898.jpeg
The next two planks up from the bottom (on each side) do not go the entire length of the ship. The lower one goes about 3/4 of the way from the stern towards the bow, while the next one up goes a bit further towards the bow. These planks create two small triangles towards the bow on each side that will need to be filled in later.
IMG_5901.jpeg
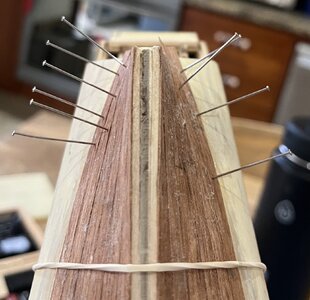
As I did with the planks at the bow, I did not glue these planks at the stern. Once the glue on the main portion of the planks has dried, I went back and worked on the un-glued section. These laid down a lot smoother than the planks at the bow did… maybe because there was only 2 per side (instead of 4), or because I remembered that I had a box of straight pins in my work box to help hold them down.
IMG_5908.jpeg
Two more planks from the top down (without glueing at the bow) and one more from the bottom up.

Last working session before leaving Vallarta… two planks down (minus the front 2” which are easier to bend and twist after the rest is firmly attached) plus filling in the small triangular gaps that were purposely created.
IMG_5928.jpeg
IMG_5939.jpegI would have liked to sand some of the glue off, but with the 2nd planking so thin, I didn’t want to sand anything until it was all on. The Molino now goes to dry dock wait for my return in late March.
IMG_5945.jpeg
IMG_5944.jpegNext up… finishing the 2nd planking including on the stern, and a good sanding (which it really needs).

While putting her away and leaving her is difficult, it also means I’ll be able to work on my Bluenose back in the States.

Time for this portion: 21 hours
Total time to date: 93.5 hours
 
Congrats on the 2nd planking done. I'll be checking in for your next post.

Will you be leaving your Molina behind when you go home?

Safe travels, my friend!
Yes, I leave her in Mexico and have another (Bluenose) that I work on in the States. While transporting her at this stage wouldn’t be too difficult, it will be shortly. The nice part of working this way is that I get to work on 2 ships at the ”same” time. The not so nice part is that in addition to having to stop at maybe not an ideal time/stage (like leaving with the 2nd planking so close to being done), I have to have 2 sets of tools and supplies.
 
5/5/23 to 5/5
View attachment 372997
Got this kit about a month ago and have been waiting to start it until I got to Vallarta, and I’m finally here. Since it is only my second build and my first not at home, I knew just getting everything to Mexico would be a bit of a challenge. After all, I’m still learning what tools and supplies I need at home, let alone trying to pack them up for Mexico. I was taking the approach of bringing whatever I thought I’d need and leaving it here. Adding to the challenge is flying not just internationally, but on Frontier.

Normally we fly here on Southwest, but this time we tried Frontier, and a 40 pound checked bag limit (Southwest is 50 pounds). You might think 40 pounds is plenty, but that one checked bag is for both my wife and myself. Luckily as we got close to the limit, my wife suggested pulling a few things out, and none of them were model making stuff. She’s definitely a keeper.

I know I said on my Bluenose build to not set tough goals on what to accomplish on the build, but that doesn’t mean to not set goals. I’m hoping to get the keel and bulkheads together, including some temporary battens attached to the bulkheads to reduce any warping or twisting that may occur in the hot and humid climate (completely opposite of what I’m used to in Denver, CO) and maybe the decking. I have about two and a half weeks here before heading home with our next trip down here in probably late October. It really isn’t too much work, so it should be doable.

I expect at a minimum to have a couple of hours each morning (wrapped around my morning walk on the malecón/beach) as I wake up early and my wife sleeps in.

The view from my work place is definitely different than at home. Instead of looking out at my pine tree lined yard, it a tropical vibe overlooking the pool and courtyard.

Now it’s time to settle in and make sure everything is in the box. Everything appears to be here. I was fearful of some of the metal pieces missing but they were layered in with the laser cut wood.
View attachment 372998
Today I labeled all of the pieces on the laser cut wood, and cut out all the keel and bulkhead pieces.
View attachment 372999
View attachment 373000

Next up, sanding and dry fitting the bulkheads.

Time for this portion: 1.5 hours
Total time to date: 1.5 hours
Hallo @HughLo
we wish you all the BEST and a HAPPY BIRTHDAY
Birthday-Cake
 
3/27 to 4/4
Back in Vallarta for another extended stay… until early June (other than a week in early May to visit our daughter). Lots of time for the Molino.

First up is taking inventory of what’s been done and what should be done next. The nice part is that I’m learning, and I leave a note about the next steps. This step of writing down the next steps saves a lot time, especially with my fading memory.
So next up… finishing the 2nd planking including on the stern, and a good sanding (which it really needs).

Since I brought down supplies and a multi-layered plastic box for my tools and such, getting re-acclimated took at least a few minutes.
IMG_6372.jpeg
Then it was back to the 2nd planking. When I left, I left the front couple of inches of 2 planks on either side un-glued. Those were the first things I addressed. Both planks needed some tapering to align correctly at the bow. I remember that I was a bit concerned about how the planks were not completely laying down flat, especially on the lower edge of the planks at the curve near the bow.
IMG_6551.jpeg
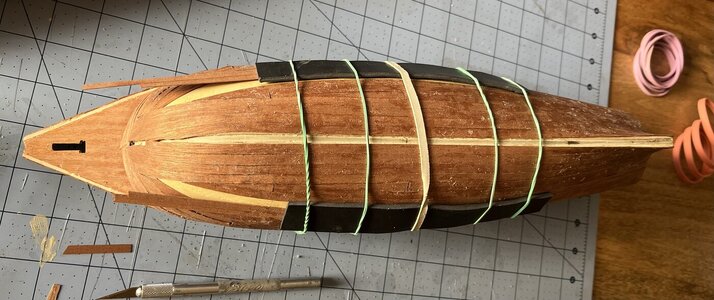
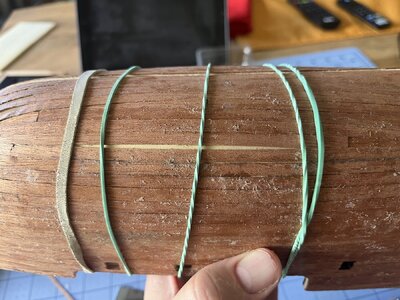
My remedy for this is to use more rubber bands and a strip of thick rubber. Both items I didn’t have access to during my last trip but I made sure to get them while in Colorado and more importantly, bring them with me to Mexico. This is another one of those things that I have to write detailed notes about since once I am back in the states, I only have my notes to go off of. At least for the most part.
IMG_6563.jpeg
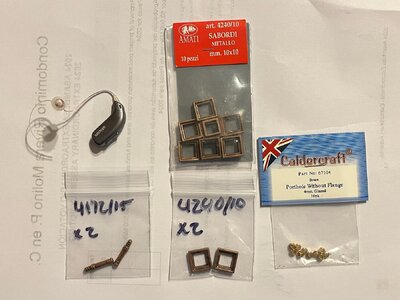
I did lean on one of the existing Buccaneer build logs on Ships of Scale by @Toni_S. I messaged him through the site and asked a few questions about the length of the cannons and of the size of the gunports as I had added chase guns and wanted to be prepared if I decided to add metal frames (and maybe even lids) around the gunports. So a big shoutout to @Toni_S for taking the time to get the info I asked for. With his help, I purchased the items and brought them down here.
IMG_6222.jpeg
Additionally I found a video build log on YouTube (
) by Sorinul75 of the Buccaneer. It doesn’t show all the details of the build, but it will be another good source I’ll lean on with my build.

So back to the rubber bands and strips… My hope is that the rubber bands will hold the rubber strips which will hold the planks more completely against the hull. Time will tell.

They definitely did the trick - wish I had them a little earlier.

Then 2 more planks on each side, each needing tapering at the front tip. As I did previously, I glued down all but the front couple of inches and once the glue was dried, I then tapered and glued the front sections, and held them in place with the rubber bands and strips.
IMG_6567.jpeg
Down to just 1 partial (width-wise) plank on each side and some small filler pieces.

The last partial planks and the various filler pieces all went smoothly. I then added glue to plank edges that very loose/not glued properly. I then used my electric plank bender to smoothen out the edges of planks that just didn’t align nicely. Ended up looking nice - but still in need of a good sanding.
IMG_6591.jpeg
IMG_6592.jpeg
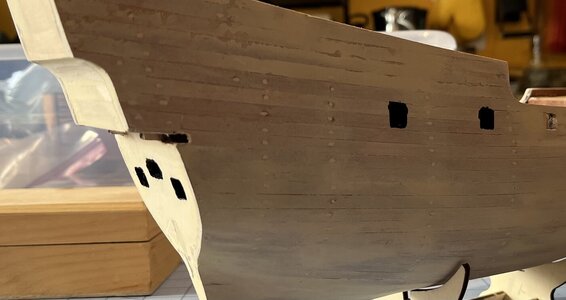
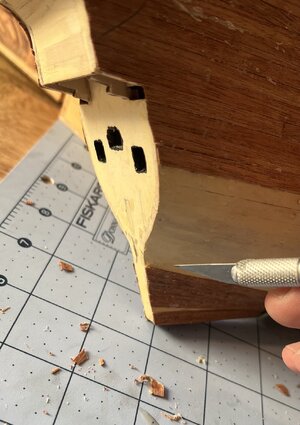
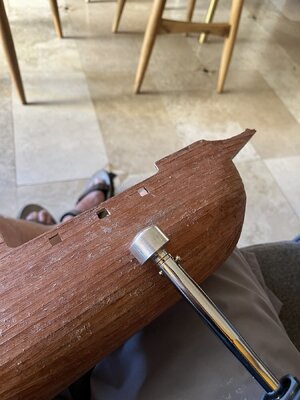
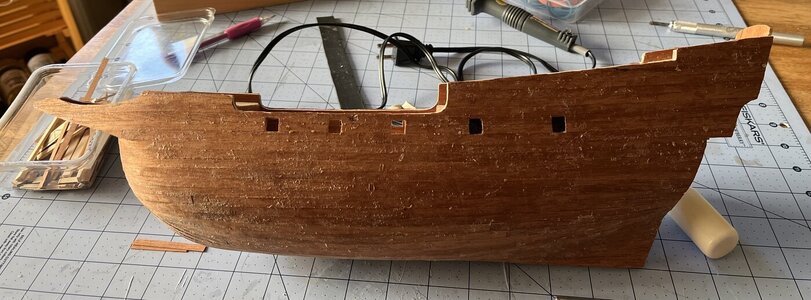
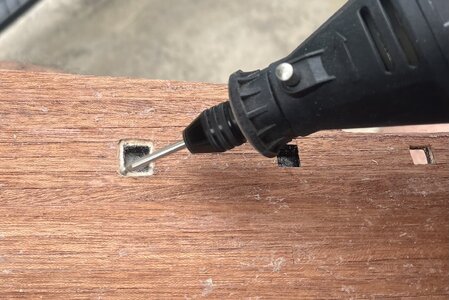
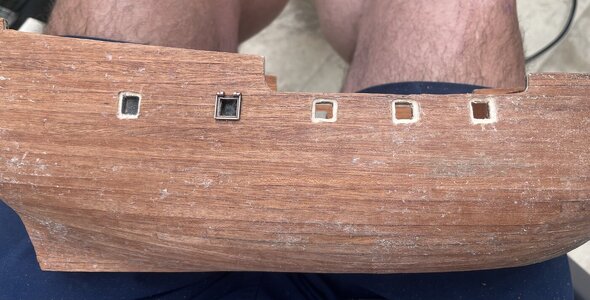
Before planking the stern, I need to open up the gunports to allow the frames and lids that I purchased to fit. I started by carving the openings, but then moved to my GOXAWEE Rotary Tool.
IMG_6604.jpeg
IMG_6605.jpeg
I’m breaking the stern into four sections that will need to be planked. The bottom most 2 are from the tip of the keel up to where the balcony will sit. I started by marking off the portion where the chase guns are diagonally to place the planking. I planked the starboard 1/2 of the transom plus the lower section which is the very back edge, which will be right next to the rudder. This lower section is planked vertically.
IMG_6607.jpeg
The next section “up” is where the balcony will sit. It has a decent curve right at the top. For it, I soaked some small pieces of planking and then used my electric plank bender to create the curve. I then glued them and used a rubber band to hold the handle of a thick hobby knife against the curve. Then used a couple of clamps to hold the rest in place while the glue dried.
IMG_6610.jpeg
The port side of the lower portion went smoothly but I needed to add a 1/16” (or less) sliver to even up the diagonal planking.
IMG_6617.jpeg
The very top section was very simple as it had no curves or angles.

Trimmed all the edges up as well as the port side of the rudder and chase gun (still needs to be done in the photo below) and “patched” a very small “chip” (about 1/16” wide) right at the stern.
IMG_6619.jpeg
IMG_6620.jpeg
IMG_6622.jpeg
At long last, I believe it is ready for a through sanding - which means getting to work in my workshop out on the malecón.

Time for this portion: 10 hours
Total time to date: 103.5 hours
 
3/27 to 4/4
Back in Vallarta for another extended stay… until early June (other than a week in early May to visit our daughter). Lots of time for the Molino.

First up is taking inventory of what’s been done and what should be done next. The nice part is that I’m learning, and I leave a note about the next steps. This step of writing down the next steps saves a lot time, especially with my fading memory.
So next up… finishing the 2nd planking including on the stern, and a good sanding (which it really needs).

Since I brought down supplies and a multi-layered plastic box for my tools and such, getting re-acclimated took at least a few minutes.
View attachment 439877
Then it was back to the 2nd planking. When I left, I left the front couple of inches of 2 planks on either side un-glued. Those were the first things I addressed. Both planks needed some tapering to align correctly at the bow. I remember that I was a bit concerned about how the planks were not completely laying down flat, especially on the lower edge of the planks at the curve near the bow.
View attachment 439874
My remedy for this is to use more rubber bands and a strip of thick rubber. Both items I didn’t have access to during my last trip but I made sure to get them while in Colorado and more importantly, bring them with me to Mexico. This is another one of those things that I have to write detailed notes about since once I am back in the states, I only have my notes to go off of. At least for the most part.
View attachment 439875
I did lean on one of the existing Buccaneer build logs on Ships of Scale by @Toni_S. I messaged him through the site and asked a few questions about the length of the cannons and of the size of the gunports as I had added chase guns and wanted to be prepared if I decided to add metal frames (and maybe even lids) around the gunports. So a big shoutout to @Toni_S for taking the time to get the info I asked for. With his help, I purchased the items and brought them down here.
View attachment 439876
Additionally I found a video build log on YouTube (
) by Sorinul75 of the Buccaneer. It doesn’t show all the details of the build, but it will be another good source I’ll lean on with my build.

So back to the rubber bands and strips… My hope is that the rubber bands will hold the rubber strips which will hold the planks more completely against the hull. Time will tell.

They definitely did the trick - wish I had them a little earlier.

Then 2 more planks on each side, each needing tapering at the front tip. As I did previously, I glued down all but the front couple of inches and once the glue was dried, I then tapered and glued the front sections, and held them in place with the rubber bands and strips.
View attachment 439878
Down to just 1 partial (width-wise) plank on each side and some small filler pieces.

The last partial planks and the various filler pieces all went smoothly. I then added glue to plank edges that very loose/not glued properly. I then used my electric plank bender to smoothen out the edges of planks that just didn’t align nicely. Ended up looking nice - but still in need of a good sanding.
View attachment 439879
View attachment 439880
Before planking the stern, I need to open up the gunports to allow the frames and lids that I purchased to fit. I started by carving the openings, but then moved to my GOXAWEE Rotary Tool.
View attachment 439881
View attachment 439882
I’m breaking the stern into four sections that will need to be planked. The bottom most 2 are from the tip of the keel up to where the balcony will sit. I started by marking off the portion where the chase guns are diagonally to place the planking. I planked the starboard 1/2 of the transom plus the lower section which is the very back edge, which will be right next to the rudder. This lower section is planked vertically.
View attachment 439883
The next section “up” is where the balcony will sit. It has a decent curve right at the top. For it, I soaked some small pieces of planking and then used my electric plank bender to create the curve. I then glued them and used a rubber band to hold the handle of a thick hobby knife against the curve. Then used a couple of clamps to hold the rest in place while the glue dried.
View attachment 439885
The port side of the lower portion went smoothly but I needed to add a 1/16” (or less) sliver to even up the diagonal planking.
View attachment 439886
The very top section was very simple as it had no curves or angles.

Trimmed all the edges up as well as the port side of the rudder and chase gun (still needs to be done in the photo below) and “patched” a very small “chip” (about 1/16” wide) right at the stern.
View attachment 439887
View attachment 439888
View attachment 439889
At long last, I believe it is ready for a through sanding - which means getting to work in my workshop out on the malecón.

Time for this portion: 10 hours
Total time to date: 103.5 hours
Good morning Hugh. Wow that is quite a recovery on those planks well done. I had a similar “chipping” problem with the Occre veneer with my Xebec. You can fill these with a PVa and sawdust mix or cut a tiny slither of veneer. I used CA glue “nails” and PVa on the curved planked areas to hold the veneer - worked quite well. Light scraping or clean up sanding will bring that hull up beautifully- very good. Cheers Grant
 
4/5 to 4/6
Ok, time to hit the malecón for some sanding.
IMG_6626.jpeg
Spent about an hour a day for two days to get where I feel good about the hull.
IMG_6627.jpeg
There were a few spots where because of how I laid the veneer planking, I sanded through them. These spots aren’t very big and to “hide” them, I put a “dot” of paint on them and sanded.
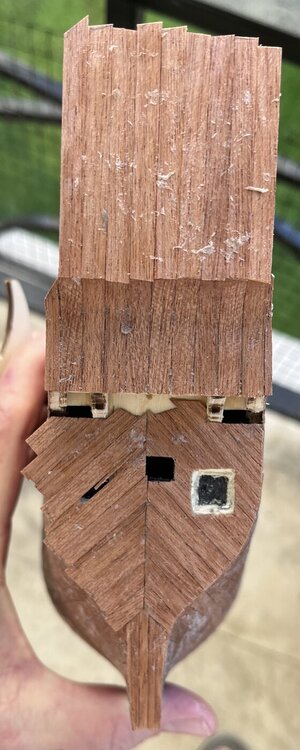
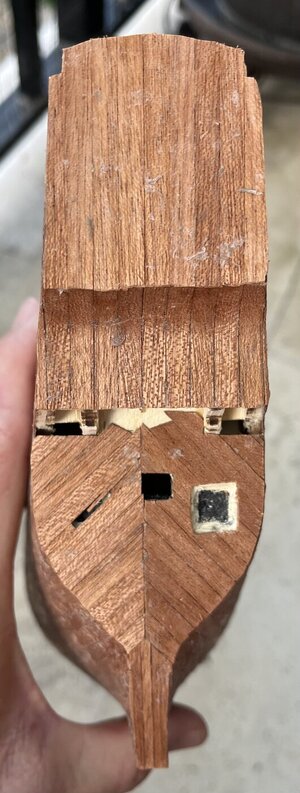
molino bow before after.png

IMG_6642.jpeg

Time for this portion: 2 hours
Total time to date: 105.5 hours
 
Welcome back to your Molino, Hugh!

I haven't been getting SOS emails lately so didn't even know you snuck back in here. Good to "see" you again. Hey, is the hearing aid a part of your tool kit, too? ;)

Your ship is coming along beautifully. I really, really like the frames you got. I'm looking forward to seeing them all installed. I had to put frames on my gun ports to hide my crappy exacto job (had no idea you could buy them) but I'm just feeling so-so about them. Yours are going to look so good.

Very nice work. You sure do come up with some creative ideas on how to get everything right. Excellent.

I'll be posting another update on mine probably this week sometime. It's nice to have somebody to build side-by-side with.

Hope to see another post from you soon!
 
Back
Top