-

Win a Free Custom Engraved Brass Coin!!!
As a way to introduce our brass coins to the community, we will raffle off a free coin during the month of August. Follow link ABOVE for instructions for entering.
-

PRE-ORDER SHIPS IN SCALE TODAY!
The beloved Ships in Scale Magazine is back and charting a new course for 2026!
Discover new skills, new techniques, and new inspirations in every issue.
NOTE THAT OUR FIRST ISSUE WILL BE JAN/FEB 2026
You are using an out of date browser. It may not display this or other websites correctly.
You should upgrade or use an alternative browser.
You should upgrade or use an alternative browser.
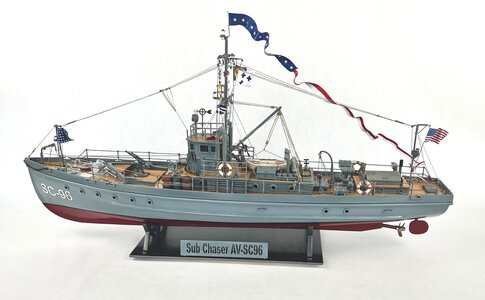
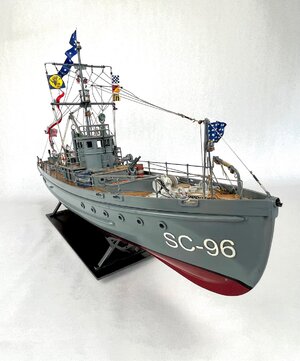
Building Log for the Nauticurso U.S. AV-SC96 Sub Chaser 1:32 [Completed Build]
wonderful made details - your model is getting "life"
Very well done


Very well done


B
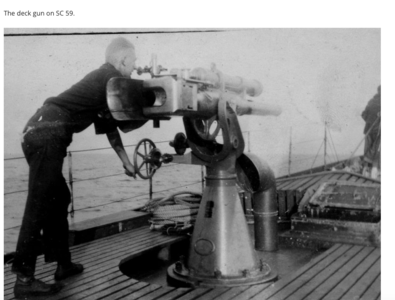
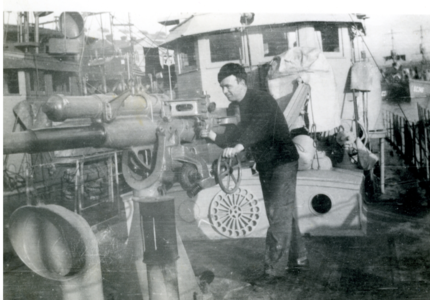
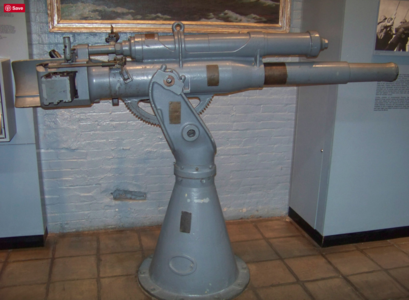
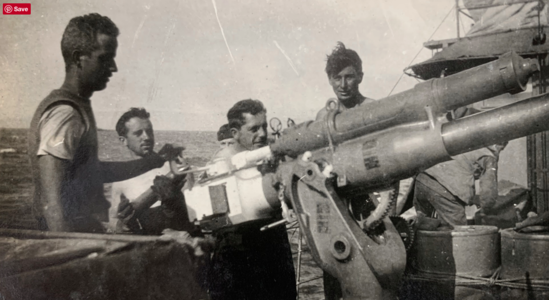
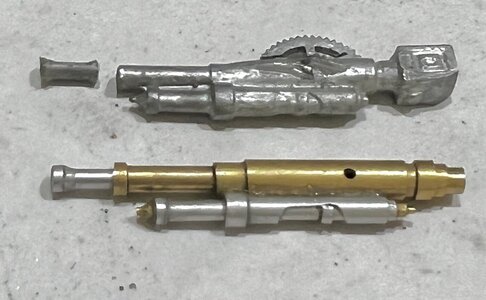
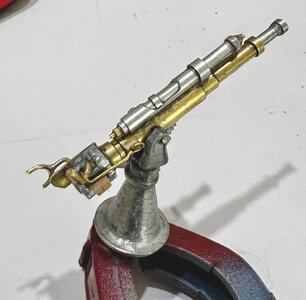
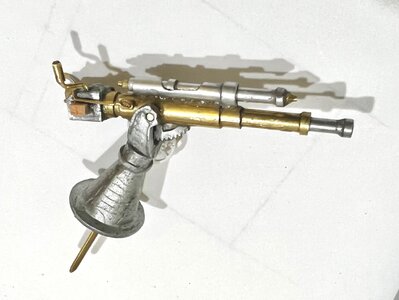
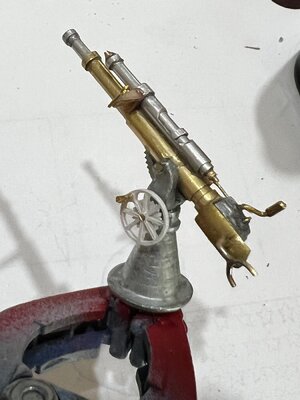
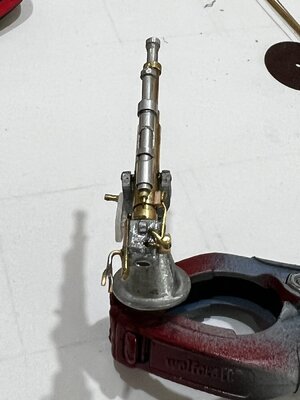
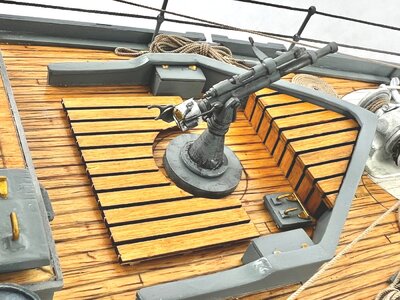
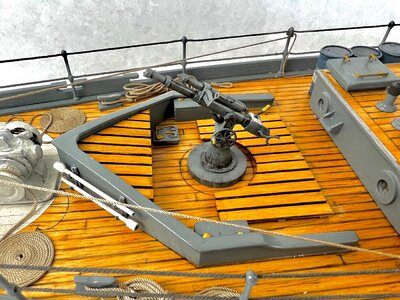
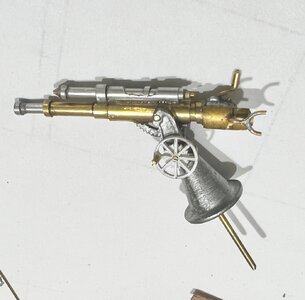
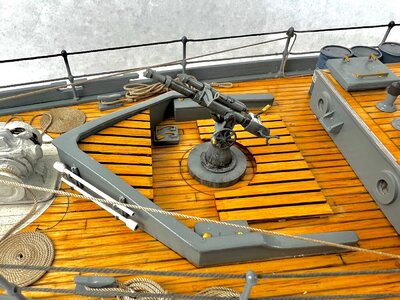
Good afternoon. So very good!! I love the way you scratch build so many additions with everyone items bought at the local builders store. Cheers GrantThe Deck Gun: 3"/32" Caliber Poole Gun
View attachment 369854View attachment 369856View attachment 369855
I had to scratch build my gun because the one included in the kit wasnt good enough for my taste.
I tryed to imitate this gun.
View attachment 369857
This is the work I did. I took parts of the kits gun and integrated them into my gun.
View attachment 369863View attachment 369860View attachment 369861View attachment 369864View attachment 369865
View attachment 369858View attachment 369859
View attachment 369862
The Homebound Pennant
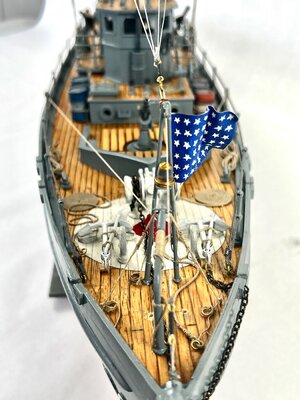
Some ships in the US Navy celebrated the journey home in a unique way, by flying a homeward bound pennant. These pennants were custom-made and often so long they had to be suspended by balloons to keep them from dragging in the water. They were a symbol of the end of a journey and rooted in naval tradition.
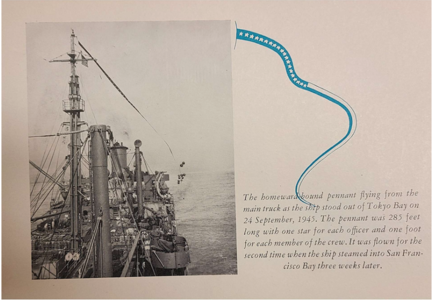
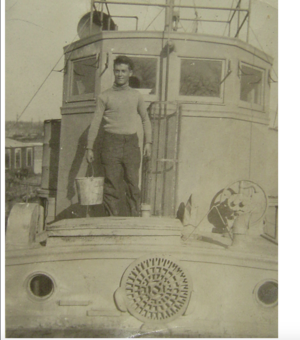
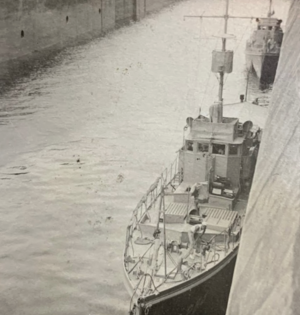
On these pictures you can see various subchaser with this type of pennant.
This is how I made my own pennant.
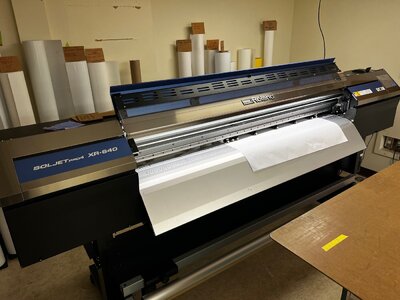
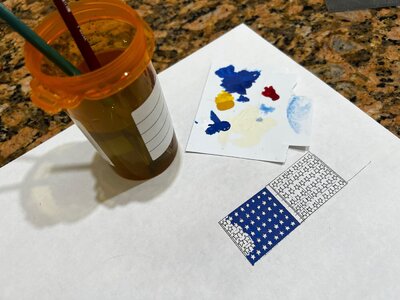
This is the printer that I used for over 27 years before I retired but I still go to work once in a wile so I first print a few flags on paper and then I hand paint them.
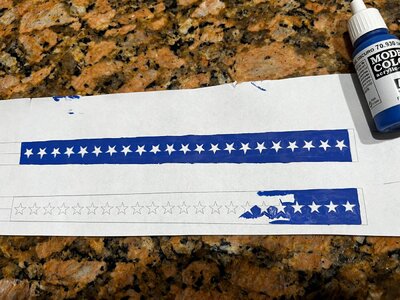
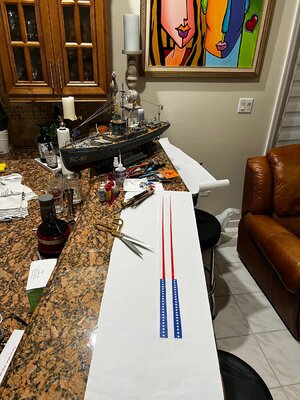
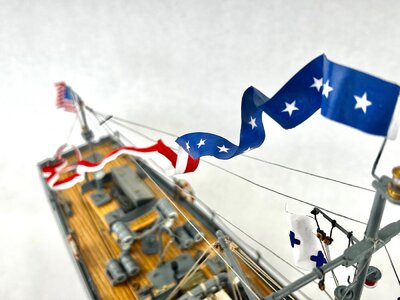
On my first attempt, I painted 22 stars because there where 22 sailors on the SC-96, but withh further research I found out that the number of stars correspond to the numbers of officers.
So after gathering more information about how many stars should I go for, I desided to do a 13 stars pennant.
I have a tutorila in this forum to show how I create my flags.
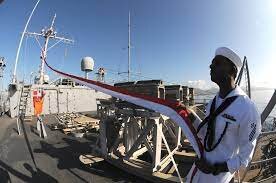
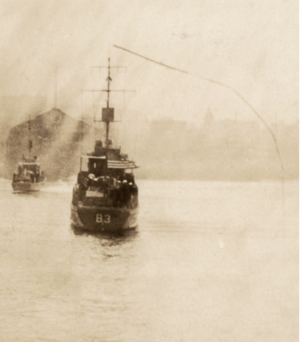
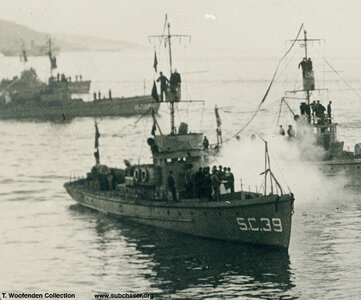
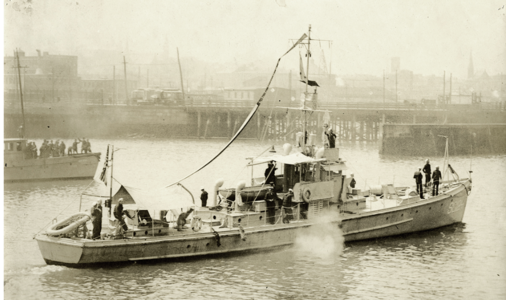
Some ships in the US Navy celebrated the journey home in a unique way, by flying a homeward bound pennant. These pennants were custom-made and often so long they had to be suspended by balloons to keep them from dragging in the water. They were a symbol of the end of a journey and rooted in naval tradition.

On these pictures you can see various subchaser with this type of pennant.
This is how I made my own pennant.
This is the printer that I used for over 27 years before I retired but I still go to work once in a wile so I first print a few flags on paper and then I hand paint them.


On my first attempt, I painted 22 stars because there where 22 sailors on the SC-96, but withh further research I found out that the number of stars correspond to the numbers of officers.
So after gathering more information about how many stars should I go for, I desided to do a 13 stars pennant.
I have a tutorila in this forum to show how I create my flags.
ZHL good to go
Your attitude, shouldn't affect others! You refuse the help I\we offered and keep whining! The best you can do is to switch the subject. Switch to another model something small so you can complete it in a short period of time but at the same time fascinating, exciting so you can forget about...
shipsofscale.com


Last edited:
The Guard and Guide Flag and the Miami Subchaser Training Center Falg.
I found this old match cover on Ebay and I had to have it, so I created a flag with the same design.
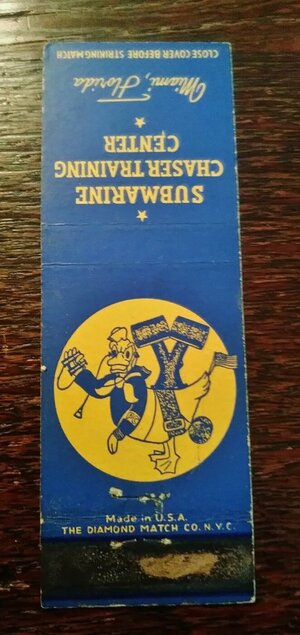
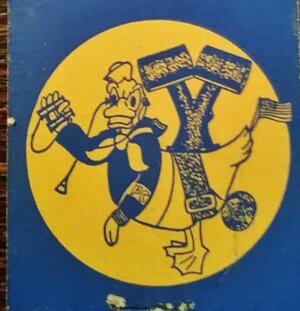
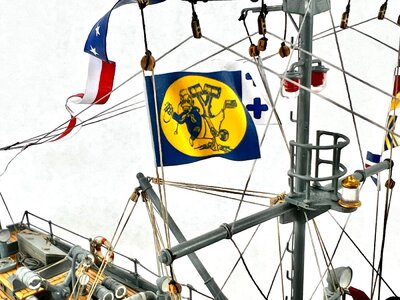
And this is the Guard and Guide Flag.
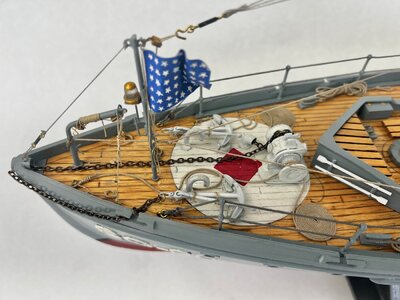
The jack of Staff
United States Navy jack with 48 stars, made in the period between WWI (U.S. involvement 1917-18) and WWII (U.S. involvement 1941-45). Like the British Royal Navy, American vessels flew three flags. When at anchor or moored, the jack is flown at the bow (front), the national flag or "ensign" is flown at the stern (back), and the commission pennant is flown from the at the main mast. When under way, the Jack is furled and the ensign may be kept in place or shifted to a gaff if the ship is so equipped.
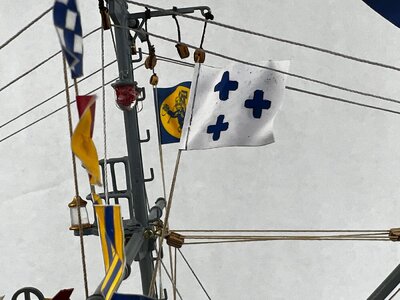
These are The SC-96 Flags.
Nan
Oboe
George
Cast
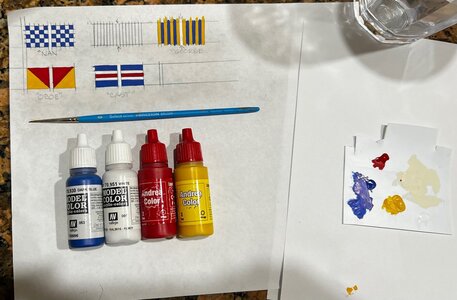
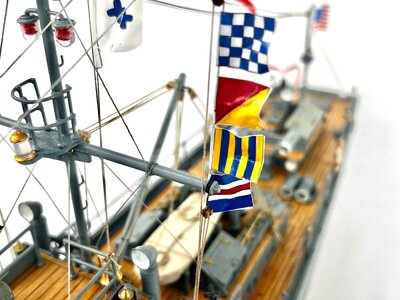
I found this old match cover on Ebay and I had to have it, so I created a flag with the same design.


And this is the Guard and Guide Flag.

The jack of Staff
United States Navy jack with 48 stars, made in the period between WWI (U.S. involvement 1917-18) and WWII (U.S. involvement 1941-45). Like the British Royal Navy, American vessels flew three flags. When at anchor or moored, the jack is flown at the bow (front), the national flag or "ensign" is flown at the stern (back), and the commission pennant is flown from the at the main mast. When under way, the Jack is furled and the ensign may be kept in place or shifted to a gaff if the ship is so equipped.


These are The SC-96 Flags.
Nan
Oboe
George
Cast


Congrats!! Awesome looking model!
Amazing! I love what you have done with your build. I confess to being a little underwhelmed at the beginning, but the final result proves me the fool. Bravo!
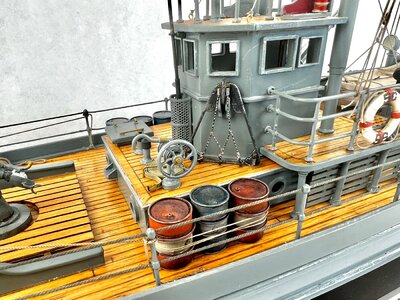
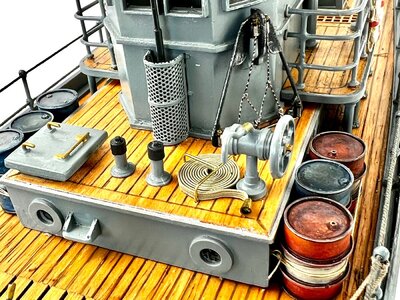
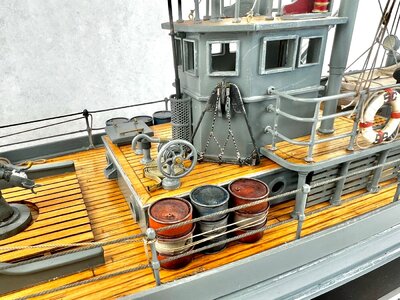
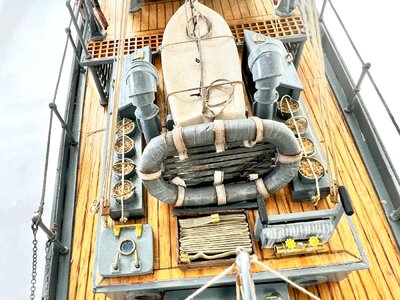
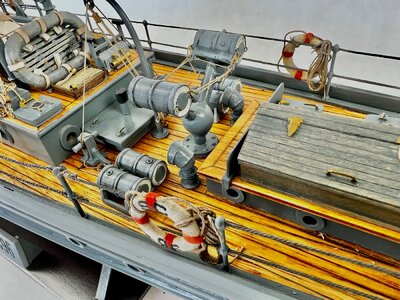
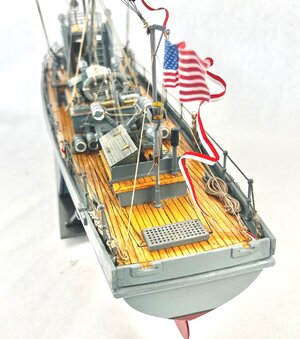
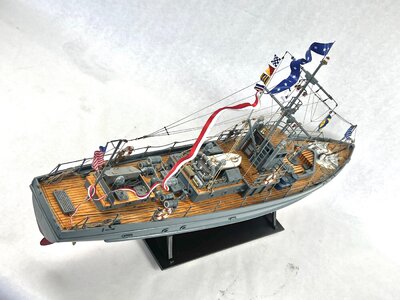
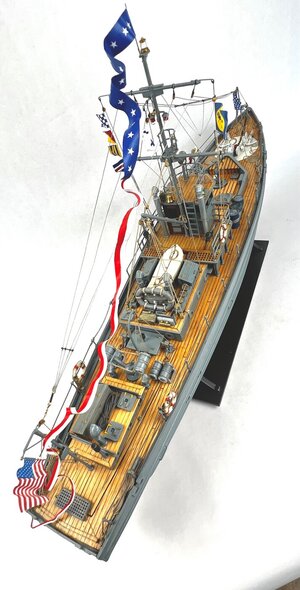
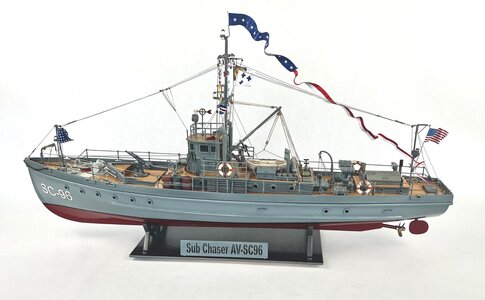
Beautiful!And these are the final pictures of the Finished Sub Chaser.
I was tedious work but very satisfactory.
View attachment 370232View attachment 370231View attachment 370230View attachment 370229View attachment 370228View attachment 370227View attachment 370226View attachment 370225View attachment 370224View attachment 370223View attachment 370222
Congratulations
I love this model
the details and overall appearance (some light weathering)
-> Very good work
I love this model
the details and overall appearance (some light weathering)
-> Very good work
Very, very nice - excellent details - very lifelike !
Very impressive! Perhaps Bluebeard or others could help me in my venture into building the Nauticurso AV-SC96 sub chaser. Thinking this was a "simple" starter, this has been a challenge as a beginner...but sticking with it. I was hoping to see how the servo and battery were installed inside the ship, how the opening for the propeller rod was drilled or opened up, and installation of the rudder in Bluebeard's Build Log. It also appears that the RC kit that comes with the sub chaser is different than what the kit is made for. For example, for the battery to fit, additional cutting out will be necessary and it doesn't fit into the space made for it on its platform. I'm a newbie in using this forum, so hopefully my ignorance isn't offending anyone. Looking forward to a completed project and sharing some good times with my grandson with it.
Hi ckgeide:
As you can see on my log, I had to create many extra parts to make it look the way it does.
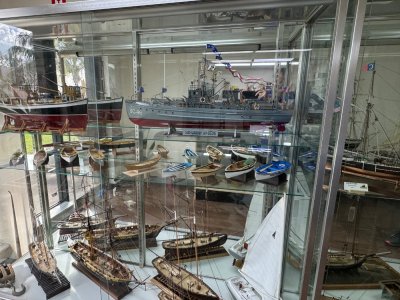
My model is seating on on a Model Expo showcase and I didn’t put that much effort to make it R/C like you are trying to do.
I can imagen the hassles you are going through because the model has not enough parts to make it look presentable, but my log will show you the ropes for those extra parts to make it look nice.
- Joined
- Jan 26, 2021
- Messages
- 161
- Points
- 213

Indeed it is.Hi ckgeide:
As you can see on my log, I had to create many extra parts to make it look the way it does.
My model is seating on on a Model Expo showcase and I didn’t put that much effort to make it R/C like you are trying to do.
I can imagen the hassles you are going through because the model has not enough parts to make it look presentable, but my log will show you the ropes for those extra parts to make it look nice.
After the hull was planked I sealed all the imperfection with "SuperFill".
View attachment 347626View attachment 347627View attachment 347628
I used the “SuperFil” for sealing the entire hull since it needs to be watertight….seems like good stuff. Any suggestions about a second and possibly third coat to smooth out the lumps and streaks that remain in the SuperFil even after sanding? I applied the SuperFil with a brush and some of the brush strokes are too deep to sand out. Can the SuperFil be thinned a bit with paint thinner or denatured alcohol for this smoothing coat? Your photos have been helpful!


