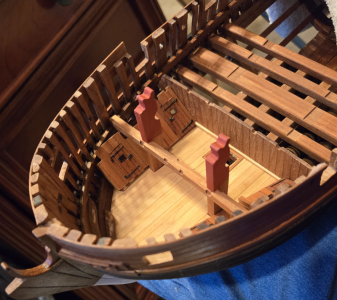
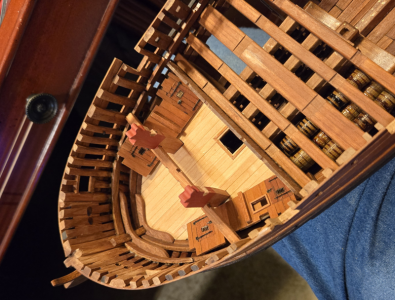
CAF instructions are generally very good, but like most things, it's best to read ahead. I've done many things waaaay out of order from the instructions, because I felt it would be easier or better that way. In general, that has worked out well. Sometimes, I've missed what I think would have been the best way.
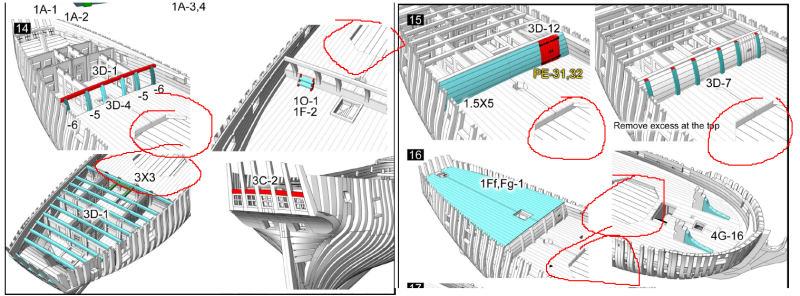
In the case of the mortar beds, the instructions appear to show the entire lower structure completed, along with main deck planking, before the mortar beds (not supports) are installed:
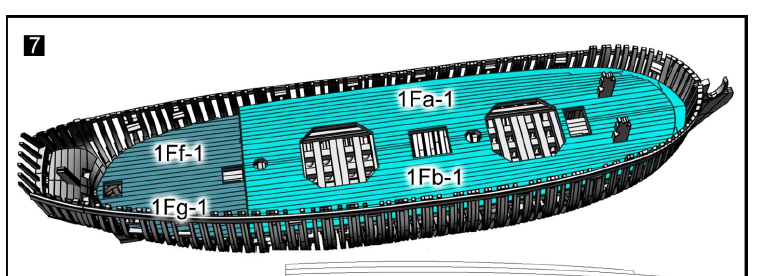
I was pretty sure that wouldn't work, and in any case, don't intend to do planking until later.
Then, later, the mortar beds are in place:
Both layers of the mortar beds are basically rectangular, and I could see no way to get them into place after the planking is positioned. Here the installation is described in the instructions:
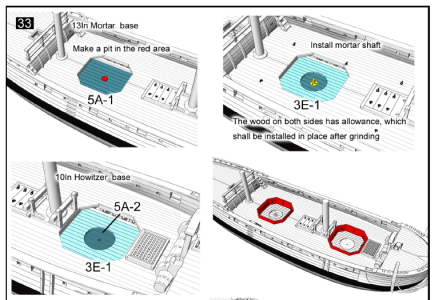
Again, I see no way of doing this. The first layer is 5mm rectangular area, cut into loosely connected planks, while the first layer is the same in 3mm. To install it this way, I think, would require separating all the planks (they do fall apart all the time, though), and slide each plank into place individually. VERY difficult to do, and I think, due to clearances and such, actually impossible.
I decided to do mine differently. I wanted to make up the double layer mortar beds complete, and place them before any planking was done. It turned out even that is difficult due to the tight fit between the upper cross beams above and on either end of the mortar beds and the longitudinal and L-shaped pieces that support the beds. The problem is, it's difficult to determine exactly where everything should be, how the beds should be trimmed and centered, etc. when done this way.
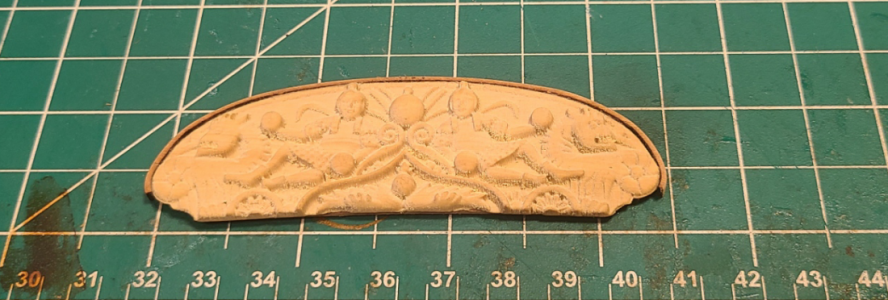
So, first I made up the bed sandwiches of the 5 and 3 mm thick parts. Each of these are formed is a rectangular part, with the individual planks cut. Surprisingly, to me at least, the planks are cut all the way through the material, except for tiny "tabs" holding them together. I see no reason for this. Handling them results in the 3mm part constantly breaking. The 5mm is not much better. And I see NO reason to have them separate, unless you want to try the impossible individual plank procedure I described above. Why not make all four parts securely 1 piece, with only scoring for the planks (deep if desired). Anyhow, I couldn't even handle the 3mm part with it falling apart, so started by trying to glue it together on the back:
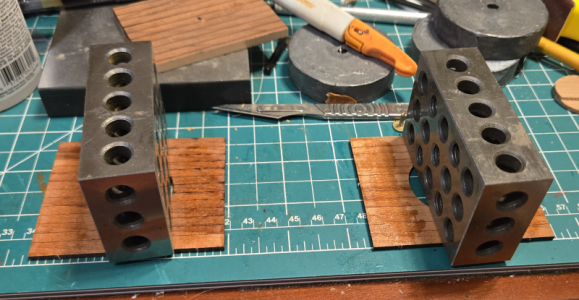
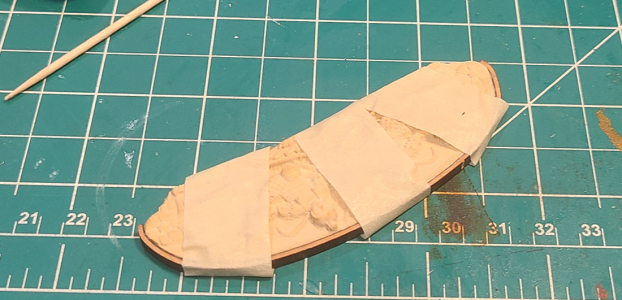
I would have preferred to use white glue here, but have had experience with it warping thinner materials, so used CA. I even sandwiched a 0.5mm thick piece of veneer to the bottom to help hold the 5mm piece securely together. I'd end up regretting that, but it didn't hurt too much.
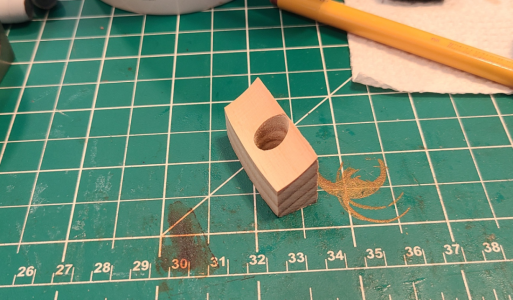
Anyhow, I centered the 5mm and 3mm pieces properly on each other, using the cut out circles in the 3mm pieces and centers marked in the 5mm. I glued up this sandwich with CA, again to prevent future or immediate warping:
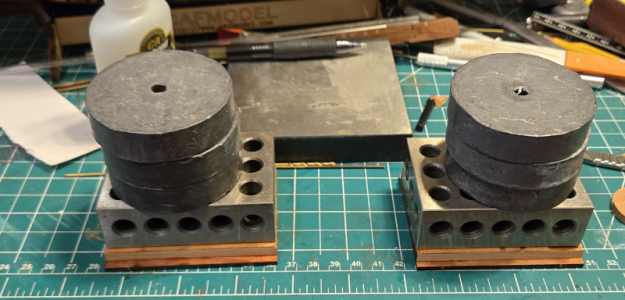
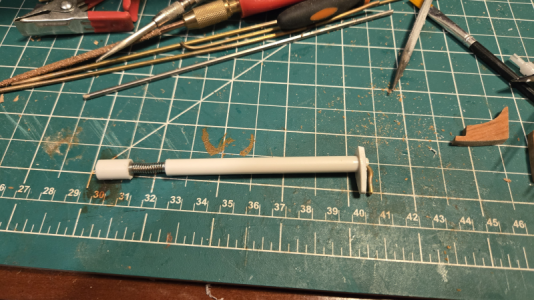
Each sandwich, before any fitting or trimming, looked like this (with the pivot installed to insure centering):
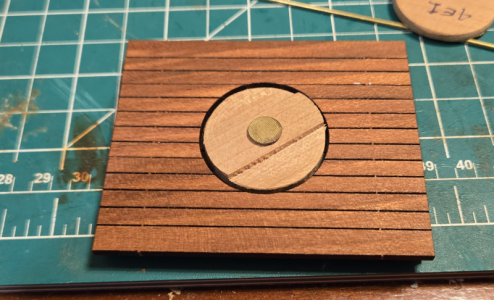
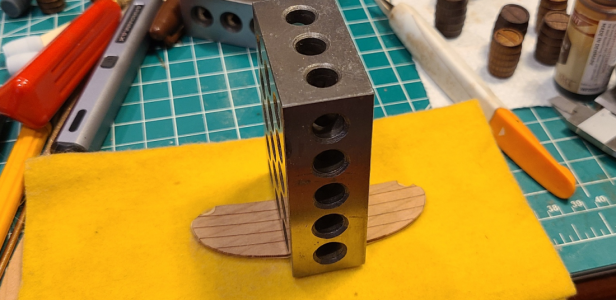
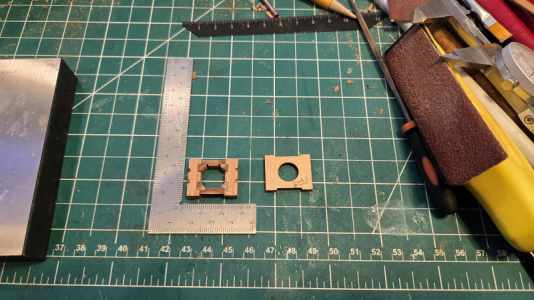
I then needed to determine the exact size of each sandwich. To do that, I needed to determine each pad's exact location in the structure, so as to have the center of the pad and pivot exactly centered with the surrounding structure of each opening. First, I made a stiff paper template, using vernier calipers to determine the size and centers, since my structure varied a bit:
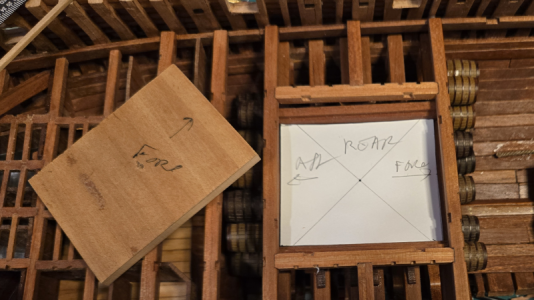
As the above photo shows, I'm a bit wrong on the sequence. I took the lower 5mm portion of the sandwich, with the veneer on the bottom, and fitted it separately to determine its center. After that was sized and done, the upper 3mm portion was added, centered, glued and trimmed to size.
In addition to this method, I measured horizontally and vertically between each outer support to determine the center on the wood support structure. I also ran diagonals from all four corner to confirm that location. When I felt all was in alignment, I pin-pricked the template center and drilled a center hole in the lower structure. In this way, I could remove and replace the beds and insure they went back into the right place.
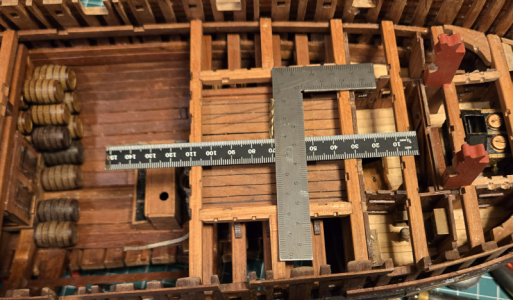
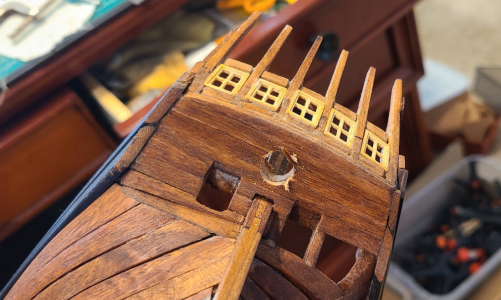
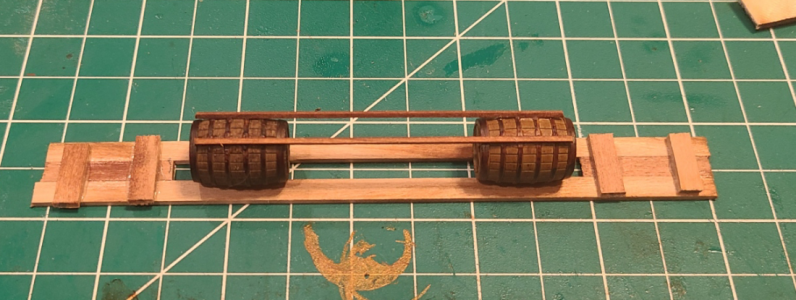
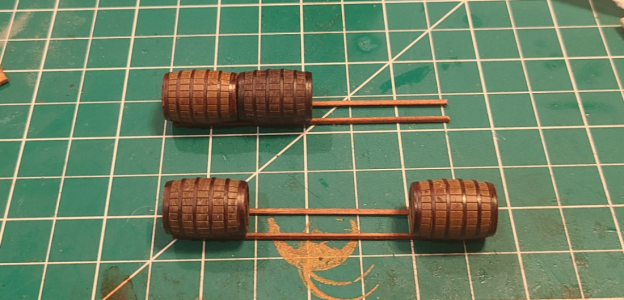
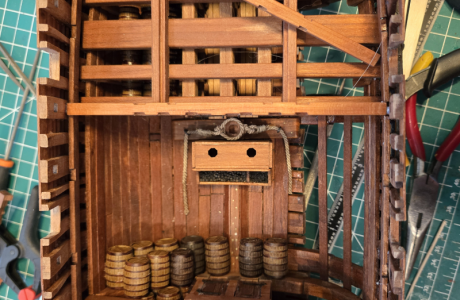
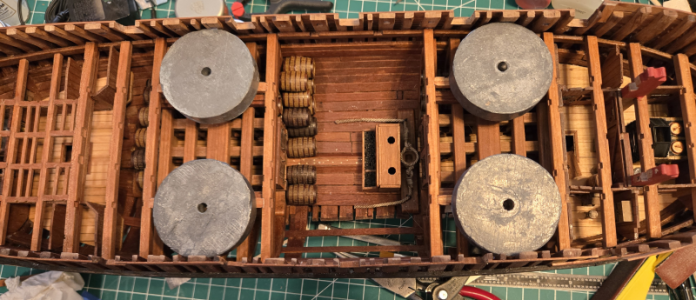
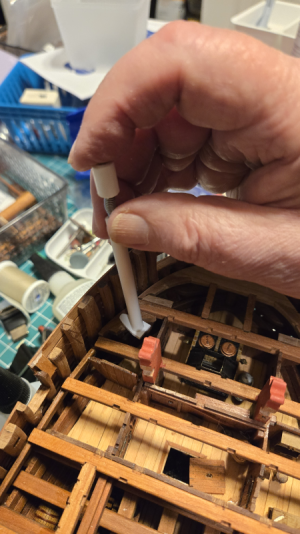
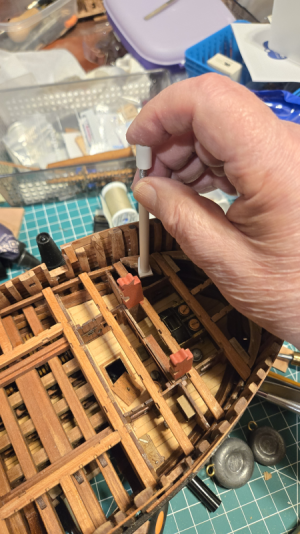
This shows the rear mortar bed in place and centered using a piece of wire though all the centers:
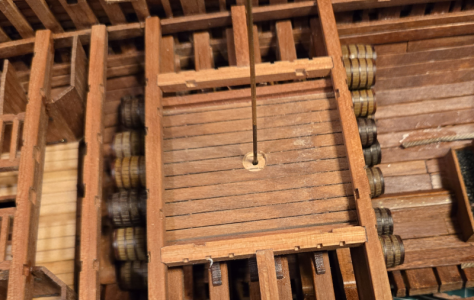
BTW, I used a brad point drill to countersink the hold for the center pivot.
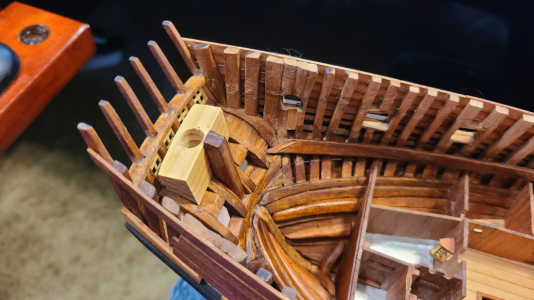
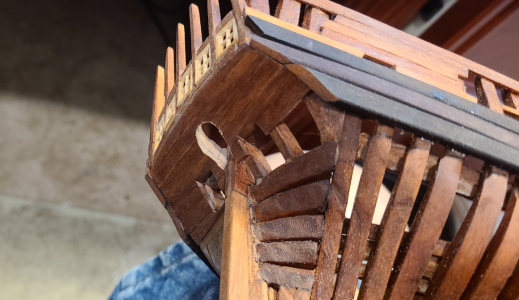
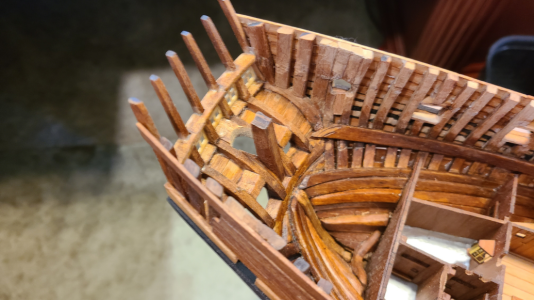
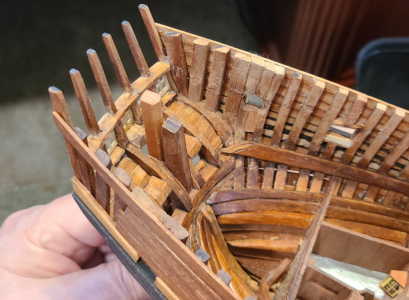
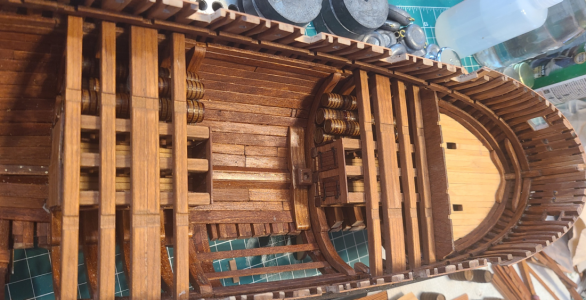
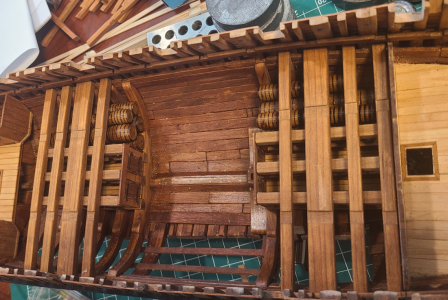
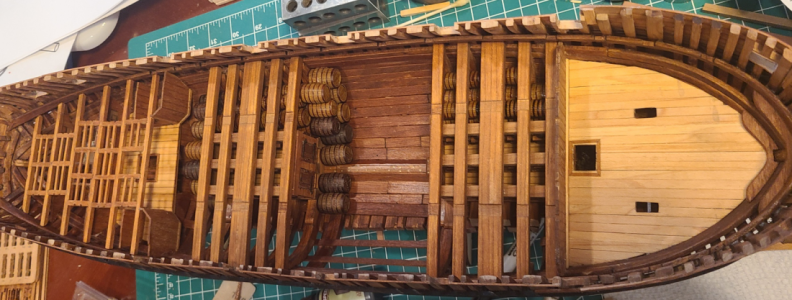
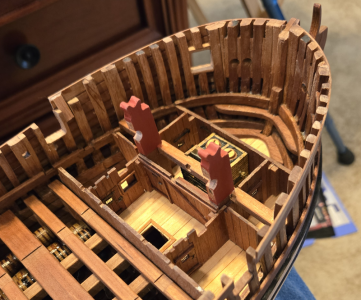
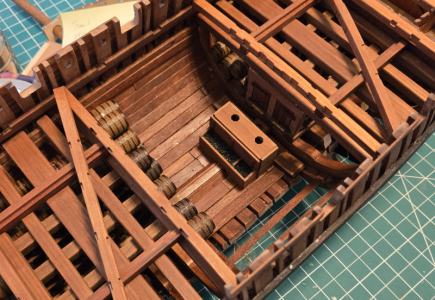
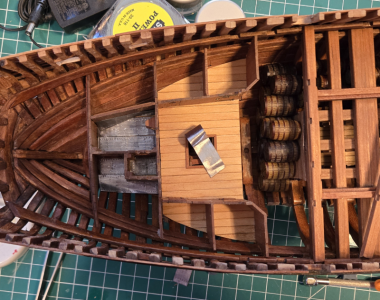
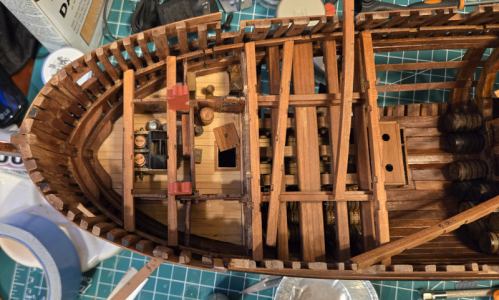
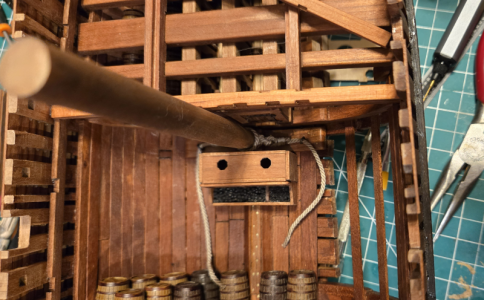
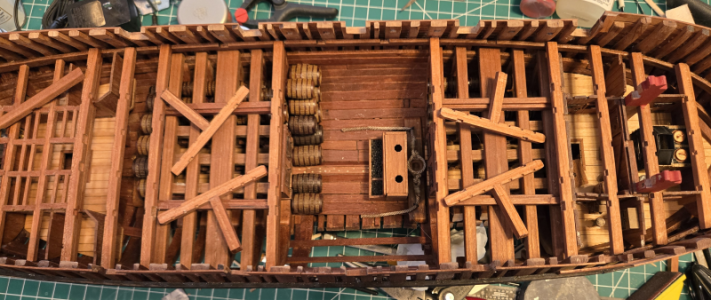
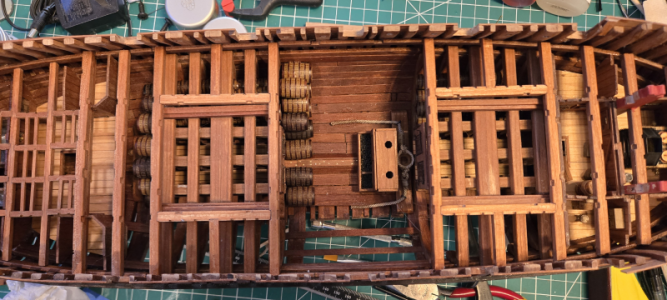
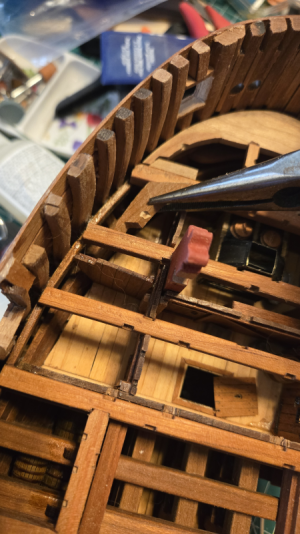
This photo shows the difficulty in installing the mortar beds, even without all the beams and any of the planking:
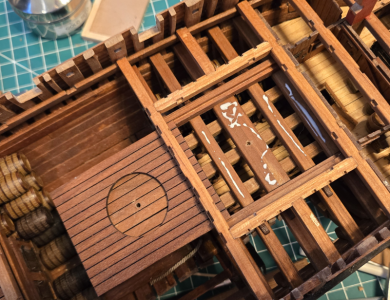
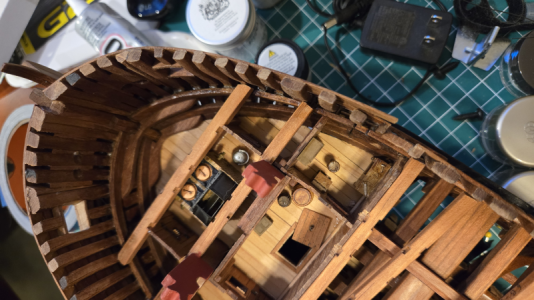
The bed structure has to be slid in from the side. It cannot be done from above, with the mortar beams in place, and those same beams have to locate the bed. Lucky for me, my cross beams didn't all touch the L-shaped members, so were able to slip into place - but only after some trimming, fitting and experimentation. I cannot image installing this per the instructions. Or maybe I should say that I really don't understand the instructions so had to come up with this method.
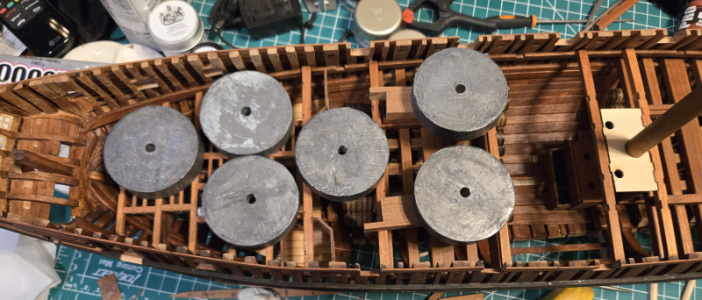
The advantage of the precisely measured and located holes through all materials becomes evident when sliding the beds into their correct location.
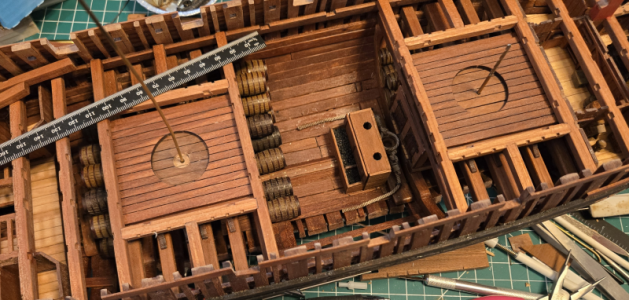
Lucky for me, I had left the center hold beams off for my future anchor cables; if I had installed them, I don't know how I'd have done this.


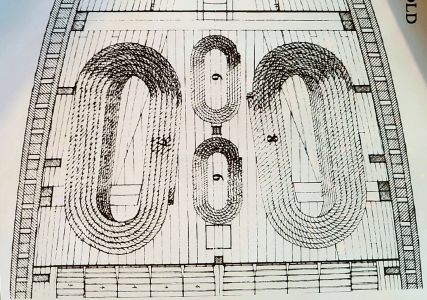

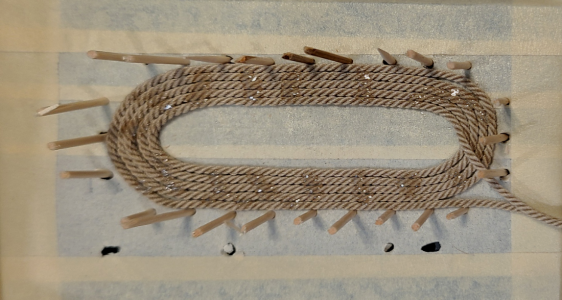
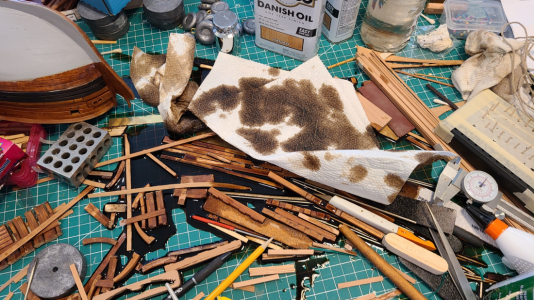
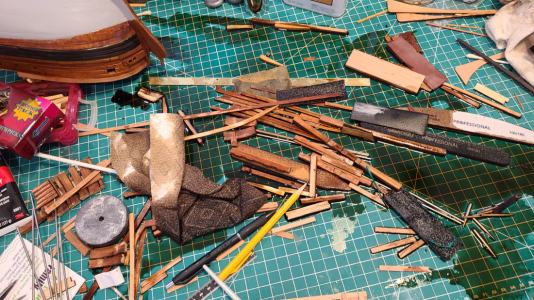


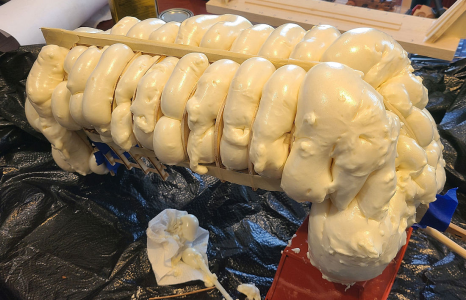

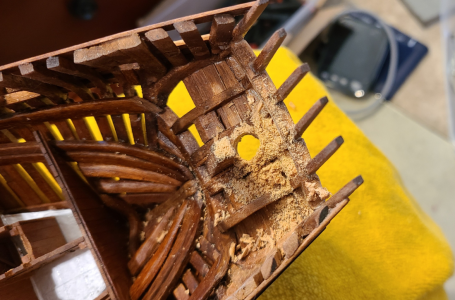
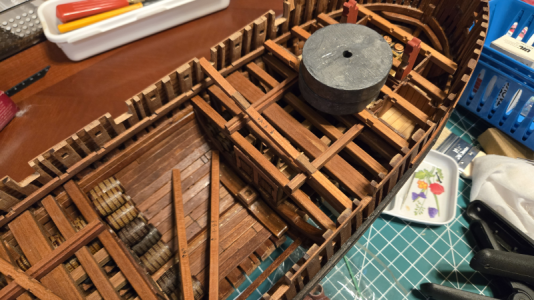
 , mess cleaned up (although the "messy" seems to be omnipresent with me), so I'm trying to do other messy jobs, things that create sanding or cutting dust, which goes everywhere, before doing any more to the inside of the model.