CalderCraft HM Granado

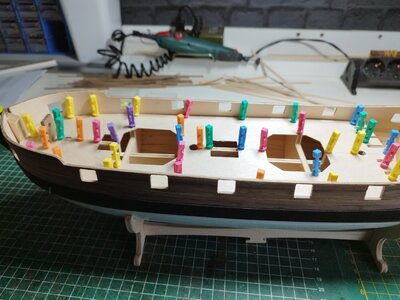
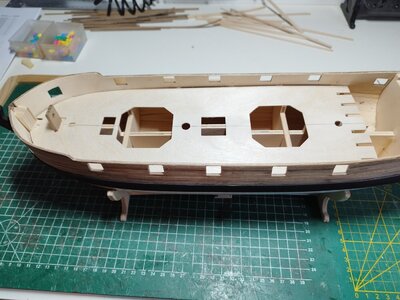
I have placed the gun deck in positionIMG_20230124_112128.jpg
IMG_20230128_110011.jpg

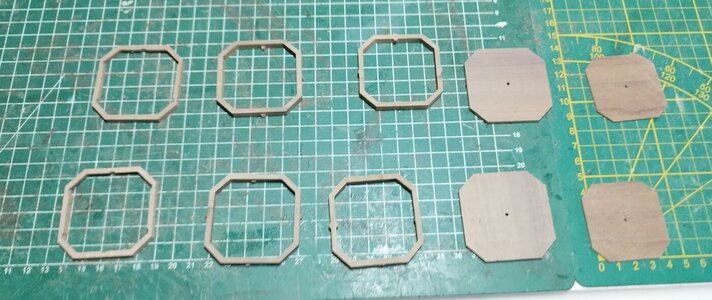
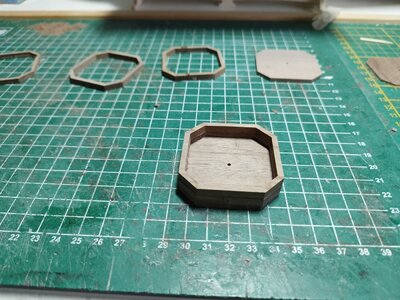
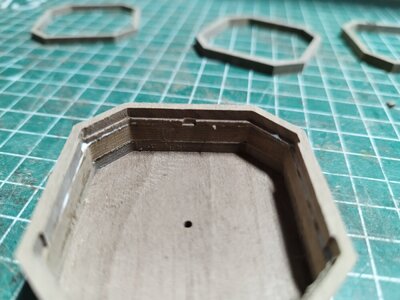
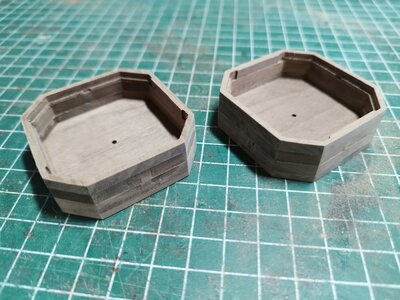
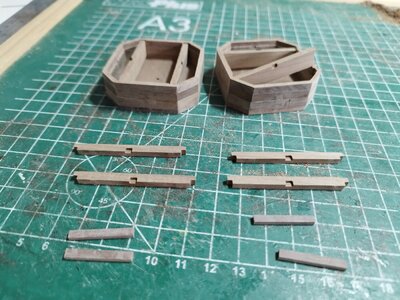
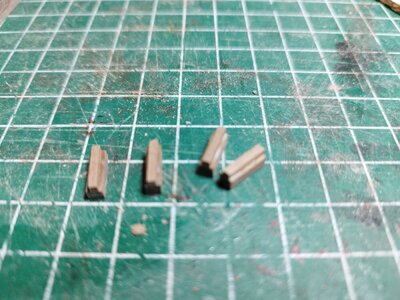
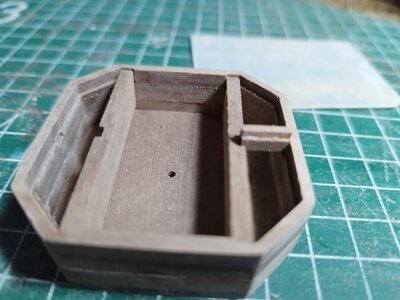
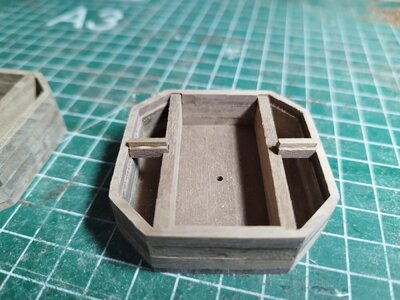
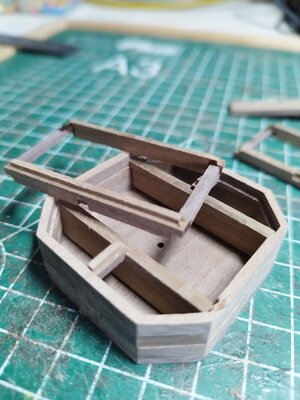
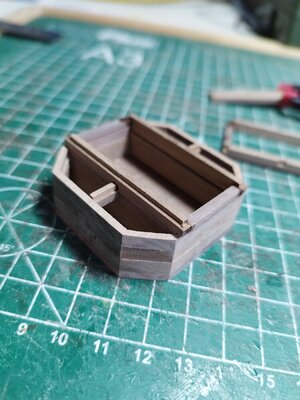
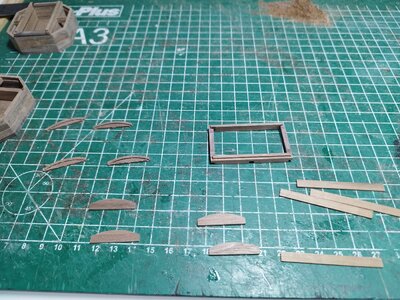
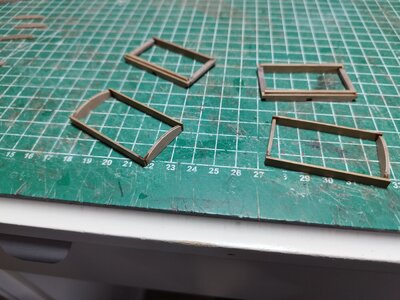
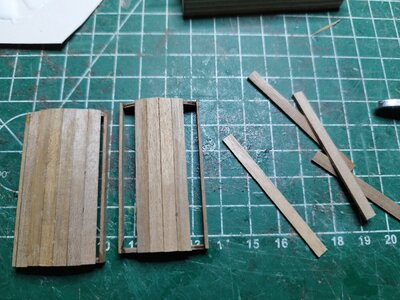
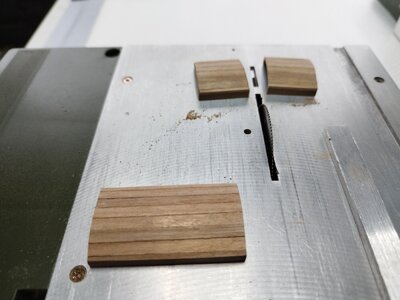
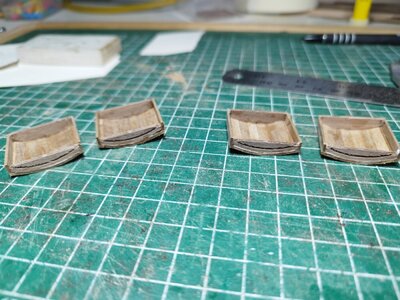
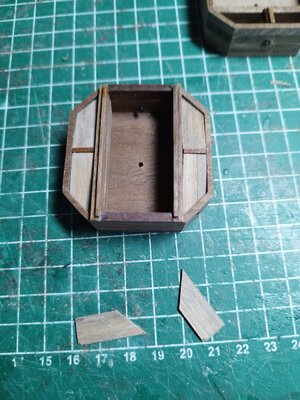
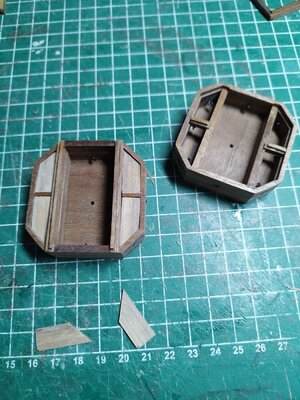
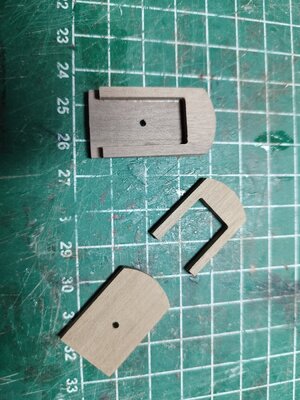
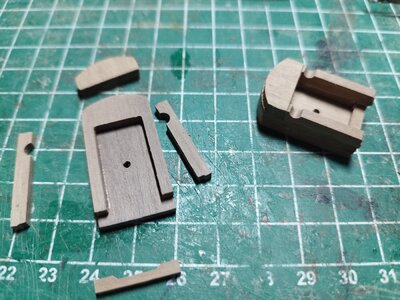
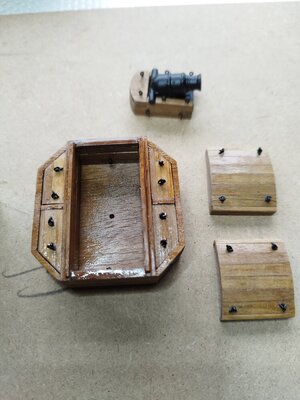
Then i started on the 2 mortar pits. This is very fragile and it is a lot of little parts to combine. I made several photos to place here.
IMG_20230201_154231.jpg
IMG_20230129_103217.jpg

the last edge, the third one has notches, make sure the right side is up otherwise the rest won't fit
IMG_20230129_103415.jpg

When both are done it's time to place all the parts on the inside. I don't glue them so i can take them out. I still need to drill holes in the pits but i do that when everything fits smoothly.

IMG_20230204_101539.jpg
IMG_20230204_120831.jpg
IMG_20230204_133007.jpgIMG_20230204_133026.jpgIMG_20230204_133105.jpgIMG_20230204_152213.jpgIMG_20230204_152139.jpg
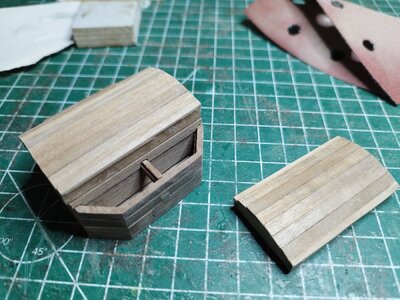
The roof of the mortar pit i made in 1 piece instead of two ( thank you kevink for this idea)
IMG_20230205_095717.jpgIMG_20230205_101528.jpg
It is very fragile and delicate work to let it fit al perfectly.
IMG_20230208_102917.jpgIMG_20230208_132623.jpg

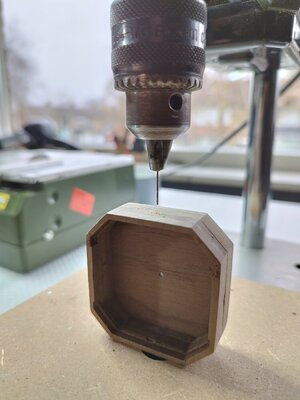
I still have to saw them in 2 pieces to finish them and i need to drill al the holes in both mortar pits.
So it is the next thing to do.
 
While i was working on the mortar pits i notice you can choose how it looks when you finish the model, totally closed or open. You can also choose not to glue it and you can open and close them. Actually anyway you want but closed you don't see a lot of the small parts you already made in them.
So after sawing the top into two i started to experiment with different ways and how it looks.
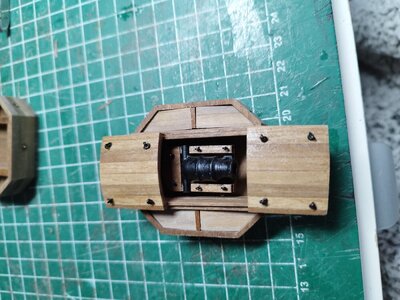
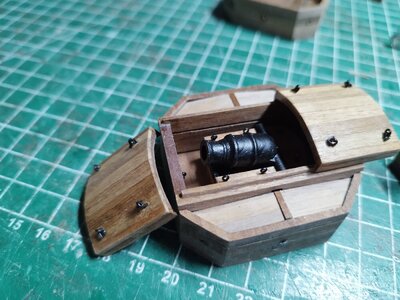
So i choose 1 half open and the other one as good as open.

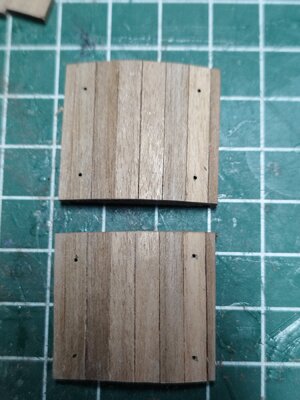
Like i said i saw the mortar pit cover into 2 pieces and finish them..
IMG_20230211_111513.jpgIMG_20230211_112012.jpg
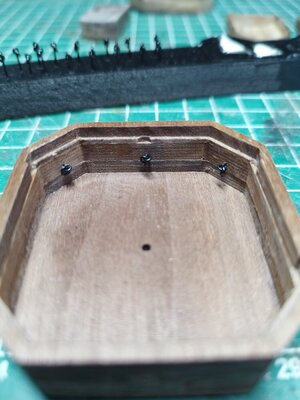
Next i drilled the holes into the mortar pits and into the covers for all the rings
IMG_20230211_113354.jpgIMG_20230212_104522.jpg
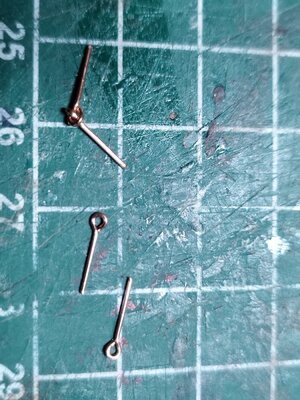
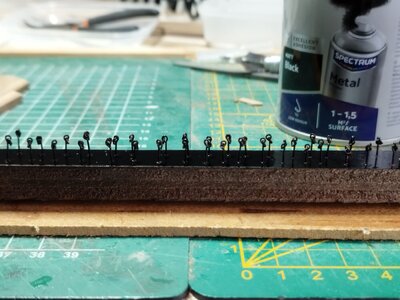
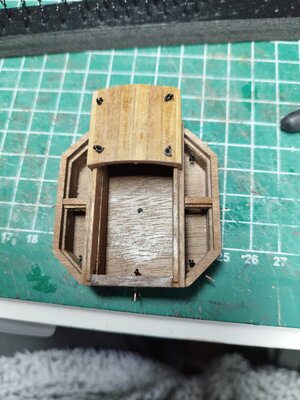
The rings where the next thing i made and painted black. And placed them in the covers and the mortar pits.
IMG_20230212_094947.jpgIMG_20230212_130410.jpgIMG_20230219_093056.jpgIMG_20230219_094212.jpg
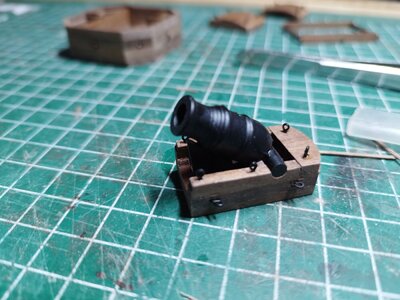
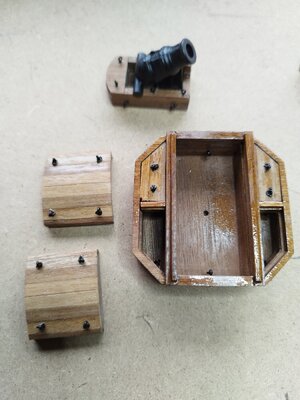
Then i made 6 of the 8 small covers for the sides of the pits and placed on 1 pit all 4. The other one only 2 so you can see the rings.
IMG_20230219_105525.jpgIMG_20230219_105533.jpg
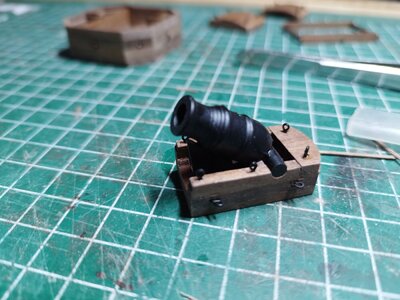
Also i build the 2 mortar cannons and varnish it all.
IMG_20230212_104531.jpgIMG_20230212_105903.jpg
IMG_20230219_105655.jpg
Next thing will be placing the mortar pits and start planking the deck. But that need to wait till the varnish is dry.
IMG_20230219_105645.jpgIMG_20230219_105708.jpgIMG_20230223_123159.jpgIMG_20230223_123204.jpg

IMG_20230219_105655.jpg
 
After the mortar pits are completely ready, they can be placed in the model.
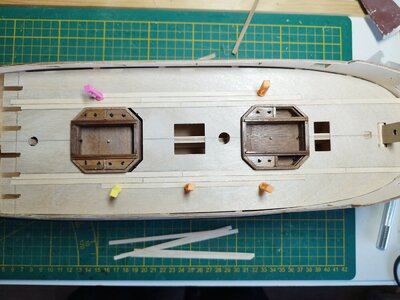
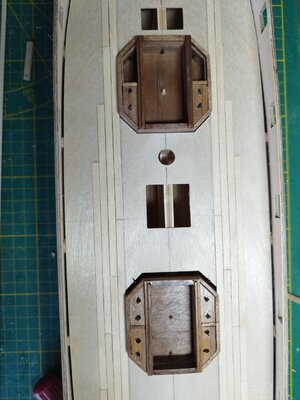
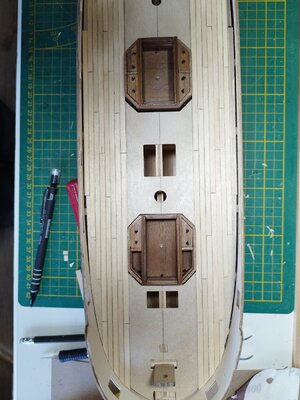
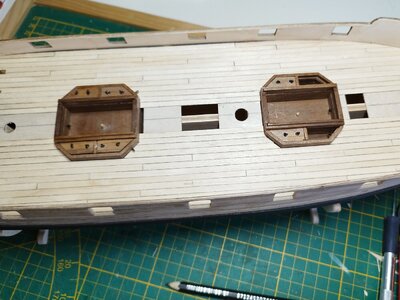
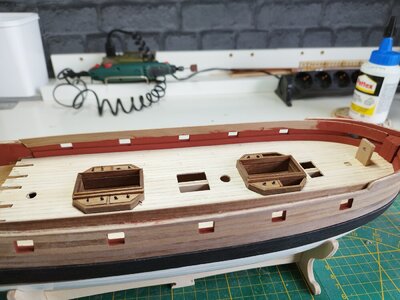
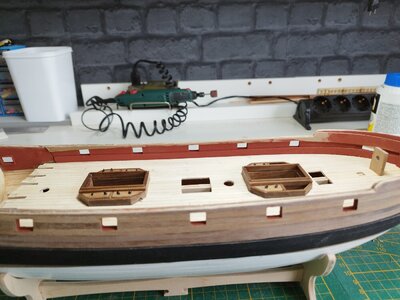
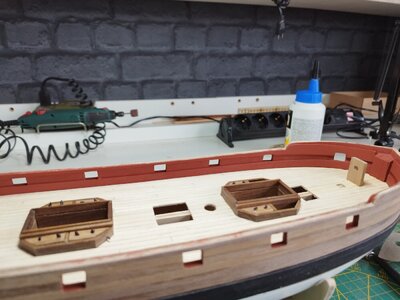
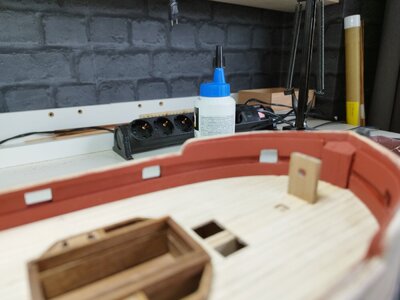
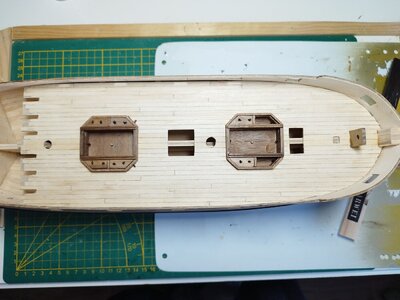
There is quite a bit of space to place them so after some measuring they are nicely in the middle and I started covering the deck.
Almost forgot to mention:
After the wells are fixed, I drilled 2mm holes in the place where the mortar cannons will be placed in the wells.
These are already present, but if you drill them a little deeper after placing them, you can just put 2 pins in them a little easier on which the mortar cannons will be placed later.
Then they are always in the right place.
If you leave the inner work of the pits out these pins are for turning the guns.

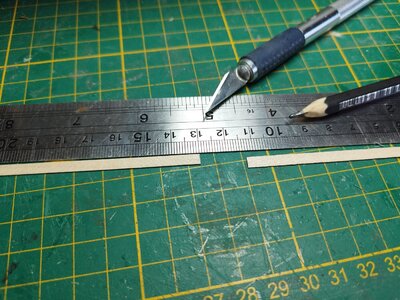
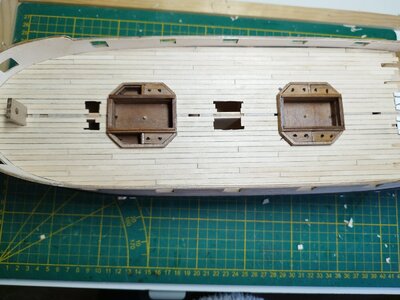
I cut the strips at 130mm as described in the building plans and go along the side of the slats with a regular pencil.
IMG_20230226_110441.jpg
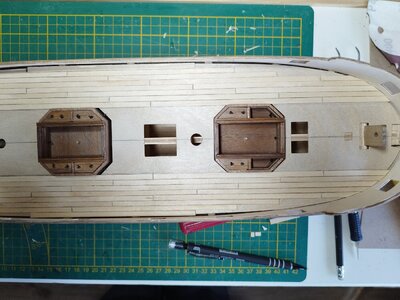
This makes them darker and you can see the seams of the planking much better, I like it better if you see these planking lines better. According to the description you start at the sides of the mortar pits and work towards the side of the gun hatches of the model, when that is finished the planking is done from that same point to the center.
IMG_20230227_094837.jpg
The course of the planks is 32.5mm and after the 4th row you start at the same point as the first.
It is a little bit of extra work but well worth it to get a nice result.
IMG_20230227_125142.jpgIMG_20230301_093251.jpg
 
Not all the 4mm strips are exactly 4mm, it's variety between 3.95mm and 4,05mm.
Not much but just enough to end up in the middle with 2mm space instead of 4mm at me.
For now i let the glue dry first and tomorrow i will fill the middle up with the last strips.
And start cutting out the masts and other open parts out of the deck before sanding it.
After sanding i will also put a thin layer varnish on it and let it dry the weekend.
IMG_20230302_145853.jpg
IMG_20230302_145719.jpgIMG_20230302_145733.jpg
 
ja ja - sometimes every micrometer is counting
often the (real) ships had in the center a wider plank, the so called Kings-plank
Maybe it is an idea to adjust the planks left and right of the center line in such a way, that you can install one kingsplank with a continous width from stern to stem.
Maybe with the 4mm material or even slightly wider

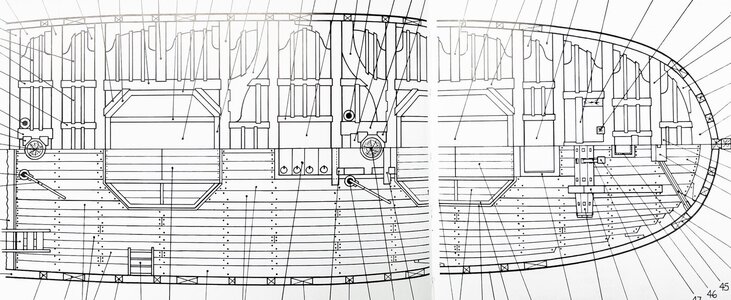
This is the Goodwin anatomy decksplan of the Granado, not showing such a kingsplank. But you can see, that he interpret the deck planking using wider planks between the mortar boxes. But definitely good to know, that the width of the deck planking rows varied based on technical compulsory points or availability of planking in the yards

IMG_0726aa.jpg
 
ja ja - sometimes every micrometer is counting
often the (real) ships had in the center a wider plank, the so called Kings-plank
Maybe it is an idea to adjust the planks left and right of the center line in such a way, that you can install one kingsplank with a continous width from stern to stem.
Maybe with the 4mm material or even slightly wider

This is the Goodwin anatomy decksplan of the Granado, not showing such a kingsplank. But you can see, that he interpret the deck planking using wider planks between the mortar boxes. But definitely good to know, that the width of the deck planking rows varied based on technical compulsory points or availability of planking in the yards

View attachment 360463
I like the idea of a kingsplank.
I checked my drawing and there are all planks the same.
Im not sure but probably i have some old strips lying here who are 5mm
I can take out the last 2 i put on (1 on both sides) and put 2 of 5mm back on their place
So the gap between the last 2 strips of 4mm are gone.
And it will look nicer than 1 small strip of 2mm..
Thank you for the solution
 
You are welcome.
it will look better than a small plank in the center, especially because in the centerline of the model will be no other equipment like guns, pumps etc. which will cover the planking. Especially on other models like frigates etc.
On the Granado this kingsplank will be only short segments, interrupted by the hatches, masts and the two mortar beds - so this can be easily done .....
 
Today i put in the kings-planks sand the model and put on a very tiny layer if varnish.
IMG_20230303_132348.jpg

@Uwek
On the 2 other decks is there also a kings-plank ?
I want to know because they have a darker color and i think it looks nice when it i also put them on the other decks. On the front and rear of the model.
Then you have a really straight line over the complete model from stern to stem
 
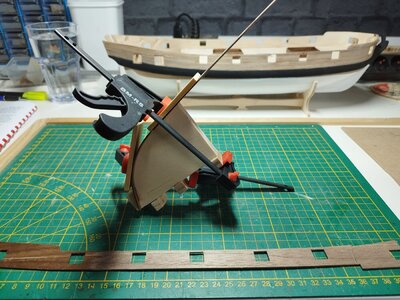
Next i bend the walnut gun port strips for the inside.
Soak them long enough otherwise they will break.
You can use the bending tool provided with the model for this.
IMG_20230304_125133.jpg
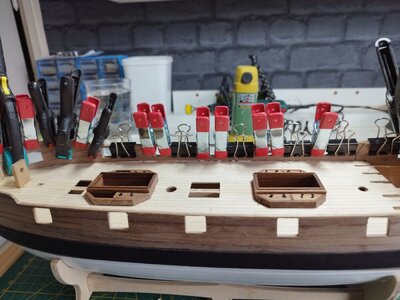
Next i dry fit them to be sure the gun ports fits like the way i want.
Then i glue them into the model and using lot of clamps to keep it tight against the sidewall and there aren't open spaces between them.
Especially at the gun ports and on top of the side
IMG_20230305_103431.jpg
 
Last edited:
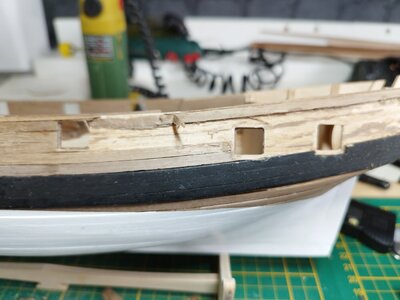
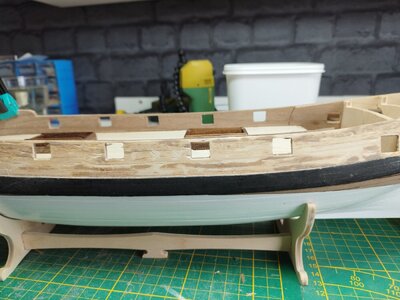
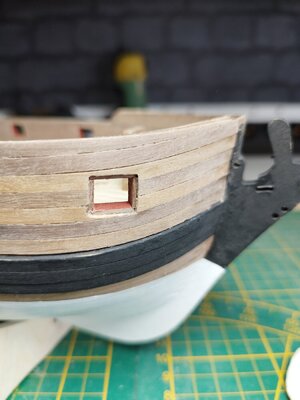
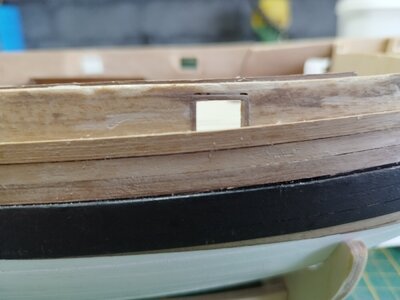
I had a few posts back already put the 2nd layer of planks above the wale.
Because I didn't see why I had to wait.
Now i found out it was a mistake to do.
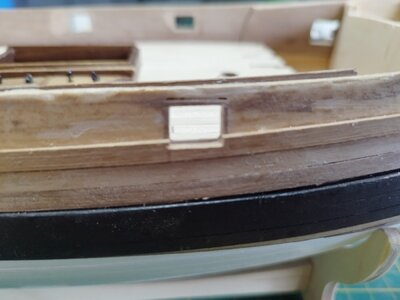
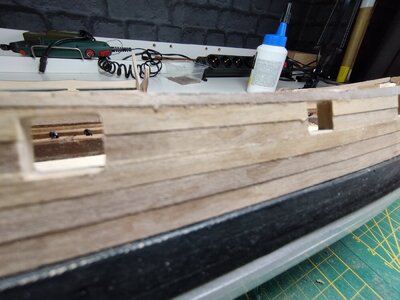
I also made a mistake reading the drawing wrong and kept the planking back 1mm at some gun ports.
Now it turns out that after placing the inside I first have to put lids and plank over them. Where I have kept the planking back 1mm, I am now short of that 1mm because the lids have to be placed 1mm deep there and not kept back.
So I'm going to remove the 2nd layer above the wale, sand it and continue according to description as it should have been.
Stupid mistake to overlook on my part but luckily this can be repaired well.
IMG_20230306_120605.jpg
IMG_20230306_150242.jpg
I have left a warning message in the post where i said i planked above the wale. In red and hopefully no one make this mistake too
 
Last edited:
Today i put in the kings-planks sand the model and put on a very tiny layer if varnish.
View attachment 360632

@Uwek
On the 2 other decks is there also a kings-plank ?
I want to know because they have a darker color and i think it looks nice when it i also put them on the other decks. On the front and rear of the model.
Then you have a really straight line over the complete model from stern to stem
The smaller decks had no real structural function, so there was no need for a kingsplank, but you can try to make this planking similar to the main deck
I am sure for the optical appearance it will look very good

BTW: Your deck planking is looking now very good
 
Last edited:
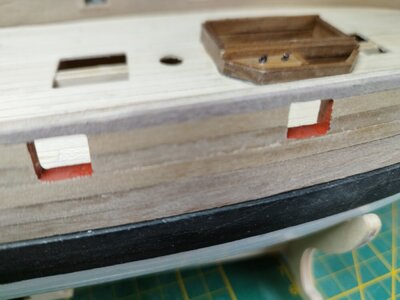
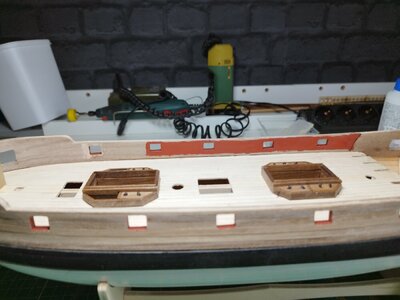
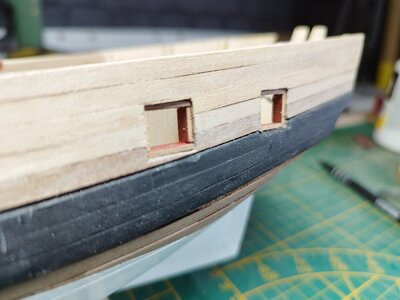
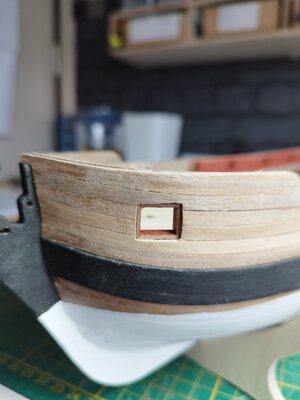
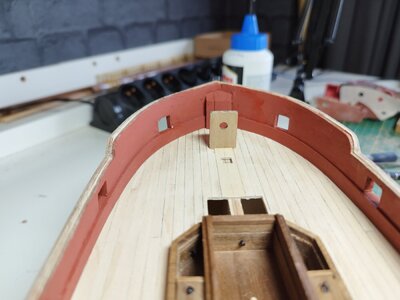
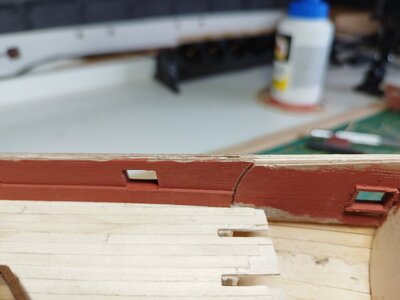
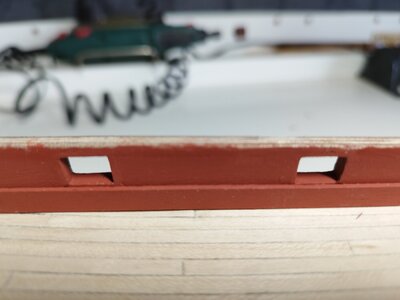
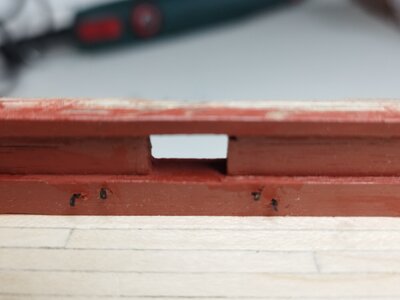
After removing the 2nd layer above the wale and cleaning it, I applied the inner edge at 10 gunports.
IMG_20230309_103547.jpg
This is done with a strip of walnut 1x4 mm. I'm not doing the front and the 2 rear gunports of each side yet.
Once this is done I re-applied the 2nd layer of planking above the wale, the one I had to remove.

IMG_20230311_093752.jpg
The planking will now be on the edge that I applied to the gunports.
IMG_20230311_094026.jpg
IMG_20230314_104638.jpg
After this I applied the same edge to the 6 gunports that I had skipped, only this one is 1mm inward.
So now I have 10 gunports without lids and 6 with lids.
I immediately painted the gunports and the inner bulkward patterns red ochre.
IMG_20230314_121306.jpgIMG_20230314_122723.jpgIMG_20230314_155322.jpgIMG_20230314_155440.jpgIMG_20230314_155641.jpgIMG_20230315_120007.jpg
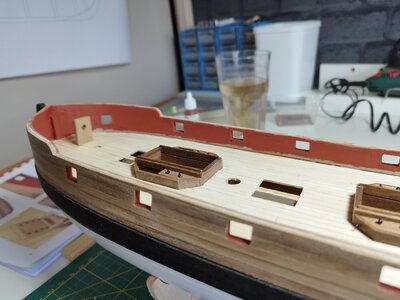
Then started making the spirketting and the sheer rail.
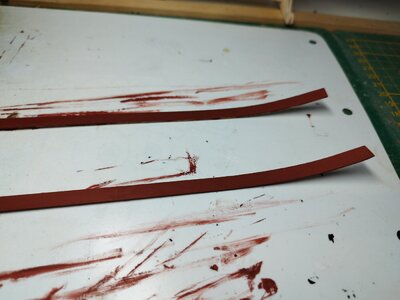
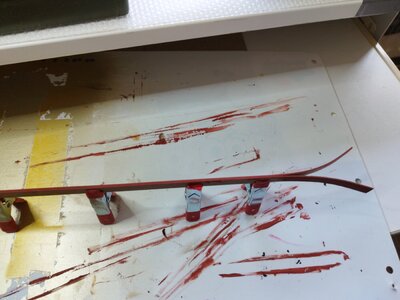
For the spirketting I bent 2x a strip of 1x7 mm and tru dry fitting i made sure it is the good size.
This i also immediately painted red ochre and placed them when they where dry.
IMG_20230315_134154.jpg
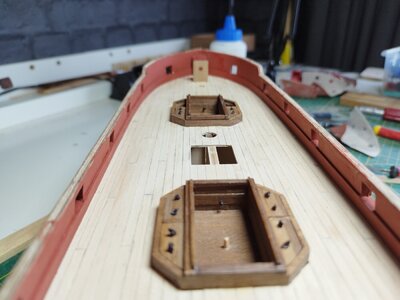
The spirketting is now on his place at the model and the sheer rail is almost ready.
IMG_20230315_154954.jpgIMG_20230315_155000.jpgIMG_20230315_155100.jpgIMG_20230315_155148.jpg
For the sheer rail i bent 2x a strip of 10x1mm and dry fit it to make sure it fits the way i want. The bottom edge of the sheer rail i paint it now because otherwise it would be difficult for me to reach it after placement. It needs to dry now before I can install it.
16789631083596827217805675854197.jpg
 
After placing the sheer rail, i cut it so it fits the sides and i paint it further red.
IMG_20230317_122753.jpg
IMG_20230317_124003.jpgIMG_20230317_143454.jpgIMG_20230317_143502.jpg
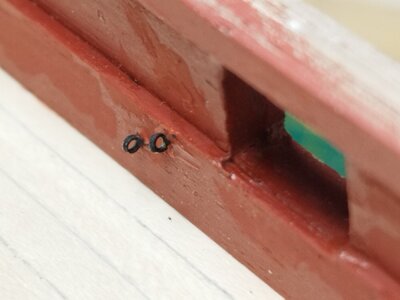
To be able to fasten the guns I also immediately drilled the holes and painted the rings black and placed them now that I can still reach them a bit decently. I had first placed the wrong rings, so removed and placed the right ones again.
IMG_20230321_114322.jpgIMG_20230321_114535.jpg
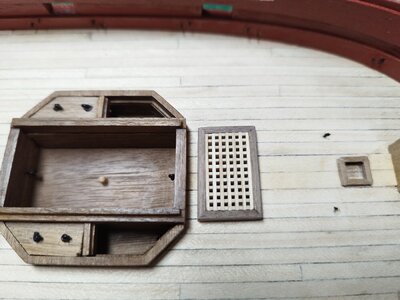
Then started making and placing the grilles on the deck.
IMG_20230321_121144.jpg
 
After removing the 2nd layer above the wale and cleaning it, I applied the inner edge at 10 gunports.
View attachment 363201
This is done with a strip of walnut 1x4 mm. I'm not doing the front and the 2 rear gunports of each side yet.
Once this is done I re-applied the 2nd layer of planking above the wale, the one I had to remove.

View attachment 363202
The planking will now be on the edge that I applied to the gunports.
View attachment 363203
View attachment 363204
After this I applied the same edge to the 6 gunports that I had skipped, only this one is 1mm inward.
So now I have 10 gunports without lids and 6 with lids.
I immediately painted the gunports and the inner bulkward patterns red ochre.
View attachment 363205View attachment 363206View attachment 363207View attachment 363208View attachment 363209View attachment 363210
Then started making the spirketting and the sheer rail.
For the spirketting I bent 2x a strip of 1x7 mm and tru dry fitting i made sure it is the good size.
This i also immediately painted red ochre and placed them when they where dry.
View attachment 363211
The spirketting is now on his place at the model and the sheer rail is almost ready.
View attachment 363212View attachment 363213View attachment 363214View attachment 363215
For the sheer rail i bent 2x a strip of 10x1mm and dry fit it to make sure it fits the way i want. The bottom edge of the sheer rail i paint it now because otherwise it would be difficult for me to reach it after placement. It needs to dry now before I can install it.
View attachment 363216
Well done and great recovery Sir. Cheers JJ..
 
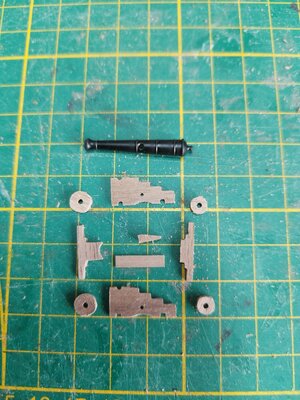
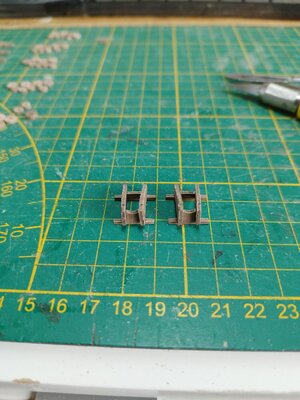
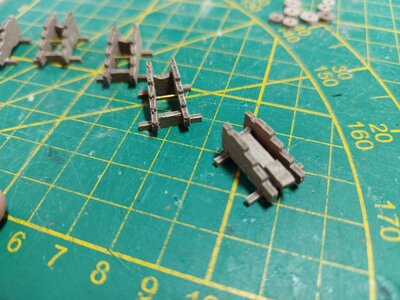
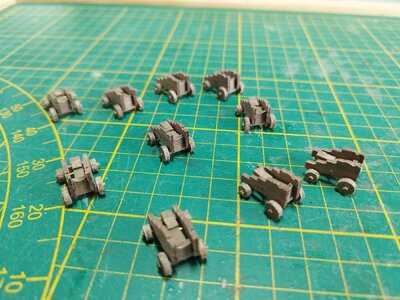
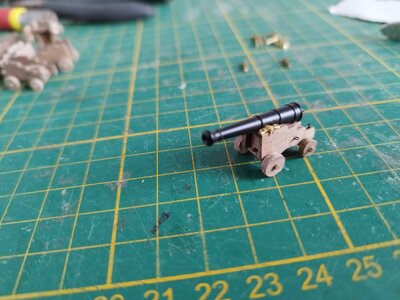
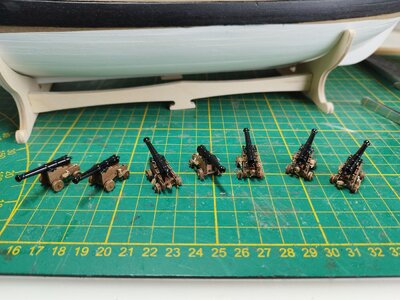
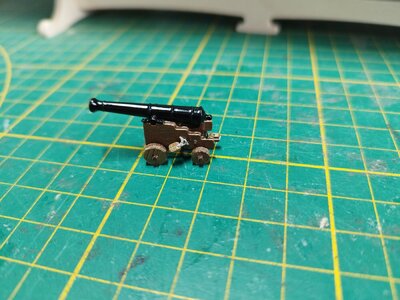
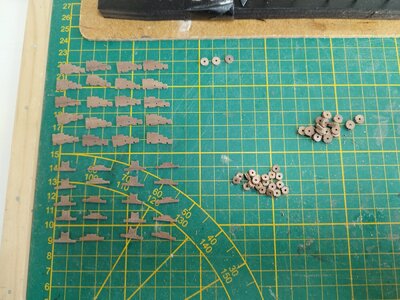
Before I place the next deck I first prepared all the cannons.
First i cut out all the walnut parts and sand them.
Also i paint all the cannons black
IMG_20230406_105234.jpgIMG_20230328_101147.jpg
Then i prepared all wagons and only varnish them.
The walnut color is perfect in my opinion.
IMG_20230328_102101.jpgIMG_20230328_133206.jpgIMG_20230330_111251.jpgIMG_20230330_130931.jpgIMG_20230406_105317.jpgIMG_20230406_104351.jpg
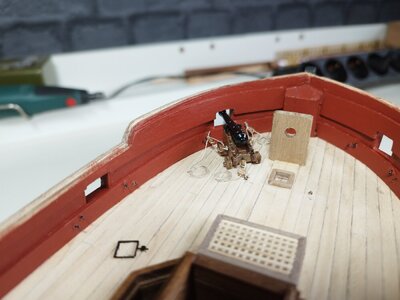
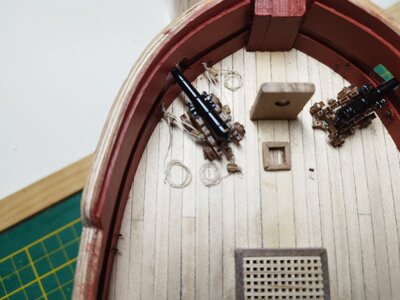
Under the deck 2 cannons can be placed and I like this.
Once the deck is in place, this becomes virtually impossible to do.
IMG_20230406_104404.jpg16807716545565449241096068159420.jpg
At the moment I have 1 placed on the deck and am working on the other to rig and install it.
As soon as this is also in place, I can continue with the order of the construction description.
 
Back
Top