• LUCZORAMA SHIPWRECK SCAVENGER HUNT GIVEAWAY. 4 Weeks of Fun • 1 Legendary Prize ((OcCre’s Fram Ship)) • Global Crew Welcome!
    **VIEW THREAD HERE**

Caldercraft HMS Victory 1:72 by Gilbertm

Grandkids will steal your attention, time and love, and are worth the time and effort to know you and your family.

The work on the ship is going fast and looks good.
 
Hello friends
I am starting the build of the Caldercraft HMS Victory.
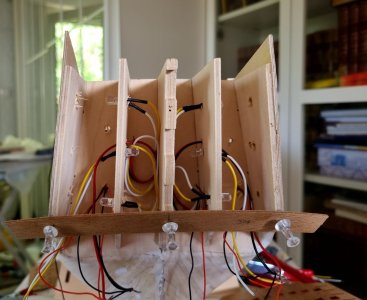
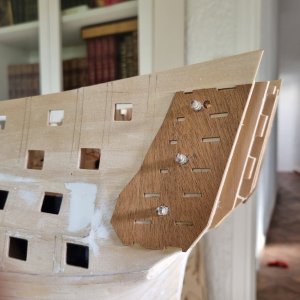
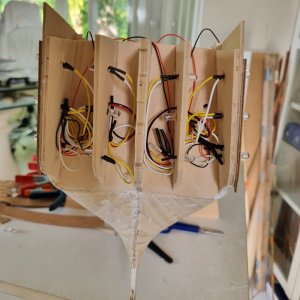
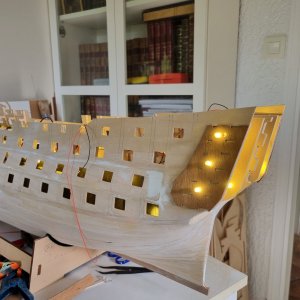
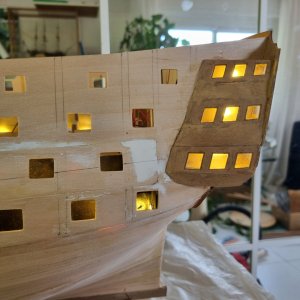
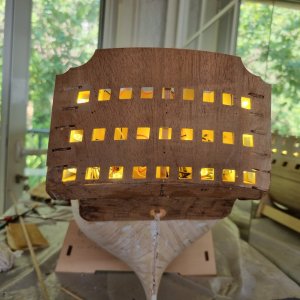
I plan to add lights inside the hull and officers quarter and I am investigating where are the best places to add LEDs. I have ordered 3mm warm white 12V LEDs and should receive them quite shortly.
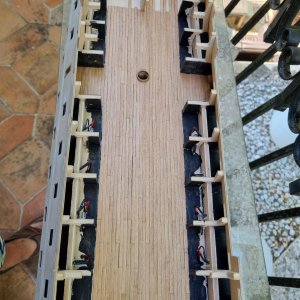
In the meantime I have assembled the keelson, bulkheads, the middle deck, the dummy gunports, the quarter deck and the gunport patterns. Of course dry fit only at this stage. I have also tapered the keel for the bearding line.

Dry fitting the hull allows me to precisely determine where to include the LEDs.
When assembling the hull, I had to widen the slots on the bulkheads and on the keel in order to fit smoothly. As noted by other builders, the slots where a bit too narrow.
One interesting thing to mention is the fact that the laser cut plywood for the various parts (bulkheads, keel, ...) are not burnt on the side which is very nice and avoids sanding. By the way the quality of the wood is excellent.
I also noticed that I had to widen the foremost slot on the keel and the hole on bulkhead 1 in order to fit the foremast and the bowsprit. I am glad I checked that before gluing the skeleton.

Some pictures below

View attachment 507380
View attachment 507382
View attachment 507383
View attachment 507384
View attachment 507385
View attachment 507386
View attachment 507387
View attachment 507388
Very nice build.
I would like a position on n the second row to watch this build.
I really admire the building fixture holding the keel.
 
Hi Gilbert. I've pulled up a chair.
I am pleased that I can learn from your construction report.

Best regards
Günther Ship-1
 
It looks like your picking up the who's who has f this forum. Myself excepted, I'm a hack.
 
Hello all
I have not posted any update on my progress since a few weeks as I have been rather slow working on the HMS Victory hull. Other priorities have come and I spent much less time in the shipyard.
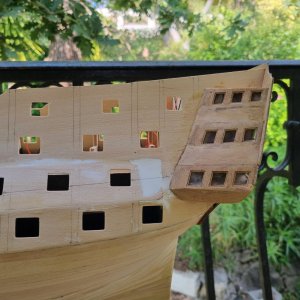
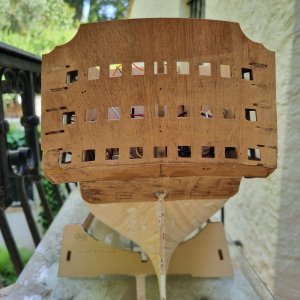
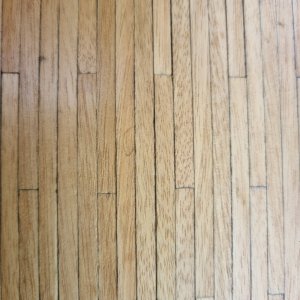
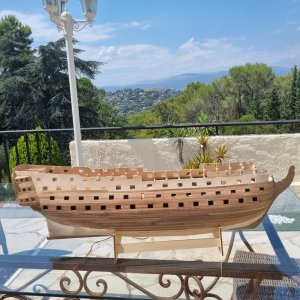
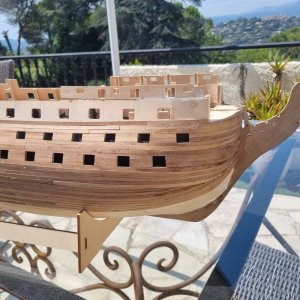
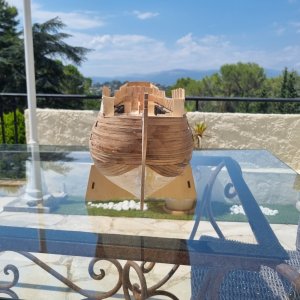
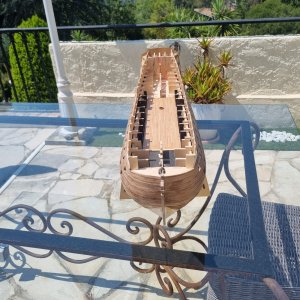
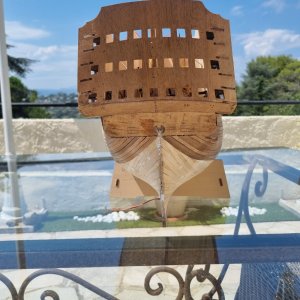
Anyway, I have now just completed and sanded the hull.
See pictures below

View attachment 520944
View attachment 520947View attachment 520948
View attachment 520949
View attachment 520950
View attachment 520951
View attachment 520952
View attachment 520953
View attachment 520954

Again, progress will be slow in the coming weeks as I am flying to the US later this week to meet my grand daughter who was born last week. This is definitely higher priority than ship building :p

View attachment 520958

Cheers
 
Hello Gilbert,

First of all, congratulations on your granddaughter. Always a special event in the family. Indeed much more important than model building.

I have been following your build report for a while and I must say you are making nice progress. Nice to meet another Victory builder, especially with the package from Caldercraft. Good choice you made.
I also notice that you are a loyal follower of my build report. Thanks for your interest and responses. As you noticed, I try to post a chapter every week, summarizing my process of now 2.5 years. Total is 29 chapters. Right now, I have just started putting on the first ropes. That will be chapter 30, so I'm almost keeping up with reality.

But now back to your project.
The lighting in your boat will be a spectacular addition, I think.
Now that your first planking is finished, there follows an important moment that will greatly affect the actual outcome of your second planking. Namely, the sanding of the first planking. Looking at your last photo, it seems to me that more sanding is needed to get a nice tight shape of the hull. My advice: sand too much rather than too little. See also the last photo in the Jan. 24 post in my build report. If at all possible, try to get a tight shape without the use of putty. This is also important for good adhesion when gluing the second planking. Also do not apply a coat of paint to the first planking, for the same reason.

Good luck, I will continue to follow you.
HI Will
Thanks for your feedback
I agree with you: more sanding is better than less.
I'll definitely look into this once I am back home around mid-June
I appreciate your advice.
Best
 
Back
Top