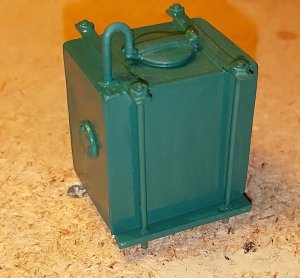
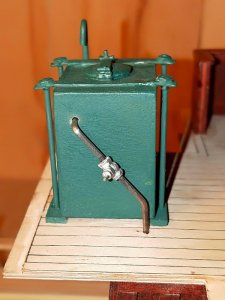
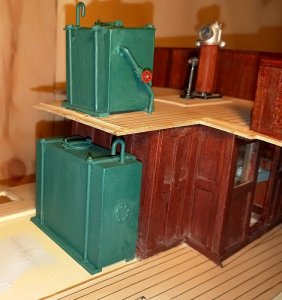
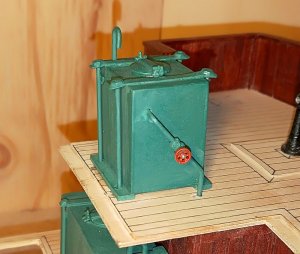
Translated a complete opposite..., it is a google translator... LOL It should mean that I would learn from you, the way you paint!! I have changed, the way I mean to say!!Don't you like my painting Jim,,
-

Win a Free Custom Engraved Brass Coin!!!
As a way to introduce our brass coins to the community, we will raffle off a free coin during the month of August. Follow link ABOVE for instructions for entering.
-

PRE-ORDER SHIPS IN SCALE TODAY!
The beloved Ships in Scale Magazine is back and charting a new course for 2026!
Discover new skills, new techniques, and new inspirations in every issue.
NOTE THAT OUR FIRST ISSUE WILL BE JAN/FEB 2026
You are using an out of date browser. It may not display this or other websites correctly.
You should upgrade or use an alternative browser.
You should upgrade or use an alternative browser.
Translated a complete opposite..., it is a google translator... LOL It should mean that I would learn from you, the way you paint!! I have changed, the way I mean to say!!
Thank you for that Jim, I really don't like the painting part of modeling but it is one of those things that I try to get right, though sometimes it takes a few coats of paint, ,
Best regards John,
...anything I am trying to paint, instantly ruined the jo job. I and paint don't get alone. I always envy (in a good way) when there is a good painted job!
Same with me - because of this lack of quality I built only "old" sailing ships where I can try to "paint" with choosing the correct timber - and oil or wax a little bit ........anything I am trying to paint, instantly ruined the jo job. I and paint don't get alone. I always envy (in a good way) when there is a good painted job!
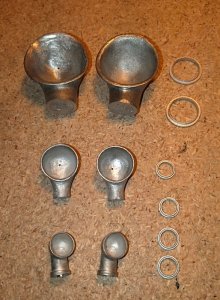
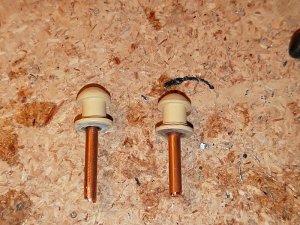
these are the castings ffor the six remaining vents, you get the vent tops and the
base rings and the trunk is made from dowel,
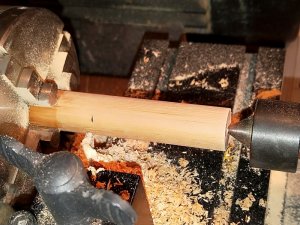
the large vents have a 15mm dia trunk, iv'e squared one end and Iam just about to start turning down the base end,
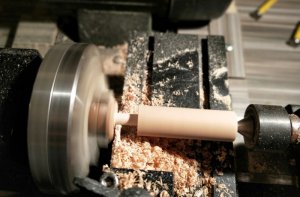
after turning to length I then turned a 6mm peg for securing to and through the deck,
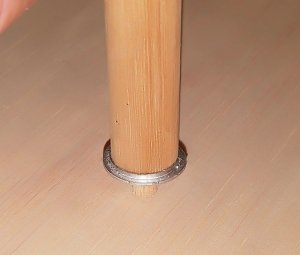
the base ring in place,
.
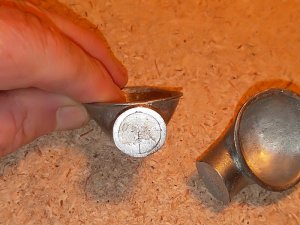
views of the bottom of the vent castings, these are the large ones and they are just a little bit out of the round,
I marked the center as best I could to take a 1.5mm piece of rod for securing it to the trunk,
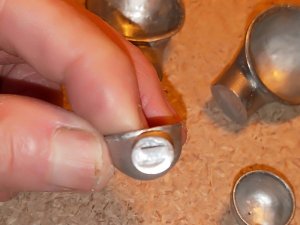
this is the middle size, definitely not round,
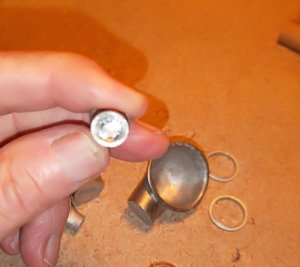
and the smallest ones were a lot better,
.
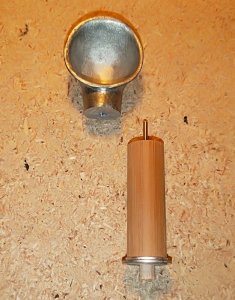
after leveling the bottom of the vent I drilled a hole up into it for the pin,
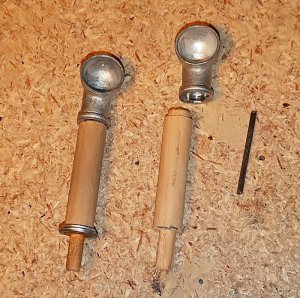
the two smallest vents had a recess in the bottom of the vent so I turned a stub on the top to make a tight fit
and also drilled and fixed a pin,
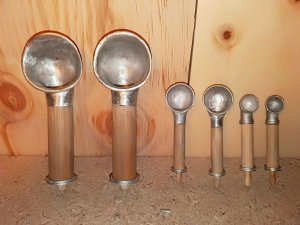
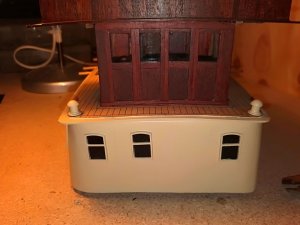
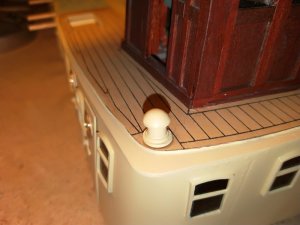
the six finished vents apart from the painting, the two smallest had rings cast into them, so I might look at doing
something similar with the other two sets,
.
Hallo my friend,
I want to send all the Best and HAPPY BIRTHDAY


I want to send all the Best and HAPPY BIRTHDAY


Happy Birthday, John! Have a wonderful day! 

Hallo my friend,
I want to send all the Best and HAPPY BIRTHDAY


Thank you Uwe,
Best regards John,
Happy Birthday, John! Have a wonderful day!
Thank you Jim,
Best regards John,
Last edited:
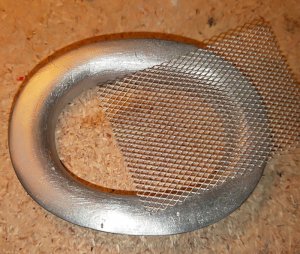
Started on the funnel, this is the top casting and the mesh that sits inside once it is cut to fit, on the bottom of
the casting there are four slots in the casting for it to sit on the two wire rods that go across the funnel,
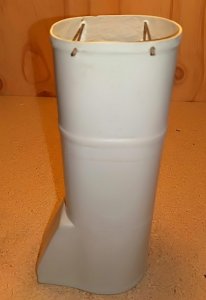
the two rods for the casting to sit on,
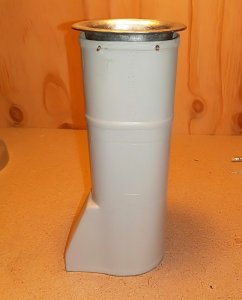
and the funnel top in place, though not yet glued,
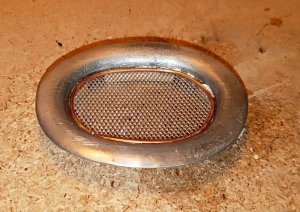
The mesh glued in place with a copper wire running around the outside just to neaten things up a bit,
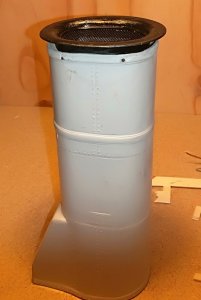
after a coat of black,
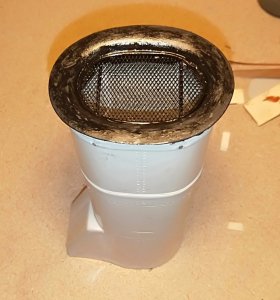
close up, when the casting sits in place there is a gap between the top of the funnel and the casting, and
as I am going to have a smoke generator running I didn't want any smoke coming out under or around
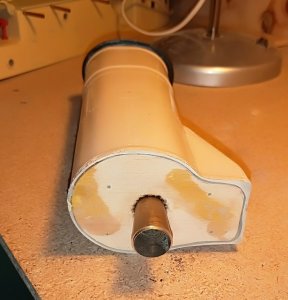
the sides of the casting, so to make sure I filled in the funnel under the wire rods and just left a hole in
the middle, see pic below,
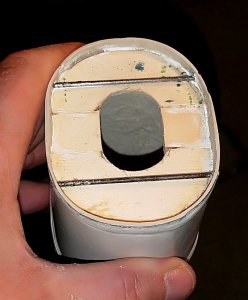
all this bare wood will be painted black,
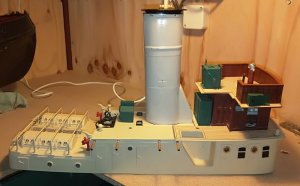
and how it looks in place on the superstructure,
.
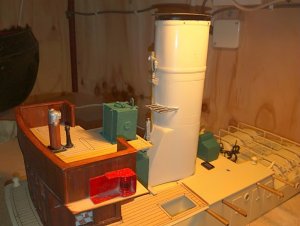
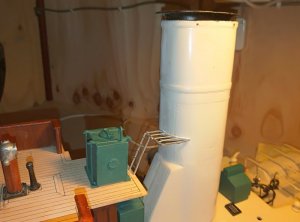
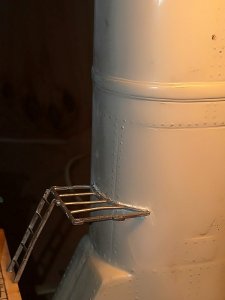
Port side view of the funnel,
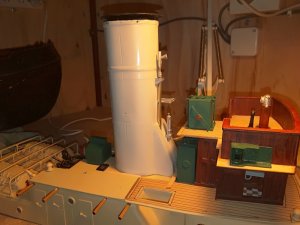
and a starboard side view,
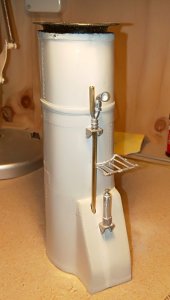
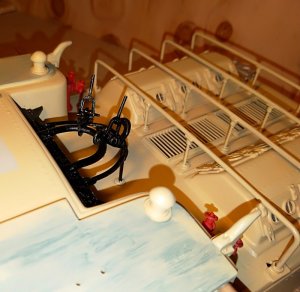
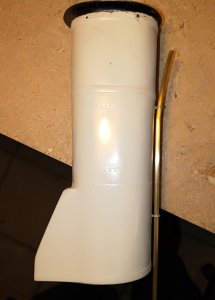
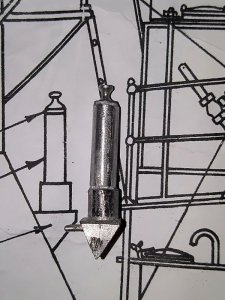
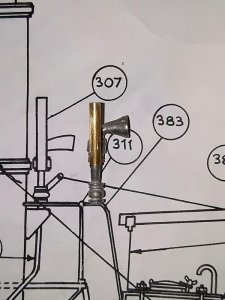
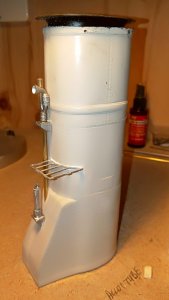
and a clearer view of both sides off the model, the horn and
whistle pipe was supposed to bend away to right when it
reached the platform and then bend again and go down
through the deck, but the wire rod that was supposed to
be used wasn't in the kit so I used some brass tube that I had
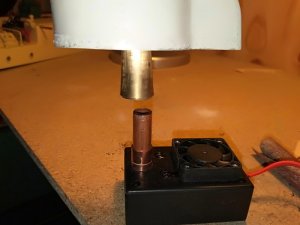
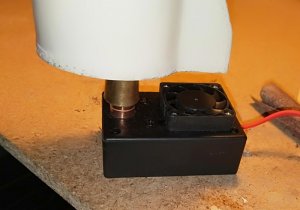
and i took it staight down into the funnel casing,
Last edited:
Really nice John.
Still a happy birthday, allthough a day late I think.
Still a happy birthday, allthough a day late I think.
I can echo Maarten. Really nice, and steady progress.
Really nice John.
Still a happy birthday, allthough a day late I think.
G'day Maarten, always a happy birthday, its always best looking down than up,
berst regards John.
Last edited:


