-

Win a Free Custom Engraved Brass Coin!!!
As a way to introduce our brass coins to the community, we will raffle off a free coin during the month of August. Follow link ABOVE for instructions for entering.
-

PRE-ORDER SHIPS IN SCALE TODAY!
The beloved Ships in Scale Magazine is back and charting a new course for 2026!
Discover new skills, new techniques, and new inspirations in every issue.
NOTE THAT OUR FIRST ISSUE WILL BE JAN/FEB 2026
You are using an out of date browser. It may not display this or other websites correctly.
You should upgrade or use an alternative browser.
You should upgrade or use an alternative browser.
What material is your deck? If it is plywood, I would recommend a coat of primer. But the first test on a scrap piece of your deck material.I have a question.
deck layered with sealer. Do I need to add primer or go with original paint instead?
Deck is 3 mm MDFWhat material is your deck? If it is plywood, I would recommend a coat of primer. But the first test on a scrap piece of your deck material.
Ohh...no..., just kidding, but frankly speaking but MDF is not a good material for anything other than bulkheads (if any). MDF will soak any material no matter how many times you will treat the surface, It cannot adjust to the moisture, and over time will ruin your work. Is there a chance to replace it? I guess not? If there a chance to add a 1.00mm plywood. At least you kinda reinforce MDF, but the best thing of actions would be, I am afraid, to replace...yea...MDF.Deck is 3 mm MDF
Sorry, if I disappointed you with my answer, but I was honest (as always)
Happy New Year!!!
MDF is a popular wood product available. 1mm plywood is not imported here but i can make from sanding down a 3mm sheet which i have.Ohh...no..., just kidding, but frankly speaking but MDF is not a good material for anything other than bulkheads (if any). MDF will soak any material no matter how many times you will treat the surface, It cannot adjust to the moisture, and over time will ruin your work. Is there a chance to replace it? I guess not? If there a chance to add a 1.00mm plywood. At least you kinda reinforce MDF, but the best thing of actions would be, I am afraid, to replace...yea...MDF.
Sorry, if I disappointed you with my answer, but I was honest (as always)
Happy New Year!!!
However i found some specialized primers for MDF so i may have to sand it and prime it at least a couple of times.
Last edited:
Technically speaking, Mike, modelers are try to avoid the MDF in our hobby. It is not practical and once become wet, become chipping, bubbling and it is difficult to repair. But is is your choice , and I understand the availability of other materials.MDF is a popular wood product available. 1mm plywood is not imported here but i can make from sanding down a 3mm sheet which i have.
However i found some specialized primers for MDF so i may have to sand it and prime it at least a couple of times.
I will use this advice for my next built especially if something goes wrongTechnically speaking, Mike, modelers are try to avoid the MDF in our hobby. It is not practical and once become wet, become chipping, bubbling and it is difficult to repair. But is is your choice , and I understand the availability of other materials.
I contacted a friend who owns a tool store and he can supply me a proper primer on Monday.Meantime I sanded the deck to prepare it. It will take me months to complete it so will see how it behaves until then.
Mike, is there a reason you are using aluminum instead of a brass sheet? The reason a asked that you can solder additional parts to a brass, where are the aluminum cannot be soldered, only welded!I made experimental bulwark with aluminum 0.2mm think. Bends easier than wood and its quite solid if supports glued properly on deck. I don't have many more supports to make. Just approx 400+.
At the moment I have only aluminum sheets. Later I will get brass too and make experiment fittings. Rails for example. For gluing surface I will use aluminum. For planking sheets I am thinking aluminum but brass soldered pieces sounds good as this will give the "soldering effect" which cannot be made by using wood.Mike, is there a reason you are using aluminum instead of a brass sheet? The reason a asked that you can solder additional parts to a brass, where are the aluminum cannot be soldered, only welded!
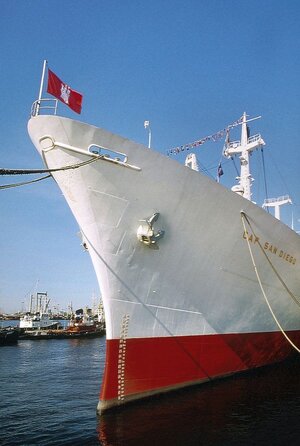
Lot of work, small progress nowadays. I manage to finish the lower level of accommodation. I like the aluminum on wood. Reminds me the way the first jet aircrafts were built at the same era Cap San Diego was built. Aluminum also is easy to bend and get shape. No need to wet it and dry it etc... Next step is prime but for metal I will look for a spray primer suitable for shiny metal surfaces like those used on car industry.
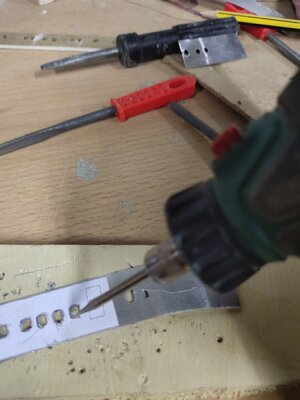
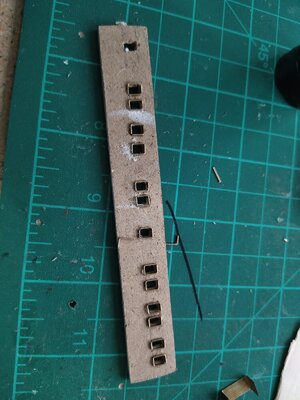
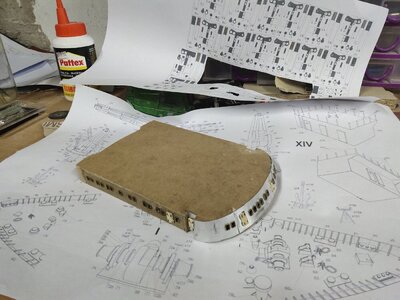


I have been busy these days although i havent post. I make details of the superstructure mostly making the window frames. I used staples for this. After drilling the metal or wood i glue them. Each frame consisted of 2 L shape pieces. I did many test fittings to get the desired effect. I started also doing some filiing and sanding, tomorrow may prime the metal surfaces and se how they will look.
Some quarantine has been lifted so i got the oportunity to grab some material which i used. Among them was balsa wood in 1.5, 2.0 and 2.5 mm thick. It is very easy woo to work with, like cutting paper but quite strong also. I used precision knife to make my cuts.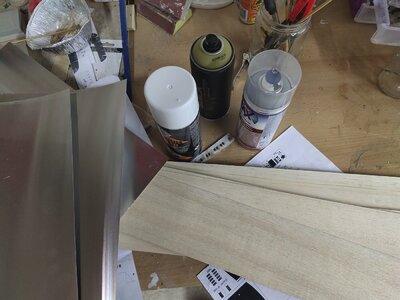
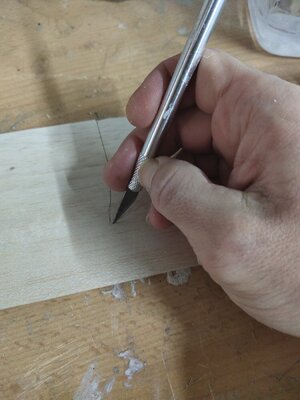
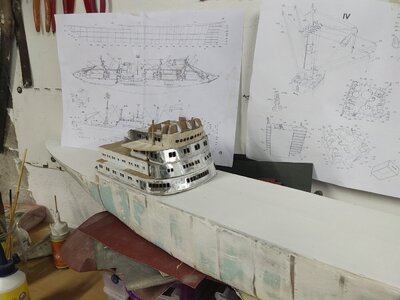
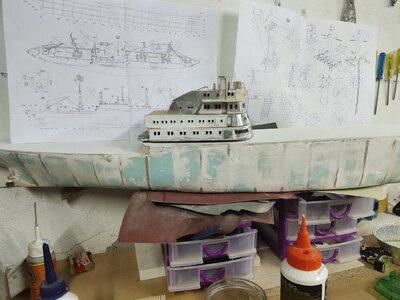
Some quarantine has been lifted so i got the oportunity to grab some material which i used. Among them was balsa wood in 1.5, 2.0 and 2.5 mm thick. It is very easy woo to work with, like cutting paper but quite strong also. I used precision knife to make my cuts.


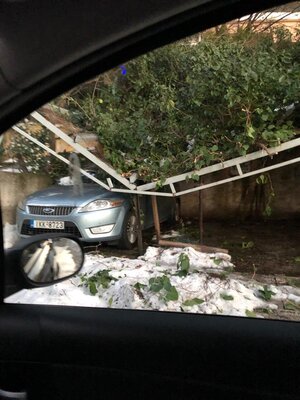
I ve been back to work. I haven't stop but some snow storm slowed me down. The worst in the last 30 years. First time without electricity for 30+ hours plus many damages and tree falls.
Anyway I kept working on the superstructure. Many layers of paint and primer. Because I'm not good in painting models. I can paint a house easier than a big model. So I have to try harder. I have finished 70% of the painting of the accommodation, only details left but these are time consuming.
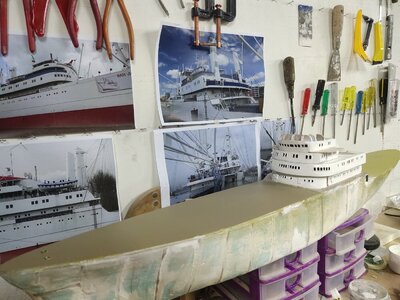
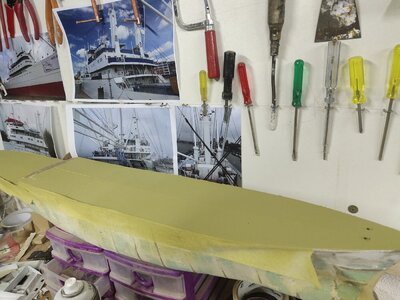
I have painted the deck but found a more precise green gray color which I ordered already so it will be resprayed. Finally I hung some pics of the real ship to get more inspiration.

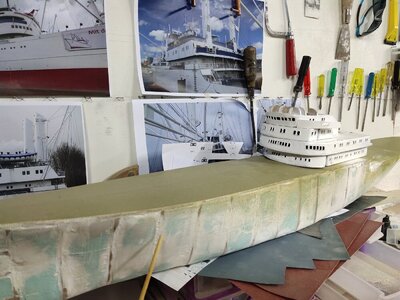
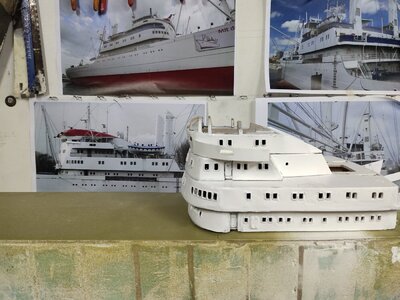
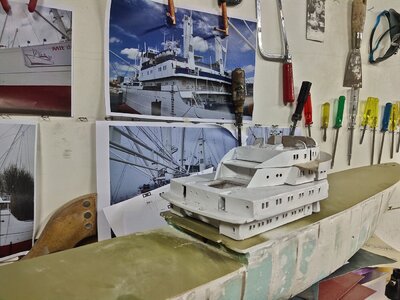


after doing some work on the superstructure i got the color i wanted for the deck. Since it took me too weeks i decided meantime to proceed with some work on the rear lower deck. i made firestations, doors and added some pipes with red valves that was on the paper model so i made them myself as i show them on the real pic.
Some problem occured, the 2.5 mm wood used for rear deck was too thick reducing the deck height so i had to readjust the things. Another leson learnt when transfering a paper model to wood. The section was finished, only some detail paintwork left and ladders to be added later.
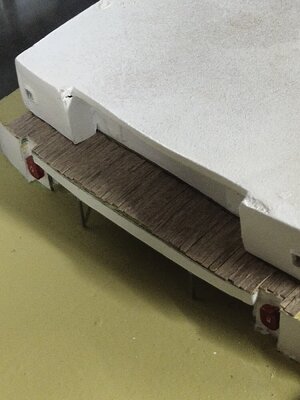
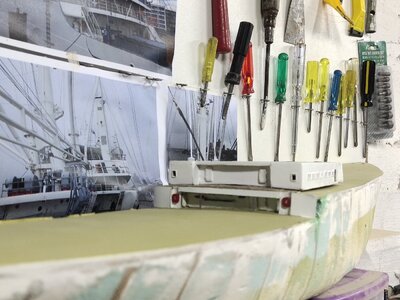
After painting the deck i decided to work with the area around the base deck. In the real ship this is a wood area. Apart from plenty of rigging this ship has also wooden areas on accomodation decks.
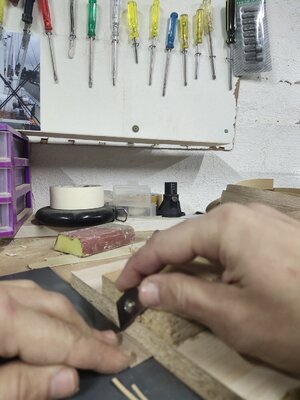
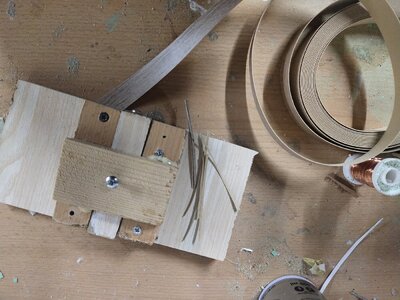
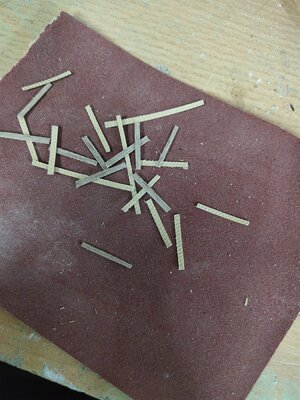
To make the planks, i made a straight line cutter i ve seen on youtube and i cut stripes aprox. 1.5 mm wide, then sanded them down to 1.2mm. I put the planks one by one. The longer the stripes the more the useful the tool is. Tomorrow i finish the detailed paintwork and i will start work back at the hull.


Last edited:
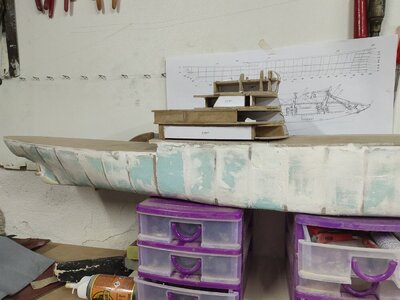
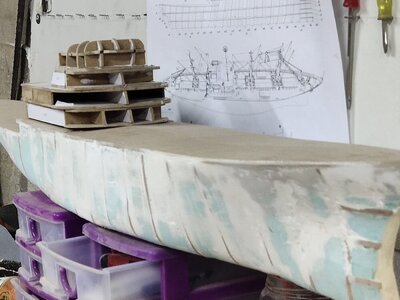
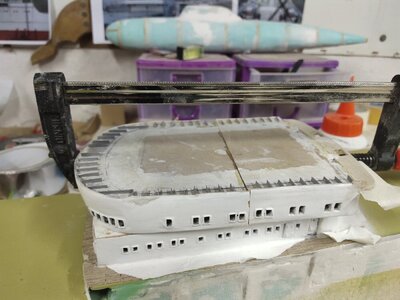
Another painful season is over. I fitted the first part of the superstructure on the deck using putty to eliminate the gap especially at the sides, cause of the inclination I created. Although tried not to mess with the tiny wood planks that was impossible so some had to be replaced.
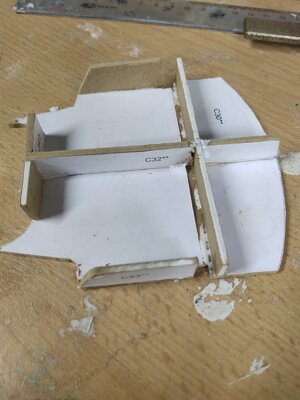
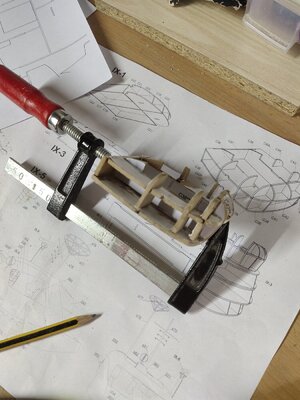
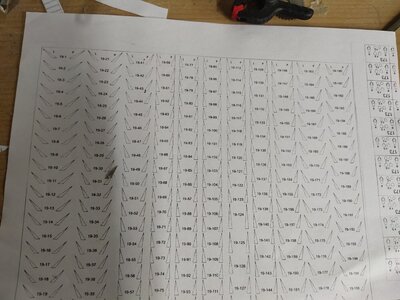
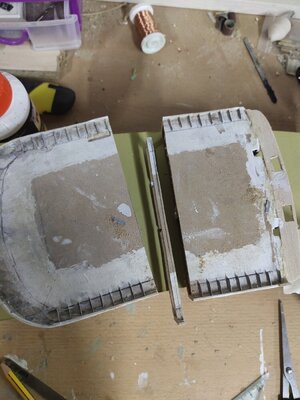
Then I took the upper, larger deck did some paintwork, turned it upside down and start putting the supporting frames about 80 pieces. These were to fit precisely with the roof of the glued lower piece. It took me more than a week to finish, even some pieces are not fitted perfectly but can't be seen unless turn the ship upside down.
Then disaster strike. While matching the ends of the 2 deck pieces, I notice that in front, the upper part was longer, as it should be. But quite long at least half inch longer. I matched it with the plans but found no mistake. Spend an evening trying to find what went wrong: It was the forward main deck piece that had been cut about 1 cm shorter at its end.
Removing the deck was no way an option. Extenting it would require to remove some parts and glue them again or making new ones. One or two evenings of work. I decided instead, to cut the rear end of the longer second piece(balcony) , make a bit shorter , replank it and glue it.
It took me an hour. However a few millimeters shorter, wasn't short enough. Front side was still way too extended from the lower face part. So I came up with the idea I hated most, the operation. Part would be cut in two, 1 thin slice would be removed, then glue them back. If fitting wasn't perfect I would have to make the whole part again.
However using my table saw, I cut it totally straight and manage to reglue it with little effort and paintwork.
I finish the fitting, gluing wooden doors and fire stations. Ladders and rails will be added later of course as well as some small corrections after I finish the other two remaining smaller superstructure parts.
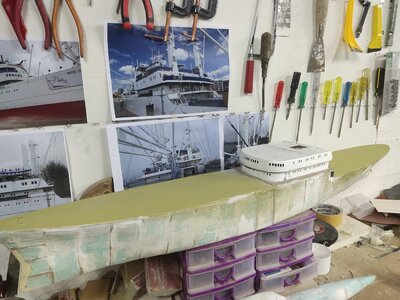
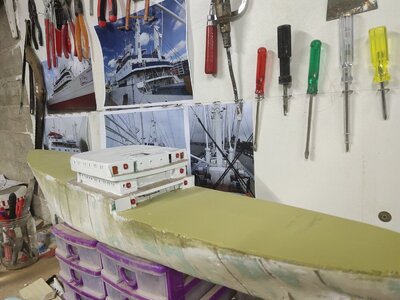
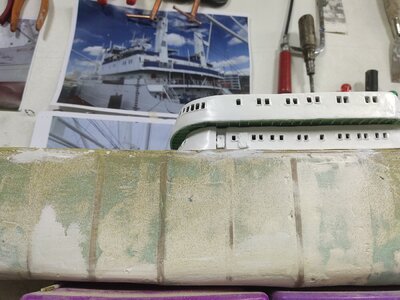
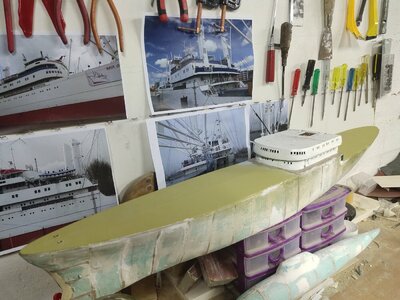


"Repeat is the mother of knowledge" according to Ancient Greeks. And i 've been doing just that.
Although some details still need correction i decided to take a few shots of my progress. The upper deck planking finished using many dozens of wood films 2cm X 1 mm each, need only to fill in some gaps. I also finished the pool and im satisfied as i transfered a good amount of detail from the original, at least more than the most models available on the market.
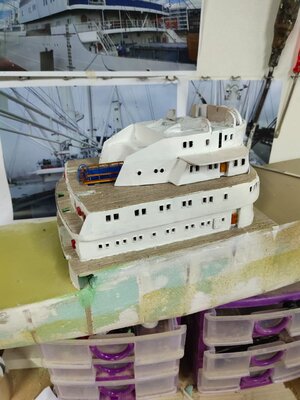
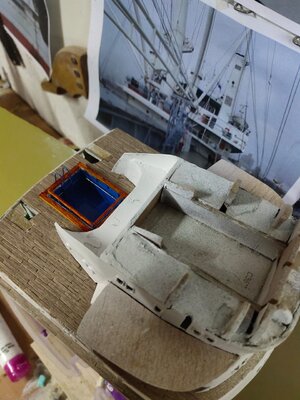
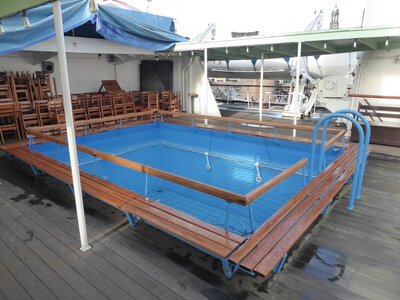
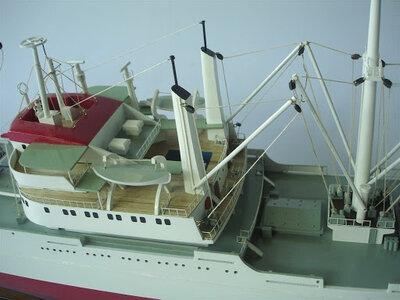
Although some details still need correction i decided to take a few shots of my progress. The upper deck planking finished using many dozens of wood films 2cm X 1 mm each, need only to fill in some gaps. I also finished the pool and im satisfied as i transfered a good amount of detail from the original, at least more than the most models available on the market.


