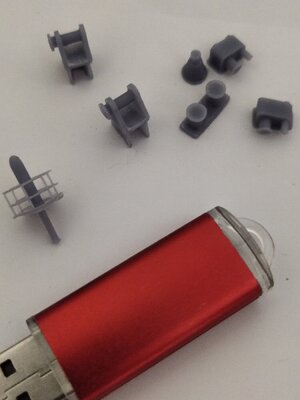
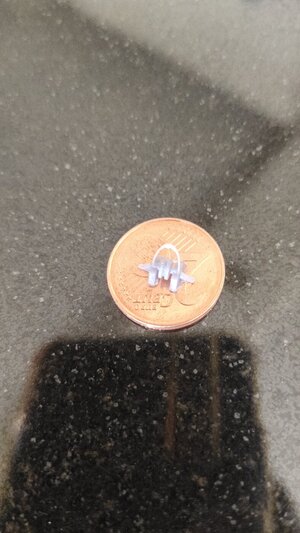
Cap San Diego 1/160

I read all pages and not to the end did a realize you are starting over again. However your story is good and I am getting excited about building this beautiful ship for my model railroad layout. It will be a big model at 1:48. I have the room for it and as soon as I get off my cruise will be starting. My biggest hurdle is finding the drawings. So far my emails to several suppliers have remained unanswered. One advantage I have is a laser cutter and a 3D printer.
If anyone can tell me about where to find the drawings, please let me know.
Jay Beckham, USA, state of West Virginia about 100 miles west of Washington, DC.
Yes I restarted and I barely quited the 3rd restart. I will explain it later.
On 1/48 that would be a fantastic built. Why not ordering the plans from Germany? I think its easy to get I only suggest to use translator and quote on German. I got a quick response from here
I also have dozens of close pics collected. I also have an open ticket to Hamburg so maybe in the near future i will have my own photos and videos.
 
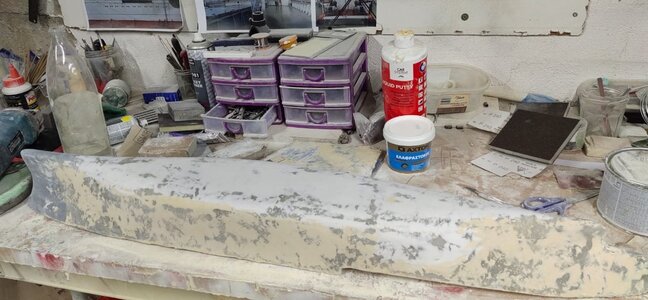
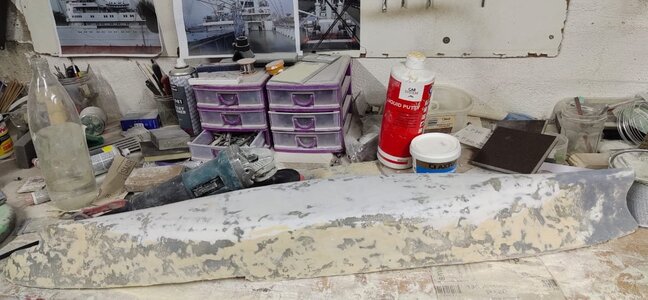
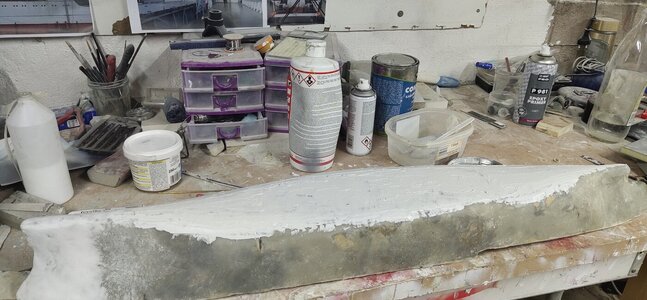
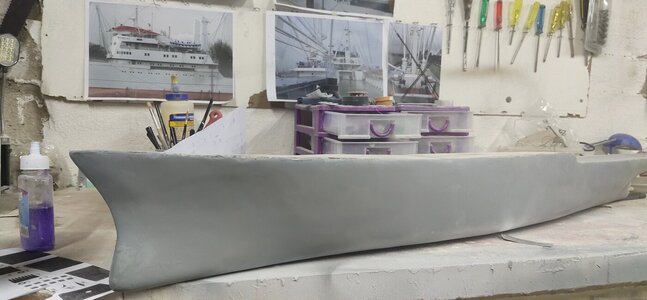
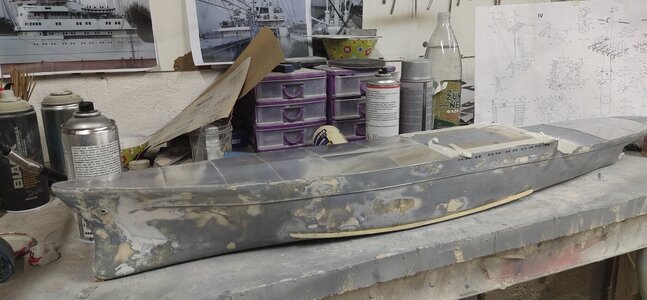
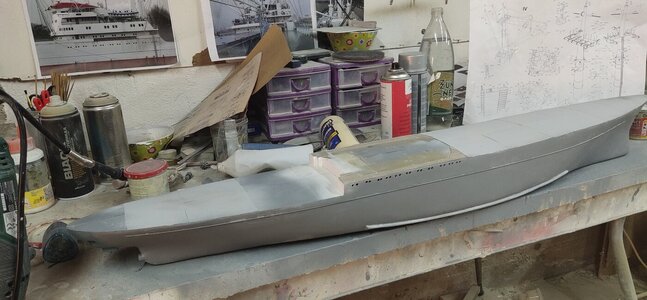
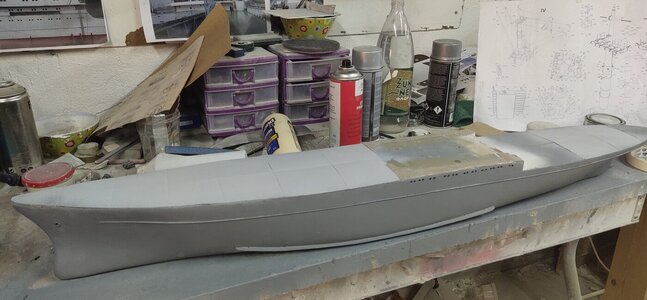
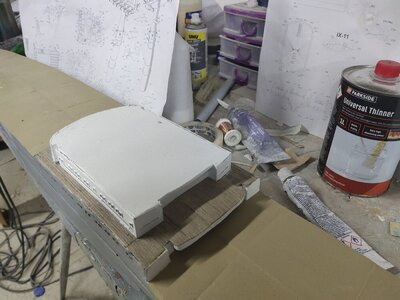
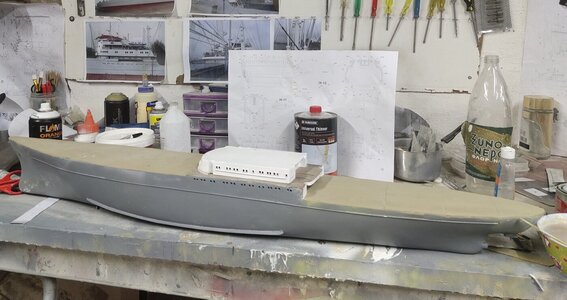
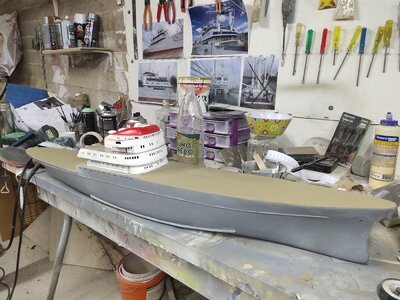
Ι removed the hull from the base and cut the excess material around. Now its time to work on the hull. I research about what material to use then i found a meterial called micro bubbles . this mixed with polyester would make a soft layer of filler similar to car body filler but easier to sand. The bubbles were very difficult to find and pricey.


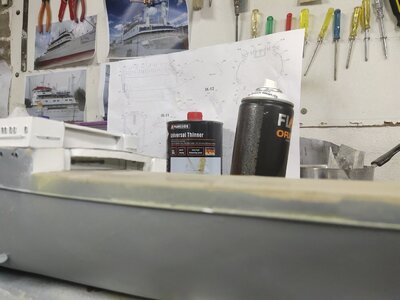
I coated with another resin the hull and water sanded it with 400 grit paper on electric sander. Then i put a thin coat of car body filler spreaded with my finger. For the sides i use liquid body filler (light brown) and for the bow i used a basic layer of lightweight spakle then glazing putty on top for smooth finish. I dry sanded the surfaces initialy by electric tool then by hand. Overall about 30 minutes. The body show no signs of fatigue and it seemed like it had the required strength while weight increased slightly. I will cover with filling primer later and get to the final details. I think hull now will be in shape in a quite shorter time than before
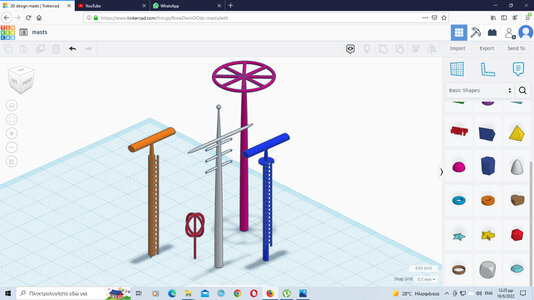
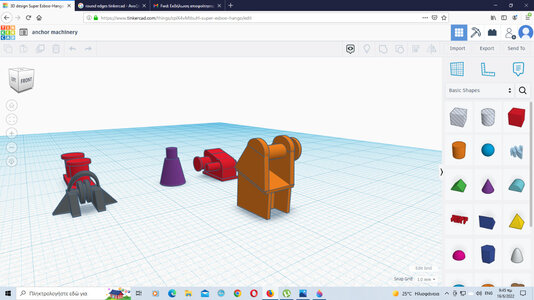
1.jpg2.jpg
 
I finished yesterday the first stage of sanding. Today I done the 2nd stage, applying filler and hand sanding locally and repeat.


The 3rd stage left now: applying glazing putty in smaller areas and spots. This will be done in daylight out of the basement when the weather will allow it. In sunlight every bump and imperfections will be revealed.


The fiberglass method is messy but I think reduces the working time. And since I'm into modern ships I may follow the mould - fiberglass method for my future builts. Another reason is the materials. Polyester and glass mat are easier to find than modelling wood and comes at reasonable cost.

 
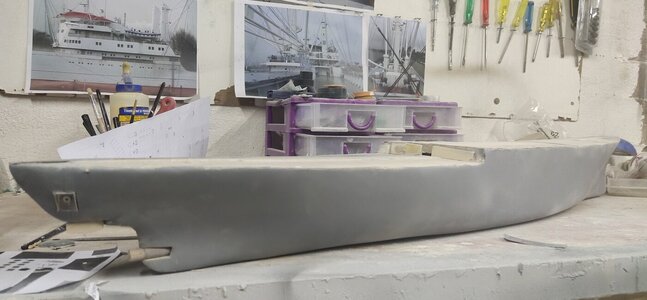
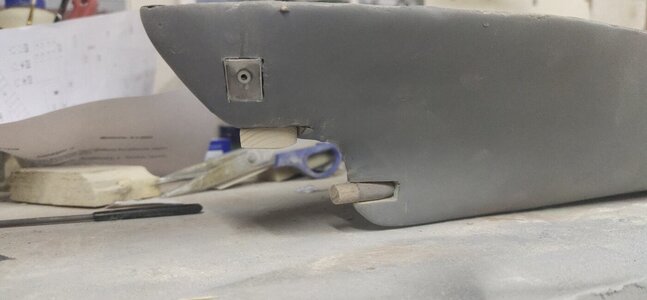
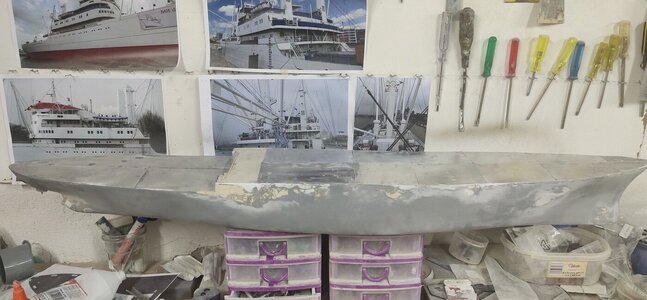
So after some weeks of struggling with the hull I managed to take it to the desired level. I will polish it with 600 grit paper tomorrow. There's work to be done on the joint with the deck but I also have to add the deck frame with supporters there so I will deal with it later. I did though some -off hull- work after long time. I added the propeler base , rudder base and test fitted the box in the bow which I don't know what it stands for, maybe for a third anchor. It wasn't great progress but it was pleased that I switched back to creation for a while.

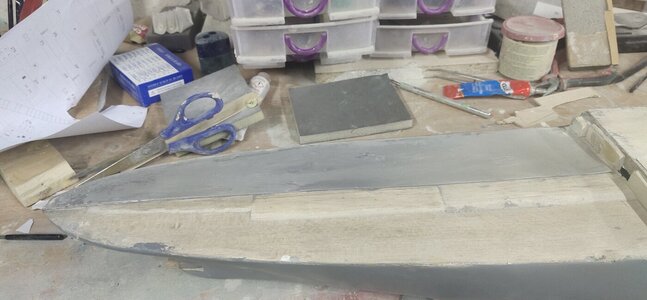
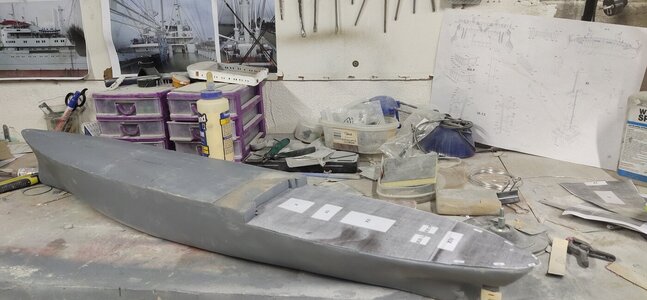
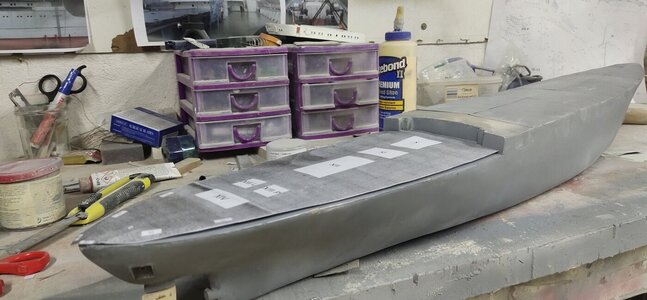
Last thing, I need to strengthen the deck by adding aluminum sheets. To give also the desired pitch I put underneath some balsa pieces. At the deck centerline they are 1mm thick trimmed down to sharp edges towards ship's sides. Hope you got my point.
IMG_20220203_170147.jpgIMG_20220203_170101.jpgIMG_20220203_170316.jpgIMG_20220203_170234.jpg
 
I finished the decks, have them covered them with aluminum sheet 0.10mm thick. several pieces were being used. I will fill in some putty and try to simulate the soldering effect between deck pieces. If not feel happy after paint then I will an extra one piece layer. I just need to find a few long ones somehow, about 50 cm each.

Some work on hull has need done also especially at deck-hull join line.IMG_20220212_115710.jpgIMG_20220212_155049.jpgIMG_20220212_155122.jpg
 
I keep working following the rule for scratch build rookies. Two steps forward, 1,5 steps behind.

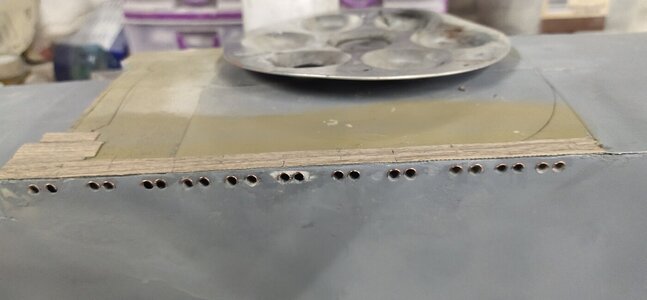
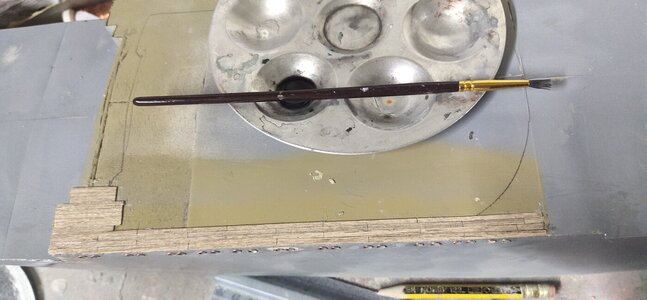
Even I used a mask, It took me several attempts to open portholes in correct alignment. Then I installed the frames over them.

For deck planking I found an easier way. I cut a long stripe veneer and glued. Then cut it vertically every one inch. I repeat the process. Finally I used black wash to emphasize cuts and cleaned the excess wash.


IMG_20220217_204224.jpgIMG_20220217_194153.jpg
 
Keeping working following strictly the 2;1,5 rule.

The mail deck woodwork is done. I added a second layer of aluminum to eliminate bumps and gaps. Just to let you know aluminum has gone 30% up, not only gas. The lower section between middle and stern need more strength to repair the sagging effect. You can see the gap in the previous post, now looks much better. Lots of filling, sanding , priming etc.

The worst was fitting the bilge keels. I scratched them using 2.5 mm balsa then layered with wood hardener so won't brake during working process.

Several attempts made to glue them. A strong silicone based glue was used to stick the 1mm rod across the hull. But was hard to clean up the leftovers without a diluter.

I managed to glue the bilge keels with CA but only step by step piece by piece. I run over titebond glue to fill gaps and strengthen them. Sand and prime. Tomorrow will look for micro works to be done.


IMG_20220309_173956.jpgIMG_20220309_175032.jpgIMG_20220309_175237.jpg
 
Step by step I am getting the impression, that this hull will be really good Thumbsup
 
i have finished planking the main deck. Then i added the lower accomodation. I added some details like handrails but not doors and firestations, i will do this prior to completion.
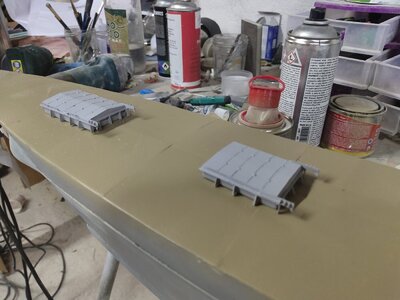
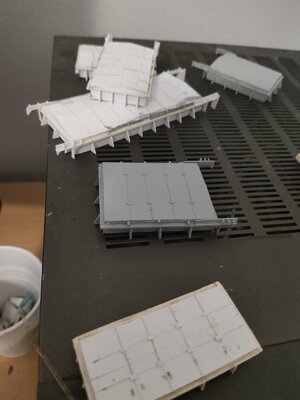
I also scratchbuilt and installed rear main deck extensions with supports, roof pipping, doors and other details. Took a close pic but not much detail is visible. I also gave a first coat of color to main deck. Working on perfecting the hull is still going on
IMG_20220403_184454.jpgIMG_20220403_184814.jpg

IMG_20220403_185254.jpg
 
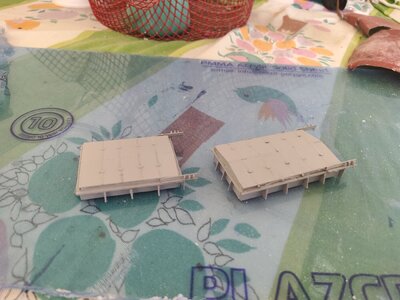
was eager to post this weekend so spend most of the time working. Upper deck was restarted except from the front part which was cut from the old part and attached to the new one.

Again the deck proved too long. That means there is an obvious error on plans. So I cut the piece in half, removed about a 1,5 cm long section and joined the remaining sections together. Seems I'm good on this task.

Maybe I should try lengthen/shorten a hull in the future lol.

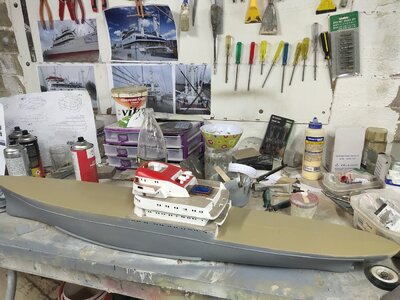
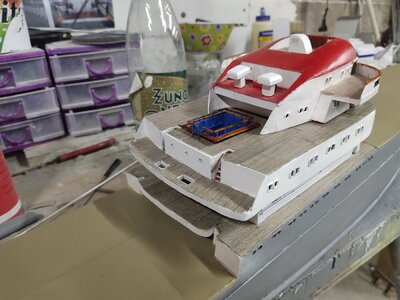
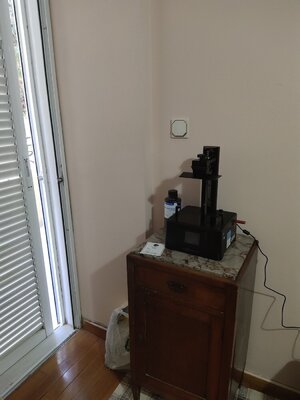
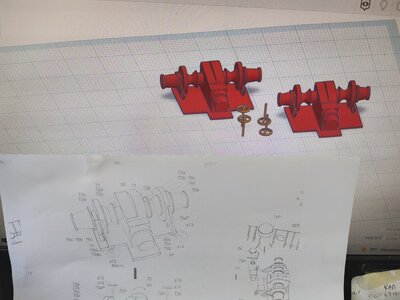
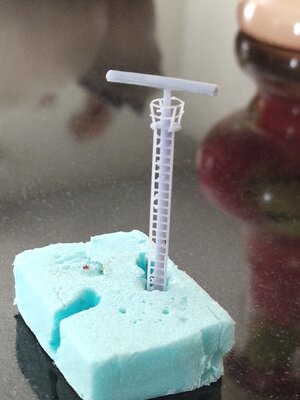
After rebuilding the upper deck I have restarted the whole project by 90%. I need to make some improvement and fitting corrections but I wanted to shoot it today. It seems the model its getting in shape. More micro work will be involved in the future and the progress will be slower and painful. Thus I got a new friend.
IMG_20220515_184324.jpgIMG_20220515_184021.jpgIMG_20220515_183509.jpgIMG_20220515_183423.jpgIMG_20220515_160709.jpg
 
I'm going to make my first scratch project after months of research. Not sure if this should be posted here as i won't use plans exactly but a model. The problem is that the model is on paper so must be copied on wood. But it won't be a wooden model either as most probably other materials will be used.

Cap San Diego was a hybrid cargo and liner launched in 1961. The "white swan" as was nicknamed is a 159 m, 10000 dwt ship which ran a regular schedule between Germany and South America, completing 120 round trips until 1981. After being sold and running under different names and under Spanish flag and also flags of convenience as a tramp trader, the run-down ship was scheduled for scrapping in 1986, when She was bought by the city of Hamburg
Hallo @mikegr
we wish you all the BEST and a HAPPY BIRTHDAY
Birthday-Cake
 
Back
Top