Bell tower, Stern decoration & woodcarving
Hello my friends,
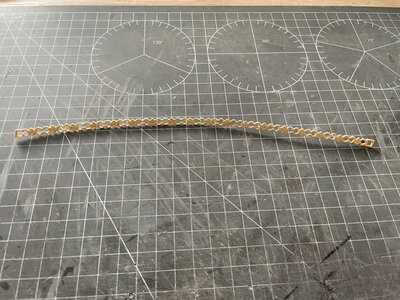
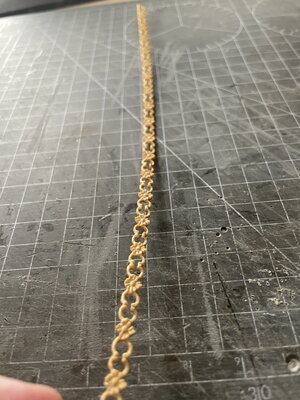
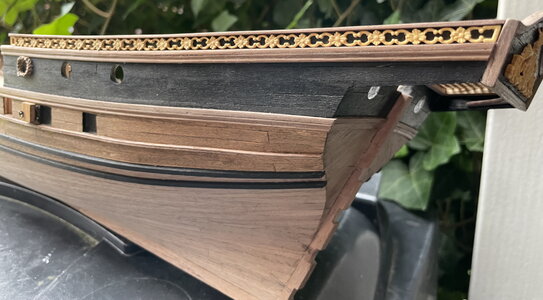
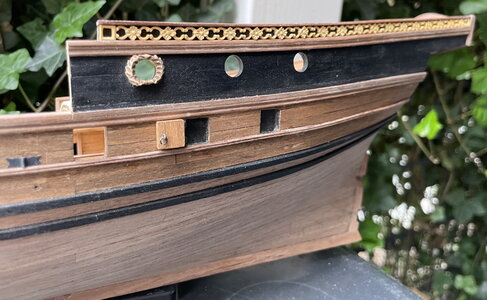
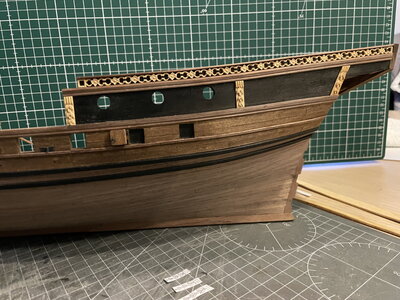
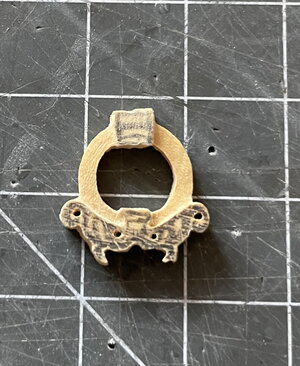
It's been a while since my last update., but I like to share my progress so far. This update is about the stern, decorations and finally rebuilding the upper part of the stern. Before we're going to start with the stern, first I made some progress on the bell tower which I made out of walnut.
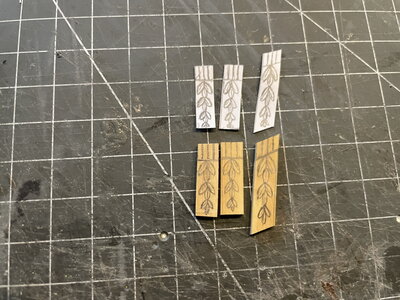
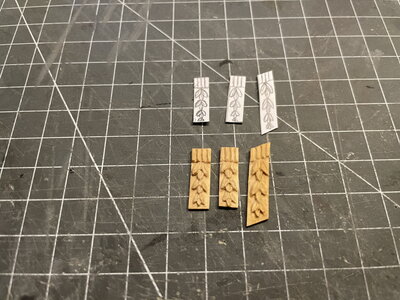
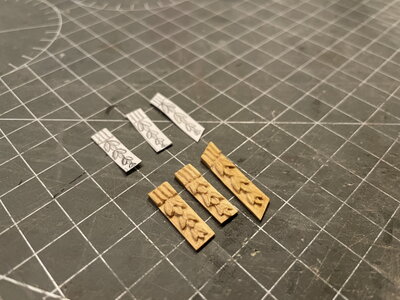
View attachment 288691
View attachment 288692
View attachment 288699
View attachment 288700
So, eventually I had to demolish the stern of the ship a bit. I needed to remove the upper part to completely remodel it.
I had some time to figure it out and now I have to do it. It wasn't an easy task and let me show you the progress....
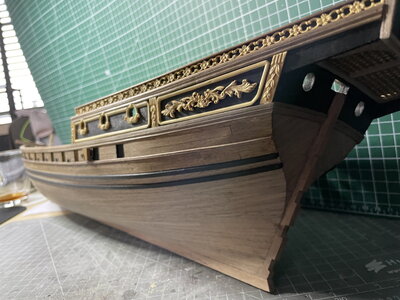
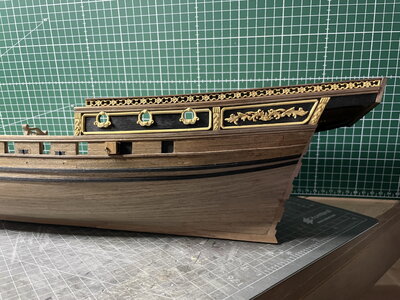
After the upper back plate of the stern was removed, I covered the outward facing part with walnut veneer. Second was to make some profile strips out of walnut. I used a profile scraper to do the job. After this was done, I assembled the parts and it was finished however.....
View attachment 288702
View attachment 288701
View attachment 288703
View attachment 288704
This time I made a mistake. The part is too high. I have to recut everything, and to re-assemble.
View attachment 288705
Ah well, it kept me awake for one night. Nothing is worse when you put blood, sweat and tears into the fabrication of a part, but the take it all apart due to a miscalculation. Sh*t happens they say, so I needed to fix it, do the job all over and live with the consequences... lol

So now my frame is finished to replace it on the ship again....
View attachment 288706
View attachment 288707
See how the profile follows the boards instead of placed on top of the boards.

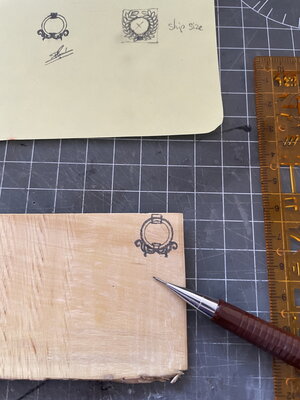
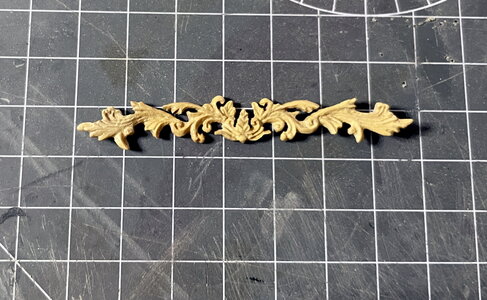
Next step is to start with some woodcarving. I did some carving in the past with my Pfeill tools. I just needed a design and I chose a Baroque theme with Acanthus leaves. After I made the drawing, I needed it to transfer it onto the wood. I use real boxwood for this matter. The carving is very small and has a dimension of 60x25mm.
View attachment 288693
View attachment 288694
When been transferred onto the wood, I use a scroll saw to saw out the basic shape / outline of the carving.
View attachment 288695
Time to start, which I do in parts. So I start with the flower on top...
View attachment 288696
Then one of the sides....
View attachment 288697
Other side as well....
View attachment 288698
All that is left is the center part....but this will have to wait until sunday...
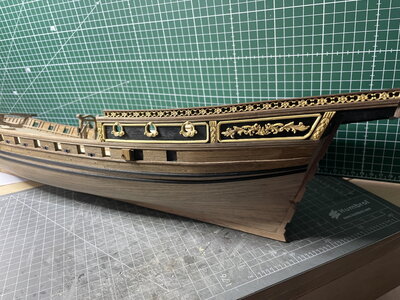
Let's have a sneak-peak how this will gonna look onto the ship shall we?? I'm curious, can't wait....
View attachment 288708
So, the carving will be finished hopefully this weekend and I can show the full details. Until then, thank you for alle the likes and comments.
See you soon,
Pter


