THANKS Jim, I have a couple of more questions if this is clogging your build can use PMs, let me know,,,I have chose the OTTO FRIE CO to order the BARRETTE FILES, ALSO THELINECO NEUTRAL PH ADHESIVE where can I order this and also RAPID FUSE CA, THANKS AGAIN BIG, BIG HELP TO ME.Don
-

Win a Free Custom Engraved Brass Coin!!!
As a way to introduce our brass coins to the community, we will raffle off a free coin during the month of August. Follow link ABOVE for instructions for entering.
-

PRE-ORDER SHIPS IN SCALE TODAY!
The beloved Ships in Scale Magazine is back and charting a new course for 2026!
Discover new skills, new techniques, and new inspirations in every issue.
NOTE THAT OUR FIRST ISSUE WILL BE JAN/FEB 2026
You are using an out of date browser. It may not display this or other websites correctly.
You should upgrade or use an alternative browser.
You should upgrade or use an alternative browser.
Charles Royal Yacht, 1674, Scale 1:64, by Woody Joe (Japan)
Hi @donfarr It is no way cloggingI have a couple of more questions if this is clogging your build can use PMs, let me know
Back to your questions. The Neutral Ph Adhesive by Lineco can be found in any Art and Crafts store. For example, in the US you can buy it in Walmart or BLICK
or Amazon, Rapid fuse by DAP I bought in our local hardware store @ Lowers. However, here is the page 'Where to buy it' https://www.dap.com/dap-products-ph/rapid-fuse-all-purpose-adhesive/
Happy gluing,
Thanks Jim, Don PS THIS IS WHAT A GREAT FORUM IS ALL ABOUT
- Joined
- Feb 28, 2017
- Messages
- 392
- Points
- 228

Greetings fellow shipmates! Thanks all for your visit and the kind comments!! Ok Today, I will continue my last week post with a brief update on Channel, chain plates and deadeyes. All of the Woodies supplied parts for channels, chain plates and deadeyes I opted out. Channels where white wood and would require to paint (not an option for Jim), deadeyes where plastic and chain plates were much simplified.
I thought, if there is a place for modifications – this should be the one for sure. Channels made out of Ebony. Chain plates links made out of brass wire soldered in a loop. Then it was formed as a plate and soldered. Using the jewelry wise I bent 45 degrees bolt hole and blackened all.
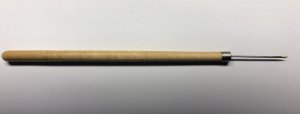
I saw in a number of models, were builders neglected to properly shape deadeyes and\or blocks holes. It is not that difficult, but makes rope flows naturally. I use one of these burs to shape the holes of deadeyes.
View attachment 68322View attachment 68323View attachment 68324View attachment 68326
View attachment 68327
To be continued... Thank you!!
Hi Jim
I just received my Burs today, thank you for the link.
Denis.
That's awesome!! Hope you will enjoy using them. 
Happy New Year mates! Whishing all the log readers health and happiness! Hopefully, this year we all have more time spending time in our shipyards.
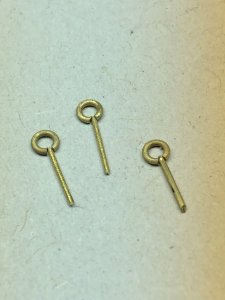
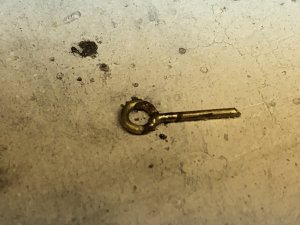
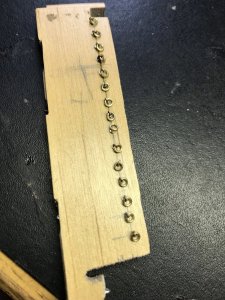
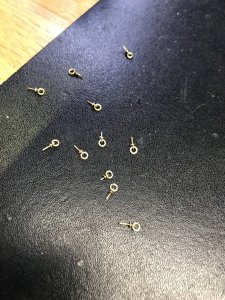
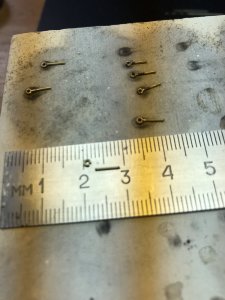
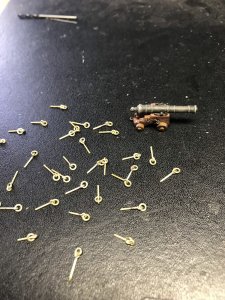
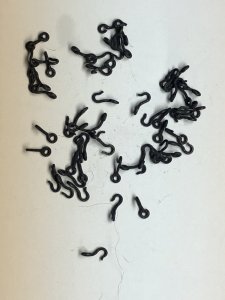
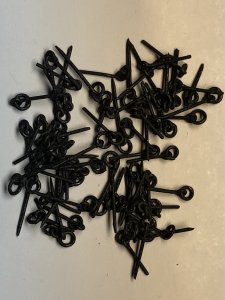
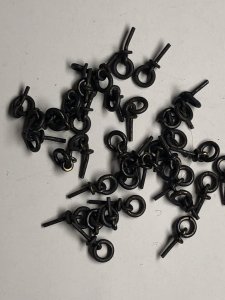
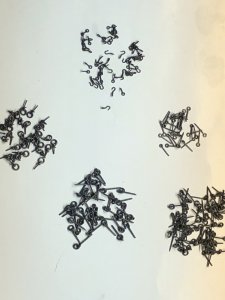
Thank you for all your like's and comments. I am very honored to know that you follow and appreciate my work!! Cannon and other ship fittings required different fasteners so today we will talk about various ring bolts, hooks and how I made them.
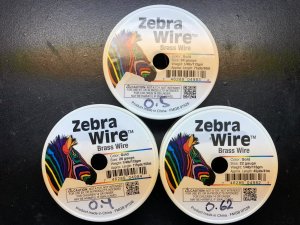
I like to use a brass wire as it can be easily blackened and widely available.
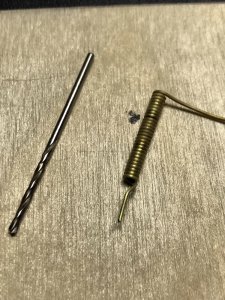
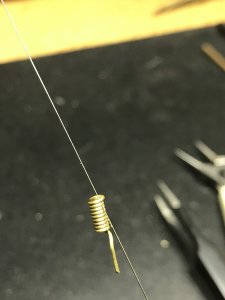
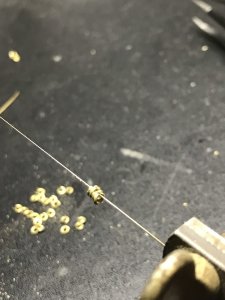
The first thing (and very important) we have to temper the wire. It must be soft enough to bend around the drill bit. I use my butane torch (described in earlier posts) to heat the fire until it gets orange, then leave it to cool down. The next step to make a coil. I use hand wise to hold one end of the wire and another end bends around the drill bit making a nice\tight coil. Once complete temper it again.
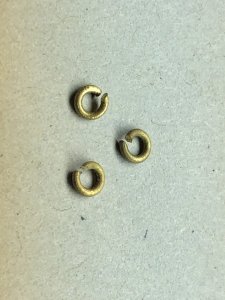
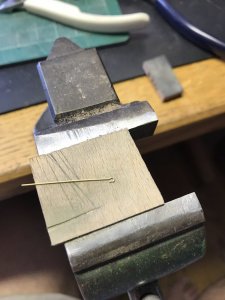
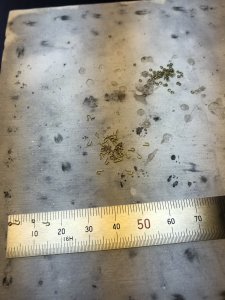
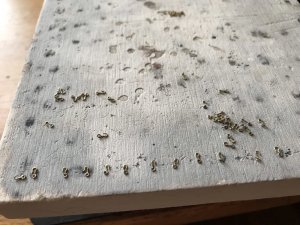
Using jewelry saw, I make a cut along the coil, separating few rings in time.
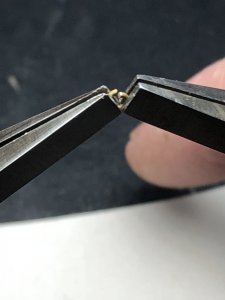
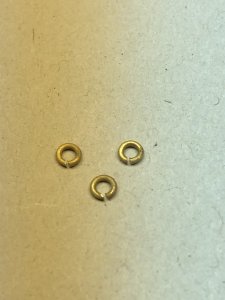
The next task is to straighten rings out. DO NOT put both ends together making a closed ring, just straighten, so they parallel.
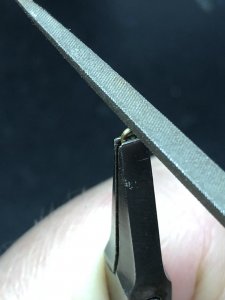
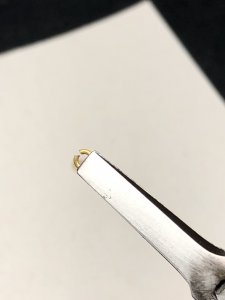
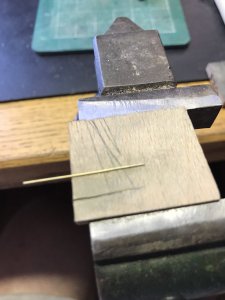
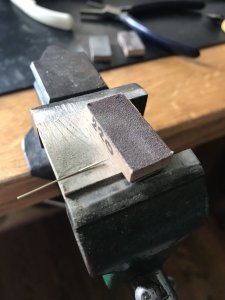
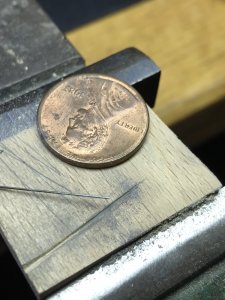
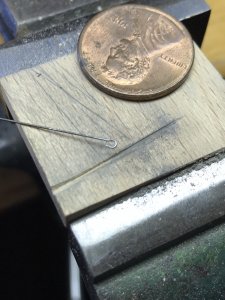
Then using a triangle needle file, in the opened area make a groove. It doesn't have to be deep, a few cust should suffice.
The next step is to cut legs. This process is super simple and will require cutters. Most of them will cut alredy with a triangle. If your cutters don't cut the triangle, then make one using a flat file.
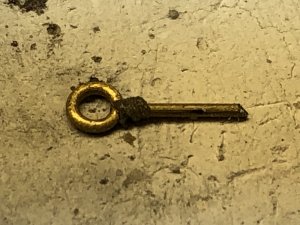
Lastly, we have to solder both pieces together. I use a small nub of soldering paste on the top of the leg and assemble it on the soldering board.
To be continued...
Last edited:
I shall continue...
Various hooks made pretty much the same way. The only difference is you have to bend the hook first before soldering to the ring. First prepping the wire: It must be tampered and tapered.
Using the round nose pliers form the hook of your choice. Cut proper length making triangle at the end. Solder the same way we did ring bolts.
The last step it to blackened all of the work.
That's it for today folks. The next post will be cannons.
Attachments
I'd like the idea of soldering instead of fully bending, you get a more realistic result. Great detailed work again jim.
I fully agree with Maarten - very good resultI'd like the idea of soldering instead of fully bending, you get a more realistic result. Great detailed work again jim.
Outstanding work Jim
AGREE WITH ALL< JUST SUPER WORK. Don
- Joined
- Jul 22, 2017
- Messages
- 331
- Points
- 268

Hello Jim,
I must confess, I usually don't follow kit logs but when I came across yours I could not help but follow. You have done an amazing job on your ship so far by altering many aspects if it and improving items that I believe most kits dump on you as a means of saving money. Your stern lights are 1,000 times better then the ones provided by the kit. They actually look like jewelry.
Just a recommendation for your next kit, you should add the term, "Bashed" in your title description in order to let people know that you will work on a kit but make improvements as you see fit. Sir, you have just opened my eyes to the possibilities kits may have. Will I ever buy another kit? Not really, once you come to the dark-side of scratch building you'll be lost forever.
Ray
All, I do not have enough words to express my gratitude for your interest in this log and nice comments. They are much appreciated for sure!
@ziled68 I have opened this building for all who may want to buy this kit in the future. Even we building models here, we all have different skills and experience. Some of us don't have the necessary tools as some necessary experience, while others tight on budget. Kits have come handy! Personally, I think kits, in general, is a great idea! They came with everything you need for a model to build and have flexibility where you can assemble "as is" orbash modify as you advance in your skills. But once you modify 90% of the kit, I think it is time moving to dark-side of scratch building 
In this log, I am trying to balance between what kit provide "as is" and what you can do to improve. I am hoping that someone will find it handy when building their models... I will be happy, then!! Will I ever buy another kit? Yes!! Why not! It is fun to assemble kit!
Thanks all of you again, and don't forget to stop by...cannons next!
@ziled68 I have opened this building for all who may want to buy this kit in the future. Even we building models here, we all have different skills and experience. Some of us don't have the necessary tools as some necessary experience, while others tight on budget. Kits have come handy! Personally, I think kits, in general, is a great idea! They came with everything you need for a model to build and have flexibility where you can assemble "as is" or
In this log, I am trying to balance between what kit provide "as is" and what you can do to improve. I am hoping that someone will find it handy when building their models... I will be happy, then!! Will I ever buy another kit? Yes!! Why not! It is fun to assemble kit!
Thanks all of you again, and don't forget to stop by...cannons next!
Last edited:


