Colonial Schooner Sultana

ok folks thats it for this week of building the Sultana. This coming week i will have all the gun posts and guns mounted and maybe the rudder.
 
good Saturday mornig fellow ship builders

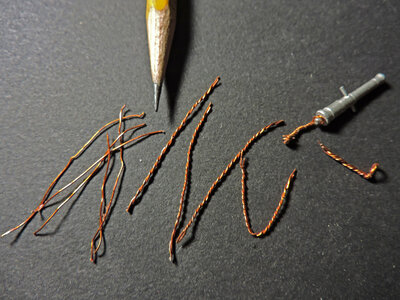
i left off with making the mouns for the swivel guns, this week i finished all the mounts and went on to make the handles for the swivel guns. Adter a bit of research i discovered there are so many different types of handles from metal to wood. So this is what i did first i had some very fine copper wire as you can see comparing the wire to the pencil it is very fine.

Using two strands i twisted them together, next taking the twisted strand i bent it in half

swivel gun13.jpg

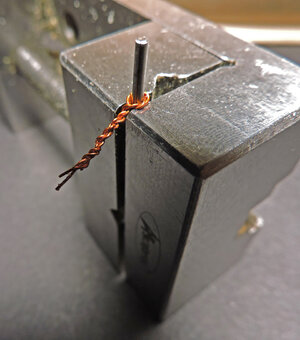
taking the strand i twisted it around a drill bit held in a vice then bent the loop at a 90 degree as you can see in the above photo.. Keep n mind you are looking very close at the handle. With the naked eye you do not see the twisting just a texture.

swivel gun14.jpg

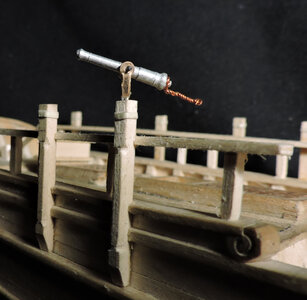
here we see up close a mounted swivel gun. The end of the copper twisted handle i took the ends and twisted them into a ball. This is a test to see how the guns will look. Before i do all the guns i will blacken them.

swivel gun15.jpg
 
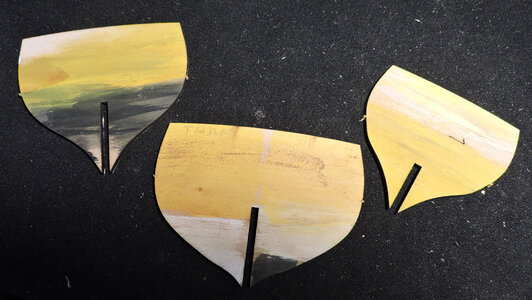
construction of the Sultana is finished so this week started out with testing different painting techniques. There is such a thing as out of scale painting where the paint is just to heavy looking which i am trying to avoid I am also testing different washes, i do not want a flat color i want some depth and tone like worn paint.

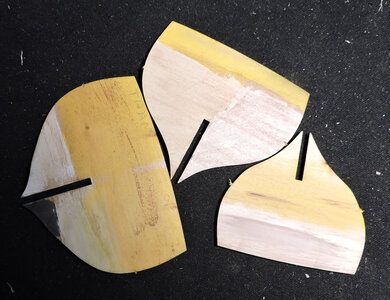
using some scrap basswood i find the Basswood is so soft it soakes up paint like a sponge. I could use a clear finish first but i think the acrylic paint deluted with water is acting more like a stain rather than paint on the surface.

FINISH5.jpgFINISH6.jpg
 
Hi Dave, did you use primer on the wood before painting the wood? Just a thought.
Mike
 
i tried one scrap piece with a primer and one with a spray on clear coat. The primer covered the grain pattern of the wood resulting in an opaque color, i was shooting for a translucent look so the wood grain showed throught. Next i used the clear spray coat to seal the wood. when i applied the acrylic color it sort of gave me more of a smeer look because the color did not soak in the wood.
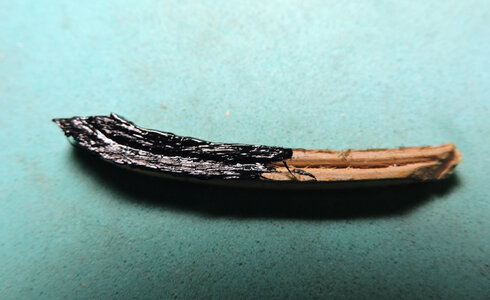
What i am trying to avoid is the paint on a piece of the bow railing that i ripped off painted with acrylic paint and i did not like the results at all

FINISH8.jpg

this is what i am trying not to do. When Acrylic is thinned down too much with water it soaks in really fast and difficult to control. i am thinking of using oil based paint that i can thin way down.

FINISH7.jpg
 
Last edited:
A translucent oil-based stain might be worth looking at.
 
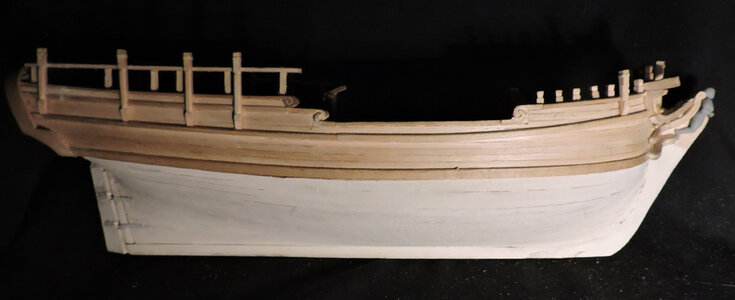
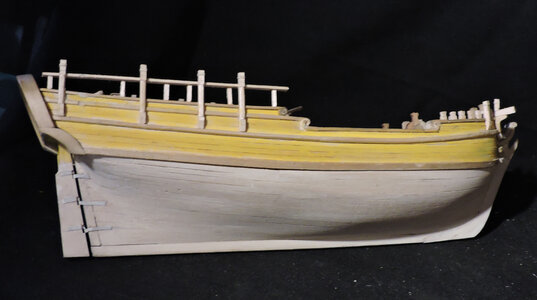
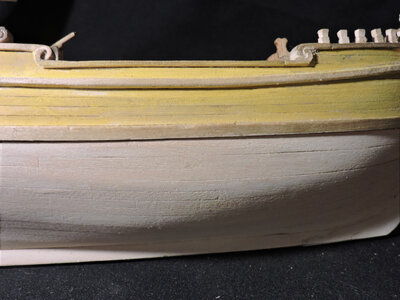
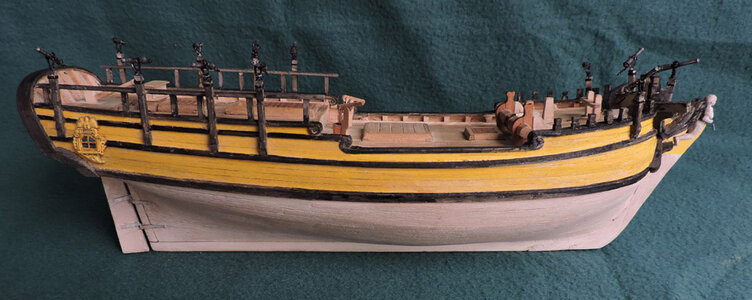
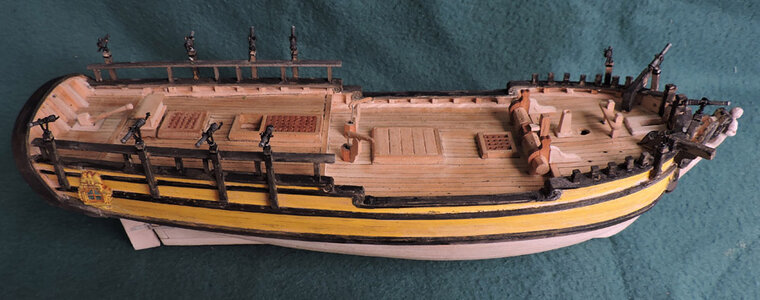
construction on the Sultana is done, at this point i can give the model a clear finish or paint it. You don't see that many wooden ship models painted could be builders do not want to cover the natural wood. I can understand the hesitation to cover a model in paint.

FINISH5.jpgFINISH6.jpg
 
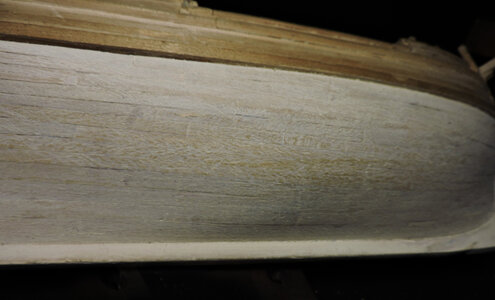
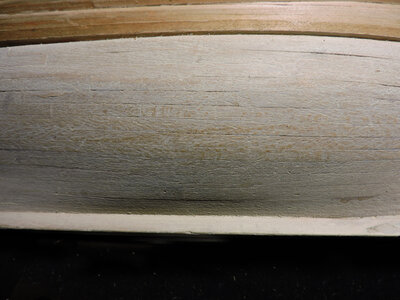
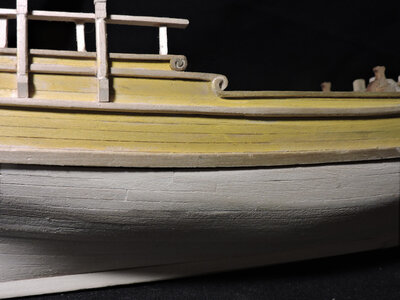
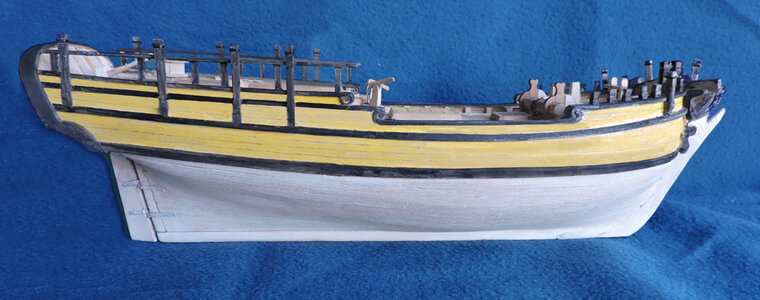
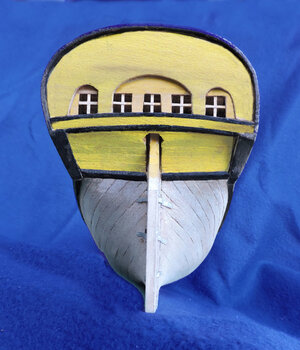
My approach to this is try and not cover finer details and the wood grain and texture. After several tries of different types of paint i settled on paint used in an air bruch it is very thin and soaked into the soft Basswood. starting with the whilt botton when you look at the model from 3 feet away you see the painted bottom.

FINISH7.jpg

As you get closed the paint is looking lighter and thinner and you can see the planking and a slight variation in color

FINISH8.jpg

up colse the paint is translucent and you can see through it to the wood grain underneath.

FINISH9.jpg
 
The idea i am looking for is at a distance you see a painted model that looks like a solid color but the closer you look the less paint you see

FINISH10.jpg

i am using a translucent paint for air brushes. When i use to paint cars and motorcycles i used what was called candy apple paint which you could see through

FINISH12.jpg

up close all the details are still visible showing the planking and wood texture

FINISH11.jpg
 
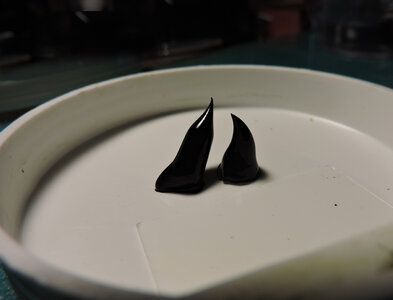
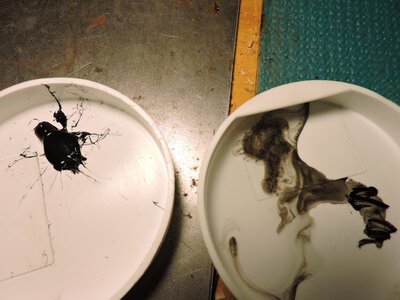
The black proved to be a little more difficult so i switched to using a opaque acrylic paint. A thin translucent air bruch paint was a little to thin and it had a tendency to quickly flow into the soft Basswood. Acrylic paint is as thick as toothpaste and much easier to control.

paint5.jpg

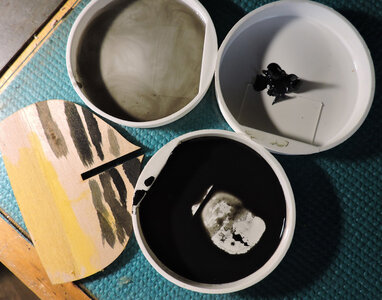
a squirt of paint in on dish and a puddle of water in another i am able to thin the paint to any shade from black to grays

paint6.jpg

before i apply any paint to the model i make a test stroke on scrap wood.

paint7.jpg

Why switch paints, why not just use the acrylic for the white and yellow? For one reason to thin the acrylic down enough to show the wood under the paint you needed a lot of water and the water was soaking in to fast and lifting the grain. Air brush paint was already very thin and translucent.
There was also a lot od area to cover and keeping it consistant was an issue.
 
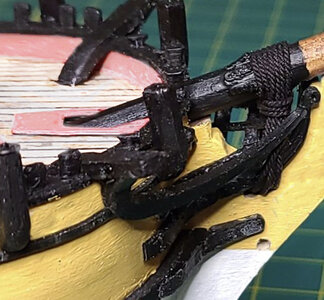
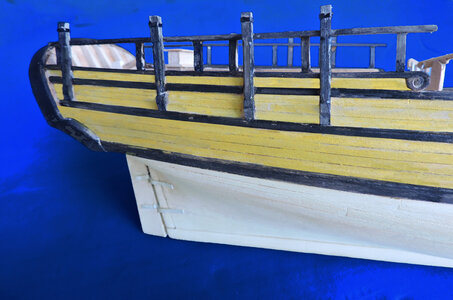
Same with the black at a 3 foot distance it looks black and solid

FINISH13.jpgFINISH14.jpg

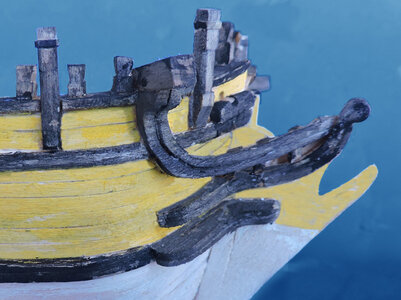
closer you get the less the black looks solid, because of direct lighting the black in the picture looks gray but in real life it is a dark charcoal color almost black but not quite.

FINISH15.jpg

getting even closer you begin to see a range of shades of black and grays and where the paint looks old and chipping off the wales. Once again the photography is not doing justice to the paint. The picture is very close up and under bright light so you are seeing much more contrast than you would be able to see with you eyes under normal lighting. But the black paint did not "cover" details or the wood grain.

FINISH16.jpg
 
This concludes the building of a prototype of the Sultans in 1:48 scale. The next step is to develope the kit itself based on the prototype model and drawings. As far as fittings in the kit, material list and methods are yet to be determined. That is to say if the kit will have a cast fitting set for items such as the windlass, hatches, pumps etc like the original kit or as done in the prototype build.

There is no need to create a rigging plan as the original Model Expo kit has one and there are several build logs on how to rig the model.

FINISH18.jpgFINISH17.jpg
 
Very impressive and a beautifully illustrated and described build. I have built all my ships' boats and ships out of basswood for the reasons you have given. I tend to use black cartridge paper for the caulking between the deck planks.

Mike
 
Very impressive and a beautifully illustrated and described build. I have built all my ships' boats and ships out of basswood for the reasons you have given. I tend to use black cartridge paper for the caulking between the deck planks.

Mike
Hello Mike, where do you find Black cartridge paper?
Thanks
Charles
 
where do you find Black cartridge paper?

Most stationers have sheets of stiff multicoloured paper for art work. I us an A4 black sheet for the caulking and a very pale grey A2 for the background of photos. The paper comes in various thicknesses so you can pick a suitable one depending on the scale of ship/boat that you're modelling.

Mike
 
Last edited:
Back
Top