-

Win a Free Custom Engraved Brass Coin!!!
As a way to introduce our brass coins to the community, we will raffle off a free coin during the month of August. Follow link ABOVE for instructions for entering.
-

PRE-ORDER SHIPS IN SCALE TODAY!
The beloved Ships in Scale Magazine is back and charting a new course for 2026!
Discover new skills, new techniques, and new inspirations in every issue.
NOTE THAT OUR FIRST ISSUE WILL BE JAN/FEB 2026
You are using an out of date browser. It may not display this or other websites correctly.
You should upgrade or use an alternative browser.
You should upgrade or use an alternative browser.
Columbus ships, Santa Maria and Pinta, kit by Amati... [COMPLETED BUILD]
- Thread starter moreplovac
- Start date
- Watchers 39
Thanks RDN1954Happy birthday!
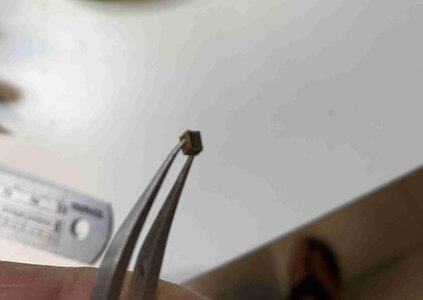
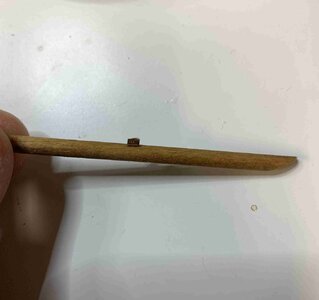
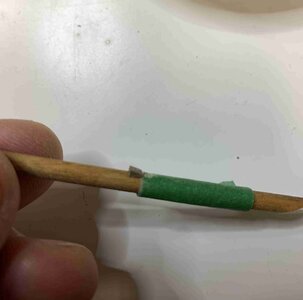
Work on masts and yards continues, this time I had to correct mainmast since topmast fall off from it, actually not completely because wooldings were there but still.. This time I used two 0.5mm pins and drilled thru both pieces, then glued them again and put pins in. Extra wire was sanded to the wood and wooldings applied again. Now won't go anywhere...
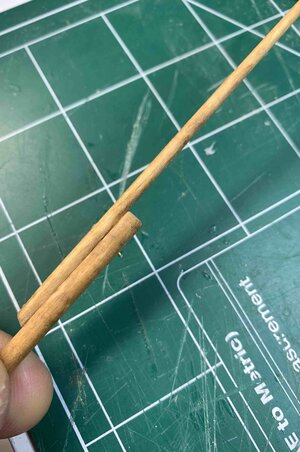
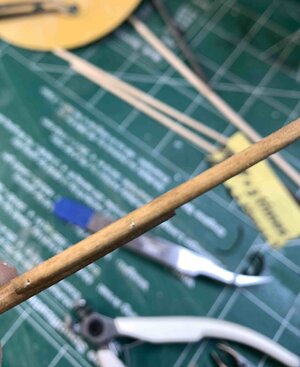
Work on yards continued with cutting the yard in 3/4 depth on wider end so the other part of a yard will fill in... I did not use milling machine but the good old fashion way..
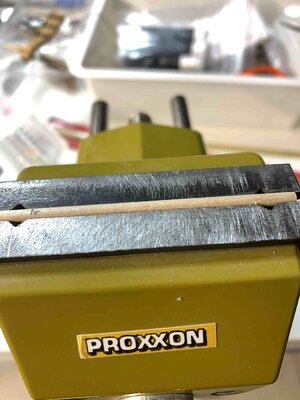
In the wise, following marked line, than with scalpel cut the excess wood. A little bit of sanding to make it perfect fit.
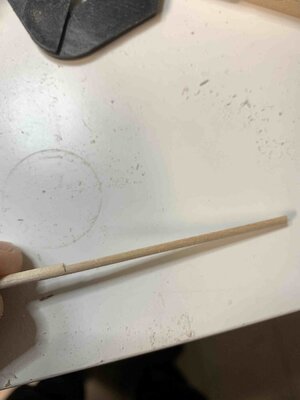
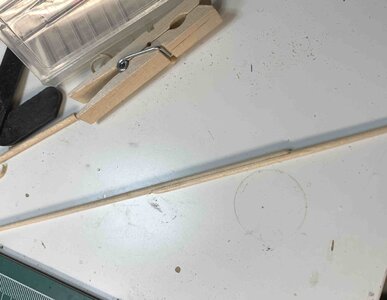
Glued together and left to dry..
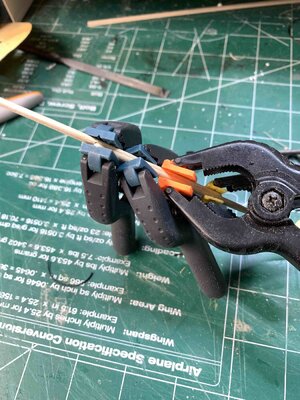
Wooldings were added next.
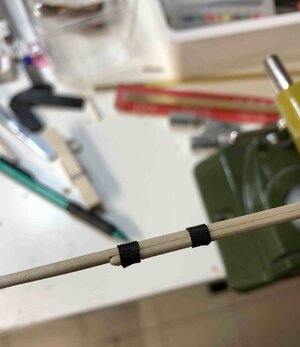
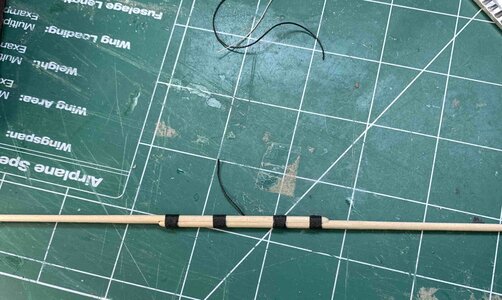
And all parts covered with golden oak stain and let to dry.
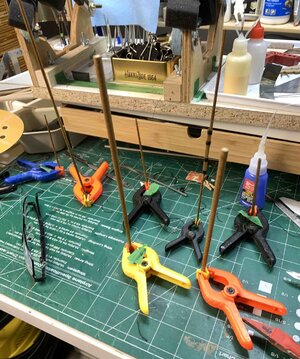
Happy modelling..


Work on yards continued with cutting the yard in 3/4 depth on wider end so the other part of a yard will fill in... I did not use milling machine but the good old fashion way..

In the wise, following marked line, than with scalpel cut the excess wood. A little bit of sanding to make it perfect fit.


Glued together and left to dry..

Wooldings were added next.


And all parts covered with golden oak stain and let to dry.

Happy modelling..
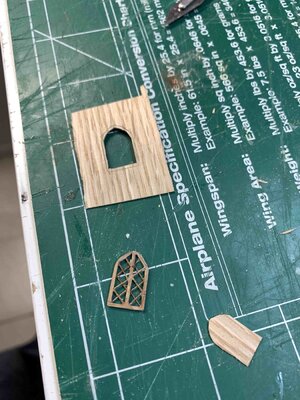
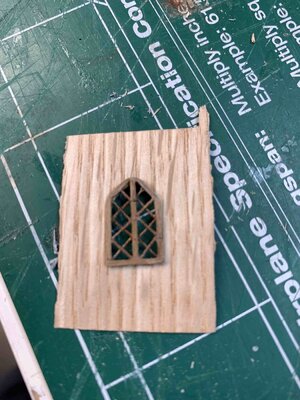
Then I worked on captain' cabin window. Some times ago I made windows using tiny pieces of wood so now it is the time to put them in. Since I was unable to make at such small scale a curved window top, have to find the way to attache them to the curve shape of the opening. I was thinking to sand the window frame to the curve shape but willl not look good. So I decided to cut a piece of veneer and tracing the window shape, open it so the window will rest of the veneer.
The trace lines were used to cut opening that is 1mm inward of the tracing lines, so the window will have some wood to rest on. Then the veneer was shaped in the shape of opening and the whole assembly was glued to the ship. But I had to remove the previous frame I planed to use; now it was just an extra wood thickness.
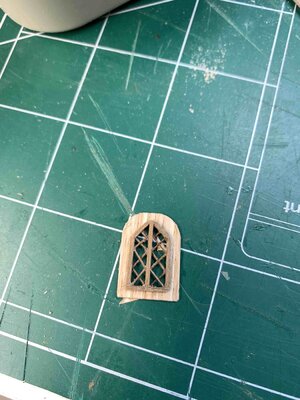
The first window is then copied to the second piece of veneer..
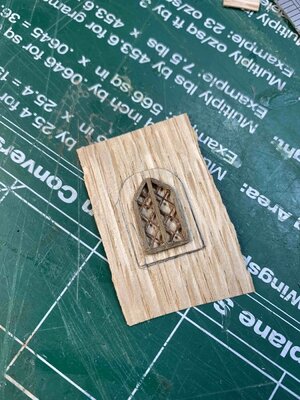
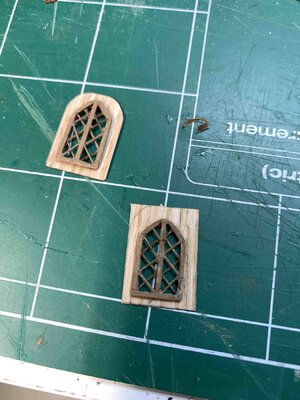
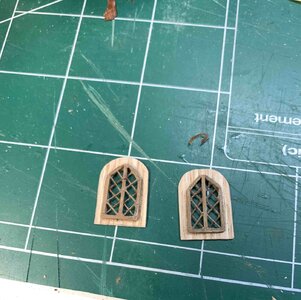
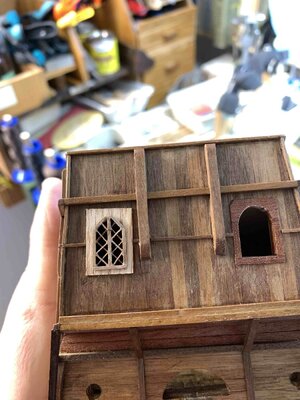
And attached on the ship, picture taken after the area was received a layer of golden oak stain to cover all sanding marks, left after previous window frame was removed (tiny cherry veneer frame).
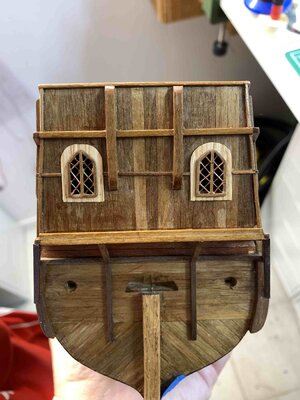
Then I worked on adding a topmast to the main and fore mast..
I left some extra length on the masts so I can carve a small dowel that will be used to attach connecting piece.
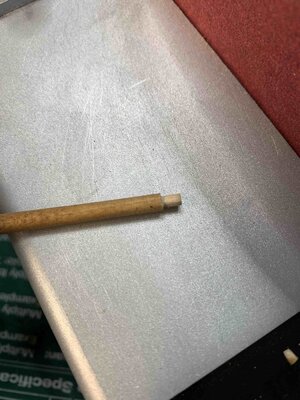
The connecting piece included in the kit was not quite fitting well, so I had to build two new pieces. Used some old dowel rod and attached it to the main mast (same process was done for fore mast).
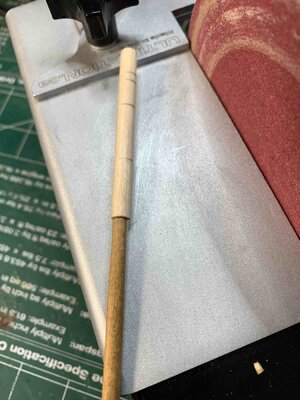
Cut to the length and carved it to the shape, using a sand stick.
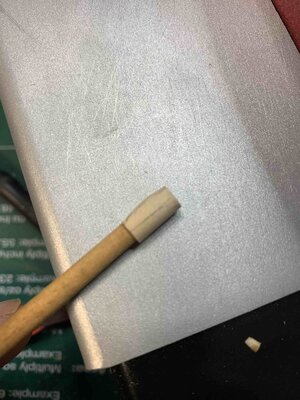
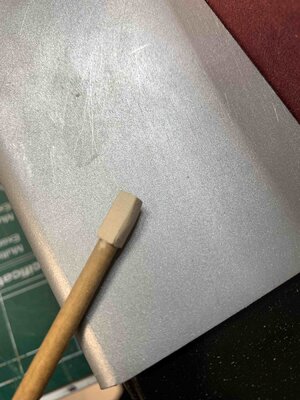
Then the unit was secured in the vise and a hole for topmast was drilled, using hand drill. For these details, that do require more controlled action I prefer to use hand powered drill.
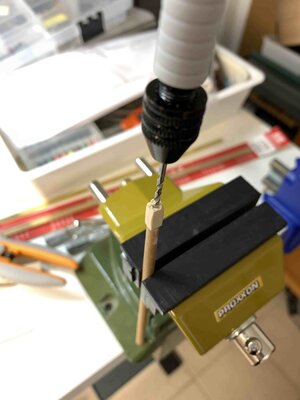
Then the topmast was inserted and secured with drop of glue.
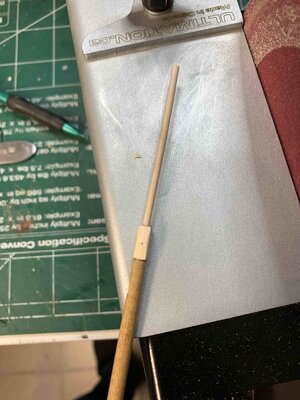
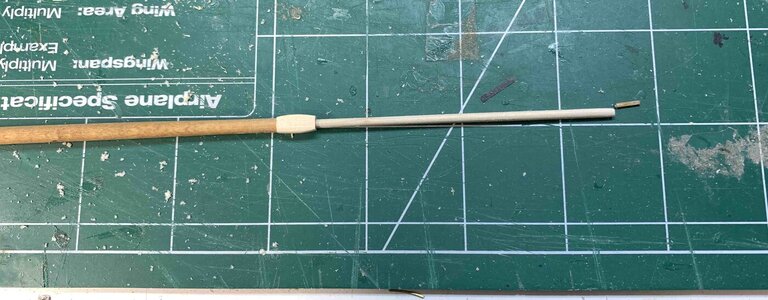
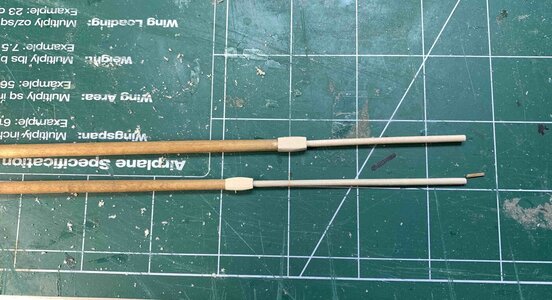
The top of the topmast was sanded to get 2mm diameter, once the top mast was attached to the mast(s).
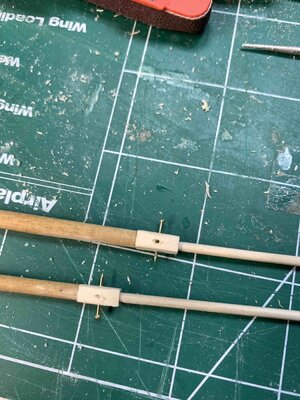
To simulate the "wheel" inside of the connecting piece, around which the rigging will run, I just drilled a 0.5mm hole and inserted the nail, which was cut and sanded later.
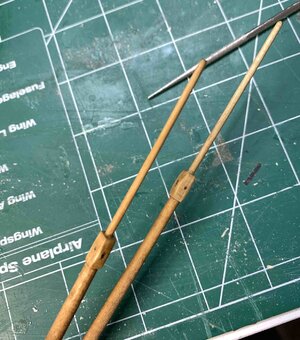
The layer of golden oak stain was applied by using very sophisticated method - dipping the whole assembly into a can and wiping the excess stain..
Happy modelling.
The trace lines were used to cut opening that is 1mm inward of the tracing lines, so the window will have some wood to rest on. Then the veneer was shaped in the shape of opening and the whole assembly was glued to the ship. But I had to remove the previous frame I planed to use; now it was just an extra wood thickness.


The first window is then copied to the second piece of veneer..


And attached on the ship, picture taken after the area was received a layer of golden oak stain to cover all sanding marks, left after previous window frame was removed (tiny cherry veneer frame).

Then I worked on adding a topmast to the main and fore mast..
I left some extra length on the masts so I can carve a small dowel that will be used to attach connecting piece.

The connecting piece included in the kit was not quite fitting well, so I had to build two new pieces. Used some old dowel rod and attached it to the main mast (same process was done for fore mast).

Cut to the length and carved it to the shape, using a sand stick.


Then the unit was secured in the vise and a hole for topmast was drilled, using hand drill. For these details, that do require more controlled action I prefer to use hand powered drill.

Then the topmast was inserted and secured with drop of glue.


The top of the topmast was sanded to get 2mm diameter, once the top mast was attached to the mast(s).
To simulate the "wheel" inside of the connecting piece, around which the rigging will run, I just drilled a 0.5mm hole and inserted the nail, which was cut and sanded later.

The layer of golden oak stain was applied by using very sophisticated method - dipping the whole assembly into a can and wiping the excess stain..

Happy modelling.
It is time to start preparing ropes for standing riggings. The kit comes with very nice rope quality but the colour does not quite much the purpose. I was contemplating to use the rope as-is, out of the box, to replace it with other type I have around, etc... I did not want to be left with additional few thread roles in the "extras" pile but at the same time, did not want to use green-beige thread colour kit provided me with. So the solution was to tint it, for this standing rigging purpose, in black colour.
I used black dye for clothing, Rit brand (black, all purpose dye), approximately 10ml of dye with 200ml of water, as hot as possible from the tap, not boiled. Then I dipped the thread into it, covered with small plastic glass so it will keep the thread under the water and left for 4 hours. The challenge here will be to get the exact colour for all required ropes so I will keep this mixture in the glass for few more usages.
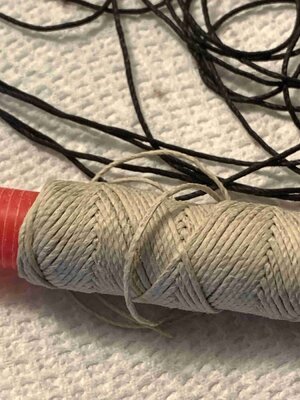
Here is coloured thread compared with the one out of the box.
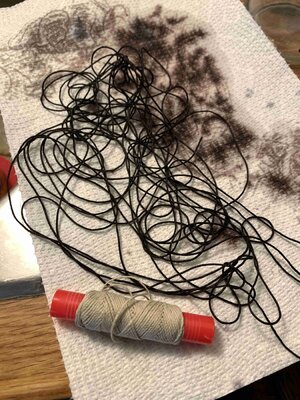
Mixture, nothing quite to see, too dark
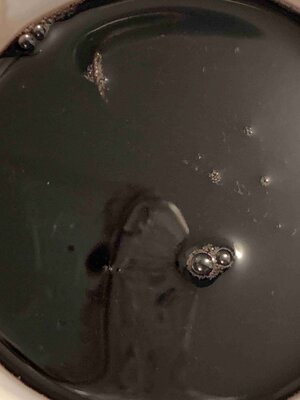
It could be easily sold like a very dark expresso... since I am using some old expresso cup
Once the thread was pulled out of the water, I just drag it thru a Kleenex, to remove any extras and hang for drying.
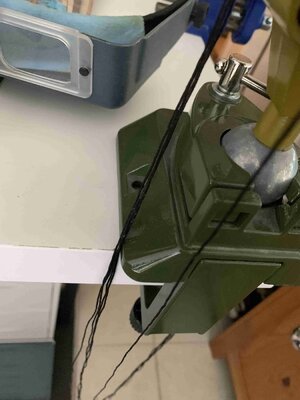
The other run of thread was then dipped into mixture.
Happy modelling..
I used black dye for clothing, Rit brand (black, all purpose dye), approximately 10ml of dye with 200ml of water, as hot as possible from the tap, not boiled. Then I dipped the thread into it, covered with small plastic glass so it will keep the thread under the water and left for 4 hours. The challenge here will be to get the exact colour for all required ropes so I will keep this mixture in the glass for few more usages.
Here is coloured thread compared with the one out of the box.


Mixture, nothing quite to see, too dark

It could be easily sold like a very dark expresso... since I am using some old expresso cup
Once the thread was pulled out of the water, I just drag it thru a Kleenex, to remove any extras and hang for drying.

The other run of thread was then dipped into mixture.
Happy modelling..
Continue with work on the top, widening the hole. First drilled several pilot holes and cut the opening. Then filed the opening to match required diameter. At the end I said I could have done it with a wood drill bit instead ...
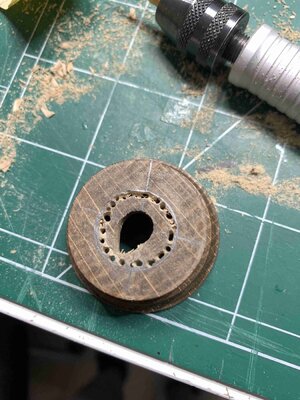
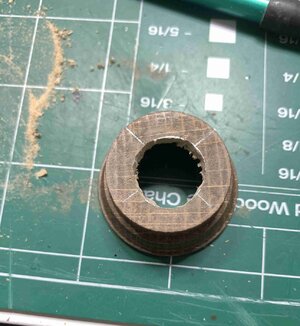
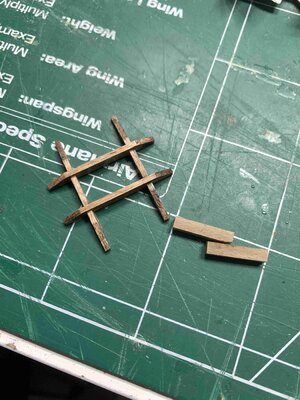
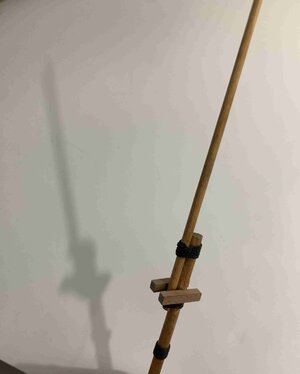
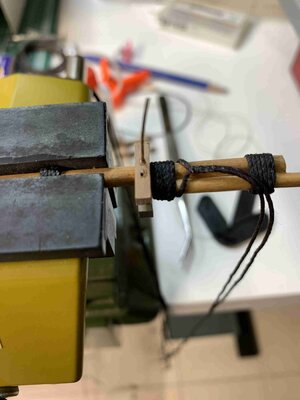
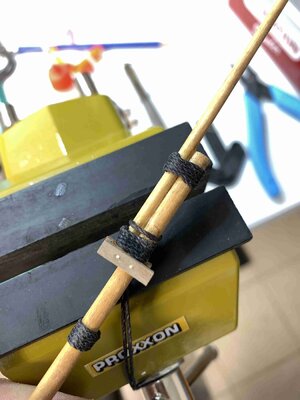
Once top was completed , I worked on crosstrees. Kit does not call for a mast cheek but I have added on both side of the mast, kind of simplified version of mast cheeks. Those will hold the crosstrees in the position.
I also added two nail-simulating copper wires, with a drilled pilot hole first. Then I dropped a bit of CA into the hole and push the wire in. Wire excess was cut and sanded flush with the cheek.
...


Once top was completed , I worked on crosstrees. Kit does not call for a mast cheek but I have added on both side of the mast, kind of simplified version of mast cheeks. Those will hold the crosstrees in the position.


I also added two nail-simulating copper wires, with a drilled pilot hole first. Then I dropped a bit of CA into the hole and push the wire in. Wire excess was cut and sanded flush with the cheek.


...
... then I made four rings and hooks that will be assembled and installed in the top.
The wire was first sanded with 1000 grid sanding paper to remove all protection, cut and rings soldered.
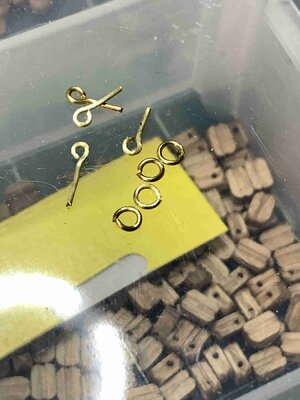
After dipping into cleaning solution, both rings and hooks were put in blackening solution.
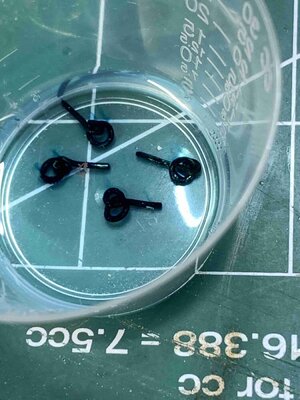
Since the wire was clean, blackening process did not take more than 2 min. Assembly was removed and cleaned in water, dried on piece of bounty...
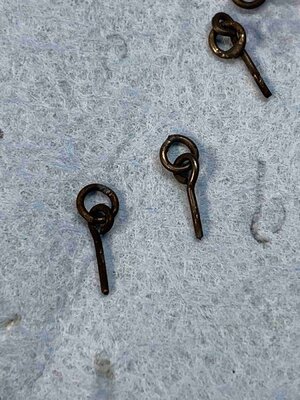
.. polished with a brush... On the picture about polished and non polished items are clearly visible..
Then, they were installed in top; first pilot hole was drilled with 0.5mm bit, a drop of CA was applied to the hole and hooks pushed in.
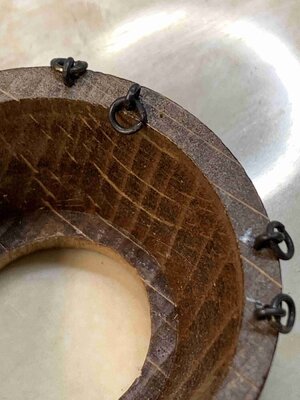
Next, will work on shrouds..
Happy modelling..
The wire was first sanded with 1000 grid sanding paper to remove all protection, cut and rings soldered.

After dipping into cleaning solution, both rings and hooks were put in blackening solution.

Since the wire was clean, blackening process did not take more than 2 min. Assembly was removed and cleaned in water, dried on piece of bounty...

.. polished with a brush... On the picture about polished and non polished items are clearly visible..
Then, they were installed in top; first pilot hole was drilled with 0.5mm bit, a drop of CA was applied to the hole and hooks pushed in.

Next, will work on shrouds..
Happy modelling..
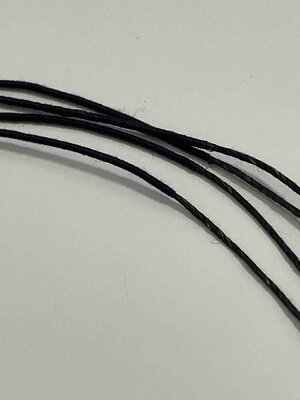
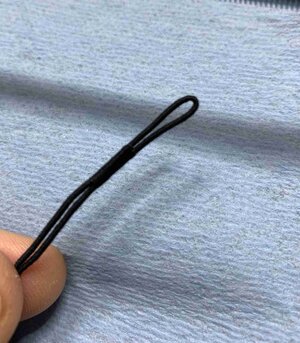
Work continues by making a shrouds for a main mast, and spicing it a notch. The kit does not call for shroud rope serving but I decided to add this little detail.
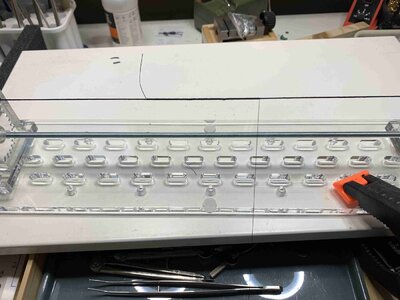
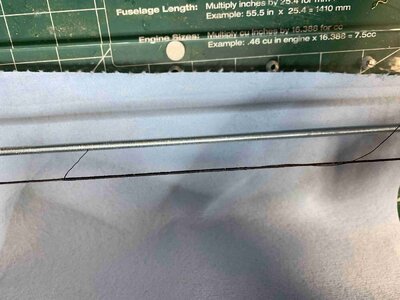
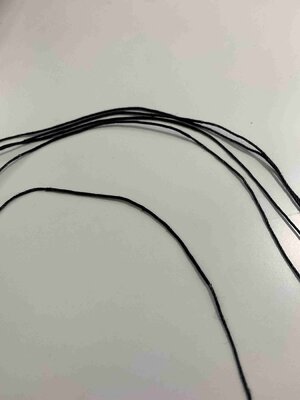
Six rope lines, making six gangs, were first served in the middle of the rope. No glue was applied to the served area, only at the end, to secure the end and beginning of the serving line. The next process will be to make a seized eye and getting it ready to be mounted on the mast.
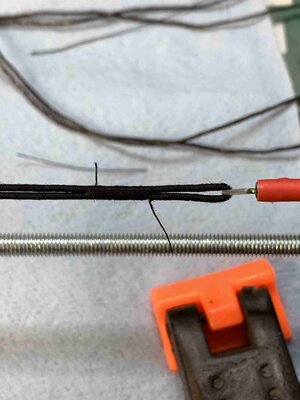
For serving, I run the shroud line into machine, making it as tight as possible, almost like I a guitar string.
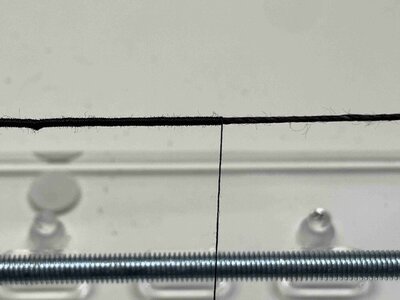
Then 0.12mm black cotton threads was used for serving; first with a little help from a needle, I run it thru the shroud line, where serving will start, then I used two cloth pins as a "heavy load" on the opposite site of the black thread and start serving. Cloth pins will keep the line stretched but not to stretch in which case you will not be able to turn the handle of a rope machine. It takes about 2 min to serve this whole area.
Several extras were made til I was completely satisfied with end results. The challenge is to make sure the serving line is moving in right direction while serving, and not overlapping previous run. Cloth pins do help making a constant stretch. I had to play with different load to find the correct balance. If the serving line is not tight, the whole area will not look completed.
Happy modelling.
Six rope lines, making six gangs, were first served in the middle of the rope. No glue was applied to the served area, only at the end, to secure the end and beginning of the serving line. The next process will be to make a seized eye and getting it ready to be mounted on the mast.
For serving, I run the shroud line into machine, making it as tight as possible, almost like I a guitar string.
Then 0.12mm black cotton threads was used for serving; first with a little help from a needle, I run it thru the shroud line, where serving will start, then I used two cloth pins as a "heavy load" on the opposite site of the black thread and start serving. Cloth pins will keep the line stretched but not to stretch in which case you will not be able to turn the handle of a rope machine. It takes about 2 min to serve this whole area.
Several extras were made til I was completely satisfied with end results. The challenge is to make sure the serving line is moving in right direction while serving, and not overlapping previous run. Cloth pins do help making a constant stretch. I had to play with different load to find the correct balance. If the serving line is not tight, the whole area will not look completed.


Happy modelling.
The serving for all 6 gangs were completed and shrouds are mounted on the main mast. For this I used little helper.... first I replaced the end on the machine and installed a hook under which the shroud will be rounded to allow serving.. Then the needle was used to run the serving thread thru the shroud and serving started int eh same way as before...
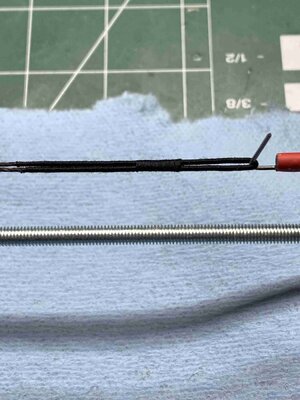
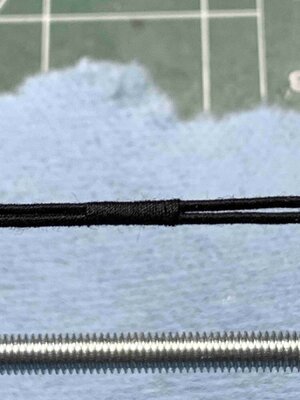
Completed product...
And installed on the mast...
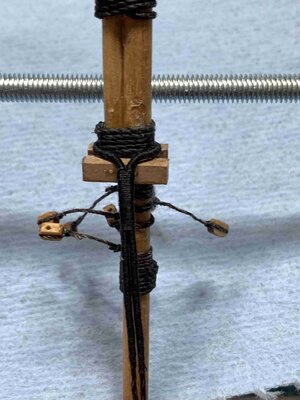
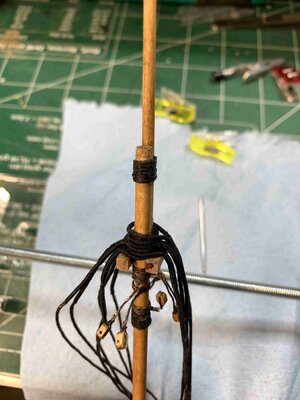
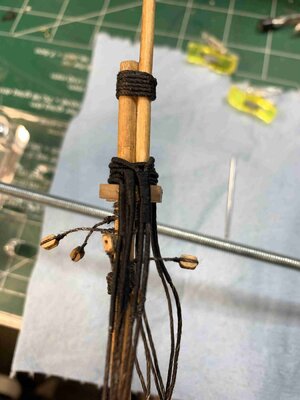
Happy modelling...


Completed product...

And installed on the mast...


Happy modelling...
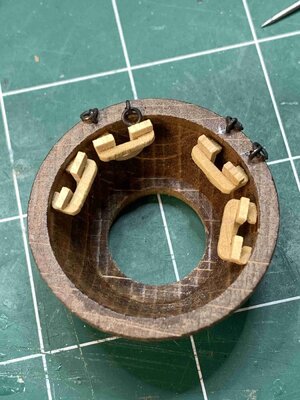
Continue with small items, this time on the top. Honestly not sure what is the term of this part but it will be used to hold the rigging for a topgallant sail.
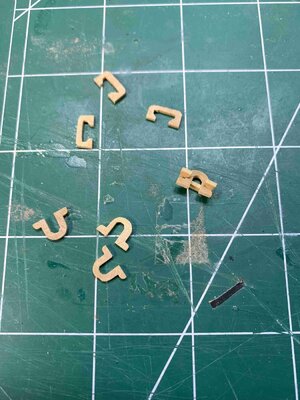
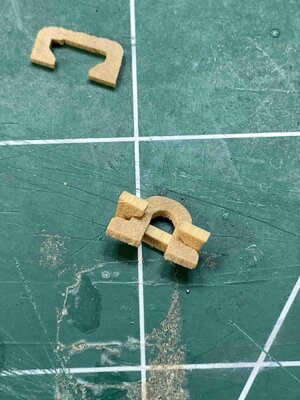
It has to be shaped a bit to fit the top interior side...
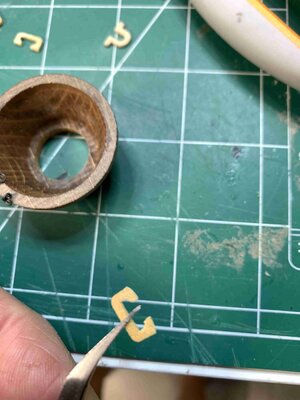
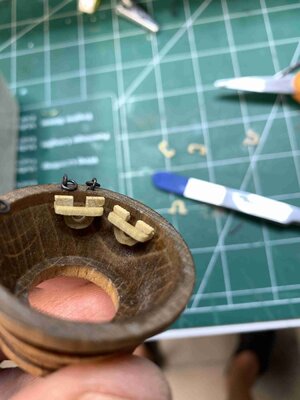
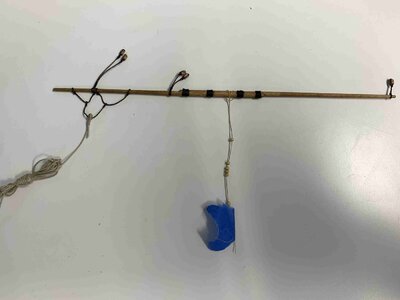
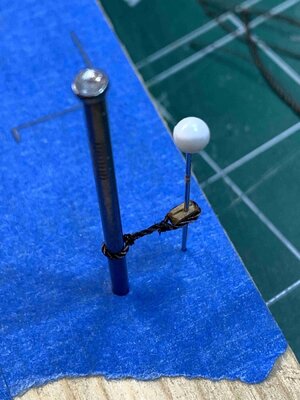
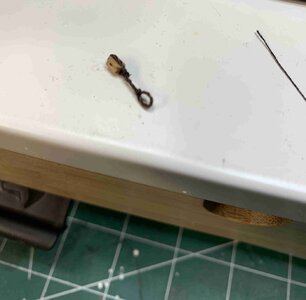
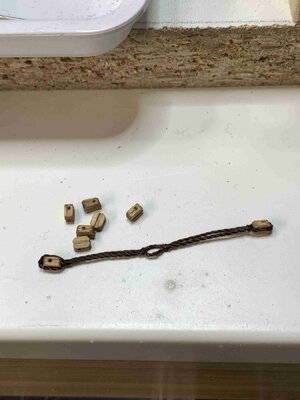
Then I worked on blocks for a main sail yard. Two single eye blocks rigged with a rope, about 15mm length from the yards, each direction. Around the yard the rope will be seized on both ends, making a sort of an eye.
For this I used helping hands, for .... helping.
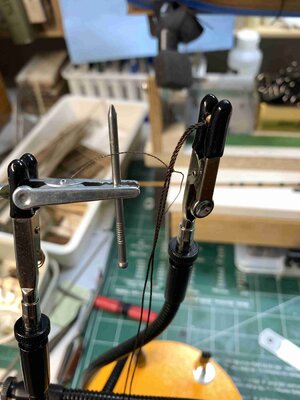
The nail of the same diameter, is used to simulate the yard.
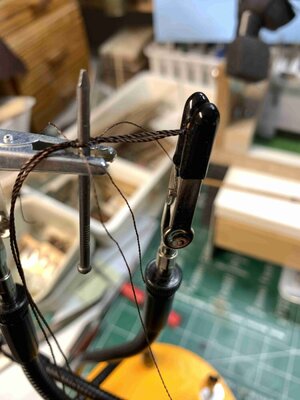
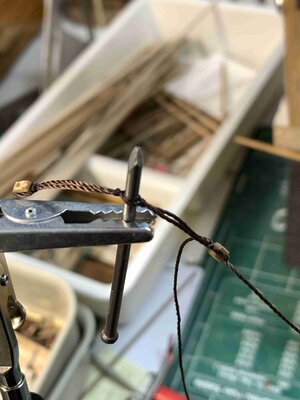
And the end result..
It looks to me I will become obsessed by serving...
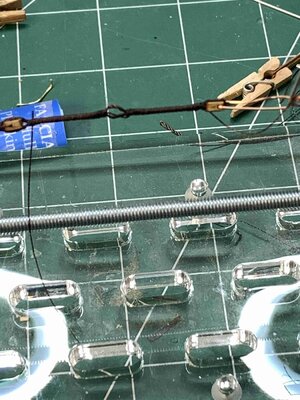
But it does look nicer served like this. The kit does not suggest any of this activity.
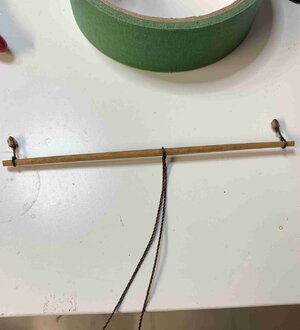
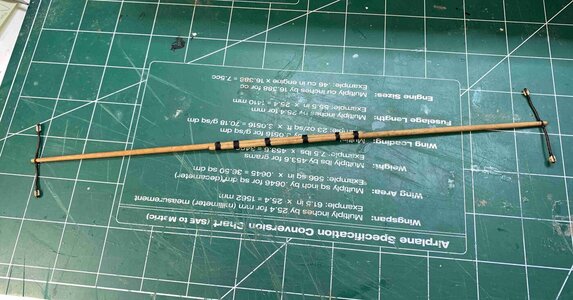
The rigged blocks attached to the yard.
I have a question for an audience: at the time SM was build are there evidence that rat lines were used on the ship?
Pinta does not have rat lines, Nina is also missing, but the SM kit suggesting making a rat lines.
Not a problem but thinking would it be more accurate if rat lines re omitted or not?
If omitted I am planing to make a rope ladders which I saw on some of the paintings representing ships at that era..
Suggestions?


It has to be shaped a bit to fit the top interior side...


Then I worked on blocks for a main sail yard. Two single eye blocks rigged with a rope, about 15mm length from the yards, each direction. Around the yard the rope will be seized on both ends, making a sort of an eye.
For this I used helping hands, for .... helping.

The nail of the same diameter, is used to simulate the yard.


And the end result..

It looks to me I will become obsessed by serving...

But it does look nicer served like this. The kit does not suggest any of this activity.
The rigged blocks attached to the yard.

I have a question for an audience: at the time SM was build are there evidence that rat lines were used on the ship?
Pinta does not have rat lines, Nina is also missing, but the SM kit suggesting making a rat lines.
Not a problem but thinking would it be more accurate if rat lines re omitted or not?
If omitted I am planing to make a rope ladders which I saw on some of the paintings representing ships at that era..
Suggestions?
Last edited:
No much time to work on the ship.. The top was installed on the main mast and it is now ready for mounting..
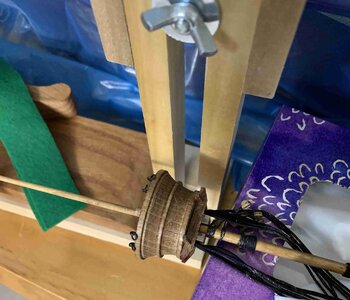
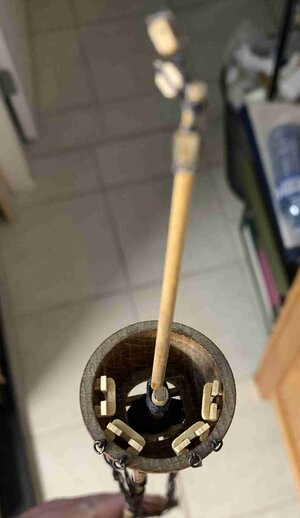
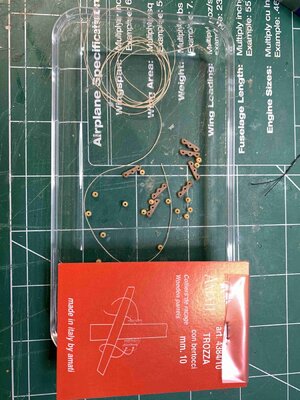
Parrels were also installed but it appears that there will be not enough parrels for all yards so I have ordered two more bags ..
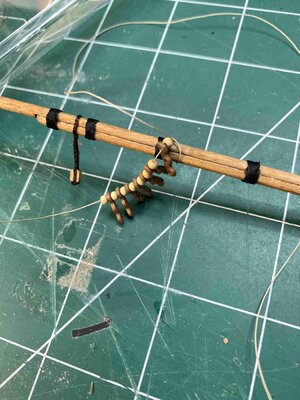
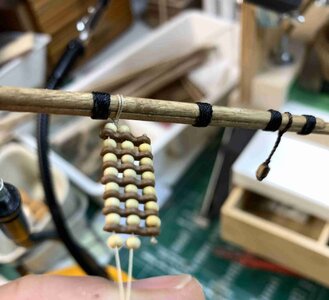
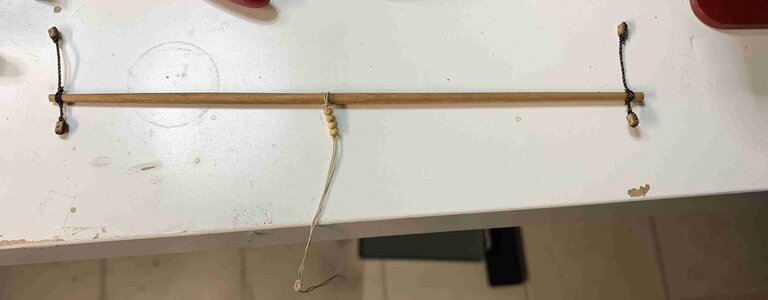
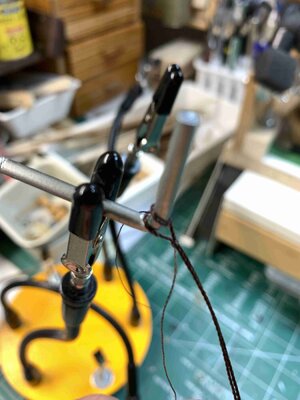
Using a little helper during block rigging...
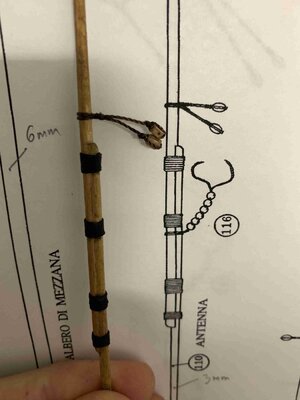
and completed on the yard..
The ship stand is also work in progress..
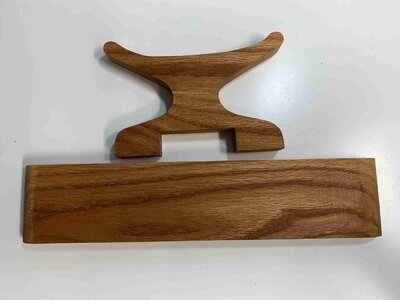
It is made out of oak with just a layer of mineral oil, what is used for bowls, utensils made out of wood..
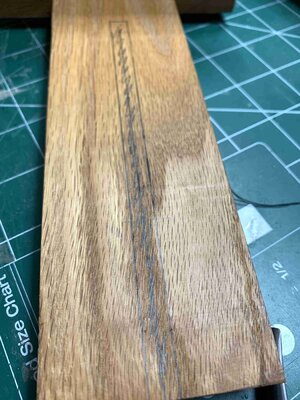
The bottom will have a small grove to accommodate cables for led lights..
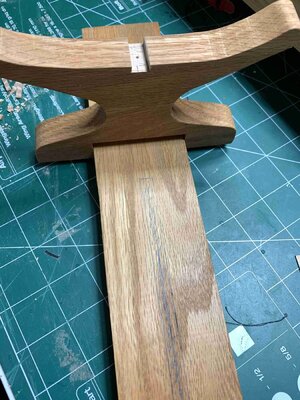
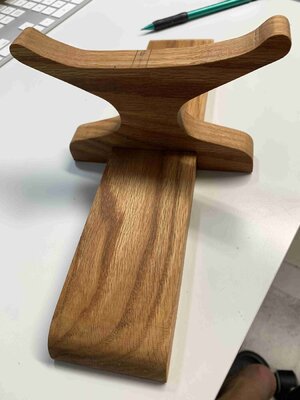
Still need to put a protective cloth on the pedestal...
Happy modelling..


Parrels were also installed but it appears that there will be not enough parrels for all yards so I have ordered two more bags ..


Using a little helper during block rigging...

and completed on the yard..

The ship stand is also work in progress..

It is made out of oak with just a layer of mineral oil, what is used for bowls, utensils made out of wood..
The bottom will have a small grove to accommodate cables for led lights..


Still need to put a protective cloth on the pedestal...
Happy modelling..
Good morning. The top details are so good. I enjoy the style of your building it brings in realism. Cheers GrantNo much time to work on the ship.. The top was installed on the main mast and it is now ready for mounting..
View attachment 375864
View attachment 375863
Parrels were also installed but it appears that there will be not enough parrels for all yards so I have ordered two more bags ..
View attachment 375869
View attachment 375868
View attachment 375867
Using a little helper during block rigging...
View attachment 375866
and completed on the yard..
View attachment 375865
The ship stand is also work in progress..
View attachment 375873
It is made out of oak with just a layer of mineral oil, what is used for bowls, utensils made out of wood..
The bottom will have a small grove to accommodate cables for led lights..
View attachment 375871
View attachment 375872
View attachment 375870
Still need to put a protective cloth on the pedestal...
Happy modelling..
Thanks GrantTyler..Good morning. The top details are so good. I enjoy the style of your building it brings in realism. Cheers Grant
The mizzen yard is completed and ready for sail..
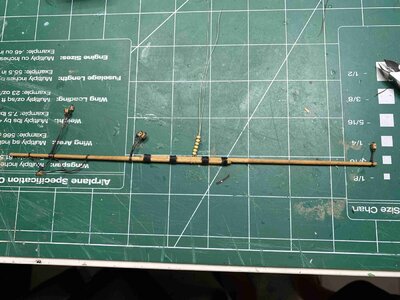
The last area to work on was topmast stay (correct me if I am using wrong terms)..
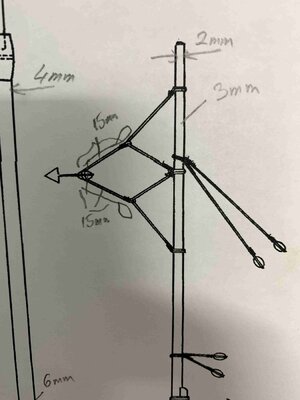
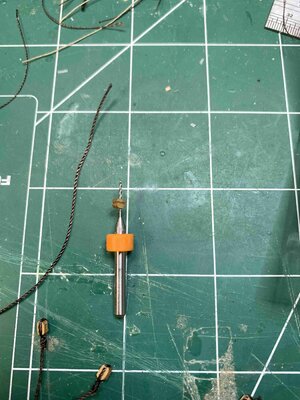
First I drilled a bigger hole in one block, by hands..
Then the rope went thru easily..
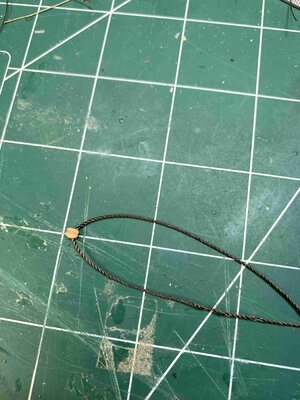
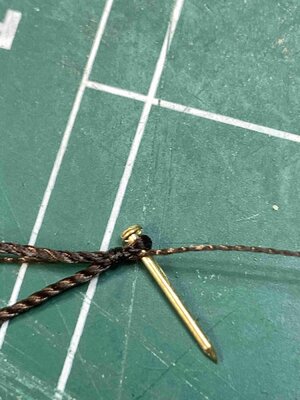
One loop (eye) was made on one end, using a small pin as a template.
Then it was put down on the tracing I made from the plan, using three helping pins in this case..
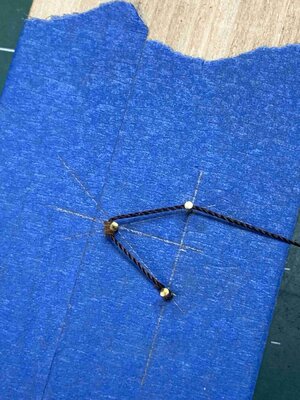
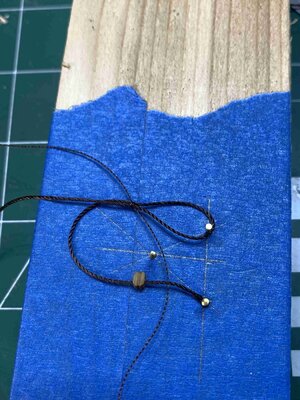
Another loop (eye) was made..
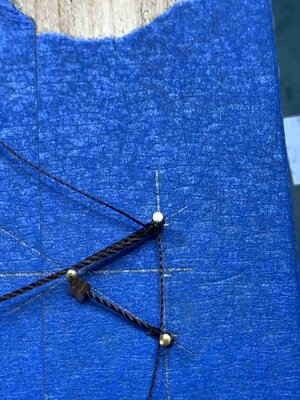
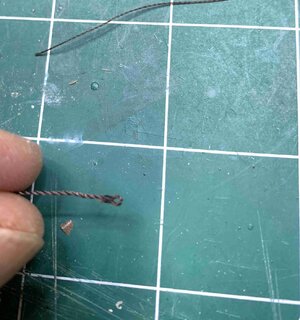
End result
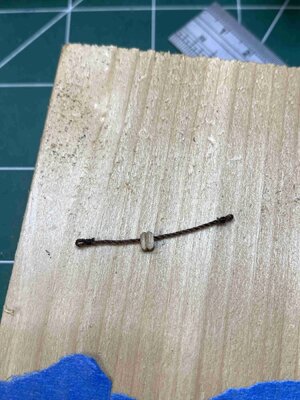
Now the trace was done from the plan..
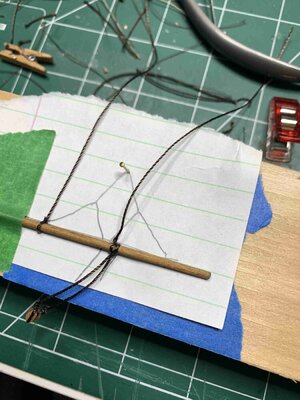
And running the rope thru the loop and seize it on yard..
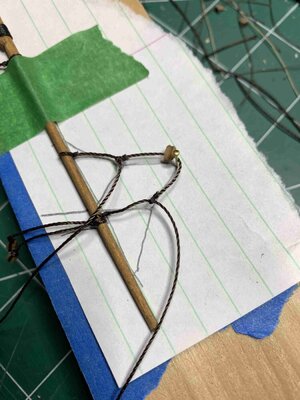
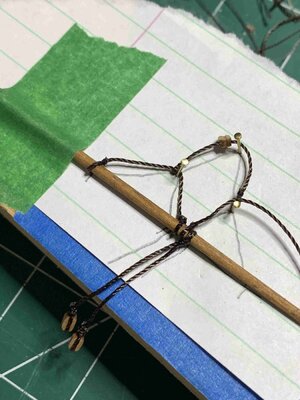
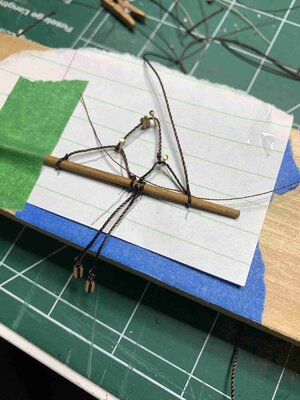
The end result of this part
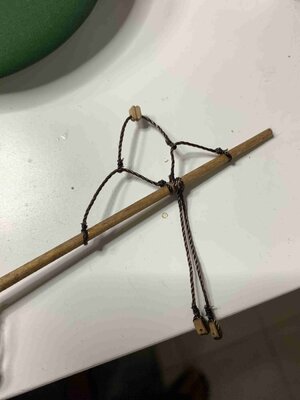
Just need to add a running rigging for this block and make it ready for assembly.
Happy modelling..

The last area to work on was topmast stay (correct me if I am using wrong terms)..

First I drilled a bigger hole in one block, by hands..

Then the rope went thru easily..

One loop (eye) was made on one end, using a small pin as a template.

Then it was put down on the tracing I made from the plan, using three helping pins in this case..


Another loop (eye) was made..


End result

Now the trace was done from the plan..

And running the rope thru the loop and seize it on yard..


The end result of this part

Just need to add a running rigging for this block and make it ready for assembly.
Happy modelling..
Adding a hook for a flag..
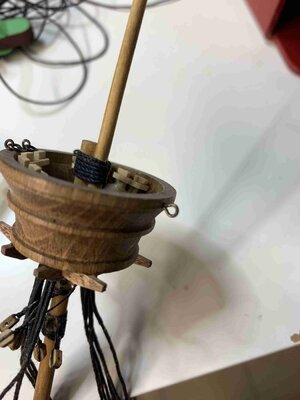
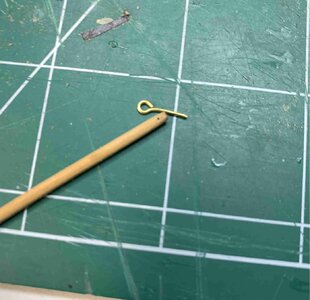
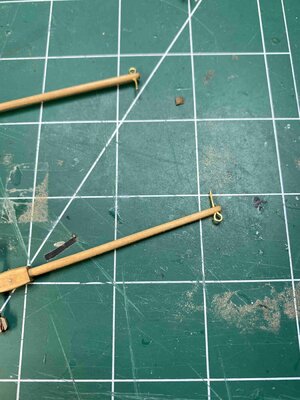
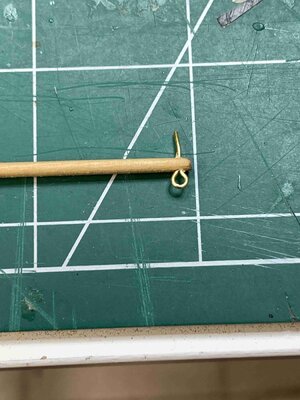
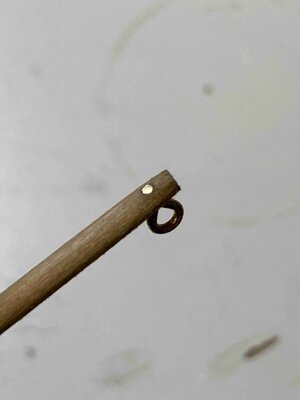
A pilot hole was drilled and hook attached, and it was sanded flush with the pole.
More rigging blocks work..
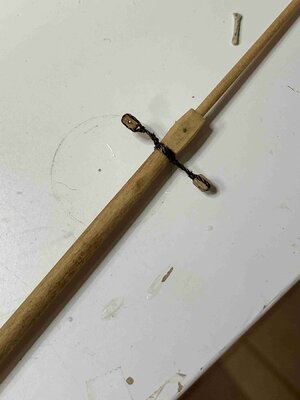
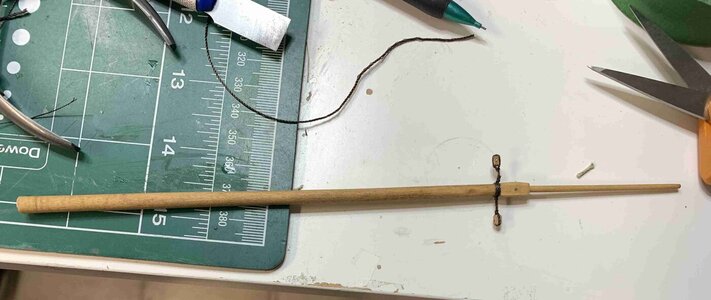
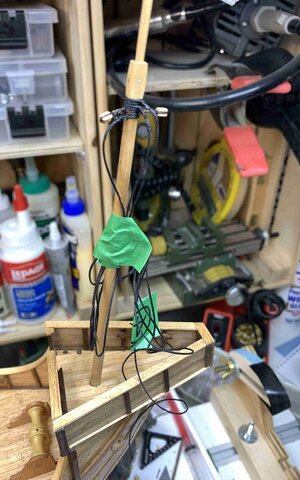
Worked on the foremast shrouds..two for port and two for starboard sides and one for bowsprit...
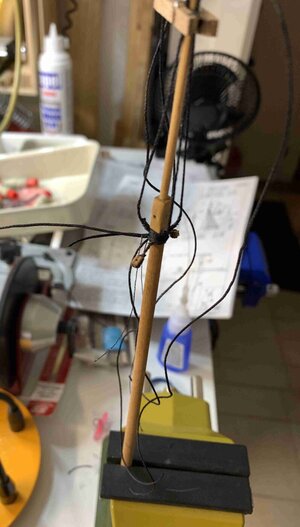
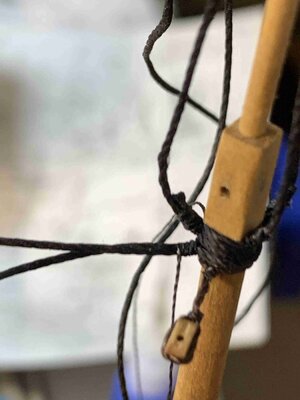
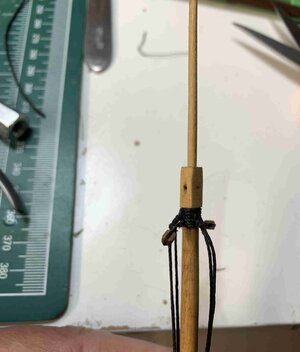
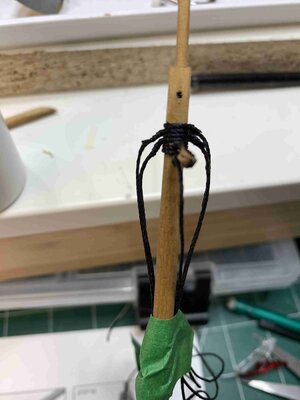
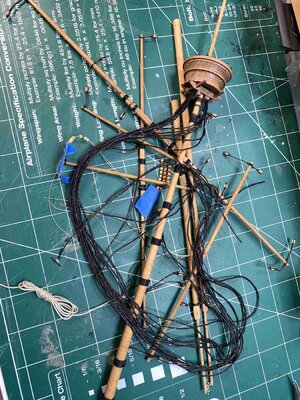
The whole pile of "things"... waiting for mounting time..
Happy modelling...


A pilot hole was drilled and hook attached, and it was sanded flush with the pole.

More rigging blocks work..


Worked on the foremast shrouds..two for port and two for starboard sides and one for bowsprit...


The whole pile of "things"... waiting for mounting time..

Happy modelling...
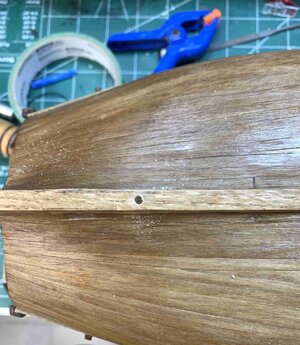
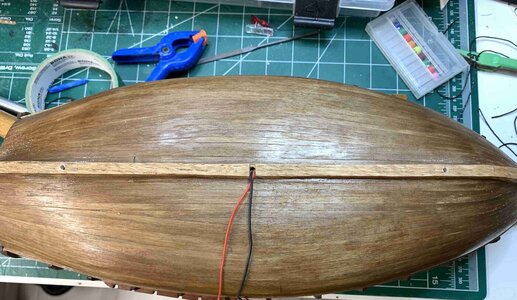
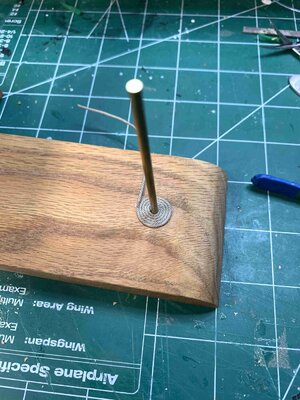
This time I drilled a holes for brass rods that will hold the model at the box and stern areas. It is always a scary part of modeling...
The pedestal was covered with material that goes to billiard tables, attached to the structure with double-sided tape.
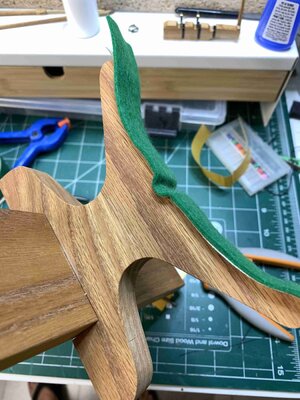
The rods have to be shortened a bit and some other details will be added in the area where rods are attached to the pedestal, just because I was unable to match rod and drill bit diameter so the hole is a bit wider than rod.. Not a big deal..
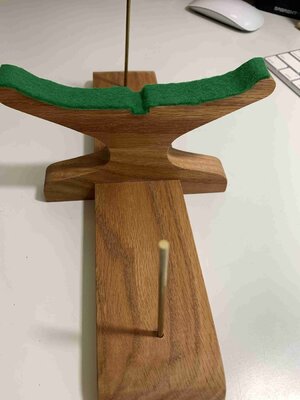
Happy modelling..


The pedestal was covered with material that goes to billiard tables, attached to the structure with double-sided tape.

The rods have to be shortened a bit and some other details will be added in the area where rods are attached to the pedestal, just because I was unable to match rod and drill bit diameter so the hole is a bit wider than rod.. Not a big deal..

Happy modelling..
Lets make sure the metal rods are standing straight. Small adjustments were applied to the pedestal foundation in order to correct the position of rods.
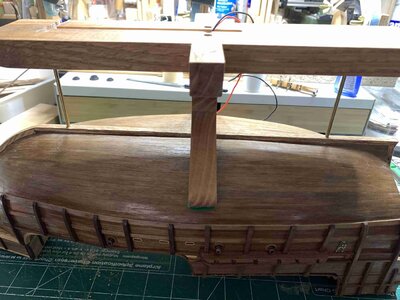
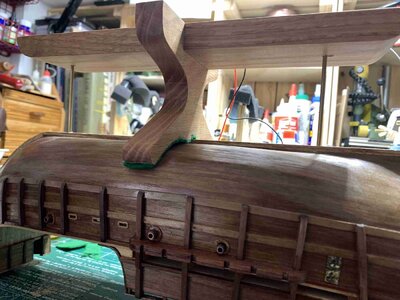
This ended up showing a little bigger hole than rode diameter is, so I had to hide it somehow.... and since this is a model of a ship...
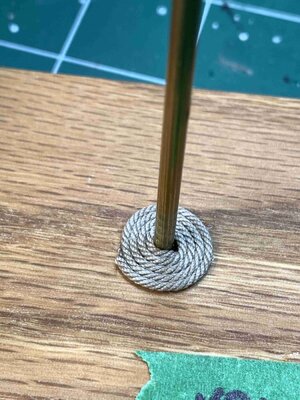
The final product..
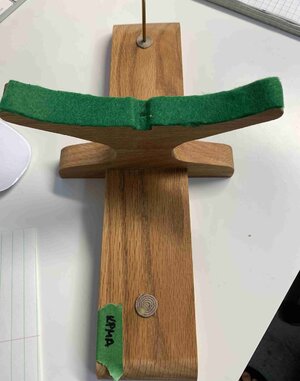
Same steps will be applied to Pinta' pedestal..
Happy modelling..


This ended up showing a little bigger hole than rode diameter is, so I had to hide it somehow.... and since this is a model of a ship...


The final product..

Same steps will be applied to Pinta' pedestal..
Happy modelling..
I am going along the same path. I sall start the fleet with the Amati Nina- received in the post yesterday. I have peeped in the box and looked at the plans but I must finish off "Revenge" before I start building.From Amati family there were always something nice happening; first there were violins and then ship models.
From Wikipedia: Amati (/əˈmɑːti/, Italian: [aˈmaːti]) is the last name of a family of Italian violin makers who lived at Cremona from about 1538 to 1740. Their importance is considered equal to those of the Bergonzi, Guarneri, and Stradivari families. Today, violins created by Nicolò Amati are valued at around $600,000.[1] Because of their age and rarity, Amati instruments are mostly kept in museum or private collections and are seldom played in public.
From ship model world, Amati makes very interesting and quality models. Since i am not quite a musician to enjoy the quality of Amati violins, i will stick with ship models. This time i decided to go with Columbus ships, Santa Maria and Pinta. The foundings for Nina were not available so i was able to purchase only two models. My plan is to start making them in parallel, for example will make planking on both, will put the deck on both, etc... Not sure if this will work well, but would like to try it. Anyhow, Pinta will be the first one to attack.
First will be making a copy of kit plans, trying to keep the kit plans unused. Then will start with building.
View attachment 281025
View attachment 281026
View attachment 281027
View attachment 281028
Actually at this moment, i started to work on figures, Columbo and his crew, 10 figurines, by Artesania Latina.
View attachment 281018
First the base coat was applied to all figures... and started to paint them...
View attachment 281019
View attachment 281021
View attachment 281022
View attachment 281024
View attachment 281023
View attachment 281020
View attachment 281019
I was actually thinking of doing some other model but decided to work on these two ships instead...
That is all for now,
happy modelling..


