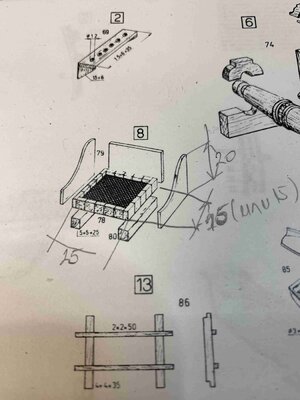
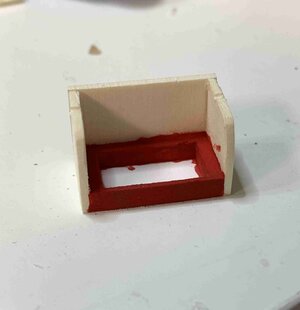
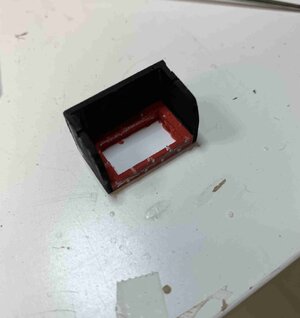
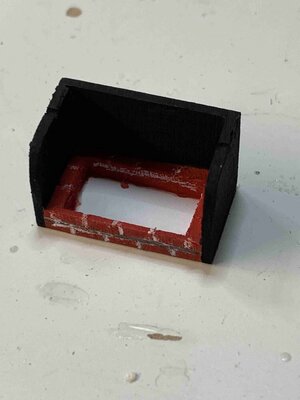
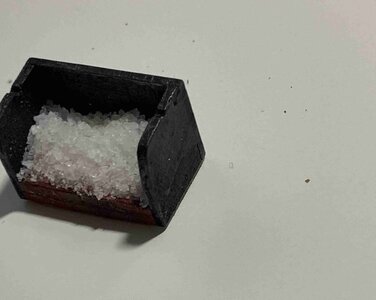
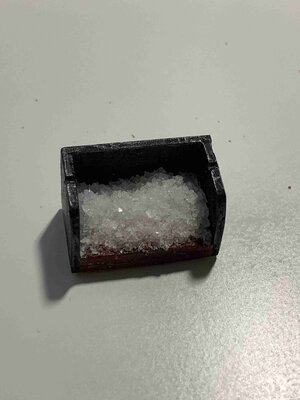
Understand; those darn kit plans.... a bit work to do
Thank you for pointing it up..
 |
As a way to introduce our brass coins to the community, we will raffle off a free coin during the month of August. Follow link ABOVE for instructions for entering. |
 |
 |
The beloved Ships in Scale Magazine is back and charting a new course for 2026! Discover new skills, new techniques, and new inspirations in every issue. NOTE THAT OUR FIRST ISSUE WILL BE JAN/FEB 2026 |
 |
Understand; those darn kit plans.... a bit work to do
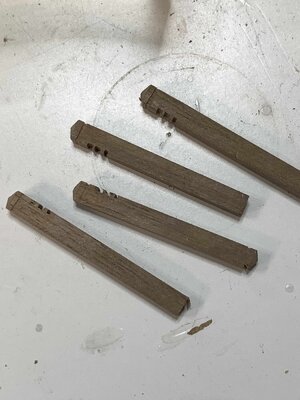
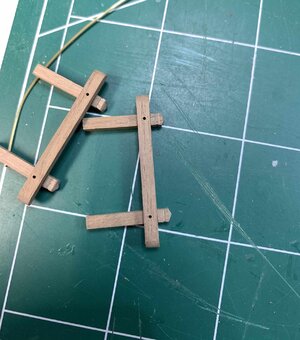
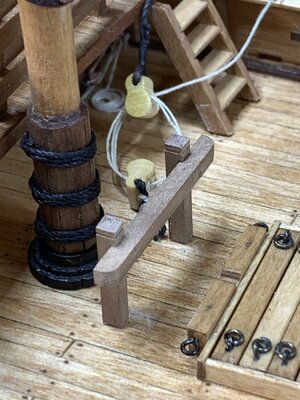
Good morning. Excellent. Those rigging bits are perfect. Cheers GrantWork continues making two rigging bitts.
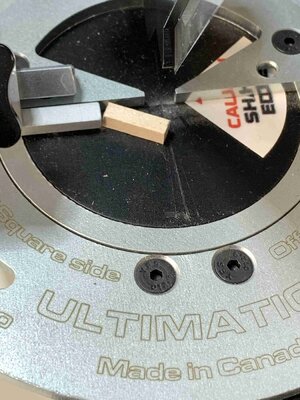
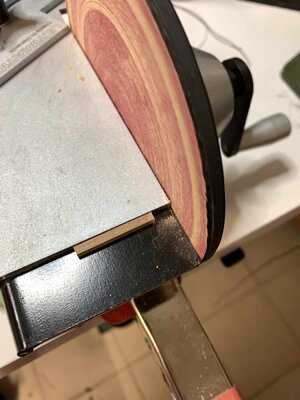
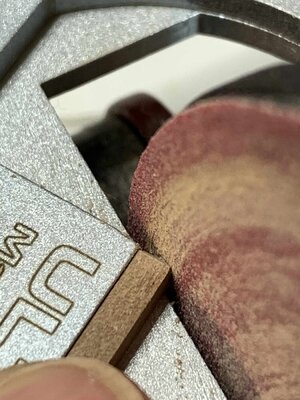
First I cut the lumber a bit longer that it is needed, approximately 30mm (20mm needed) so I would have a bit more handling space while working on a bench saw.. end that will be tapped is first sanded to 90 degree..
View attachment 389395
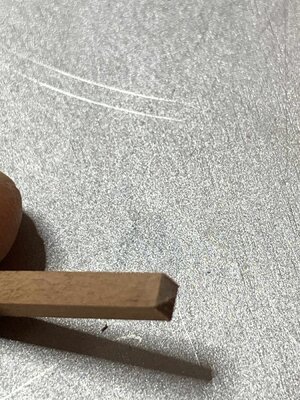
Then the 60 degree angle was applied on all four sides...
View attachment 389394
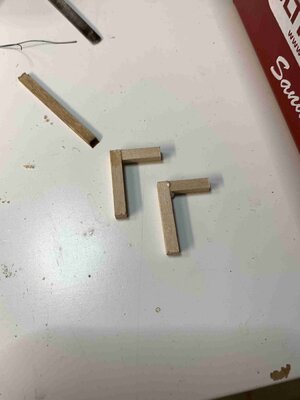
Making it to look like this:
View attachment 389393
Then I run all vertical posts thru bench saw to make small decorative cuts on all four sides and to make a slot for dado joint connecting elm back with bitt pins....
View attachment 389392
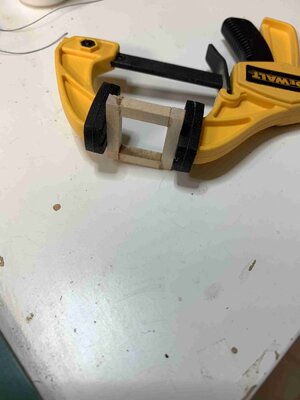
Slots are cleaned with scalpel and a file.. parts are glued and I added a nail in each connection point and at the bottom of the bitt pins. Bottom pin will assist holding it on the deck. 6mm wire simulated the nails which are then sanded flush.
View attachment 389391
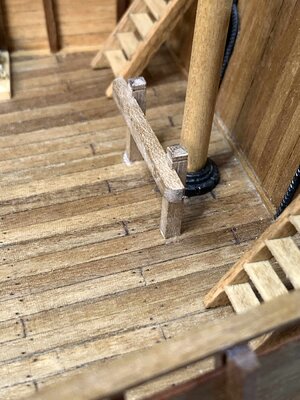
After measuring, it was added to the deck.
View attachment 389390
Happy modelling..
Thanks Grant, appreciated.Good morning. Excellent. Those rigging bits are perfect. Cheers Grant
Thanks RDN1954, appreciated.Beautiful modeling!
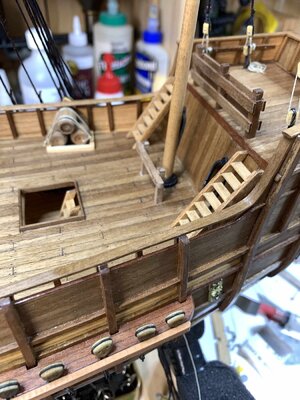
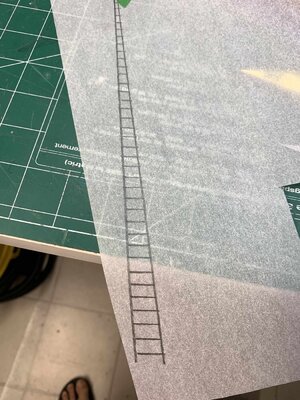
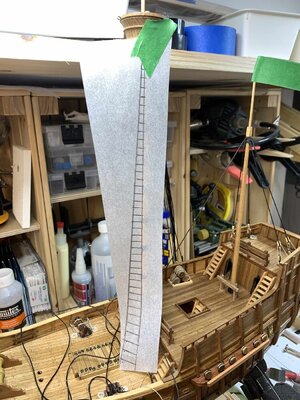
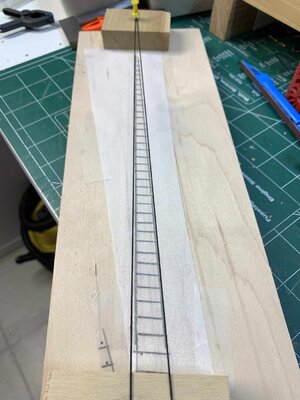
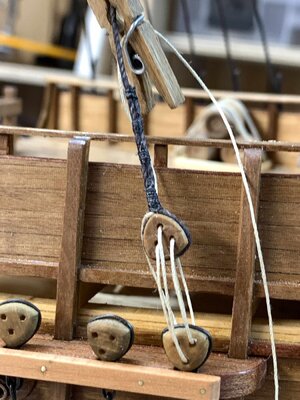
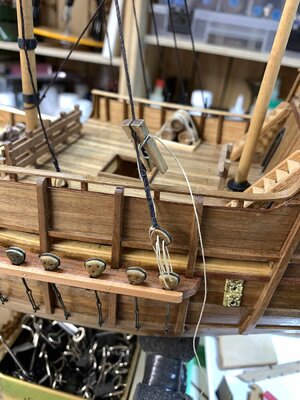



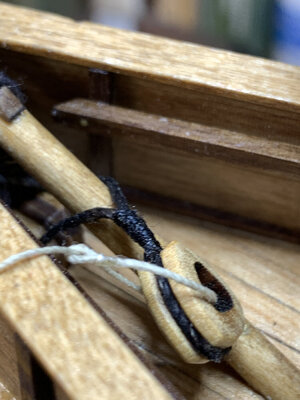
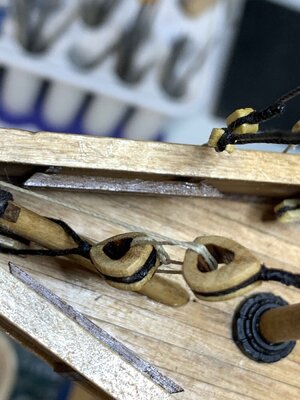
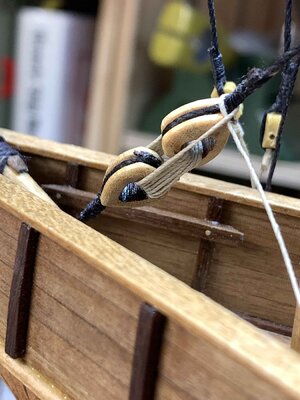
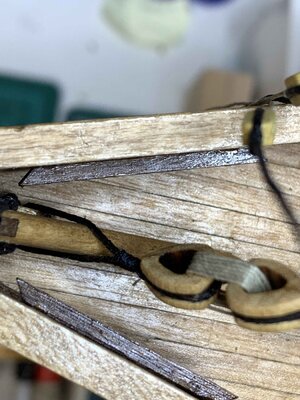
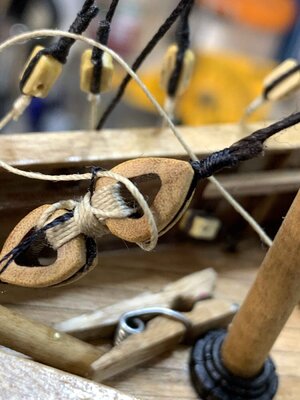
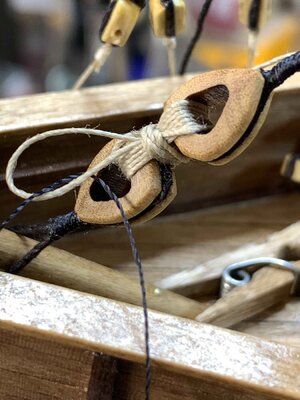
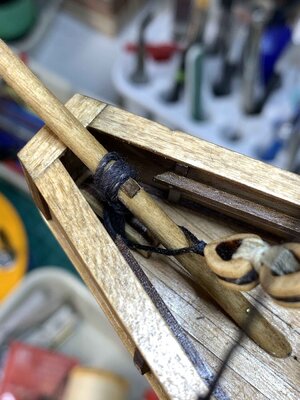
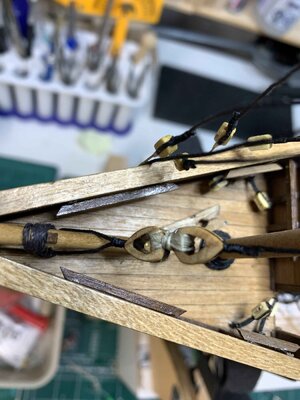
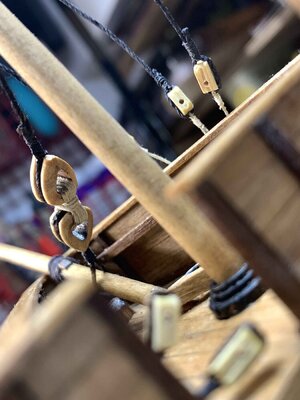

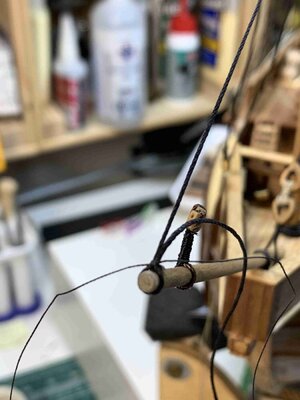
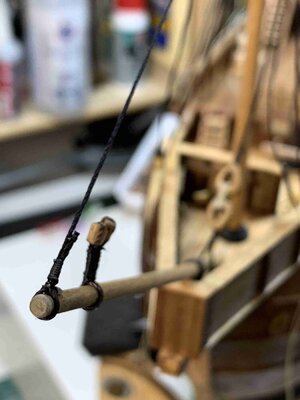
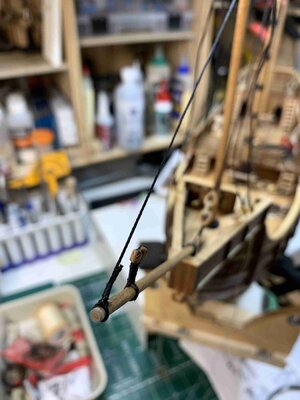

Looking very good indeed. Cheers.Continue working on stays... foremast first... first had a simple seizing slide up to the stay rope and then run rope around the bowsprit two times...
View attachment 401342
Then the seizing was slide down and tighten, secured with a drop of CA. One side of the seizing rope was twisted around stay 6 times and again secured with a drop of CA. Excess seizing rope and stay rope was cut with scissors.
View attachment 401341
On shorter side of stay, I added another seizing loop and secured with a drop of CA.
View attachment 401340
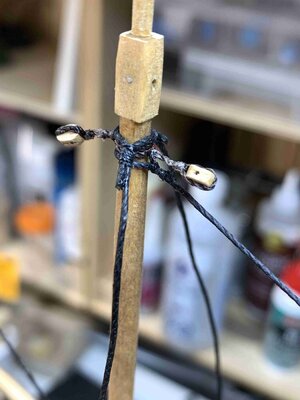
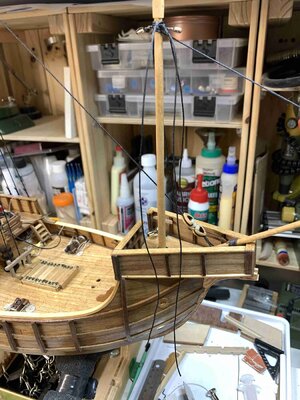
Next were stays for mizzen mast. I was not happy with one I made before, after testing with lanyard, I noticed stay block will be positioned too low and will not be that visible. I removed blocks from stay but that, did not leave me with enough rope fix the block again, so decided to remove existing...
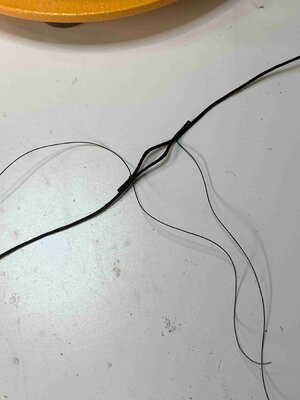
The new stays are done with two ropes, seized together. One side can be completely done and secured with CA, but the other side need to be left loose so it can slide over the mast.
View attachment 401339
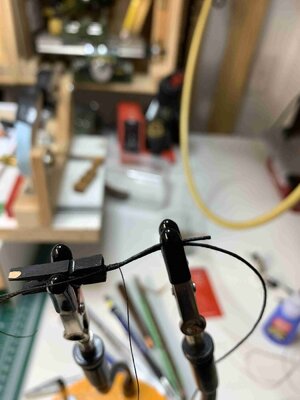
The work was done with assistance from 4 hands...
View attachment 401338
Again, simple seizing rope was added, tight and secured with small drop of CA. One end of seizing rope was twisted around the stay rope and secured with CA. Excess was cut..
View attachment 401337
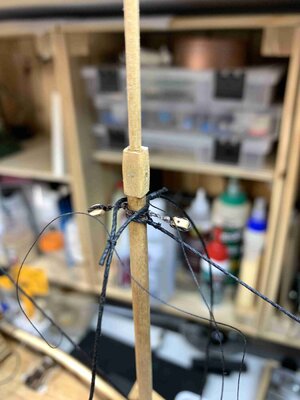
It was then attached to the mast..
View attachment 401336
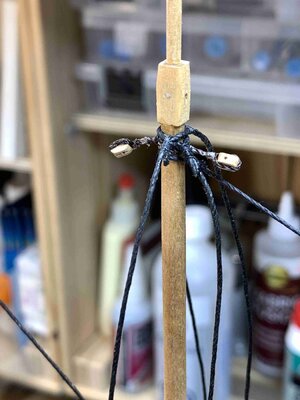
.. and seizing loop was push towards the mast and secured with CA; few runs around the stay rope and another CA drop.
View attachment 401335
Excess stay rope was also cut.
View attachment 401334
Now I have enough rope to complete the work..
View attachment 401333
Happy modelling.
Good afternoon. Lovely work. Cheers GrantContinue working on stays... foremast first... first had a simple seizing slide up to the stay rope and then run rope around the bowsprit two times...
View attachment 401342
Then the seizing was slide down and tighten, secured with a drop of CA. One side of the seizing rope was twisted around stay 6 times and again secured with a drop of CA. Excess seizing rope and stay rope was cut with scissors.
View attachment 401341
On shorter side of stay, I added another seizing loop and secured with a drop of CA.
View attachment 401340
Next were stays for mizzen mast. I was not happy with one I made before, after testing with lanyard, I noticed stay block will be positioned too low and will not be that visible. I removed blocks from stay but that, did not leave me with enough rope fix the block again, so decided to remove existing...
The new stays are done with two ropes, seized together. One side can be completely done and secured with CA, but the other side need to be left loose so it can slide over the mast.
View attachment 401339
The work was done with assistance from 4 hands...
View attachment 401338
Again, simple seizing rope was added, tight and secured with small drop of CA. One end of seizing rope was twisted around the stay rope and secured with CA. Excess was cut..
View attachment 401337
It was then attached to the mast..
View attachment 401336
.. and seizing loop was push towards the mast and secured with CA; few runs around the stay rope and another CA drop.
View attachment 401335
Excess stay rope was also cut.
View attachment 401334
Now I have enough rope to complete the work..
View attachment 401333
Happy modelling.
Hi Grant, thanks... appreciatedGood afternoon. Lovely work. Cheers Grant
Cheers, thanks ConsNZ, appreciated.Looking very good indeed. Cheers.
