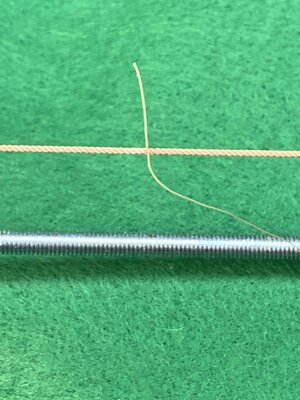
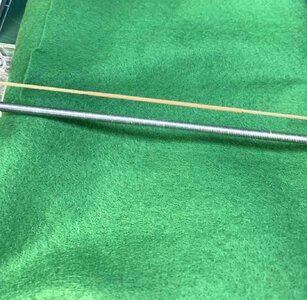
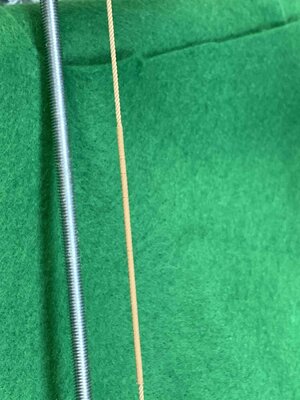
Columbus ships, Santa Maria and Pinta, kit by Amati... [COMPLETED BUILD]

This time I decided to make a sail using method I have abandoned during my Phoenix build... tiny strips cut and glued together with a 1mm overlap...

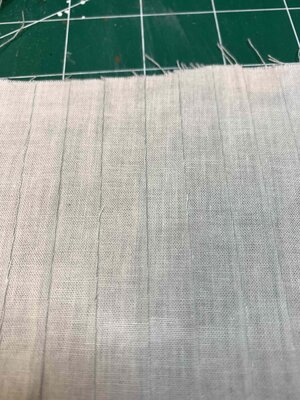
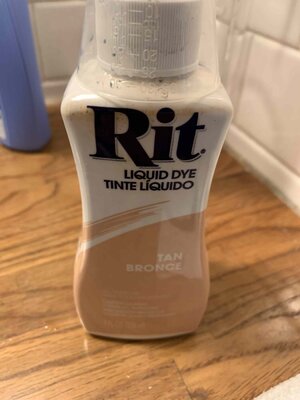
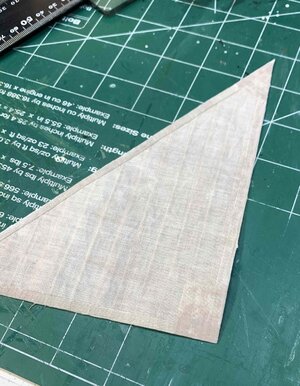
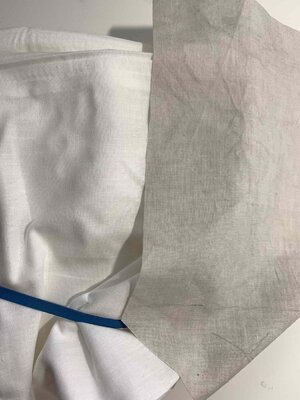
First I was looking for a decent cloth for my sails and ended up in Ikea buying few pillow cases, 152 threat count, in white. Then the cloth was dipped into water (400ml water) with Tan cloth colour liquid (5ml) made by Rit.

The cloth was in the bath for about 2 hours giving me light greyish colour which supposed to simulate a white sail after some time on the sea...
SantaMAria816.jpg
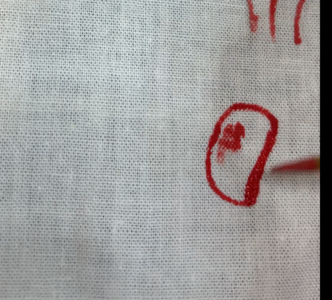
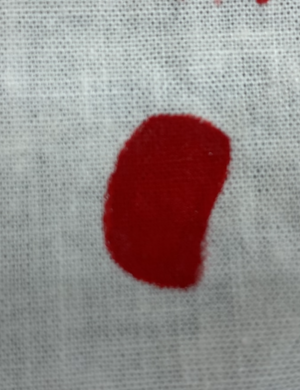
These reddish spots are not on the cloth, for some reason my phone took picture this way...

Then the process is like this:
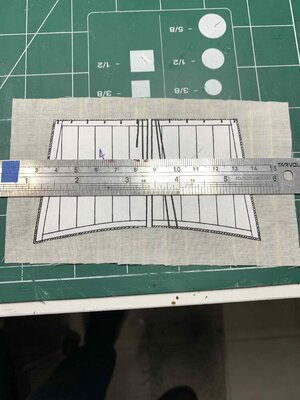
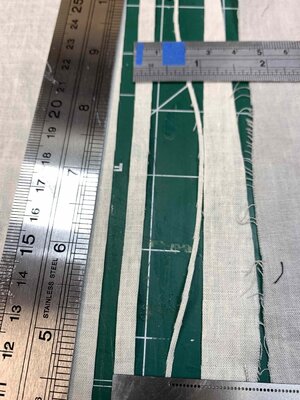
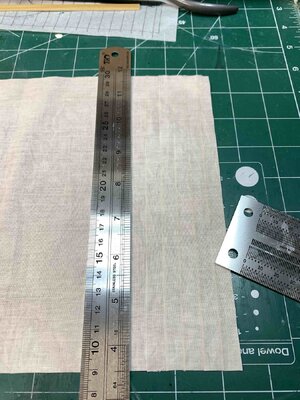
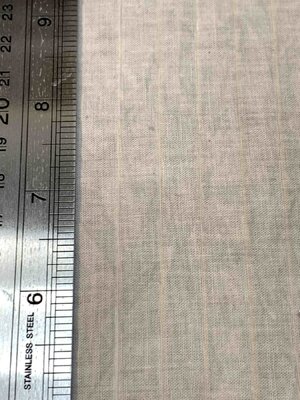
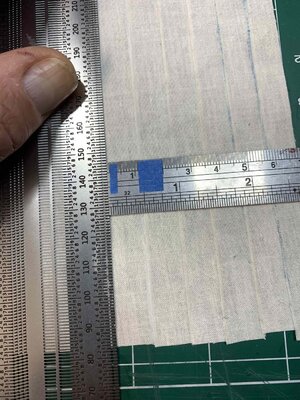
The strip width was taken from the plan, in my case it is about 1cm. First I marked 11mm and 1mm on my ruler (stainless steel ruler works the best) and measured 10mm on the cloth. 11mm will be the distance for the next strip including 1mm for a glue.
SantaMAria817.jpg

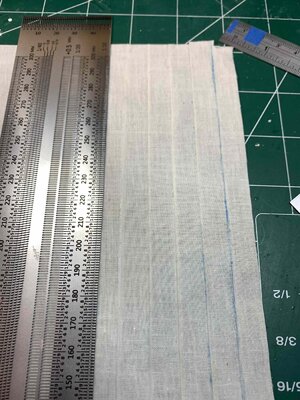
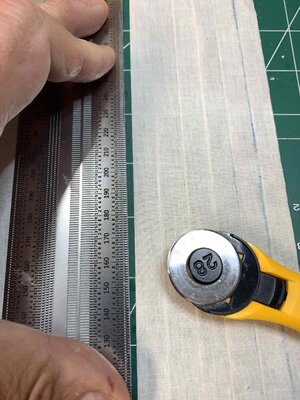
The long ruler is then hold in place to make a cut...
SantaMAria818.jpg

One long run with rotary cutter, using a brand new blade.
SantaMAria819.jpg


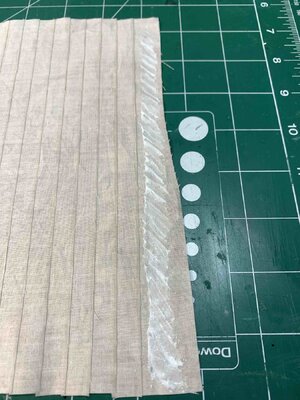
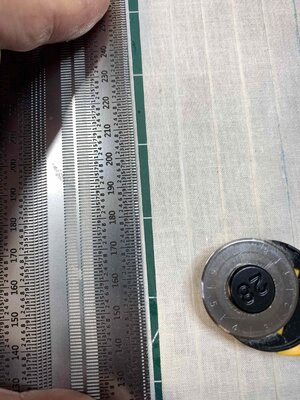
The ruler was moved 1mm to the left leaving a space where I will put a line of a white glue. The glue I used is D3 wood super glue, white, which dries out with no marks. The glue was not diluted..
SantaMAria820.jpg

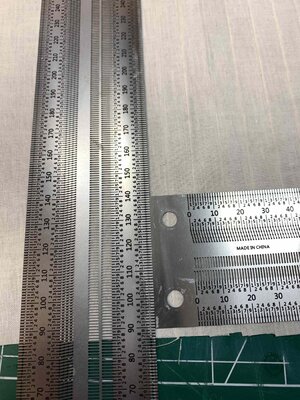
Then the cloth on the right side was moved to the ruler, over the glue and pressed lightly with finger. Then the smaller ruler was used to press the cloth with strips to the cloth without strips...
SantaMAria821.jpg

... and the process was repeated: measure, cut, move ruler 1mm, run a line of a glue, move cloth with strips to cloth without strips, press...

Every time you continue with press process, in order to remove of the cloth longer ruler easier, drag it downwards to release ruler from the cloth (some glue will go under ruler) and wipe ruler with a clean rug to remove any traces of a glue...

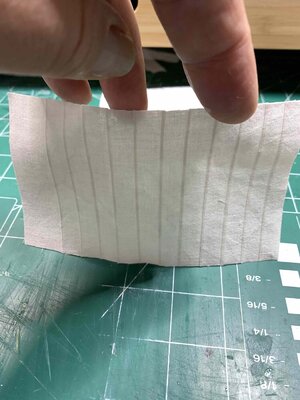
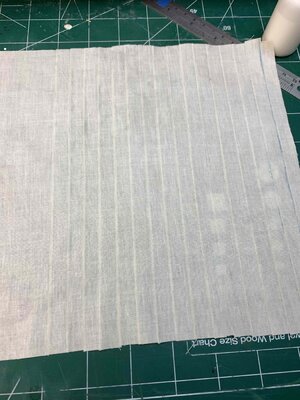
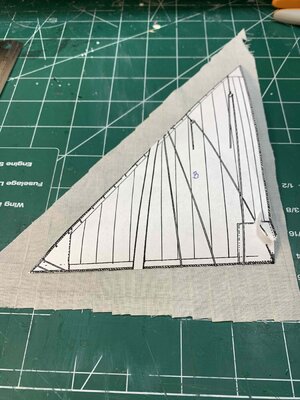
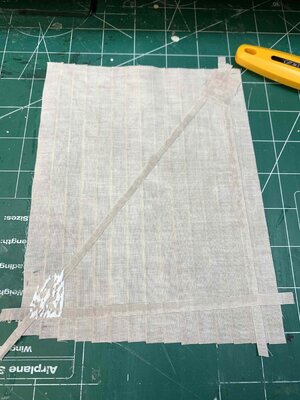
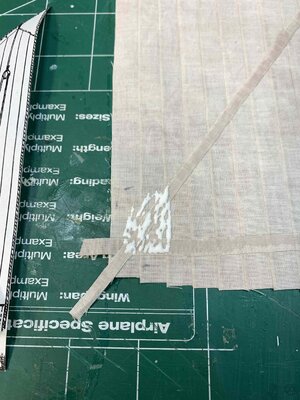
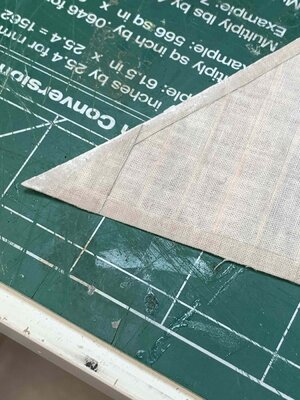
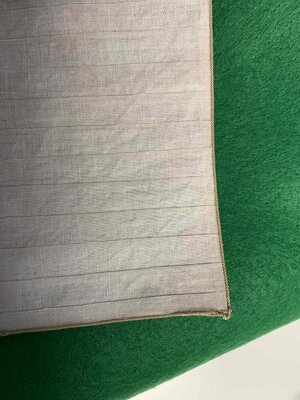
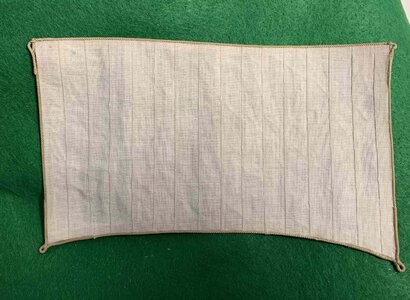
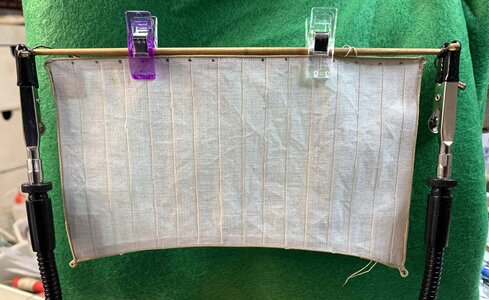
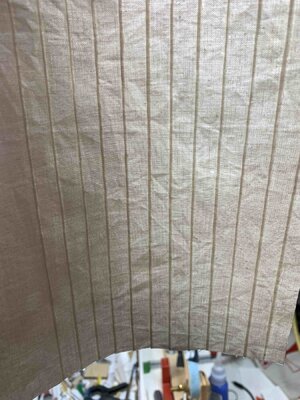
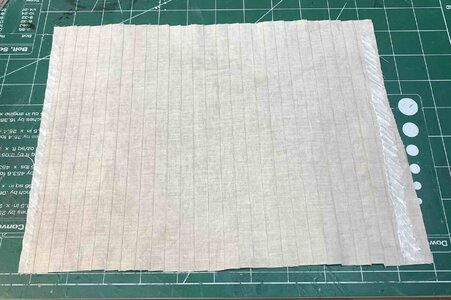
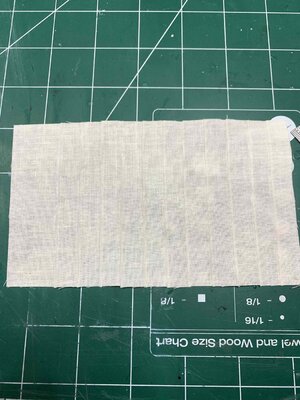
At the end, this is result..
SantaMAria822.jpg

SantaMAria823.jpg

SantaMAria824.jpg

SantaMAria825.jpg

Can be quite precise with 1mm line, but I was not going wider than 1.5mm.

SantaMAria826.jpg


SantaMAria827.jpg

SantaMAria828.jpg

Now I will continue working on sail and hopefully will not have a need to abandon this method and just use pencil to mark the sails..

Happy modelling..
 
This time I decided to make a sail using method I have abandoned during my Phoenix build... tiny strips cut and glued together with a 1mm overlap...

First I was looking for a decent cloth for my sails and ended up in Ikea buying few pillow cases, 152 threat count, in white. Then the cloth was dipped into water (400ml water) with Tan cloth colour liquid (5ml) made by Rit.

The cloth was in the bath for about 2 hours giving me light greyish colour which supposed to simulate a white sail after some time on the sea...

View attachment 404455
These reddish spots are not on the cloth, for some reason my phone took picture this way...

Then the process is like this:
The strip width was taken from the plan, in my case it is about 1cm. First I marked 11mm and 1mm on my ruler (stainless steel ruler works the best) and measured 10mm on the cloth. 11mm will be the distance for the next strip including 1mm for a glue.

View attachment 404454

The long ruler is then hold in place to make a cut...

View attachment 404453

One long run with rotary cutter, using a brand new blade.

View attachment 404452


The ruler was moved 1mm to the left leaving a space where I will put a line of a white glue. The glue I used is D3 wood super glue, white, which dries out with no marks. The glue was not diluted..

View attachment 404451

Then the cloth on the right side was moved to the ruler, over the glue and pressed lightly with finger. Then the smaller ruler was used to press the cloth with strips to the cloth without strips...

View attachment 404450

... and the process was repeated: measure, cut, move ruler 1mm, run a line of a glue, move cloth with strips to cloth without strips, press...

Every time you continue with press process, in order to remove of the cloth longer ruler easier, drag it downwards to release ruler from the cloth (some glue will go under ruler) and wipe ruler with a clean rug to remove any traces of a glue...

At the end, this is result..
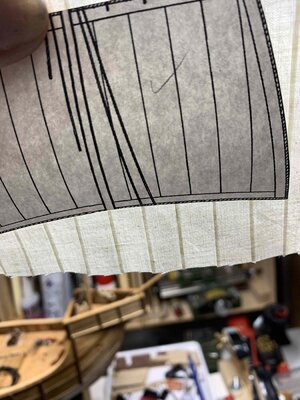
View attachment 404449

View attachment 404448

View attachment 404447

View attachment 404446

Can be quite precise with 1mm line, but I was not going wider than 1.5mm.
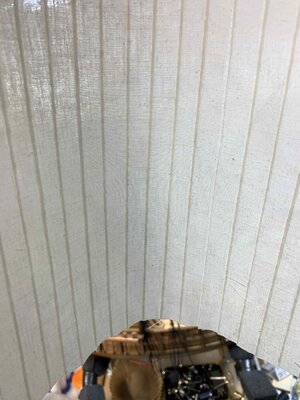
View attachment 404445


View attachment 404444

View attachment 404443

Now I will continue working on sail and hopefully will not have a need to abandon this method and just use pencil to mark the sails..

Happy modelling..
Wonderful work. How did you prevent material frey when using the cutter wheel? Currently I'm on set 8 and again failed to finish SM sail set. Either tinting was wrong or blotchy, Colour ran on the Crosses or when using Silkspan the entire piece disintergated when hung to dry. Thinking about turning the whole project into a BBQ. I admire the work on your Columbus Ships, really good following. cheers.
 
Thank you.... don't use your SM for bbq; it is always a way to go with furled sails, no sails (just masts and yards) or to use pencil to simulate strips; this was my solution for Phoenix after several unsuccessful attempts...

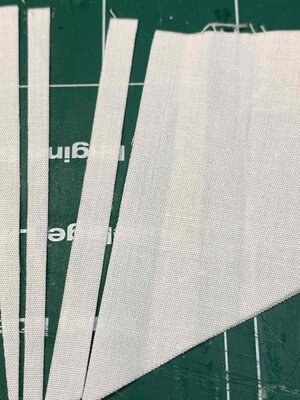
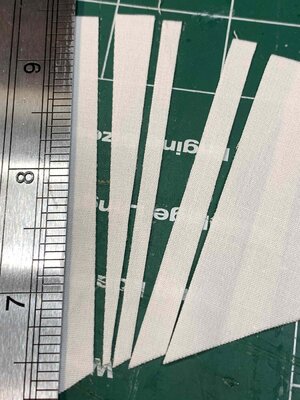
I also have some loose edges... check this picture.

SantaMAria829.jpg

I found potential cause for frey results to be if I cut strips not parallel with threads or if while guying I slightly move one strip causing material to be cut slightly under very small angle but small enough to cause material frey.. and I use brand new blade for cutter as soon as I see some material frey.

SantaMAria890.jpg

I also tried different cloth, with fairly similar results..

SantaMAria891.jpg

SantaMAria892.jpg

But I think this Ikea pillow cases (100% cotton) are perfect for this work; easy to tint, fairly dense threads, believe it is a good match for a sail...

When it comes to colouring, I tested few small pieces and once I found shade I like, I use the same water and dip material for all sails. In my case it is a trial end error, so don't give up... this is my choice for tinting..

SantaMAria894.jpg

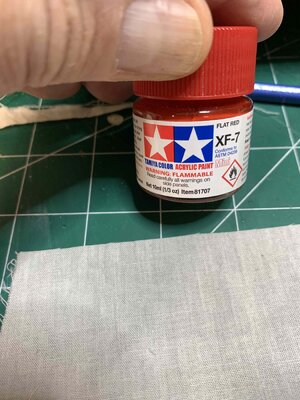
I have tested cross painting using Tamiya flat red XF-7 colour, not watered, straight from the bottle.

SantaMAria893.jpg

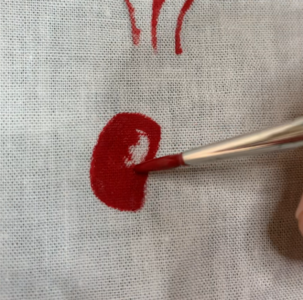
and small brush, giving me quite good results.. I made a short video about painting but cannot attach it, if you want I can message it to you, but basically..

Screen Shot 2023-11-04 at 21.06.03.png

Screen Shot 2023-11-04 at 21.06.23.png

Screen Shot 2023-11-04 at 21.06.37.png

In my testing, colour run over the line but not that much to ruin the end result... I have not tested it on silk so cannot comment, but on this Ikea pillow case it works very nice.

Hope this will make you using a real wood for a bbq :)

Happy modelling.
 
Thank you for your reply. With the silkspan tests tinting (Liquitex Inks blended ie Transparent burnt umber + touch of carbon black and then mixed with pva clear and reduced to a workable viscocity) cutting strips 11mm etc and gluing. The samples came out excellent. However when I attempted the same on the acrtual sails. the silkspan ripped and fell to the floor. Other sails from Cotton Batiste were ok but failed when applying the Crosses in that the colour (Tamiya Flat Red XF-7) sank through the cotton and blotched the reverse side. Now when I achieved good crosses either the bolt rope(s) didnt line up when attaching bonnets to mainsail or for some unknown reason the bonnet didn't colour match the main sail (same tinting process) So it was back to the drawing board and yet another remake from scratch. Also tried Stockholm Tar (ex Equine outlet) but it stank out the entire house and neighbourhood so won't use again despite giving the best colour results. Think I will try your Rik Liquido next (more testing). When I tried the cloth strips the frey results were as per your photo's above so perhaps I shoukld have pursued that method with more patience and focus. However, I'll have more attempts (11mm Strips) using silkspan/Modelspan. Eventually I may achieve a satisfying result. What annoys me is that what I'm attempting this time for the SM sails I effortlessly achieved on my previous build La Pinta. Actually we don't have a BBQ but the Weber would be ideal ;) -- Again, thank you very much for your much appreciated reply and additional pointers. Cheers.
 
Thank you for your reply. With the silkspan tests tinting (Liquitex Inks blended ie Transparent burnt umber + touch of carbon black and then mixed with pva clear and reduced to a workable viscocity) cutting strips 11mm etc and gluing. The samples came out excellent. However when I attempted the same on the acrtual sails. the silkspan ripped and fell to the floor. Other sails from Cotton Batiste were ok but failed when applying the Crosses in that the colour (Tamiya Flat Red XF-7) sank through the cotton and blotched the reverse side. Now when I achieved good crosses either the bolt rope(s) didnt line up when attaching bonnets to mainsail or for some unknown reason the bonnet didn't colour match the main sail (same tinting process) So it was back to the drawing board and yet another remake from scratch. Also tried Stockholm Tar (ex Equine outlet) but it stank out the entire house and neighbourhood so won't use again despite giving the best colour results. Think I will try your Rik Liquido next (more testing). When I tried the cloth strips the frey results were as per your photo's above so perhaps I shoukld have pursued that method with more patience and focus. However, I'll have more attempts (11mm Strips) using silkspan/Modelspan. Eventually I may achieve a satisfying result. What annoys me is that what I'm attempting this time for the SM sails I effortlessly achieved on my previous build La Pinta. Actually we don't have a BBQ but the Weber would be ideal ;) -- Again, thank you very much for your much appreciated reply and additional pointers. Cheers.
No worries, glad if I can assist in any way...

Happy modelling..
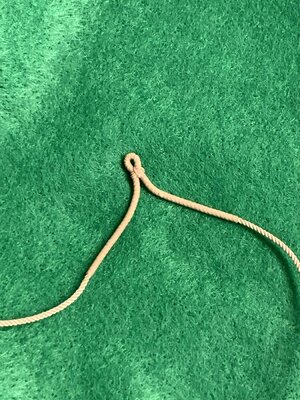
 
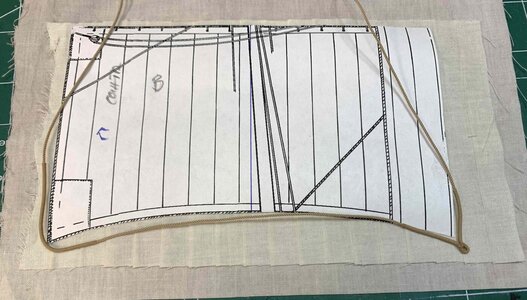
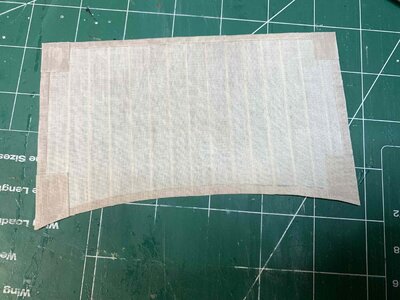
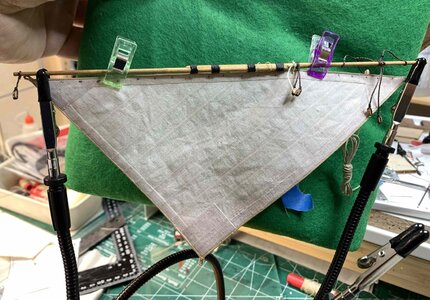
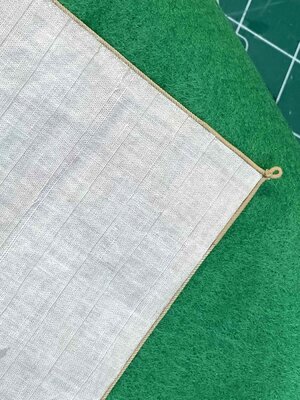
Worked on lateen sail by reinforcing foot, leech and luff areas by adding a strip of material and glue it down to sail. I did not want to just flip the extra length of a sail, because those glued strips might not line up properly, so just went with a strip of sail cloth and glue it with a wood glue.

SantaMAria895.jpg

Other reinforcements at head, tacks and clew areas are also applied with intention to be cut in dimensions once dried out.

SantaMAria896.jpg

SantaMAria897.jpg

SantaMAria898.jpg

Then I start to seizing the reef rope by winding the 0.1mm rope around 1mm tan rope..

SantaMAria899.jpg

SantaMAria900.jpg

SantaMAria901.jpg

And once seizing is done, I made a cringle..

SantaMAria902.jpg

Which eventually will become a clew cringle...

SantaMAria904.jpg

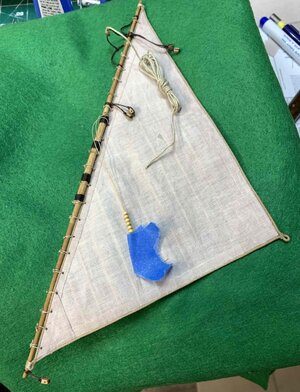
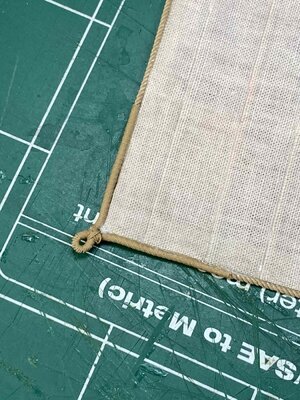
The rope is glued to the sail edge with white wood glue (D3) and few drops of CA at the corners.. Once the rope is glued, I run a line of a glue, the entire length of the sail, on both sides. I used heat gun to speed up drying process..

SantaMAria905.jpg

SantaMAria903.jpg

And completed sail.

SantaMAria906.jpg

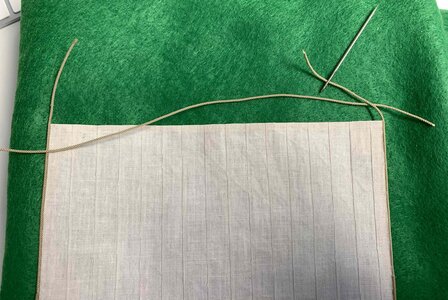
For foresail I started prepping the rope, siezing it and adding cringle on one end and prepping the rope for second end cringle. The seizing line on the left end is not fully secured allowing me to alter the length of seized line after I add a cringle.

SantaMAria908.jpg

Happy modelling..
 
Foresail has been completed. First all cloth parts are done...

SantaMAria909.jpg

..then the leech rope was secured to the sail with D3 glue and few drops of CA... head sail rope is also cut to the length..

SantaMAria910.jpg

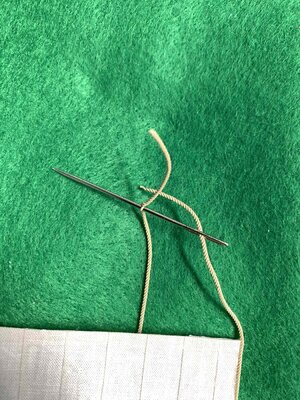
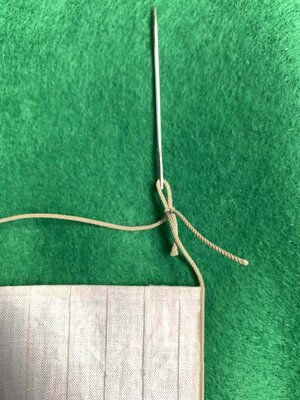
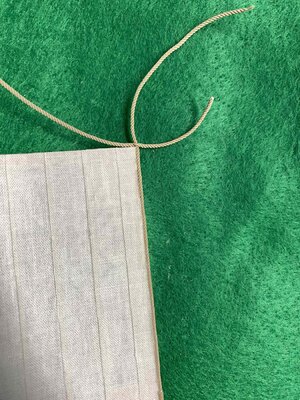
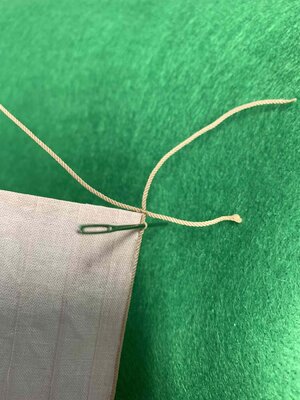
Will be using a needle with wider eye opening so the 1mm rope can be push thru the eye..

SantaMAria911.jpg

SantaMAria912.jpg

First part of end result...

SantaMAria913.jpg

SantaMAria914.jpg

SantaMAria915.jpg

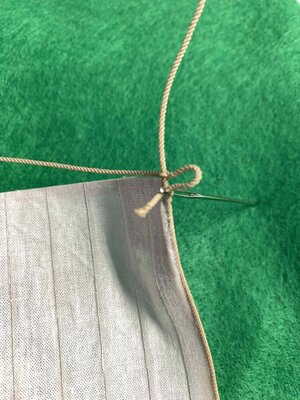
End result..

SantaMAria916.jpg

SantaMAria917.jpg

Must say that I have tried previous operation (pulling 1mm rope thru another 1mm rope) with kit provided ropes and it just did not work; the needle eye is wide and when you add 1mm rope thickness to the picture, the kit rope just cannot handle it; it breaks during push/pull needle action and also damage the sail material. So I ended up ordering a set of ropes from Rope of Scales and got them very quickly. No free advertisement here but the ropes are just very well built and reasonable priced...

Now, back to lateen sail... and started adding robands...

SantaMAria918.jpg

Happy modelling..
 
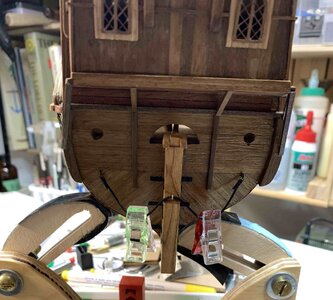
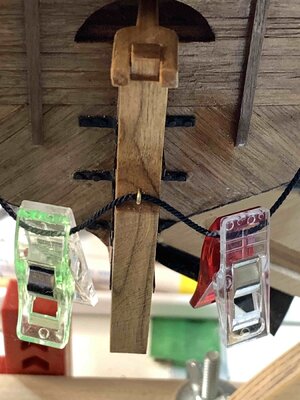
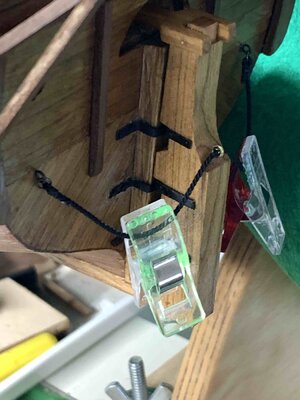
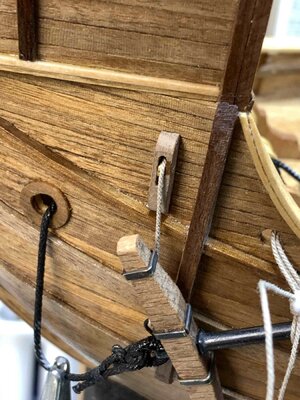
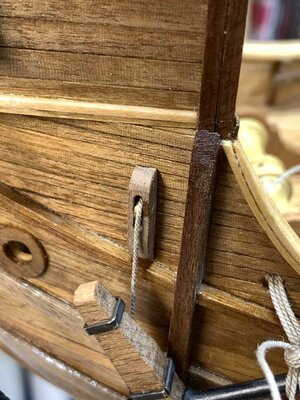
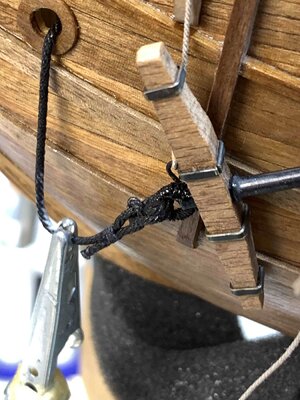
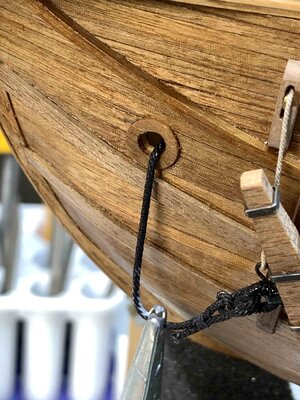
Rudder has been installed and attached...

SantaMAria926.jpg

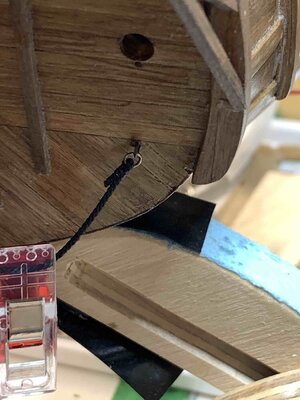
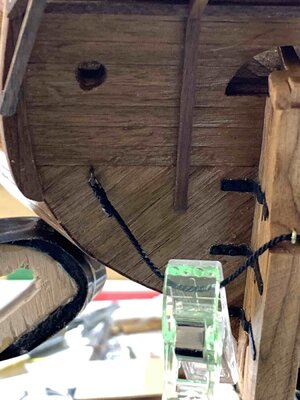
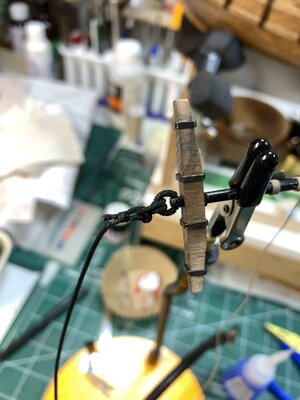
These two clothespins are holding rope (covered with a little bit of white glue) in hanging position...

SantaMAria925.jpg

SantaMAria924.jpg

SantaMAria927.jpg

SantaMAria928.jpg

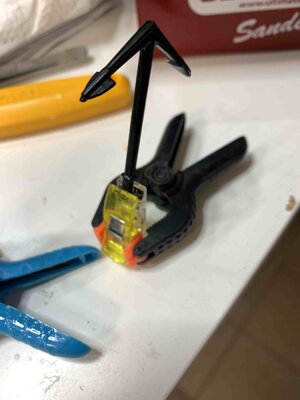
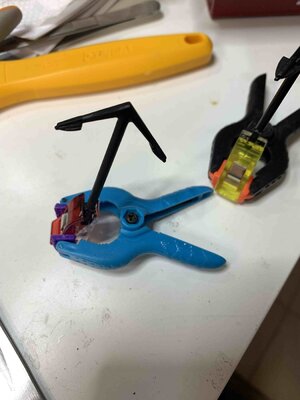
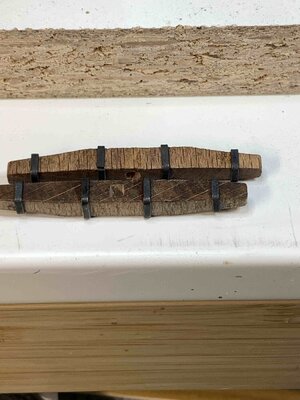
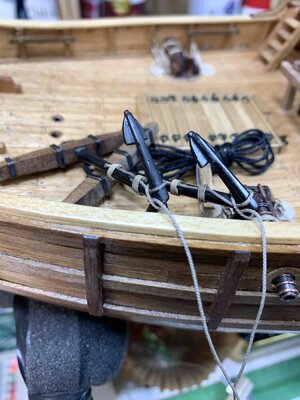
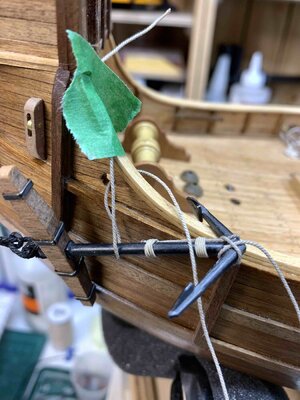
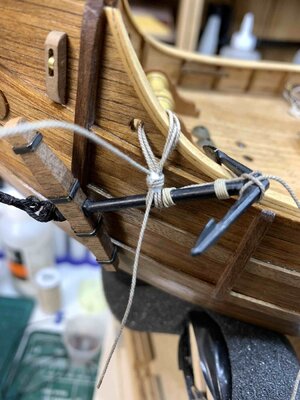
Anchors have been sanded and covered in flat black paint, drying and ready for a bit of weathering...

SantaMAria922.jpg

SantaMAria921.jpg

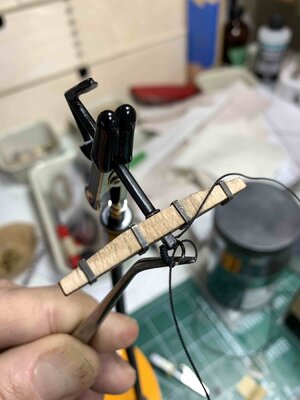
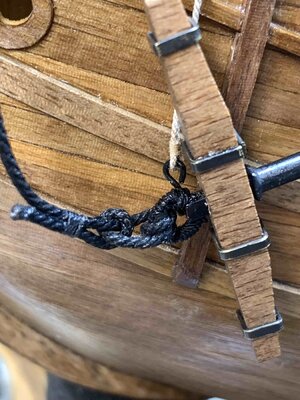
Stocks are sanded lightly and hoops mounted. At some time I will do pudding on anchor rings with black line, to simulate tarred cloth...

SantaMAria923.jpg

Happy modelling..
 
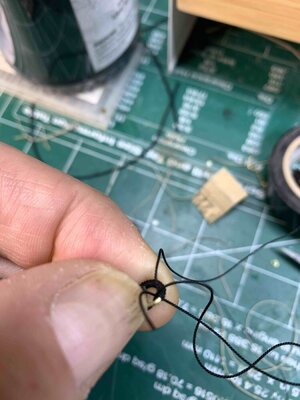
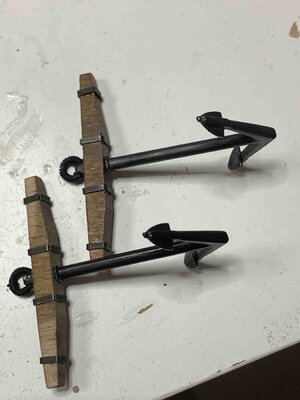
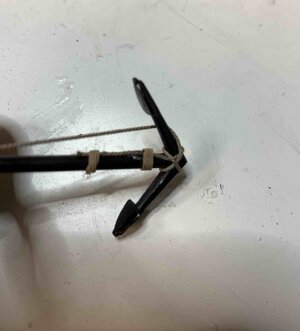
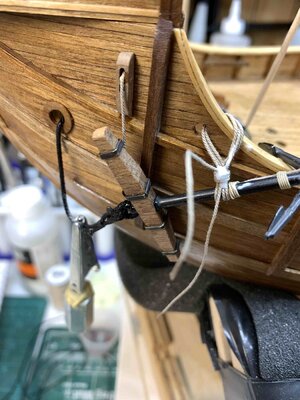
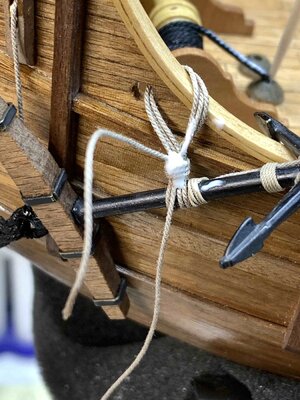
Paddening the anchor ring is completed... starting with two rope lines that will meet at the centre, where anchor knot will be positioned, hiding ropes meeting point.. from both ends of the ring, going towards the middle.. the black rope was first driven thru the shank opening and the ring was attached after.


SantaMAria930.jpg

SantaMAria93`.jpg

Both anchors are done. Since I painted anchors in flat black after filling them and removing all extra material, I applied some weathering in the form of graphite powder, which was brushed on the anchors. Very lightly, the top one has a graphite cover, the bottom one is waiting..

SantaMAria932.jpg

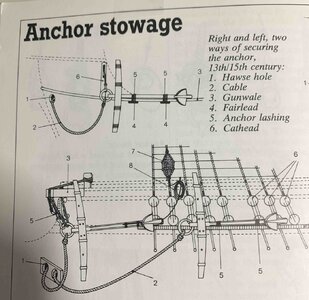
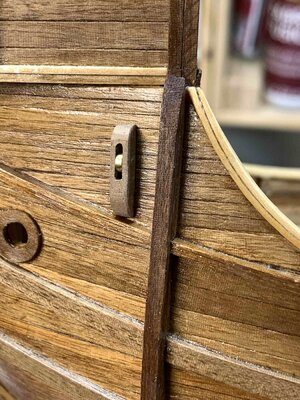
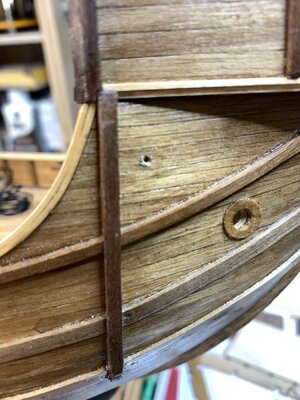
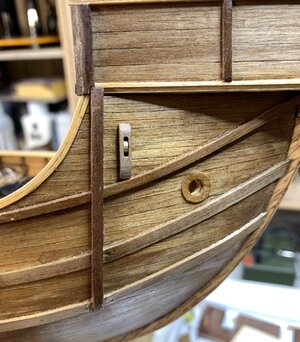
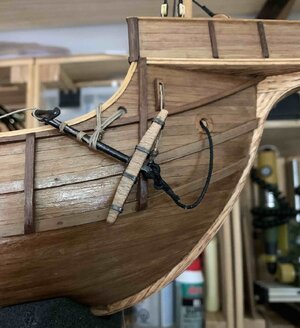
During research about SM, I noticed that cathead are not included in the kit so I decided to make one, in the form of D-block...

SantaMAria953.jpg

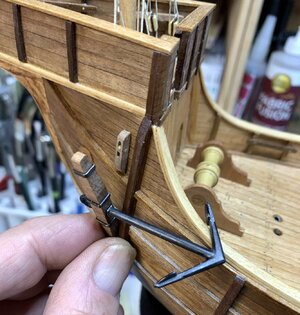
Also, since addition of a cathead will require some changes on anchor position (original anchor position will be to far away from the cathead), I decided to reposition them a bit, close to the cathead.. So this most likely will be the new location of anchors.

SantaMAria933.jpg

At the same time I made a call to make two buoys so added two buoy ropes..

SantaMAria934.jpg

SantaMAria935.jpg

Anchors ready and waiting on the deck, buoys will be done shortly..

SantaMAria936.jpg

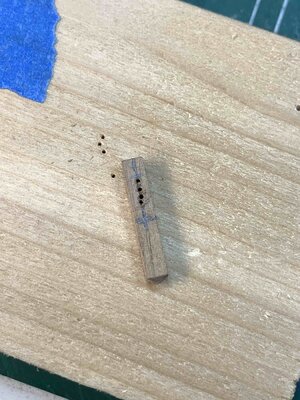
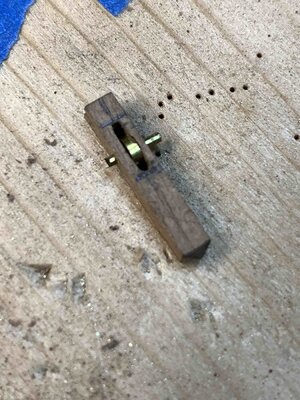
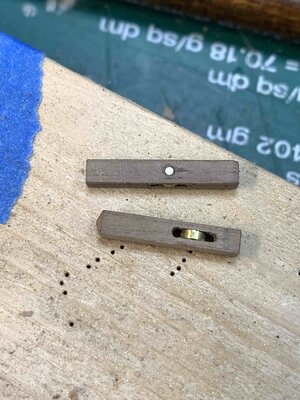
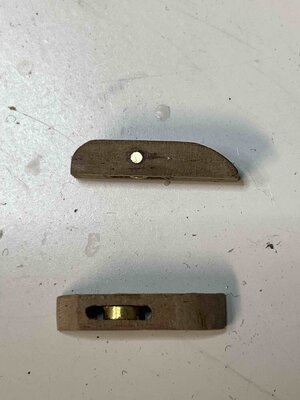
Back to cathead... a small piece of wood was drilled with few holes making a block...

SantaMAria937.jpg

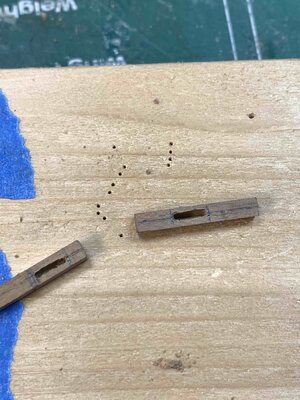
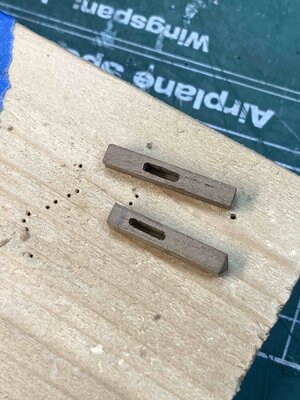
..hole flattened and filled...

SantaMAria938.jpg

SantaMAria939.jpg

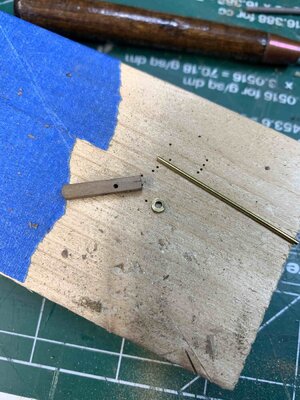
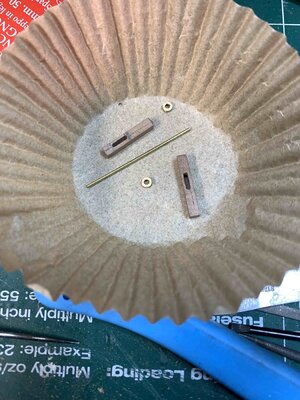
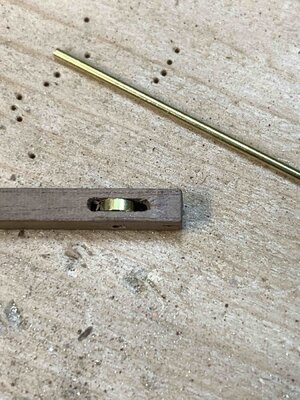
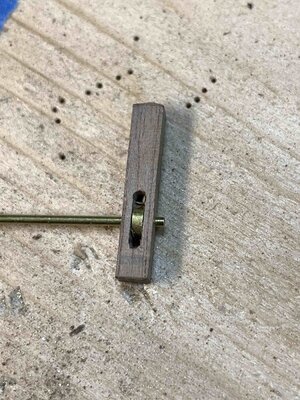
The shave was simulated by cutting 4mm brass pipe, making a shave 1mm thick. The 1mm rod will be used to secure shave to the block allowing it to rotate..

SantaMAria940.jpg

SantaMAria941.jpg

SantaMAria942.jpg

SantaMAria943.jpg

SantaMAria944.jpg

SantaMAria945.jpg

SantaMAria946.jpg

... and glued to the ship...

SantaMAria947.jpg

... and one on the other side... drilling a hole for the anchor cable...

SantaMAria948.jpg

... and attaching the D-block.

SantaMAria949.jpg

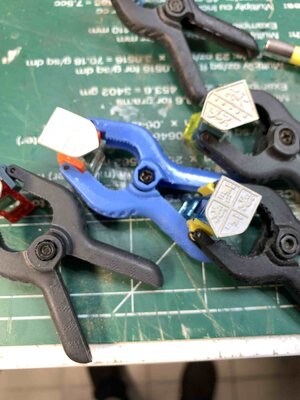
Then I prepared decorated shields by covering them in primer as I am planning to paint them.

SantaMAria950.jpg

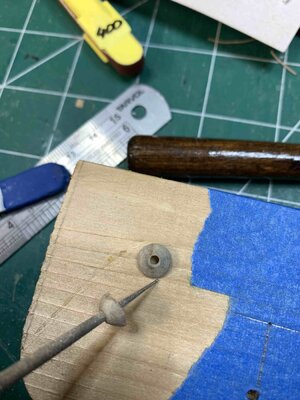
Next was to make hawse hole cover/cup out of a piece of wood. Simple sanding and drilling a hole was enough.

SantaMAria951.jpg

SantaMAria952.jpg

The original hawse holes will be covered with a ship kitchen I built before.

Happy modelling..
 
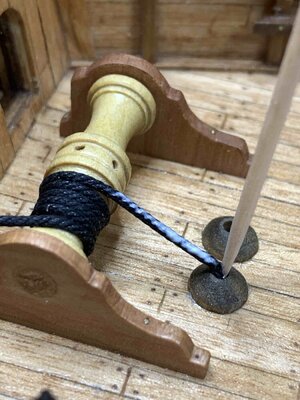
The anchor rope was added ..

SantaMAria954.jpg

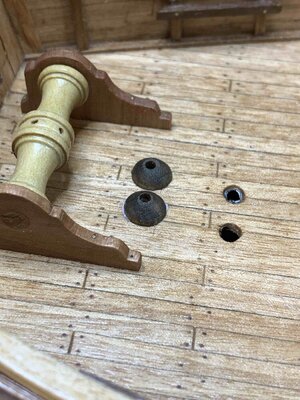
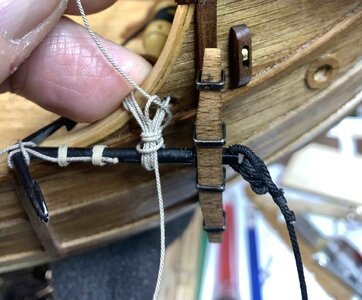
The idea was to attach an anchor using a new D-block (cathead) and securing it with a rope to the deck. The hole was made in the deck and rope was inserted into...

SantaMAria955.jpg

SantaMAria956.jpg

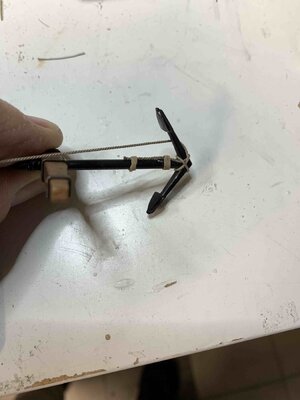
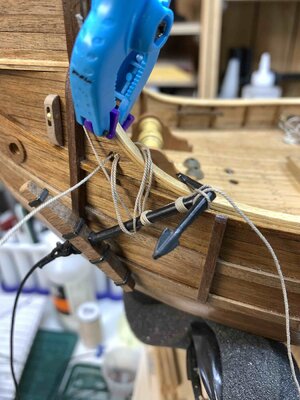
The rope fishing the anchor was added with a hook catching the anchor by the ring.

SantaMAria957.jpg

SantaMAria958.jpg

SantaMAria959.jpg

SantaMAria960.jpg

SantaMAria962.jpg


SantaMAria963.jpg

SantaMAria964.jpg

Little bit of a white glue will assist keeping the anchor line straight.

SantaMAria965.jpg

Happy modelling..
SantaMAria961.jpg
 
The second anchor mounted and secured...

SantaMAria966.jpg

SantaMAria967.jpg

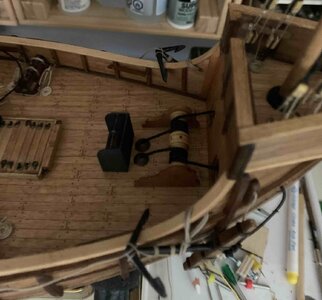
The anchor ropes are in place as well as ship' stove..

SantaMAria968.jpg

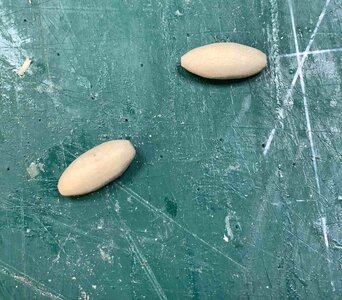
Two buoys were carved out of a piece of wood, 15mm in length and 7mm wide.

SantaMAria969.jpg

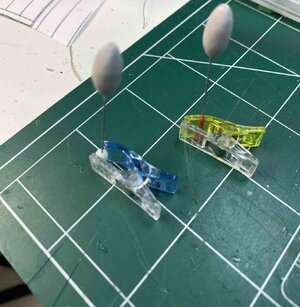
and covered with a tiny layer of grey primer.. I might even leave it as is, not paint them in white..

SantaMAria970.jpg

Happy modelling..
 
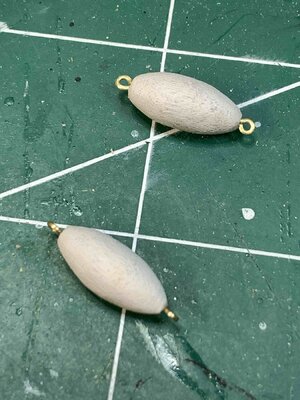
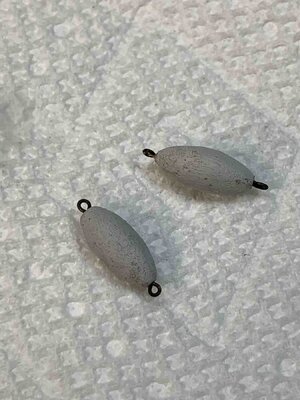
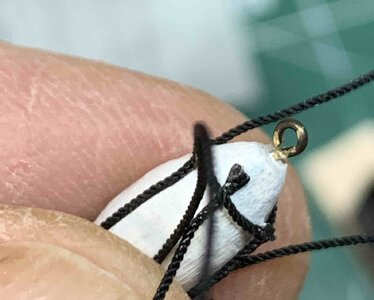
Work on buoys continue by adding two eyelets one each buoy. The eyelets were dipped into blackening liquid and cleaned up with fresh water.

SantaMAria971.jpg

SantaMAria972.jpg

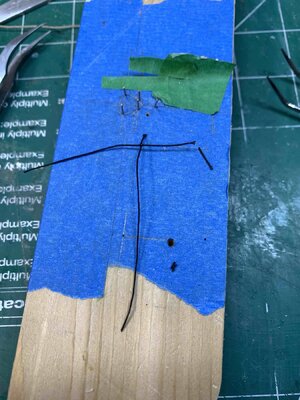
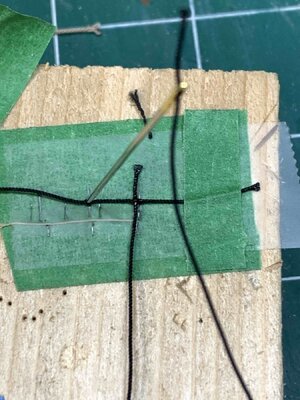
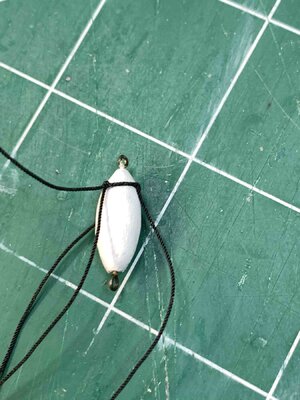
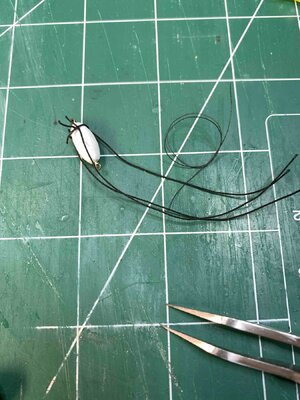
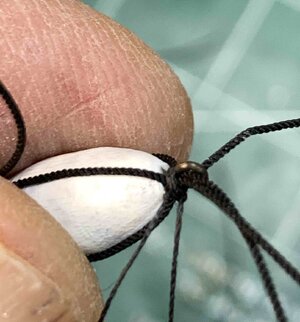
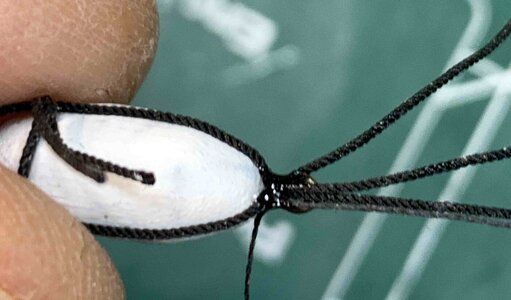
Then I started to work on buoy rigging. Two rows of three parallel twine threads were wrapped around buoy, each thread ending up around an eyelet on each end of the buoy. The seizing knot was applied on eyelet to secure the rigging..
For rigging, I used 0.4mm black rope, using colour contrast to show off the rigging and buoy structure. The vertical rope threads were inserted thru horizontal thread using a needle, must say very tiny place to run the rope... but the horizontal rope survived fatter needle and needle eye that was pulling thru horizontal rope basically duplicating thread width..

SantaMAria973.jpg

SantaMAria974.jpg

The excess of vertical rope was cut off to flash with horizontal. Then it was assembled around the buoy with a help from few drops of CA, holding the rigging at desired location..

SantaMAria975.jpg

SantaMAria978.jpg

Seizing knot was used to secure the rigging to one eyelet and excess rope length was cut.

SantaMAria976.jpg


SantaMAria979.jpg

The challenge begins when you need to add secondary parallel twine threads, thru the existing one... make a small channel under the existing vertical rope with a help of a needle (or any other sharp object) just to separate vertical thread from buoy, then apply a bit of a CA glue to the end of pulling rope, squeeze the end to make screwdriver-shaped end and pushing it under...

SantaMAria977.jpg

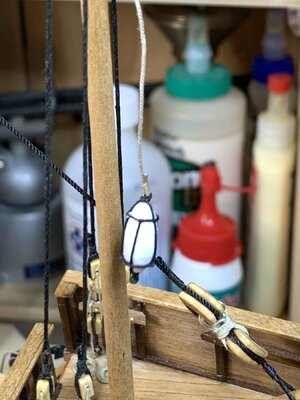
Then I was attaching it to the anchor.... positioned like this just for a display..

SantaMAria980.jpg

After buoys were completed, I continue making sails, this time the main sail was on to-do list.. Same process as for other sails...

SantaMAria981.jpg

SantaMAria982.jpg

Fairly unique width of the overlapping area..

SantaMAria983.jpg

At the edges of a sail material that will be cut to sail dimensions, I run a line of a D3 white glue to secure the threads and to avoid material splitting as much as I can.

SantaMAria984.jpg

SantaMAria985.jpg

Happy modelling..
 
Back
Top