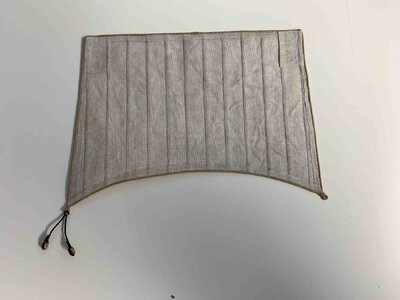
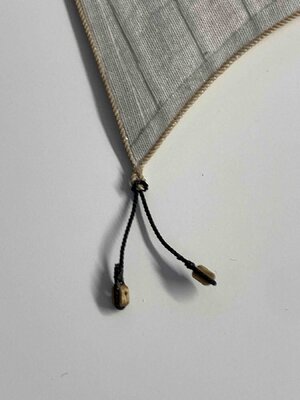
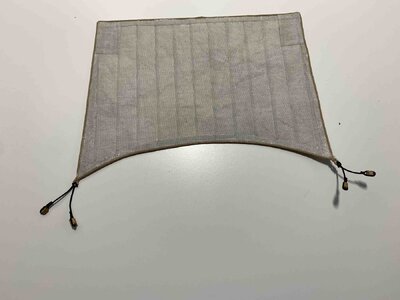
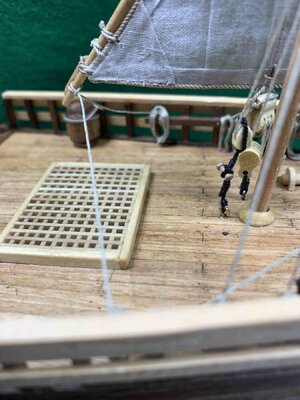
Columbus ships, Santa Maria and Pinta, kit by Amati... [COMPLETED BUILD]

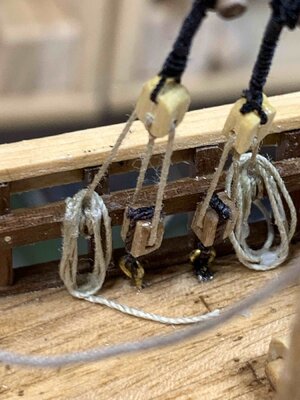
Back to work on Pinta... I hate when I work on the model, finish some parts but they are still easy to be replaced and I noticed some other solutions, that is more appealing to my eyes... this happened to my standing rigging that are ending up in a deadeyes, completed already but easy replaced...

Final solution..
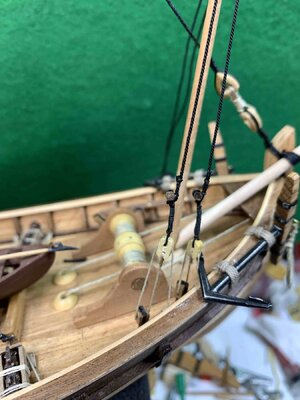
SantaMAria1062.jpg

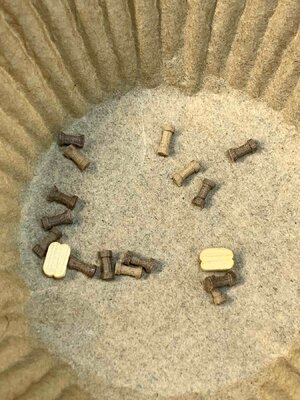
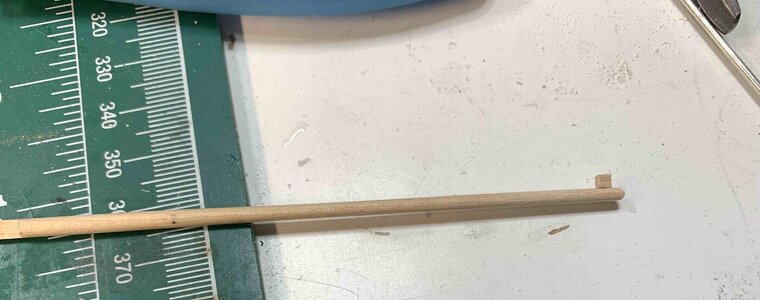
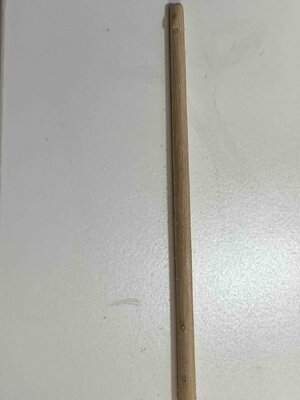
For this I used some left over parts, 2x2mm and using proxxon, sanded down to a rod...
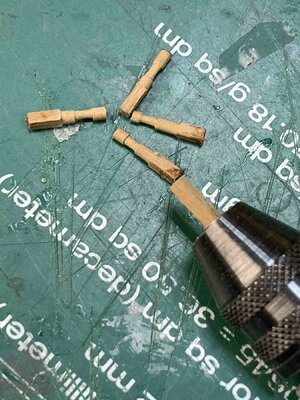
SantaMAria1055.jpg

SantaMAria1056.jpg

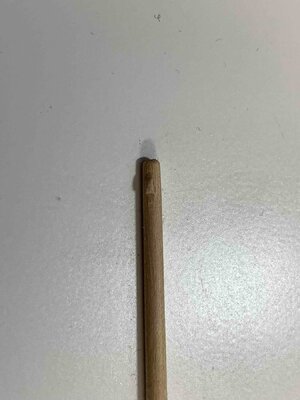
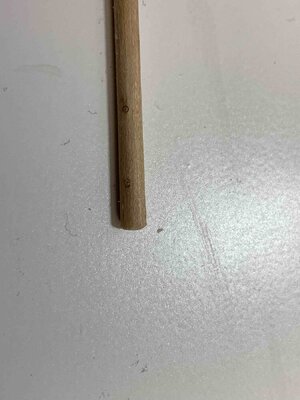
Then I sanded the 3mm kind of grove in the middle of the wood part, cut of the top (1mm) and cut of the bottom (1mm) while part is still spinning.. I found it easier to finish up all while holding the block with Proxxon instead of cutting it later..
This is how they look before cutting the bottom - now I had to add them back to the Proxxon and cut off bottom part..

SantaMAria1057.jpg

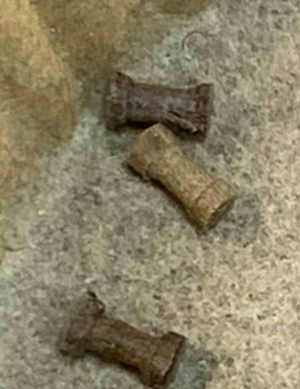
End result...

SantaMAria1058.jpg

Approximately 4.5 to 5mm length of this parts (cannot find the correct name... if anyone knows the name, pls comment).
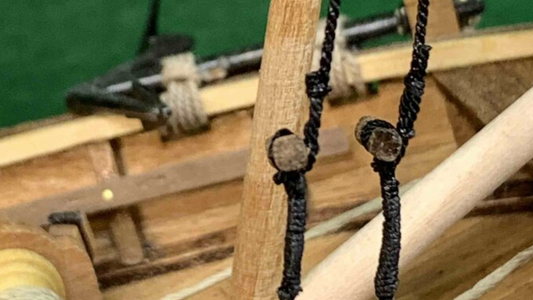
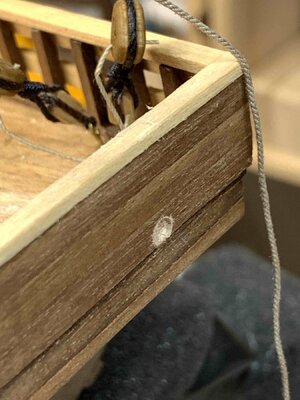
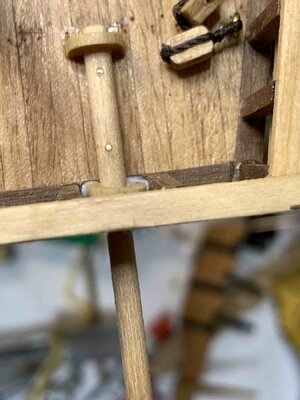
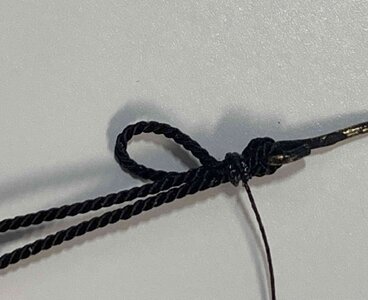
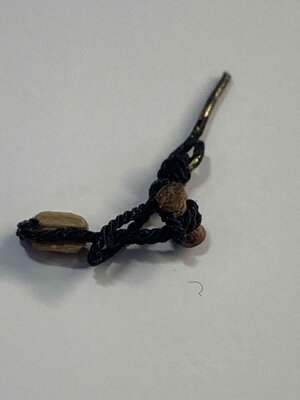
Then I attached them to the blocks.. For this I had to make two extra holes in side of the blocks. Sometimes kit has few non perfect items, in this case very useful for me since I have to drill two holes, one towards the top and another towards the bottom of the block so original, factory made hole should be close to the middle of the block, not leaning towards either side, top/bottom.

SantaMAria1059.jpg

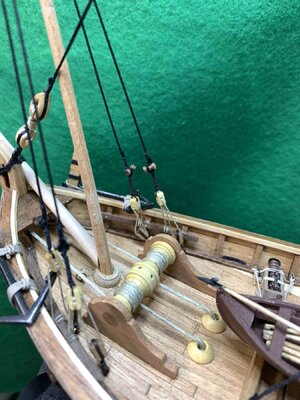
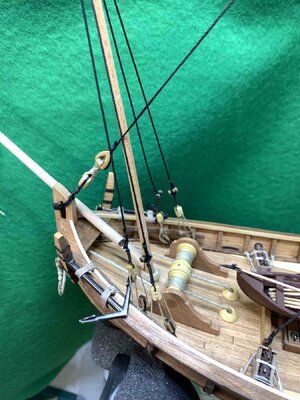
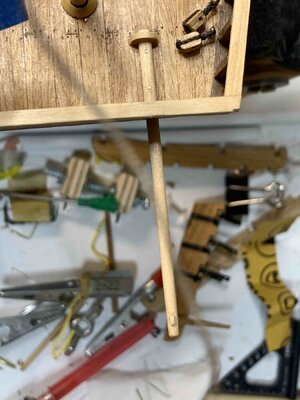
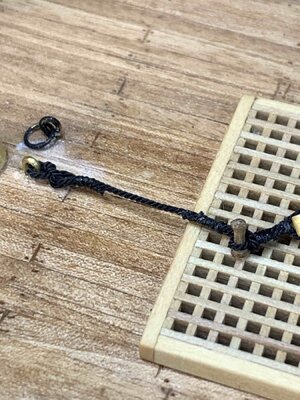
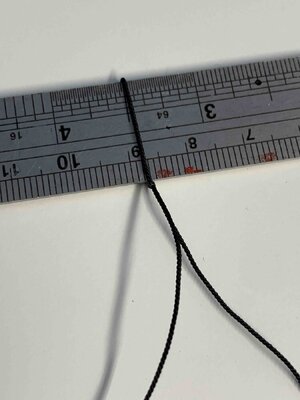
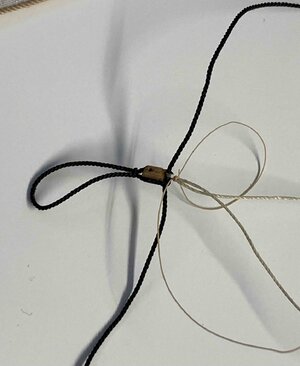
I have to replace the rigging rope since it will be to short for this new application but, again, as they are easily replaced, no problem there...

SantaMAria1060.jpg

SantaMAria1061.jpg

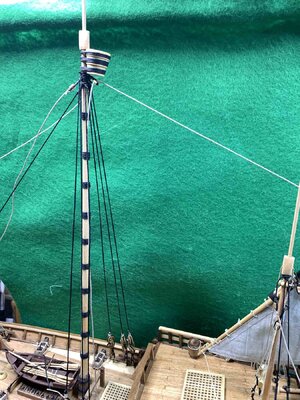
Main mast will stay with deadeyes rigging and fore and mizzen masts will get the new assembly...
Must rush with sail install so I cannot get into replacement mood again....

Happy modelling..
 
Back to work on Pinta... I hate when I work on the model, finish some parts but they are still easy to be replaced and I noticed some other solutions, that is more appealing to my eyes... this happened to my standing rigging that are ending up in a deadeyes, completed already but easy replaced...

Final solution..

View attachment 418967

For this I used some left over parts, 2x2mm and using proxxon, sanded down to a rod...
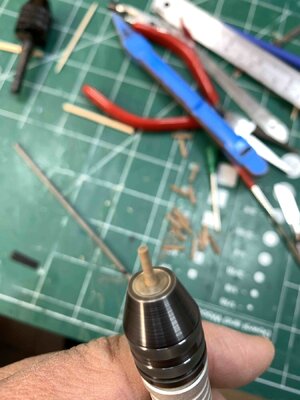
View attachment 418974

View attachment 418973

Then I sanded the 3mm kind of grove in the middle of the wood part, cut of the top (1mm) and cut of the bottom (1mm) while part is still spinning.. I found it easier to finish up all while holding the block with Proxxon instead of cutting it later..
This is how they look before cutting the bottom - now I had to add them back to the Proxxon and cut off bottom part..
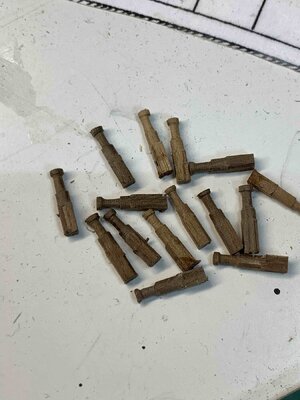
View attachment 418972

End result...

View attachment 418971

Approximately 4.5 to 5mm length of this parts (cannot find the correct name... if anyone knows the name, pls comment).
Then I attached them to the blocks.. For this I had to make two extra holes in side of the blocks. Sometimes kit has few non perfect items, in this case very useful for me since I have to drill two holes, one towards the top and another towards the bottom of the block so original, factory made hole should be close to the middle of the block, not leaning towards either side, top/bottom.
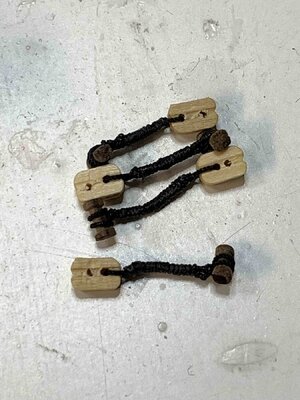
View attachment 418970

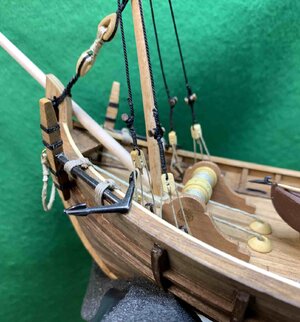
I have to replace the rigging rope since it will be to short for this new application but, again, as they are easily replaced, no problem there...
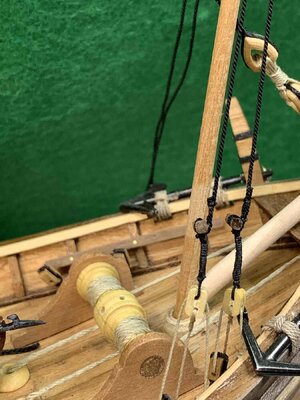
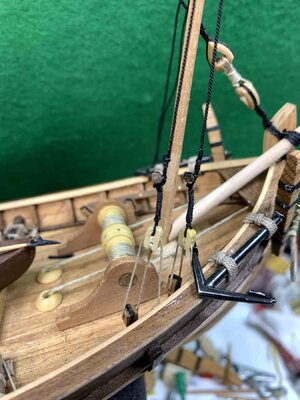
View attachment 418969

View attachment 418968

Main mast will stay with deadeyes rigging and fore and mizzen masts will get the new assembly...
Must rush with sail install so I cannot get into replacement mood again....

Happy modelling..
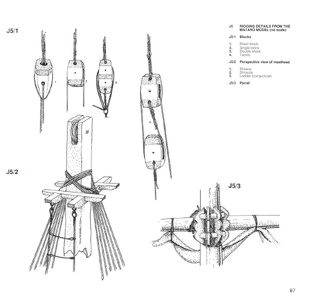
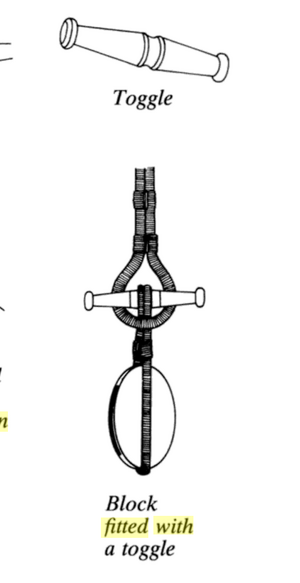
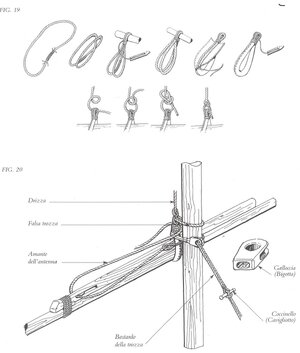
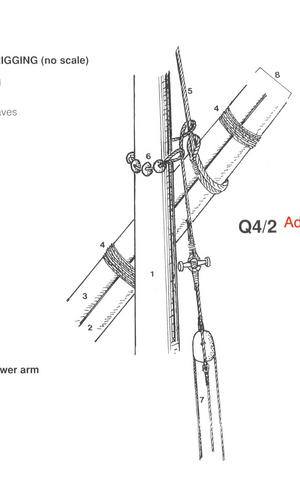
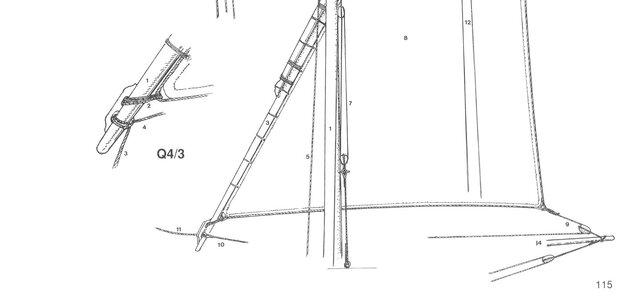
Hi Moreplovac, see if these images can help you. Frank

bozz.jpg
 
Excellent, thanks Frank.... I really have to wrap up my Pinta/SM otherwise I am going to rip off all and start again :)

Frank, do you mind sharing the book/kit manual name this picture is from?
Hello more plovac , it is an Italian language book " Italian Sails" not from Kit. Frank
 
Hello more plovac , it is an Italian language book " Italian Sails" not from Kit. Frank
Thanks Frank48,

do you mind sharing the full name/title of the book you have mentioned " Italian Sails"? I do have some ways of tanslating Italian..

Appreciated..
 
Hello more plovac , it is an Italian language book " Italian Sails" not from Kit. Frank
Ciao Frank, sei una meravigliosa fonte di conoscenza e guida. Potresti per favore postare il nome italiano del libro ( Italian Sails) e il numero ISBN, per favore. Gracie mille. Franco.
 
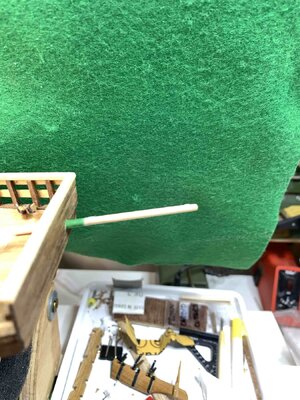
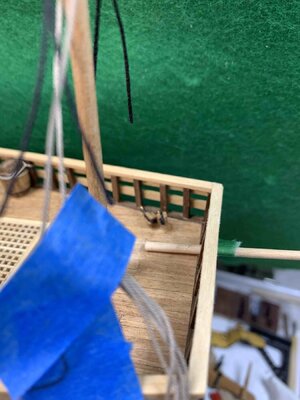
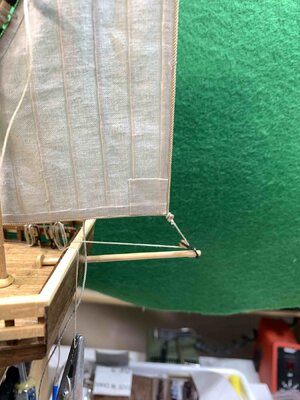
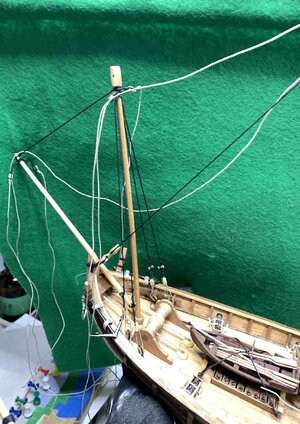
I am guessing this part is called outrigger, in Italian "buffafuori" (pls correct me if am wrong)...

SantaMAria1069.jpg

So the hole was drilled in the hull, and outrigger was shaped out of some old, broken yard.

SantaMAria1070.jpg

SantaMAria1071.jpg

Two, simulating nails, pieces of 0.6mm wire, sanded flush..

SantaMAria1072.jpg

SantaMAria1073.jpg

And attached to the deck...

SantaMAria1074.jpg

SantaMAria1075.jpg

SantaMAria1076.jpg

SantaMAria1077.jpg

A bit more work...

SantaMAria1078.jpg

SantaMAria1079.jpg

Happy modelling..
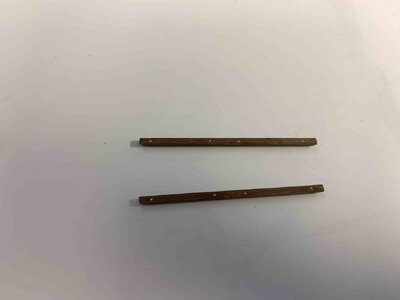
 
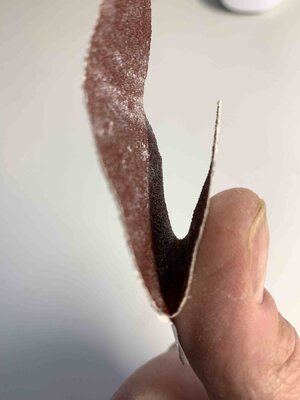
Always struggling with keeping sand paper in my fingers while sanding yards, masts, etc.... now I "discovered" sanding paper that goes to rotary tool and has a glue on the back.... cut small strips and no more slipping... works perfectly..

SantaMAria1080.jpg

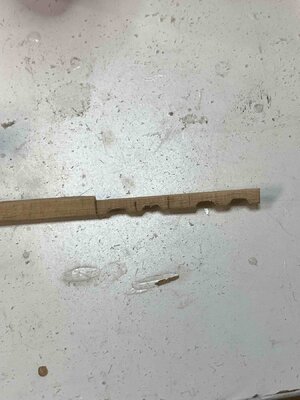
Decided to add small details on lateen yard lower arm...

SantaMAria1082.jpg

Using some old broken mast piece, sanded to 1mm thinkers and made these few openings..

SantaMAria1081.jpg

SantaMAria1083.jpg

Sanded edges and applied a layer of tung oil..

SantaMAria1084.jpg

Happy modelling..
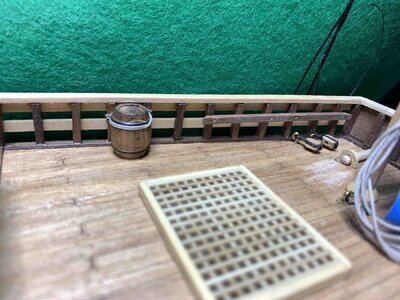
 
A little work on rope coils was done on Pinta...

SantaMAria1085.jpg

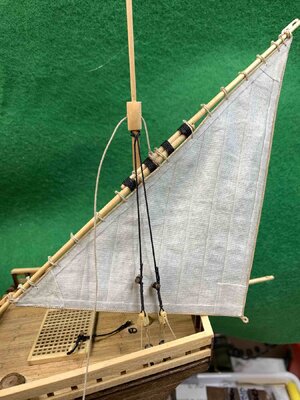
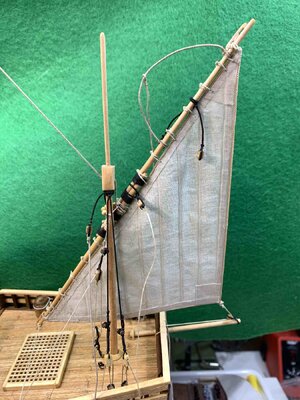
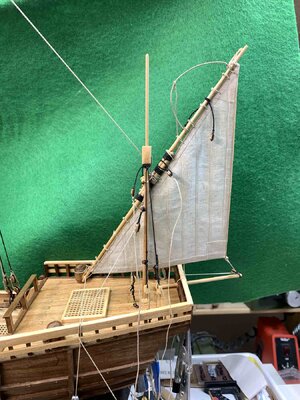
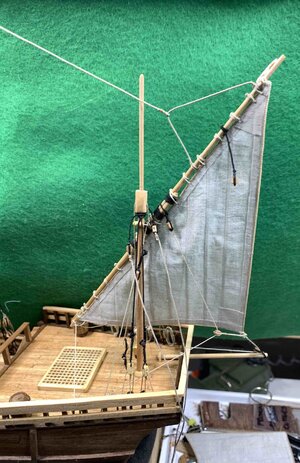
Getting ready to accommodate mizzen sail...

SantaMAria1086.jpg

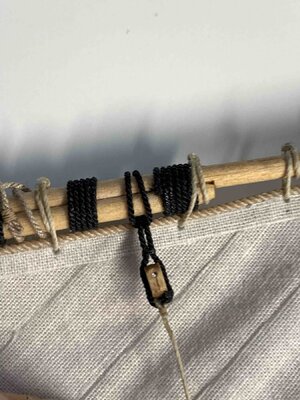
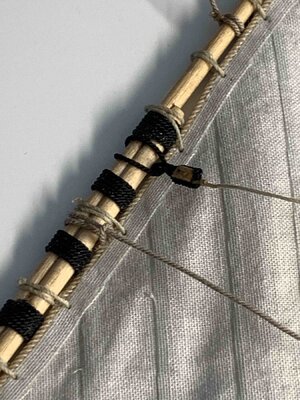
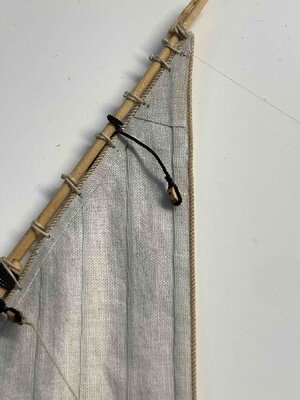
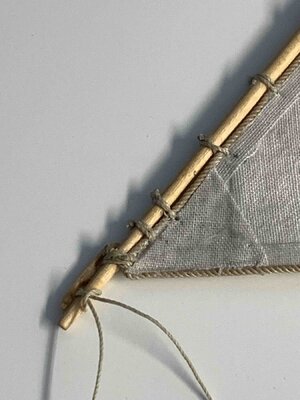
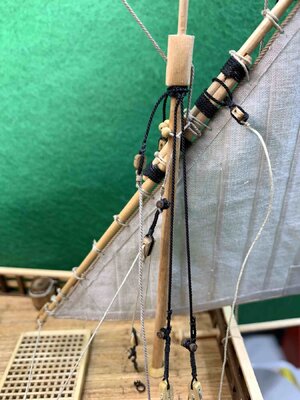
Working on blocks rigging for mizzen sail..

SantaMAria1087.jpg

SantaMAria1088.jpg

Installed product..

SantaMAria1089.jpg

SantaMAria1090.jpg

SantaMAria1091.jpg

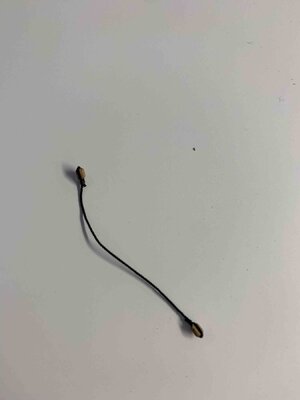
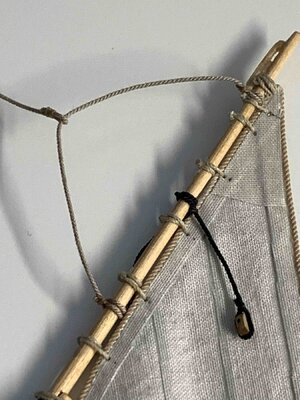
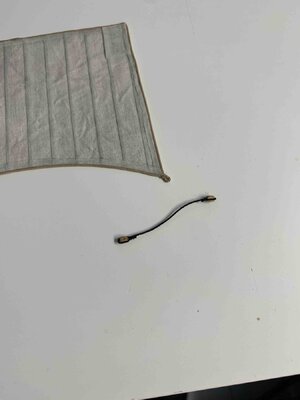
Another block rigging work for mizzen sail..

SantaMAria1092.jpg

And installed on the sail..

SantaMAria1093.jpg

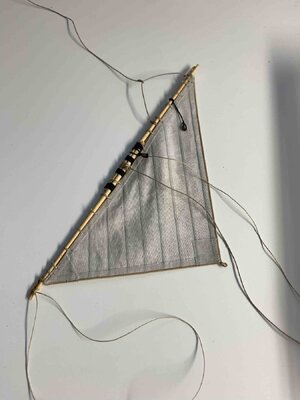
Mizzen sail details..

SantaMAria1094.jpg

SantaMAria1095.jpg

SantaMAria1096.jpg

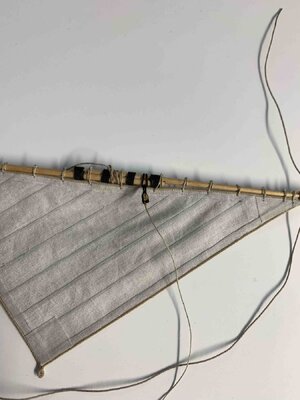
Testing the fitting..

SantaMAria1097.jpg

And with most of the rigging assembled on the sail..

SantaMAria1098.jpg

SantaMAria1099.jpg

SantaMAria1100.jpg

Waiting for final assembly..

SantaMAria1101.jpg

Hapy modelling..
 
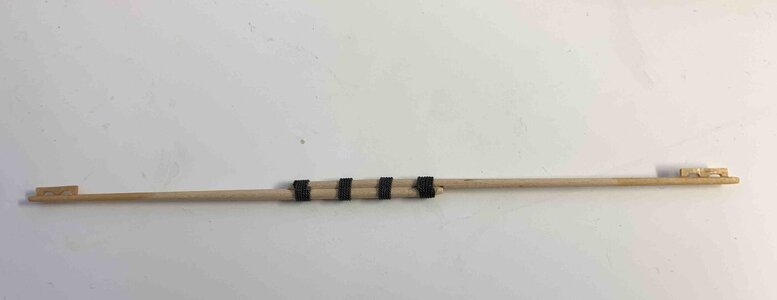
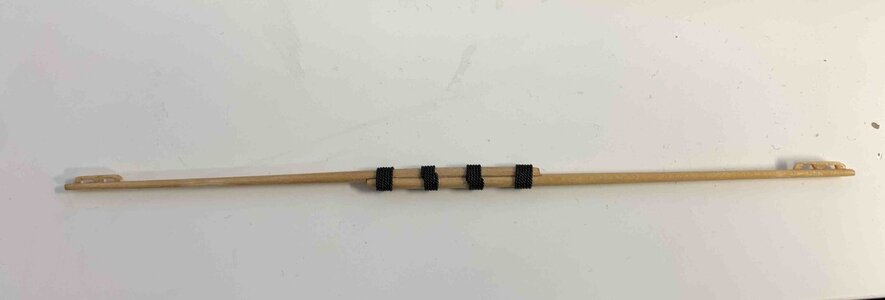
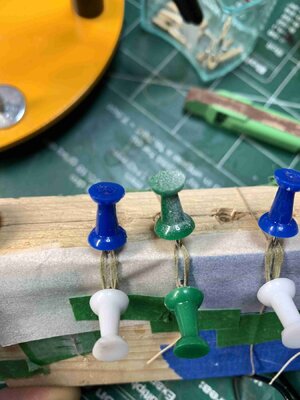
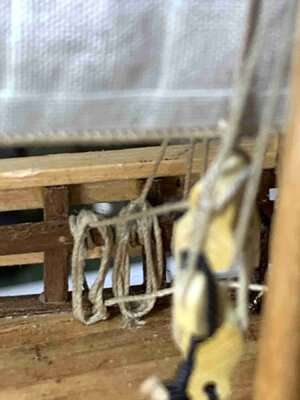
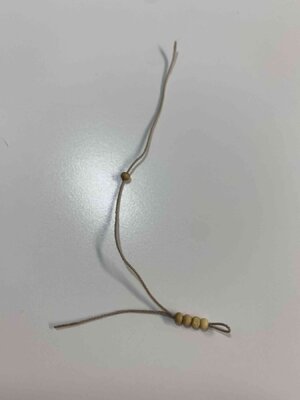
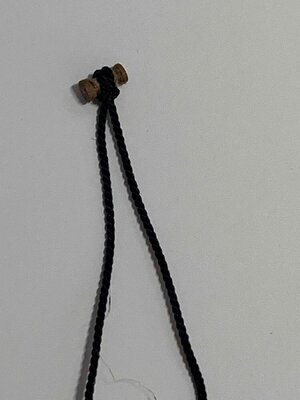
Continue with rope coils using my small helper... then before fixing the rigging line, I run the line thru the coil and after rigging is attached to the ship, I just glue the coil to the deck, after it was slide down the rope.

SantaMAria1102.jpg

SantaMAria1103.jpg


Happy modelling..
 
Last edited:
For all SM builder... if you find useful mainsail cross I made, I can share pdf file in 1:1 scale which can be printed out, just PM me.. After few attempts to paint the cross by hand that did not produce satisfactory results, I decided to use software and made/print/transfer to the sails, both for Pinta and Santa Maria.

The lacing continue...

View attachment 416342

View attachment 416341

.. and finally done.

View attachment 416339


View attachment 416338

View attachment 416337

Now it is time to be attached to the main yard.

View attachment 416336

Happy modelling..
View attachment 416340
Wow that is good
 
A bit more work on foremast sail and yard...

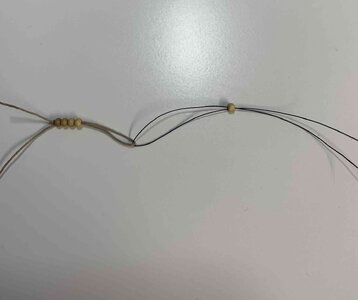
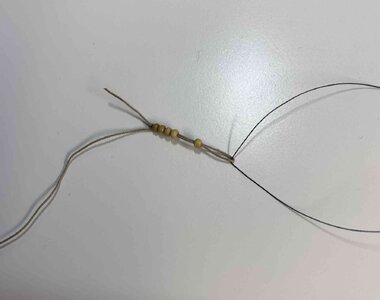
Driving a line thru little openings in "formagette" can be a bit of a challenge ..

SantaMAria1112.jpg

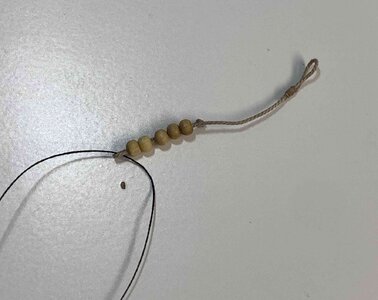
.. but extra line used to pull the main rope thru works just fine..

SantaMAria1113.jpg


SantaMAria1114.jpg

... and completed.. and ready for yard.

SantaMAria1115.jpg

Small rigging details...

SantaMAria1116.jpg

SantaMAria1117.jpg

SantaMAria1118.jpg

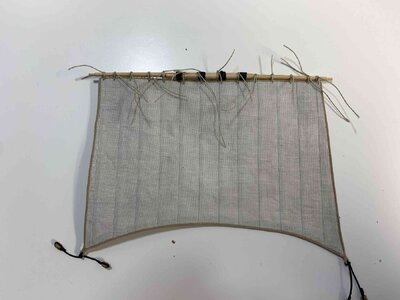
Sail completed, ready for final trimming and mounting..

SantaMAria1119.jpg

Happy modelling..
 
Back
Top