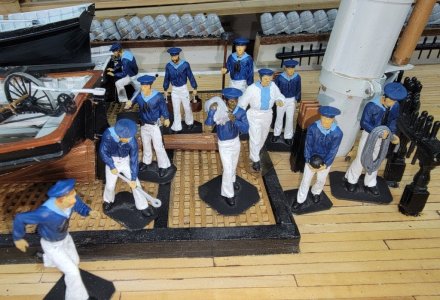
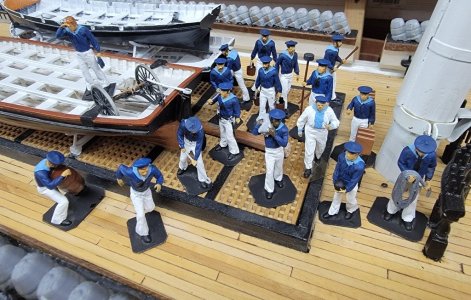
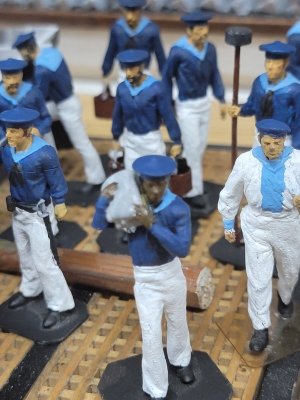
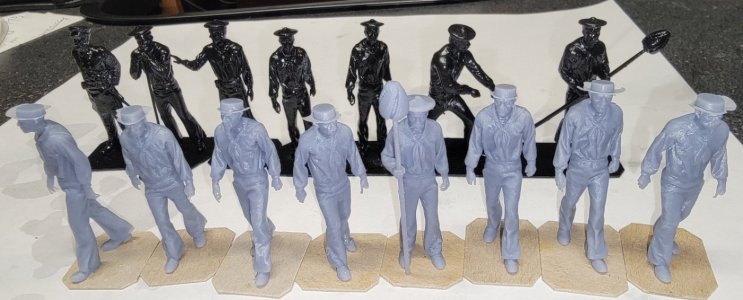
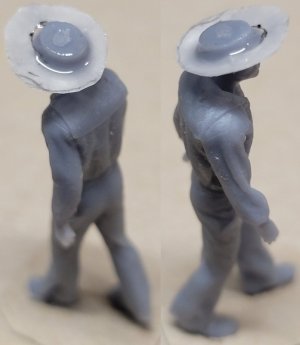
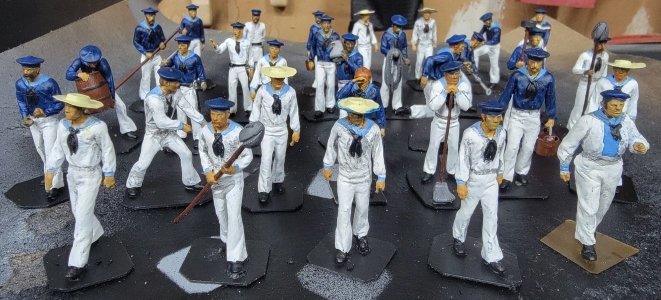
Don't have paint for hair and stuff yet, but I did have more figures to paint, as much as I could, so...
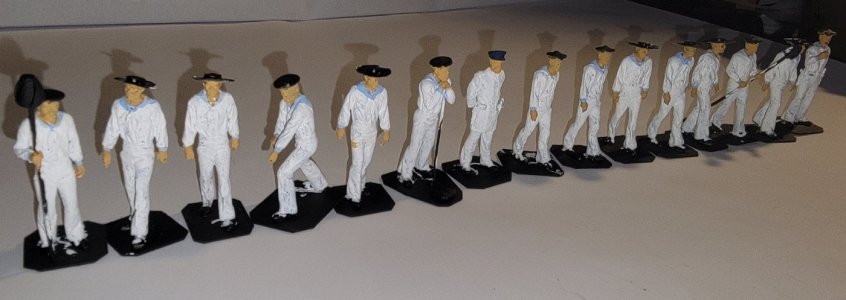
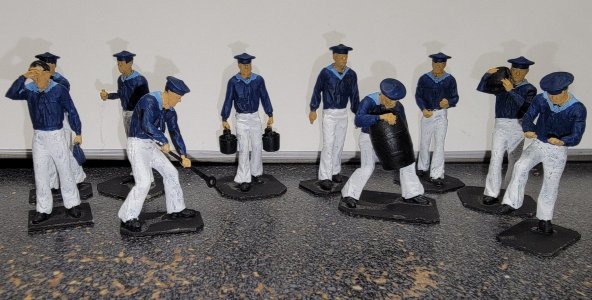
Dark blue and light blue, next is white pants
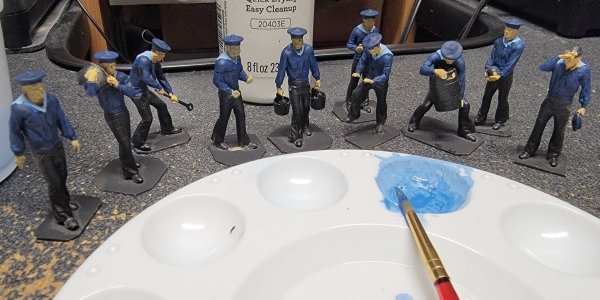
Here's about as far as I can get. Let 'em dry and do a little touch-up. The new colors are due tomorrow and they'll all get haircuts and their beards trimmed.
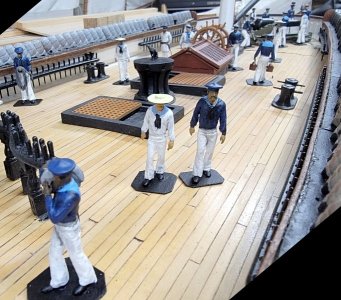
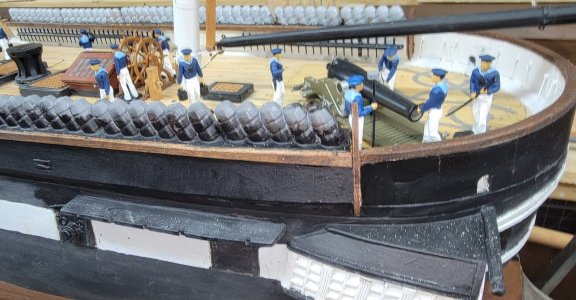
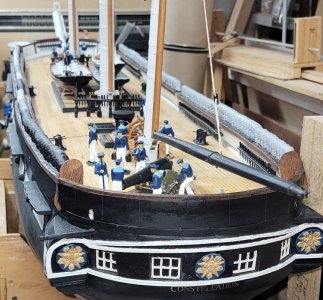
For now they join the other fellas on board
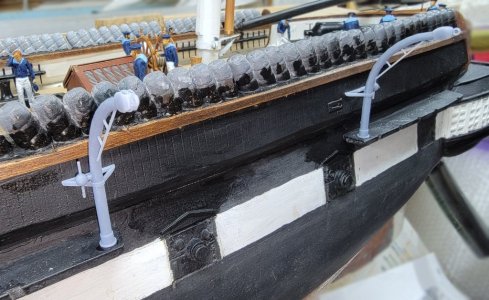
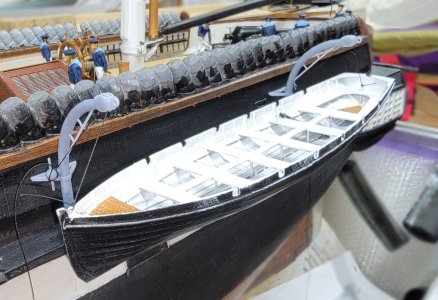
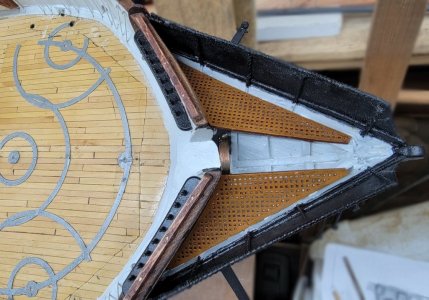
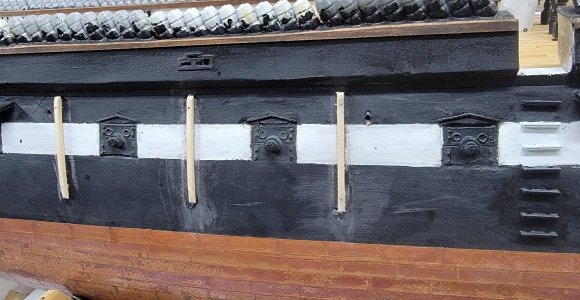
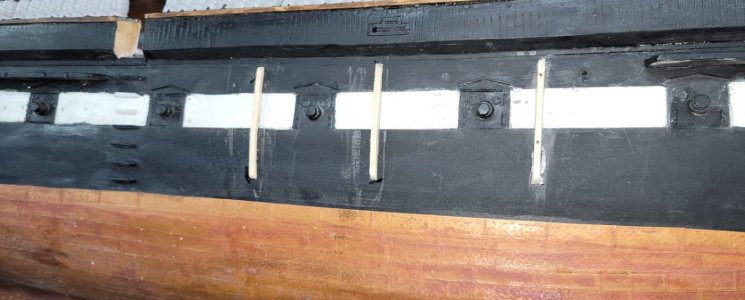
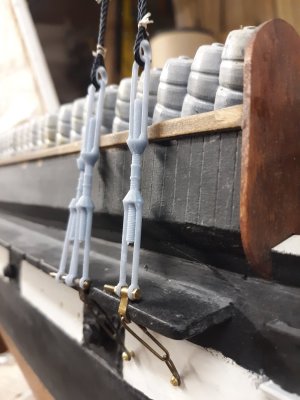
Back to "real work;" I've been thinking about those metal braces for the pin-rails.
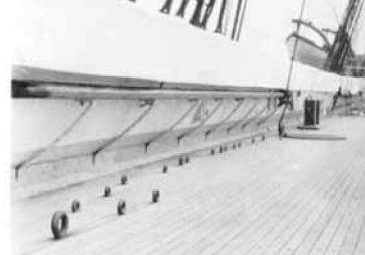
I intend to make them from sheet brass strips, (blacken them, because painting will be a nightmare if I try to paint more than the front faces), and CA them in place. There's a lot of them 8 on each side for the mizzen rails alone, and look to be space about 5 pin-holes apart. They're very simple, but dry-fitting one was impossible to hold on to. I don't think I will get that level of dexterity back Having one pop off with CA on it would be crap. So I'm trying to think of options short of not doing them at all, well, there will be a bunch of rope coils hiding most of them anyway.
-Some foam-tape padding on the needle-nose pliers so they're less apt to turn in the jaws
-PVA gluing them to toothpick "handles."
-bupkis
It just occurred to me this moment that I should have attached them to the pin-rails when I was installing them, then I'd only have to CA the bottoms to the bulwarks after. I think that bit of brain must have died in the stroke and only this instant, finally reconnected. At any rate, I'm not removing the pin-rails to stick brass tabs on them. I only add that thought for the sake of readers that may be approaching a similar item in their model.
Dark blue and light blue, next is white pants

Here's about as far as I can get. Let 'em dry and do a little touch-up. The new colors are due tomorrow and they'll all get haircuts and their beards trimmed.

For now they join the other fellas on board


Back to "real work;" I've been thinking about those metal braces for the pin-rails.

I intend to make them from sheet brass strips, (blacken them, because painting will be a nightmare if I try to paint more than the front faces), and CA them in place. There's a lot of them 8 on each side for the mizzen rails alone, and look to be space about 5 pin-holes apart. They're very simple, but dry-fitting one was impossible to hold on to. I don't think I will get that level of dexterity back Having one pop off with CA on it would be crap. So I'm trying to think of options short of not doing them at all, well, there will be a bunch of rope coils hiding most of them anyway.
-Some foam-tape padding on the needle-nose pliers so they're less apt to turn in the jaws
-PVA gluing them to toothpick "handles."
-bupkis
It just occurred to me this moment that I should have attached them to the pin-rails when I was installing them, then I'd only have to CA the bottoms to the bulwarks after. I think that bit of brain must have died in the stroke and only this instant, finally reconnected. At any rate, I'm not removing the pin-rails to stick brass tabs on them. I only add that thought for the sake of readers that may be approaching a similar item in their model.


