• LUCZORAMA SHIPWRECK SCAVENGER HUNT GIVEAWAY. 4 Weeks of Fun • 1 Legendary Prize ((OcCre’s Fram Ship)) • Global Crew Welcome!
    **VIEW THREAD HERE**

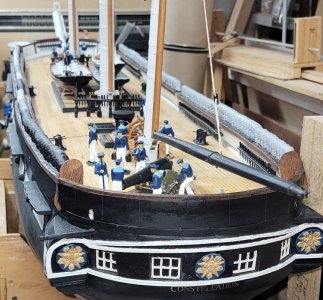
Constellation, the sloop of war c.1856 in 1:36 scale for R/C sailing

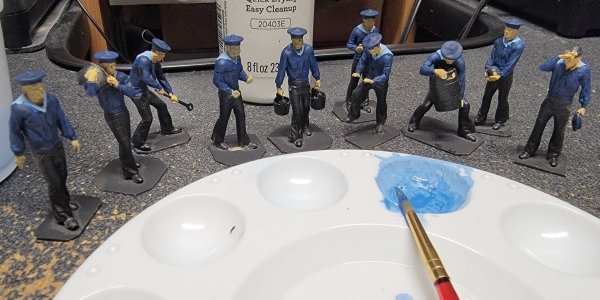
Don't have paint for hair and stuff yet, but I did have more figures to paint, as much as I could, so...
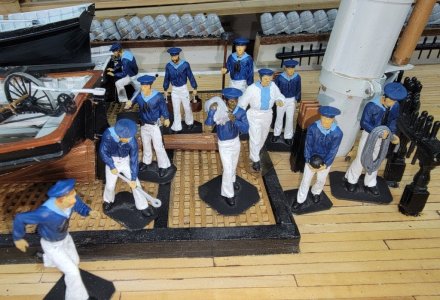
Dark blue and light blue, next is white pants
con20250623a.jpg

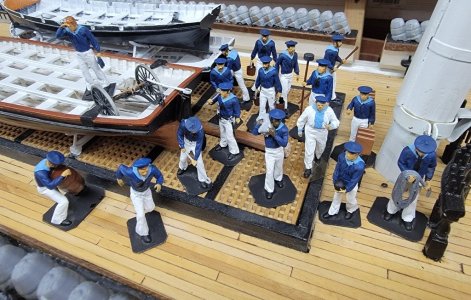
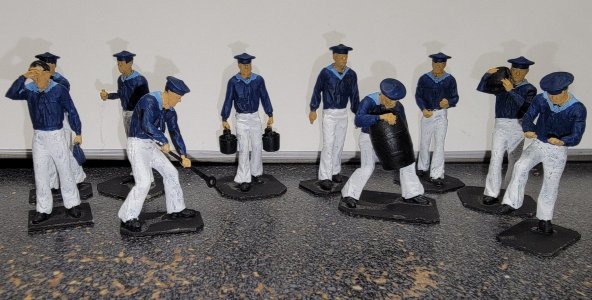
Here's about as far as I can get. Let 'em dry and do a little touch-up. The new colors are due tomorrow and they'll all get haircuts and their beards trimmed.
con20250623b.jpg

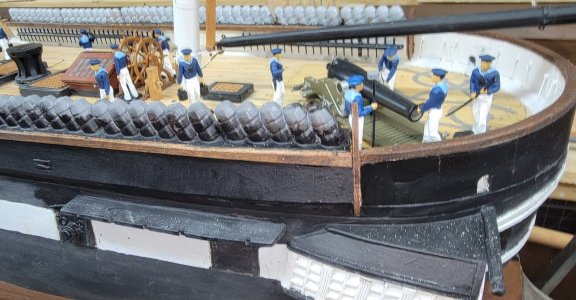
For now they join the other fellas on board
con20250623g.jpg con20250623h.jpg

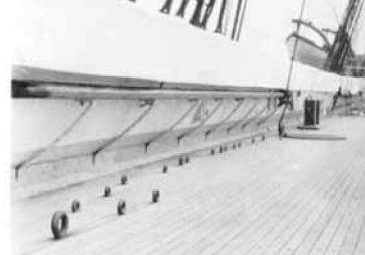
Back to "real work;" I've been thinking about those metal braces for the pin-rails.
pinrail_braces.png

I intend to make them from sheet brass strips, (blacken them, because painting will be a nightmare if I try to paint more than the front faces), and CA them in place. There's a lot of them 8 on each side for the mizzen rails alone, and look to be space about 5 pin-holes apart. They're very simple, but dry-fitting one was impossible to hold on to. I don't think I will get that level of dexterity back Having one pop off with CA on it would be crap. So I'm trying to think of options short of not doing them at all, well, there will be a bunch of rope coils hiding most of them anyway.

-Some foam-tape padding on the needle-nose pliers so they're less apt to turn in the jaws
-PVA gluing them to toothpick "handles."
-bupkis
It just occurred to me this moment that I should have attached them to the pin-rails when I was installing them, then I'd only have to CA the bottoms to the bulwarks after. I think that bit of brain must have died in the stroke and only this instant, finally reconnected. At any rate, I'm not removing the pin-rails to stick brass tabs on them. I only add that thought for the sake of readers that may be approaching a similar item in their model.
 
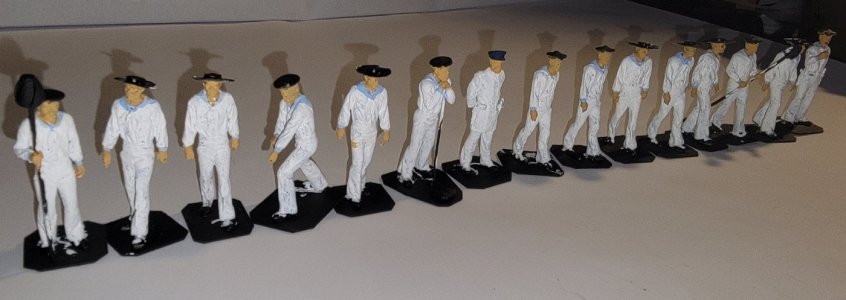
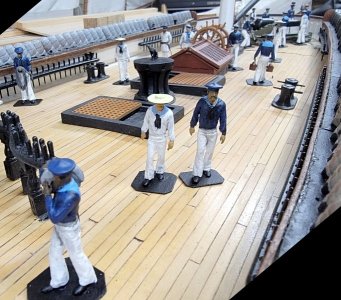
All the crew are paint, at least till I print more ;)
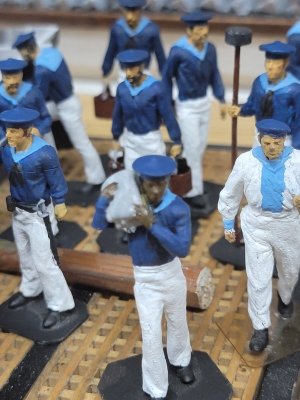
I think I found a good shade of brown for my Black crewman; all these fellas should look like they've been out in the sun for a while, even him.
There's some little thing to touch-up, but they're pretty much done.
Ivan got a new shirt/jumper; does it make him look fat?
con20250624f.jpg con20250624l.jpg con20250624m.jpg con20250624n.jpg
 
A few thunderstorms have blown through, knocking out power for a few minutes several times, but in between I managed to modify three of the sailors.
Two of the walking fellas I put straw hats on, and the rammer guy got a sponge and a different head, so he's a match for the rammer guy.
modded_sailors.png

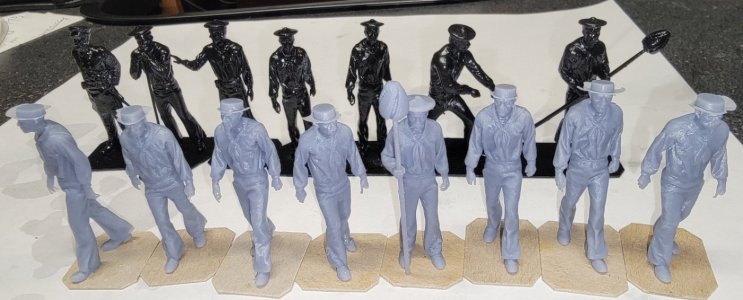
While working on that I had a batch of the existing figures printing. I had 11 of them on the plate, but only 7 came out.
They're primed and painting them will get started if the primer dries in this humidity. The three modded guys are just about done printing now.
con20250625a.jpg

I watched a few Blender videos and think I get how to repose a figure. I have one that looks like he's pushing a capstan bar that I hope to be able to repose in several positions like climbing, sitting, and so on.
 
Last edited:
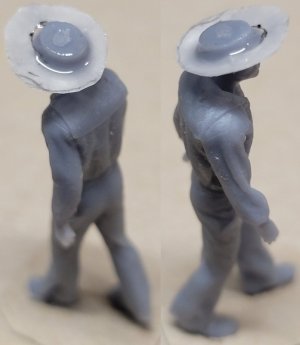
After priming the Magnificent Seven, the next batch consisting of the figures I modified, came off the printer. I apparently made the straw hat brims too thin and they didn't survive the printing process, but everyone came out otherwise.
con20250626a.jpg

I thickened the hat brims in the file, and set about repairing these fellas.
I cut out hat brims from used 20lb paper, made a hole for the crown with a hole-punch, painted it with resin from the printer, and zapped it quick with UV light. I brushed on more resin to fill any holes, zapping it between applications, and being careful not to zap for too long or the heat generated might burn the part.

con20250627f.jpg con20250627g.jpg
 
Last edited:
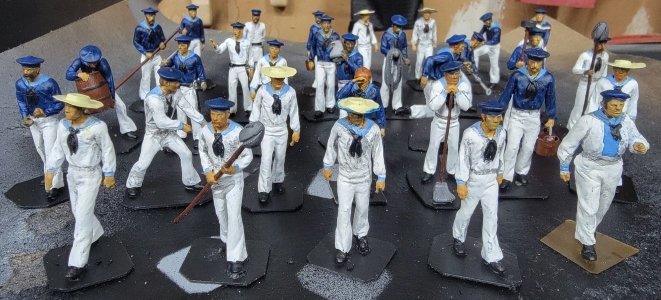
Painting commences on the second batch of crew, who will all have white jumpers....
con20250628c.jpg

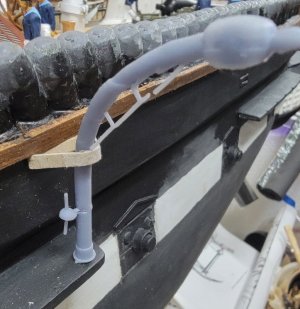
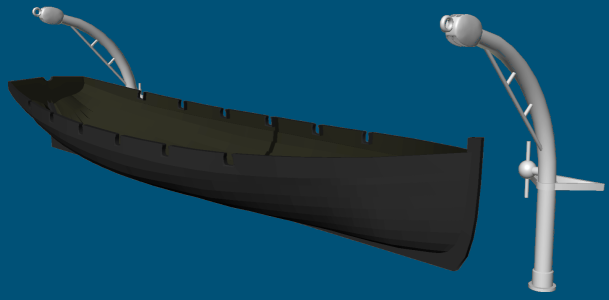
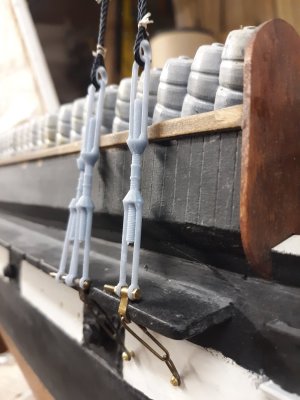
I fiddled with the poorly printed davit and some chipboard to figure out a brace to the bulwark. I figure there had to be something, and that it would bolt to the hammock irons inside the bulwark. I reworked the 3D model to add the brace, finalize the double block at the top, and add watch I think was most likely a ring rather than a ball or acorn. A pair is on the printer and has 3 hours to go.
con20250628a.jpg davits3d.png
It took longer than 4 hours because the printer spent 2 hours doing nothing until I checked on it and restarted it.
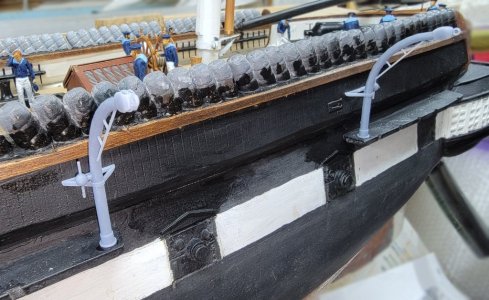
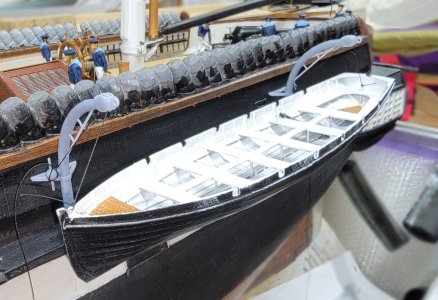
So here they are stuck on to check the fit, and it looks pretty good to me, even with a boat hanging in it. When they get installed for keeps, I put a brass pin in the base and through the channel.
con20250630a.jpg con20250630c.jpg
 
Last edited:
The crew got some touch up, and I tried a "wash" on them which wasn't all I hoped it would be, but I kept it and gave the a couple of coats of clear-coat.
I think Ivan's been sneaking extra hark-tack, he looking a bit tubby.
con20250716a.jpg con20250716e.jpg

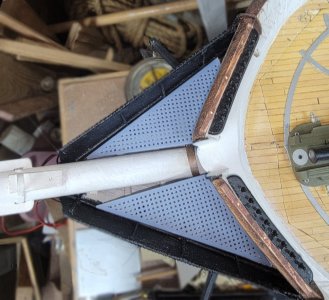
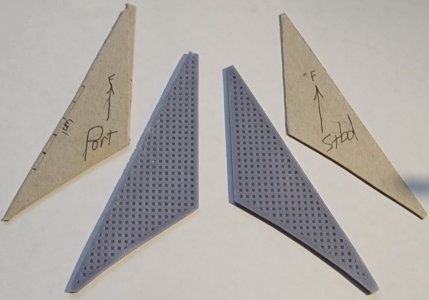
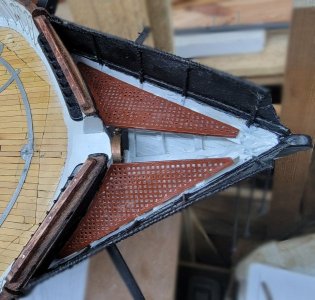
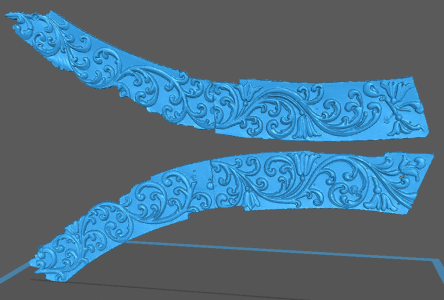
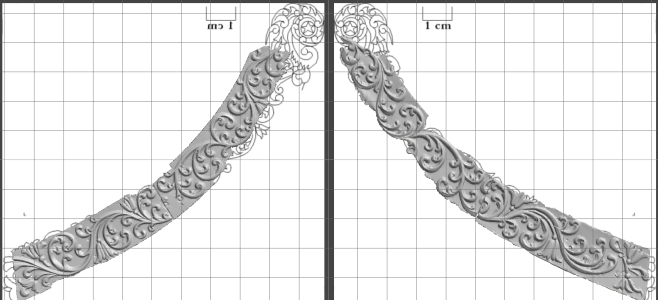
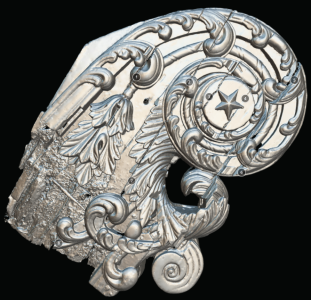
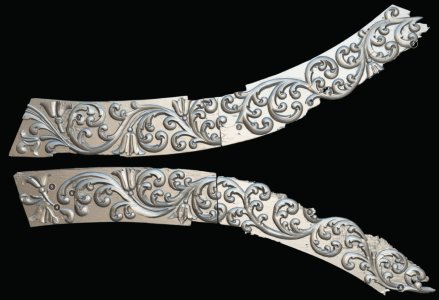
I made a pattern for the head gratings from chip-board, scanned it and used the image to make 3D models. Went away for the weekend, and printed them when I got home.
I need to install cleats (like seat cleats in a boat) for them to sit on along the spray-screens and hull. Then I can more accurately see how the shape may need adjusting, which may mean printing again, which didn't use much resin, but did take 4 hours.
con20250720d.jpg
 
The crew got some touch up, and I tried a "wash" on them which wasn't all I hoped it would be, but I kept it and gave the a couple of coats of clear-coat.
I think Ivan's been sneaking extra hark-tack, he looking a bit tubby.
View attachment 533419 View attachment 533420

I made a pattern for the head gratings from chip-board, scanned it and used the image to make 3D models. Went away for the weekend, and printed them when I got home.
I need to install cleats (like seat cleats in a boat) for them to sit on along the spray-screens and hull. Then I can more accurately see how the shape may need adjusting, which may mean printing again, which didn't use much resin, but did take 4 hours.
View attachment 533421
Jerry! LOVE the crew! You have done wonderful work making individuals and personalities and movement! Outstanding!

Blessings.
Chuck
 
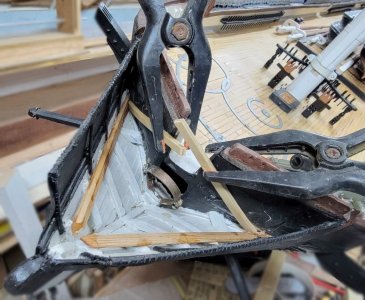
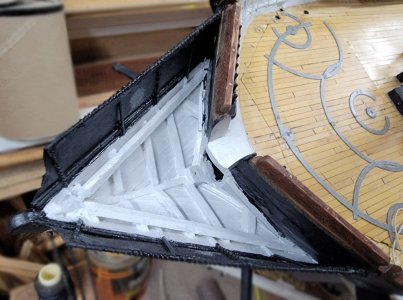
I installed cleats and ledgers for the gratings to sit on, The ledgers were dipped in ammonia and clamped over-night to take the curve of the hull, then glued on.
con20250724a.jpg

I fit new card templates in, then painted inside the head.
con20250725a.jpg con20250725b.jpg

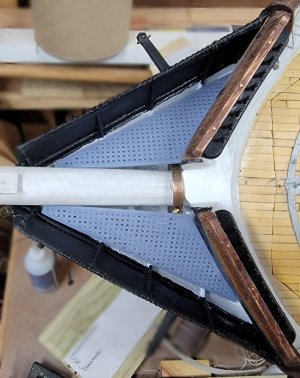
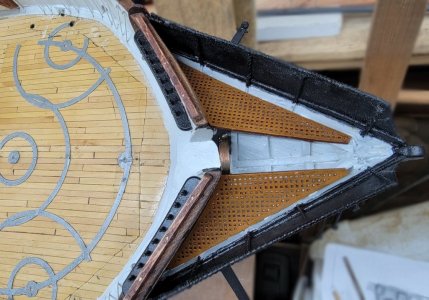
I remodeled the grating using a scan of the new template, but I loaded the scan into the existing reference image that had a different aspect-ratio, simply put, the image was a little distorted and the grating were wrong, which I didn't pick up on till they were printed.
I changed the reference image and remodeled the gratings yet again, arranged them for printing differently so they only took 2 hours, instead of 4 to print, and finally they came out right.
con20250726a.jpg con20250726b.jpg

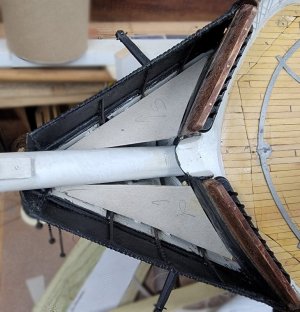
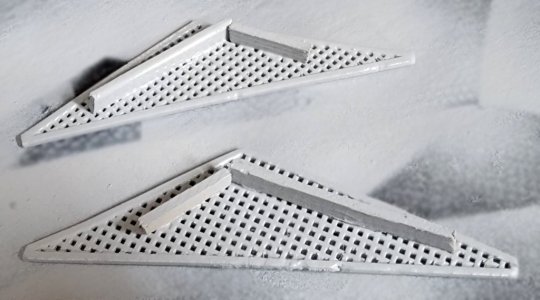
The port ledger board is angled wrong, so needs to be removed and reset, but otherwise I think it will do. Resin this thin will want to warp, so I may glue a beam to the underside, parallel to the bowsprit to prevent that. I though of using rare-earth magnets to hold the gratings in place, but the tuck under the bowsprit, forward, so I'll put the seats against the hull, 2 or 3 on either side of the bowsprit. The aft end of the gratings will slip under the seats and should secure enough.

Meanwhile I primed and painted the gratings, then painted them again in a color more oak-like..
con20250805a.jpg con20250805d.jpg con20250810B.jpg con20250810a.jpg
 
Last edited:
Finally getting back to the rub-rails, I reexamined every painting and photo I have, starting with the 1856 portrait. I can confirm there were rub-rails (aligned with the main hatch) between gunports 6 & 7 (counting from aft), 7 & 8, and 8 & 9. There were more added aft, probably when the additional boats and tall davits were added, but only these three are consistent in every image.
rubrails.png
So, that's all I'm doing. If I someday confirm there were others there in 1856, I can add them easily enough.

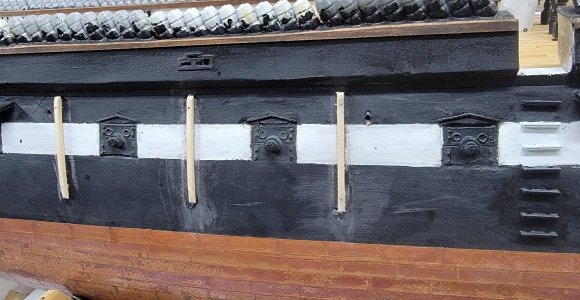
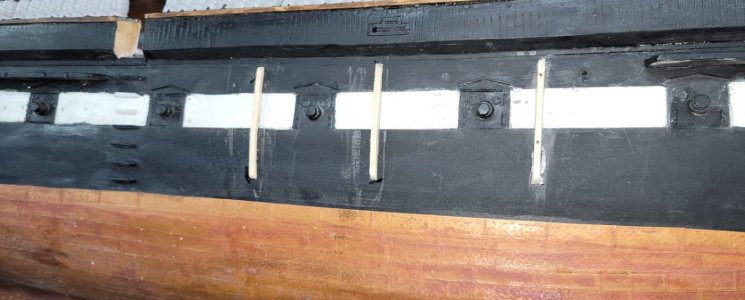
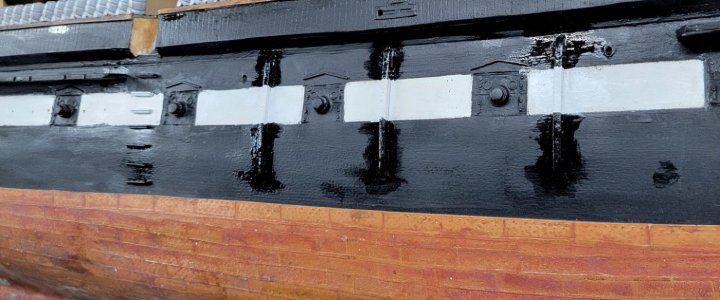
I made a template of the shape of the hull-side where they attach, and cut them individually on the band-saw from the spruce board; I didn't want to spring straight pieces onto the hull-side. They were clear-coated as a sealer, CAed onto the hull and any small gaps filled with fine sawdust and CA. They were drilled and pinned with 1/16" bass rod. A little filling,a little sanding, a spritz of clear-coat, and they got black and white paint. Then I turned the hull and did the same to the starboard side.


con20250729a.jpg port side
con20250731a.jpg starboard side
con20250731c.jpg starboard side freshly painted

8/5: At a point before the chainplates are finally installed, the hull will get masked and a nice neat paint-job done, till then, it'll look a bit slovenly.
con20250805b.jpg
 
Last edited:
Constellation's next big project is making all the chain-plates. Today I started making jigs for making the parts from brass rod. I'll get pics of it all when production starts. The chain-plates are the same as I started before the plan switched from dead-eyes to rigging-screws, except I won't need the double-strops for the dead-eyes. I will still need that folded strap that goes over the channel. The bottom ! shaped link gets screwed to the hull with brass, round head #1 wood screws that can be removed later if needed. In all there's 42 or so to make, plus Pride and Macedonian need some too, and it would probably be best to do it all at the same time and have it done.
con20231109_194451.jpg
Mean-while, I've been touching up paintwork inboard, and the head seats need to go in. There'll be some blocks installed on deck for halyards and such. Kind of a punch-list of things before rigging can start in earnest.
I'm also trying to figure out where to put her safely to free the bench to work on Pride. If I can get that boats sub-deck installed and the through-deck fittings for sheets and such, I might be able to sail her in October.
 
Back
Top