• LUCZORAMA SHIPWRECK SCAVENGER HUNT GIVEAWAY. 4 Weeks of Fun • 1 Legendary Prize ((OcCre’s Fram Ship)) • Global Crew Welcome!
    **VIEW THREAD HERE**

Constitution Cross Section MS20245 Model Expo

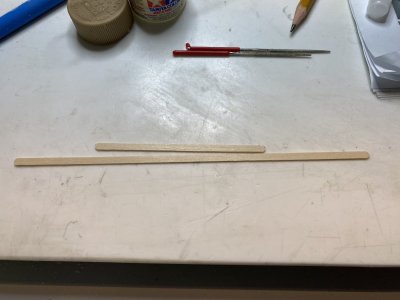
I am constructing the topgallant mast now to make sure everything goes in place. The measurements for the topgallant that are given in the instructions differ significantly from those on the plans. This was also noted in Tom Culbs build guide. The topgallant measure 9 1/2 inches on the plans, the instructions would have you make one longer.

I am pasting here Mr Culbs comments because it reflects what I found.

"The bottom part of the mast is said to be cut from 1/4” square stock, when the plans and parts list show/say 3/16” square. 1/4” is clearly too large.
  • The bottom part is said to be 1 5/8” long, which includes a 1/4” peg to fit into the hole you drill into the dowel part. If you don’t include the peg (I didn’t), that translates to 1 3/8”. The plans show the lower part to be 1 1/16”, which appears more consistent with pictures of the real ship.
  • Most of the mast is made from a dowel, described as 1/4” round, when the plans and parts list show/say 3/16” round. Again, 1/4” would be way too large.
  • The instructions say to sand a “slight taper” in the dowel from 1/4” to 1/8”, but on the plans it’s clear that that the mast needs to be tapered from 3/16” to about 1/16”, a fairly dramatic taper."
I am going to stick with the plans and not the instructions.
 
I am constructing the topgallant mast now to make sure everything goes in place. The measurements for the topgallant that are given in the instructions differ significantly from those on the plans. This was also noted in Tom Culbs build guide. The topgallant measure 9 1/2 inches on the plans, the instructions would have you make one longer.

I am pasting here Mr Culbs comments because it reflects what I found.

"The bottom part of the mast is said to be cut from 1/4” square stock, when the plans and parts list show/say 3/16” square. 1/4” is clearly too large.
  • The bottom part is said to be 1 5/8” long, which includes a 1/4” peg to fit into the hole you drill into the dowel part. If you don’t include the peg (I didn’t), that translates to 1 3/8”. The plans show the lower part to be 1 1/16”, which appears more consistent with pictures of the real ship.
  • Most of the mast is made from a dowel, described as 1/4” round, when the plans and parts list show/say 3/16” round. Again, 1/4” would be way too large.
  • The instructions say to sand a “slight taper” in the dowel from 1/4” to 1/8”, but on the plans it’s clear that that the mast needs to be tapered from 3/16” to about 1/16”, a fairly dramatic taper."
I am going to stick with the plans and not the instructions.
do you find that you have good instructions? My Connie has pretty good plans, but not very good instructions.
 
From what I have understood, I would have to say that all in all the instructions are fairly good. The booklets come to 96 pages with a lot of detailed photos. As I said before, I found that downloading the instruction manual as a PDF enabled me to enlarge the pictures considerably so I could better understand details. What has been off several times are the dimensions. Also it would have been better if there was a discussion that there were differences in the port and Starboard inner and outer walls, which would have saved me some grief.

I am used to instructions with plastic models and PE and resin add ons. Building these wooden ships is a very different (in a good way) beast!

Rob
 
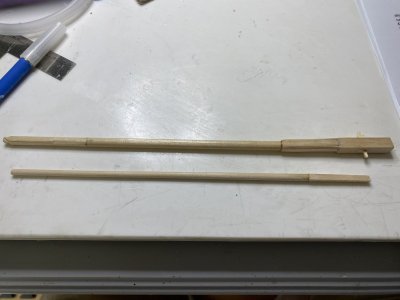
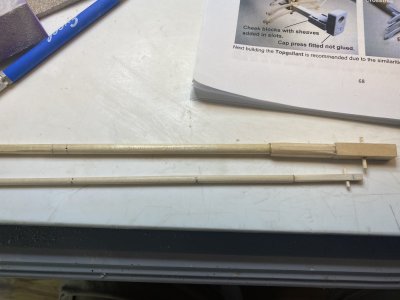
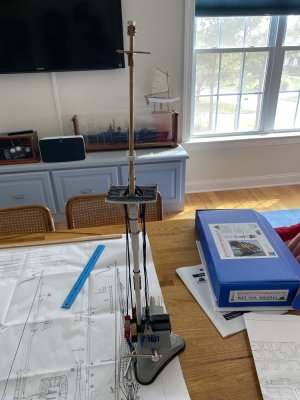
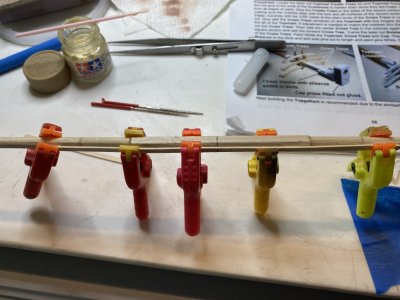
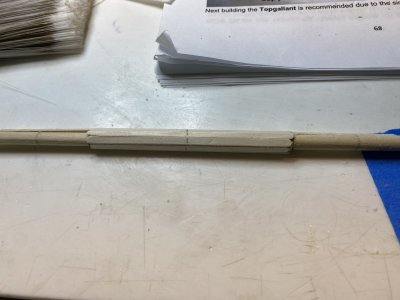
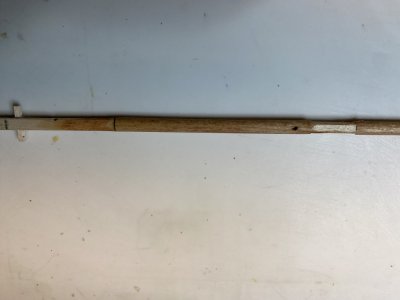
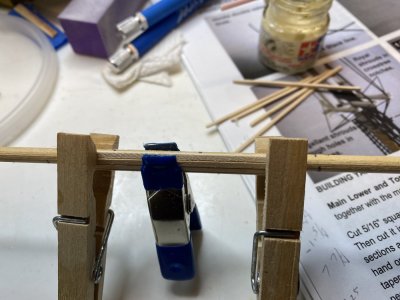
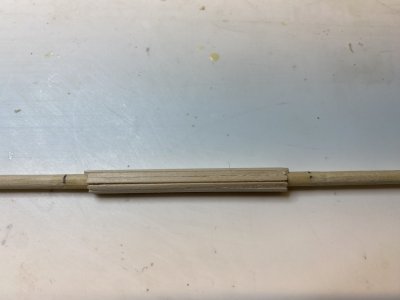
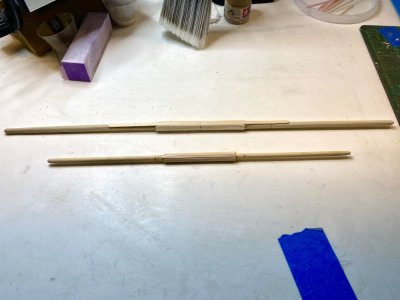
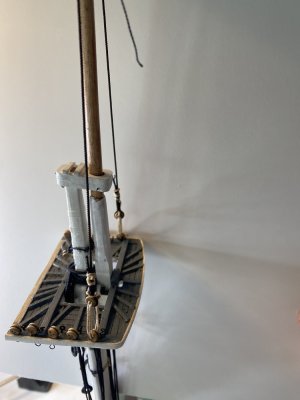
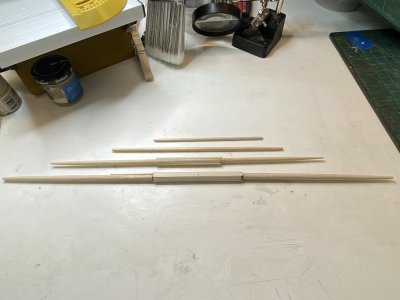
I built the topgallant mast using the dimensions on the plans. I used 3/16" square and dowel. The were attached together using a pin the same way the topmast was constructed. The topgallant mast dowel has to be significantly tapered. This required a lot of work using a 100 grit sanding stick followed by using a buffing pad to smooth it. I made sure the topgallant mast cap could fit into position after the sanding.
IMG_0928.jpeg
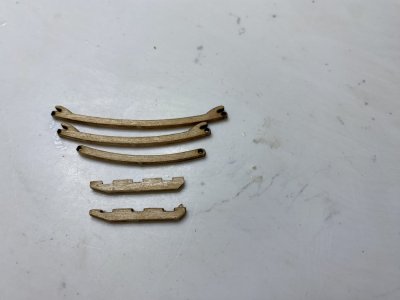
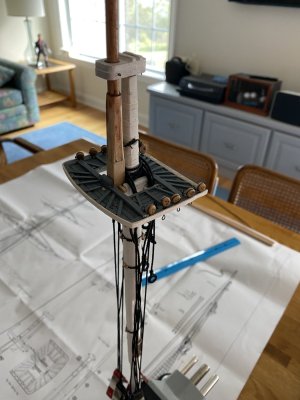
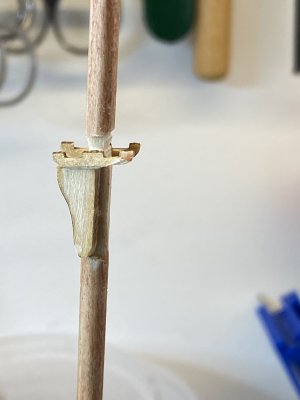
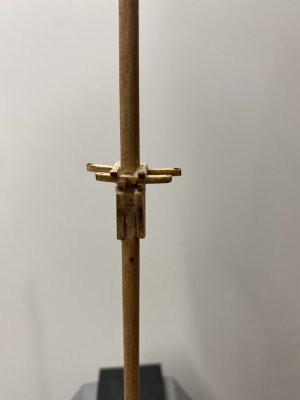
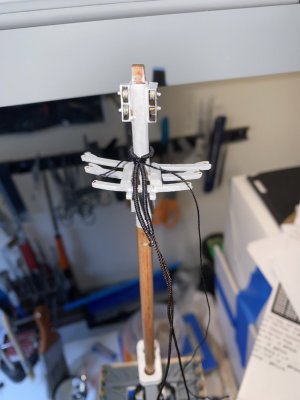
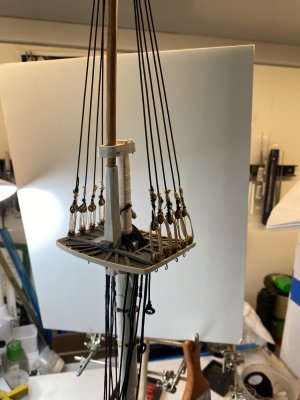
While waiting for the epoxy to dry I cleaned up the char from the topmast crosstrees and trestle trees. As advised by the instructions I applied CA to the edges of these as well as the cheeks and the boxes for the topmast sheaves to strengthen the thin wood.

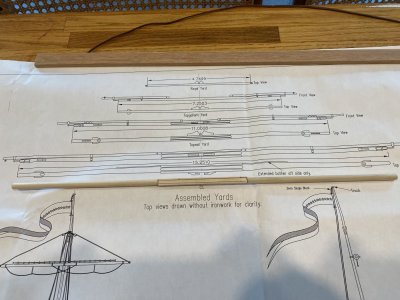
IMG_0927.jpeg
 
Last edited:
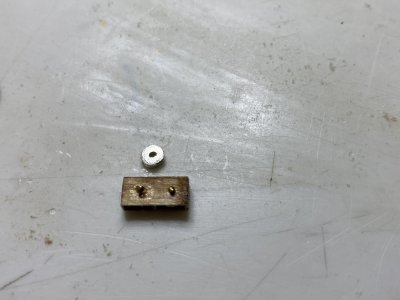
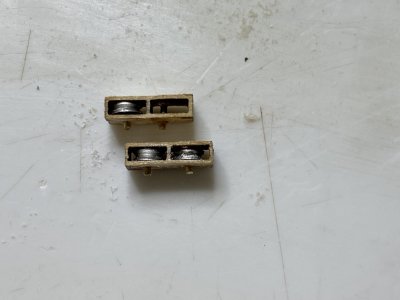
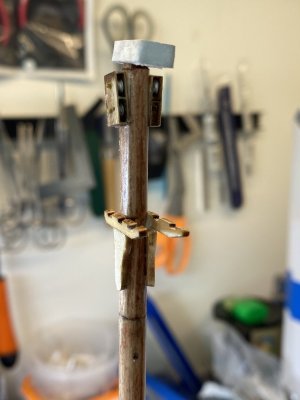
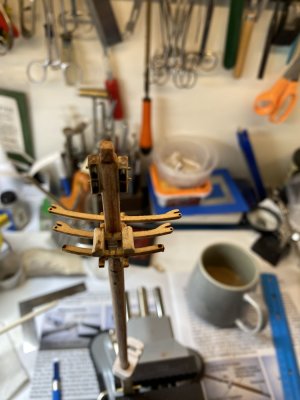
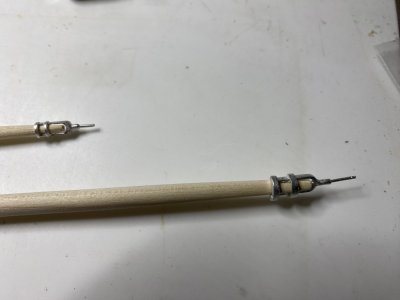
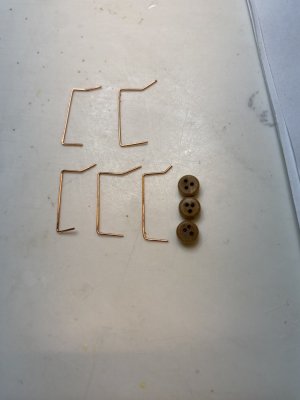
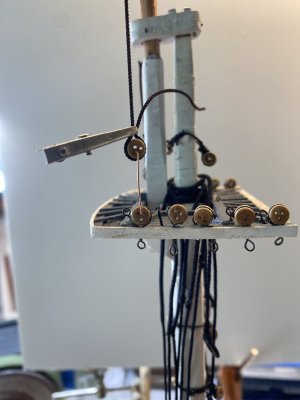
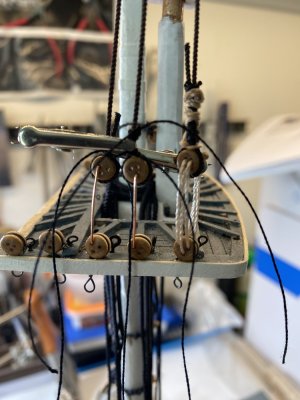
There are 2 cheek blocks with sheaves that go on the top of the top of the topmast. Others have mentioned that they do not seem to exist on the Constitution and no lines are rigged on them on the model but I figured I would put them in also. There were also only 3 sheaves of the correct size provided. This is consistent with what others have reported. After strengthening the boxes with CA. I put the sheaves into the boxes and drilled holes for axles. I used the supplied thin brass rod as axels. It all went together quite easily. I just left a brass rod in the place where the 4th sheave would go in case I had to thread line into it.

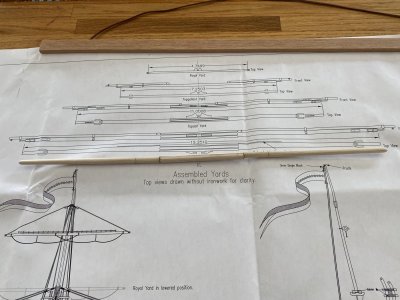
IMG_0929.jpeg

IMG_0932.jpeg

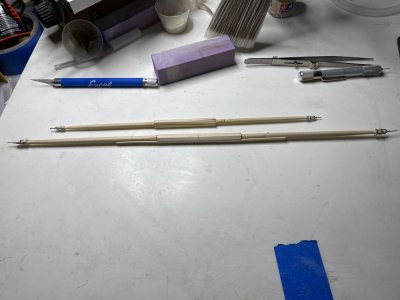
I drilled holes in the topmast and topgallant mast where the yards will be pinned to. This was suggested by Tom Culb as being much easier than doing it after the masts were assembled.

IMG_0933.jpeg

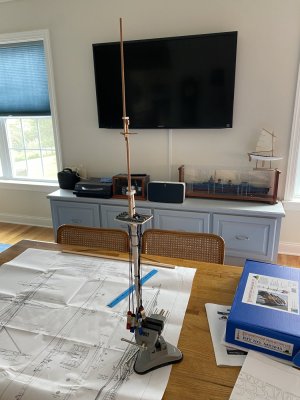
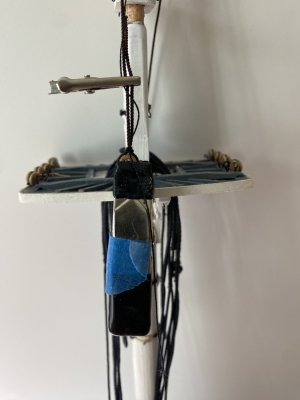
At this point I was gong to glue on the topmast cheeks and assemble the crosstrees. As I was about to do this I realized that I had to put the mast caps first before the cheeks could be placed. So at this point I stained the 2 masts with 3 coats of cherry stain and painted the mast caps. I also made sure the mast cap to the topgallant mast fit the tapered dowel.
 
Back
Top