- Joined
- Dec 15, 2019
- Messages
- 99
- Points
- 143

Thanks for the visits and for the thumbs-ups.
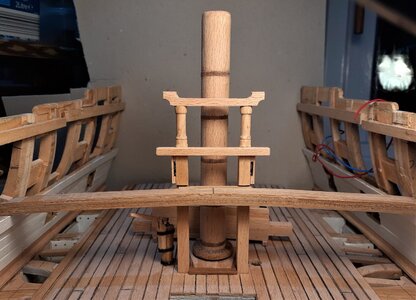
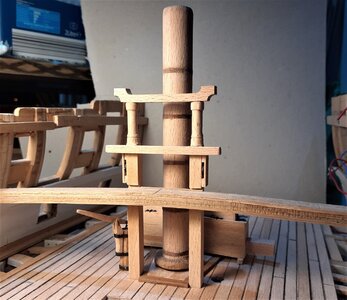
I wanted to be getting all the 'stuff' done for that central area around the main mast.
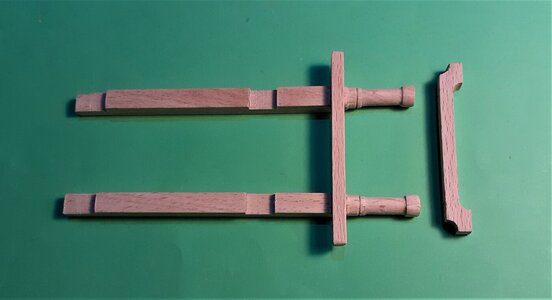
Although the 'business end' of the topsail sheet bitts will be on the upper gun deck, the lower end of the posts originate down in the lower gun deck. These are the posts after turning the top parts and morticing for fitting to the lower gun deck and also for receiving the lower cross piece. (At this point they still had to be morticed to fit the upper deck beam.)
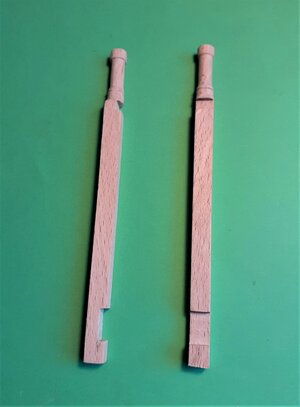
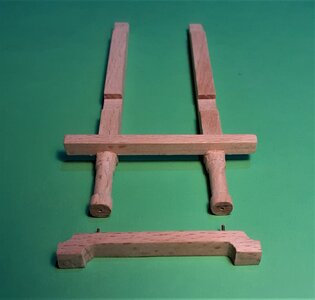
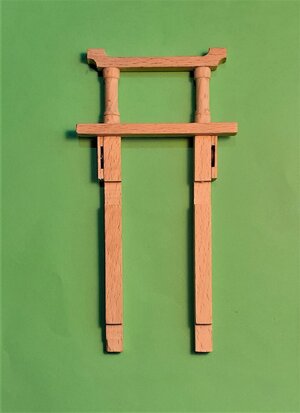
Then morticed for the upper beam and with the lower cross piece fitted >
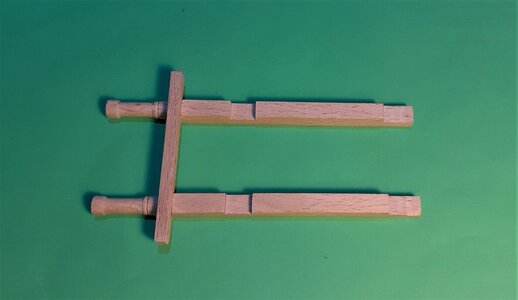
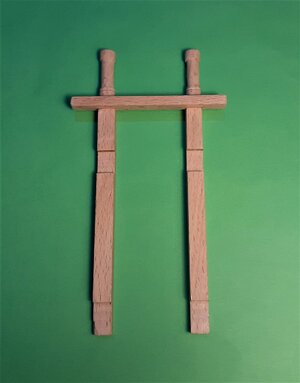
(The morticing was done on the trusty mill.)
Finished the lower brake pump head >
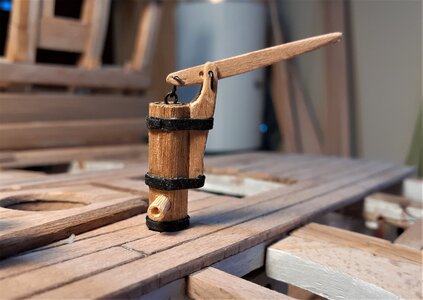
For the pump dale I used a short piece of bamboo skewer with a hole drilled up into its centre.
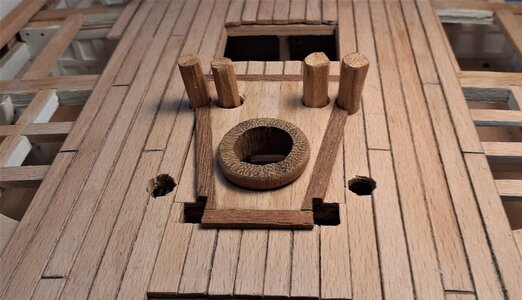
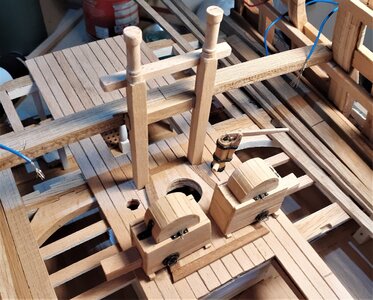
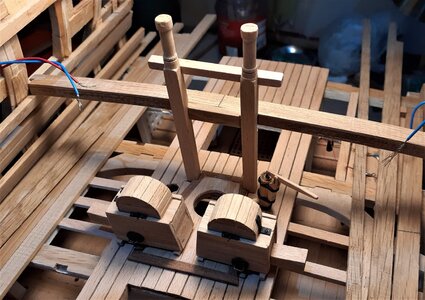
A test fit for the chain pump cisterns, that brake pump and the sheet bitts with a dummy blank for the upper deck beam. (Still have to make the top cross piece and the side mounted sheaves for the sheet bitts.) >
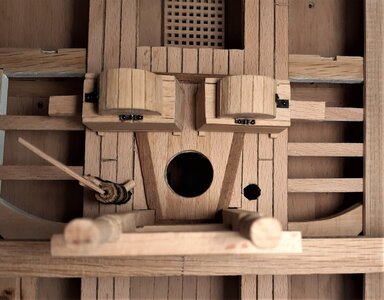
Now, that big hole in the centre needs something to fill it.
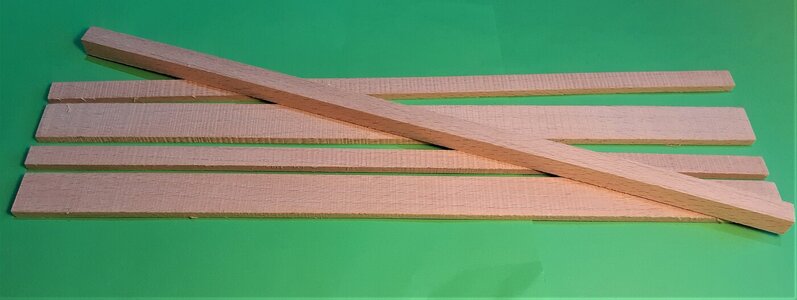
On my other model at 1:80 I had the 'luxury' of just using shop bought dowels for the masts ~ the 'fattest' dowel I needed for that was less than 12mm (0.5 inch). The main lower mast section needs to be around 17mm. Rather than just turn it from a single solid piece of timber I opted for a 'made mast'.
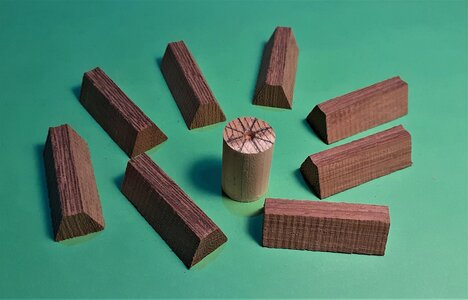
Here are the five component parts for the mast. A single square section piece for the centre and four rectangular sections (two of them wider than the other two) >
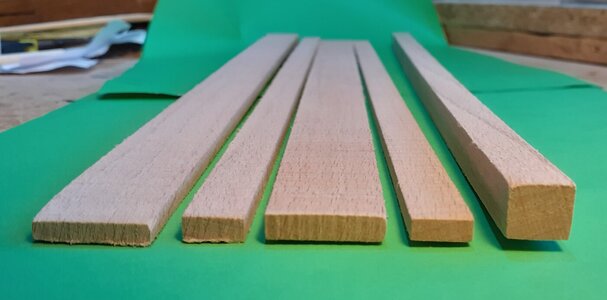
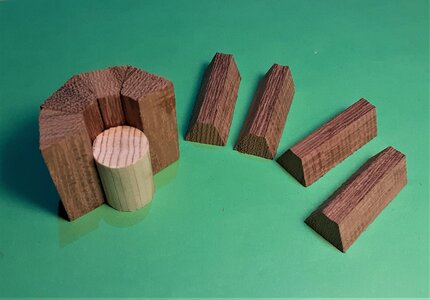
The first stage of the glue-up >
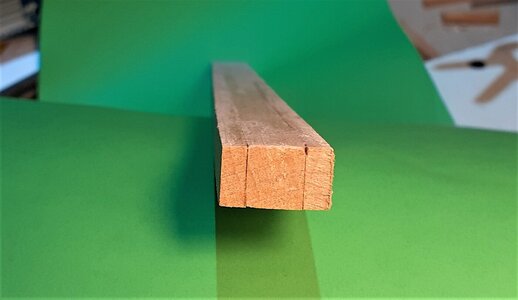
. . . and the second stage >
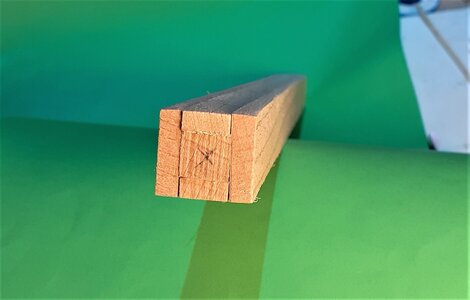
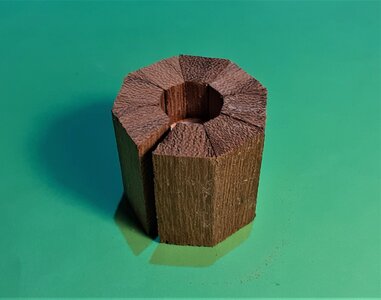
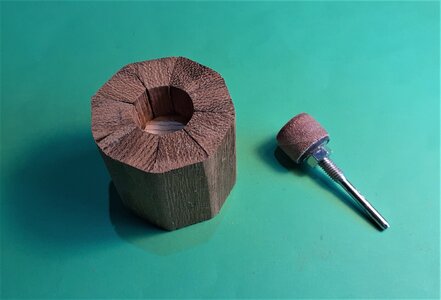
In order to reduce the amount of wood that would have to be taken off at the lathe I tilted the table on the bandsaw to 45 degrees and knocked off the corners >
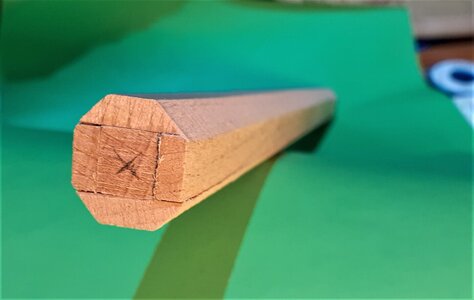
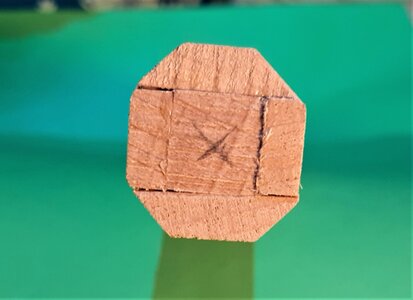
Just out of the lathe. While in the lathe I cut five shallow grooves to accommodate the bandings that will go there. (Using the lathe ensured that the grooves are at the same level all the way round and saves having to measure and mark later.) >

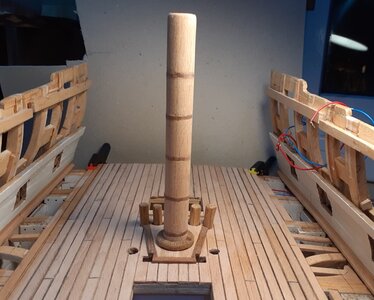
The mast, together with the other 'stuff' getting a dry test fit >
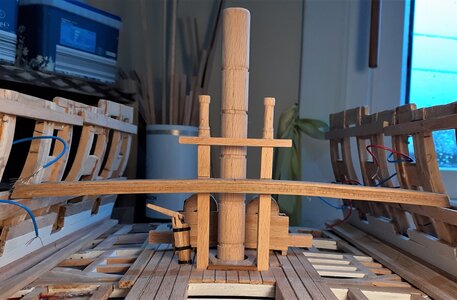
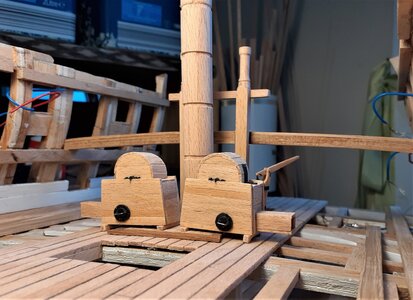
Some of the above photos reveal that the mid section of that deck has been planked. I can confess that I cheated a little with that planking ~ I used full lengths for each plank fitted so far. At the points where two planks would butt against each other I used a craft knife to cut a groove deep enough to mark with a black pencil lead to simulate the joints. For the 'caulking' between the plank edges I also used the black pencil but I didn't just mark the planks along their edges. I ran the knife along the top edges at around a 45° angle, creating an almost imperceptible chamfer, then ran the pencil along these chamfers. The black edges and joints are almost visible in this photo! >

Before fitting any of these items around the main mast area I wanted to get the inner hull planking done as I imagined it could be very tricky trying to drill into the hull sides for the gun tackle eyebolts. >
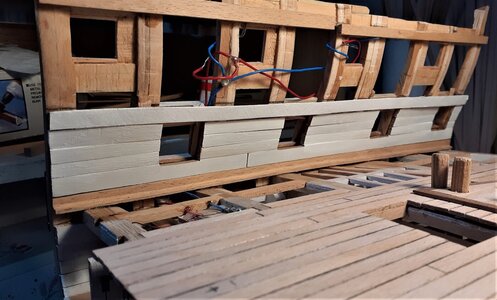
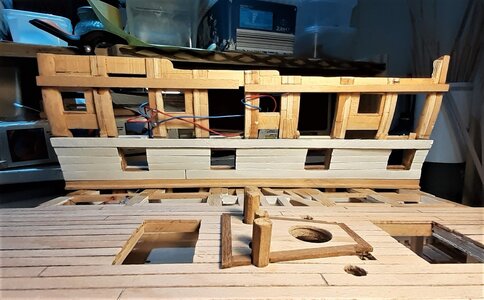
There is still enough room at that level to be able to get the cordless drill in there.
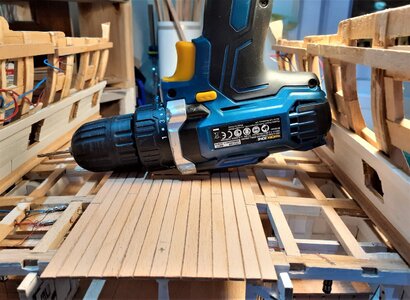
I wanted to be getting all the 'stuff' done for that central area around the main mast.
Although the 'business end' of the topsail sheet bitts will be on the upper gun deck, the lower end of the posts originate down in the lower gun deck. These are the posts after turning the top parts and morticing for fitting to the lower gun deck and also for receiving the lower cross piece. (At this point they still had to be morticed to fit the upper deck beam.)

Then morticed for the upper beam and with the lower cross piece fitted >


(The morticing was done on the trusty mill.)
Finished the lower brake pump head >

For the pump dale I used a short piece of bamboo skewer with a hole drilled up into its centre.
A test fit for the chain pump cisterns, that brake pump and the sheet bitts with a dummy blank for the upper deck beam. (Still have to make the top cross piece and the side mounted sheaves for the sheet bitts.) >


Now, that big hole in the centre needs something to fill it.
On my other model at 1:80 I had the 'luxury' of just using shop bought dowels for the masts ~ the 'fattest' dowel I needed for that was less than 12mm (0.5 inch). The main lower mast section needs to be around 17mm. Rather than just turn it from a single solid piece of timber I opted for a 'made mast'.
Here are the five component parts for the mast. A single square section piece for the centre and four rectangular sections (two of them wider than the other two) >


The first stage of the glue-up >

. . . and the second stage >

In order to reduce the amount of wood that would have to be taken off at the lathe I tilted the table on the bandsaw to 45 degrees and knocked off the corners >


Just out of the lathe. While in the lathe I cut five shallow grooves to accommodate the bandings that will go there. (Using the lathe ensured that the grooves are at the same level all the way round and saves having to measure and mark later.) >

The mast, together with the other 'stuff' getting a dry test fit >


Some of the above photos reveal that the mid section of that deck has been planked. I can confess that I cheated a little with that planking ~ I used full lengths for each plank fitted so far. At the points where two planks would butt against each other I used a craft knife to cut a groove deep enough to mark with a black pencil lead to simulate the joints. For the 'caulking' between the plank edges I also used the black pencil but I didn't just mark the planks along their edges. I ran the knife along the top edges at around a 45° angle, creating an almost imperceptible chamfer, then ran the pencil along these chamfers. The black edges and joints are almost visible in this photo! >

Before fitting any of these items around the main mast area I wanted to get the inner hull planking done as I imagined it could be very tricky trying to drill into the hull sides for the gun tackle eyebolts. >


There is still enough room at that level to be able to get the cordless drill in there.

Last edited:


