De Zeven Provinciën (Kolderstok) - Maik

Joined
Feb 8, 2024
Messages
14
Points
78

Hi all,

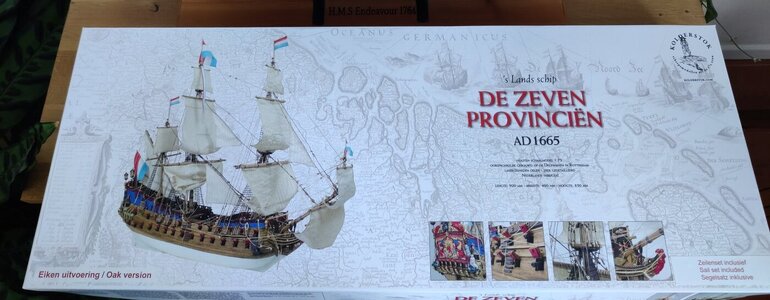
De Zeven Provinciën by Kolderstok, 1:72 scale in oak finish. I've been looking forward to this for a few years now, and it was a nice bonus that I got to experience the current De Zeven Provinciën (Dutch Royal Navy) from top to bottom due to my work. I still have a lot to learn when it comes to model building as this is my fourth ship (San Felipe, La Candelaria, The Endeavour), therefore I am taking my time for this one and I am bound to make mistakes ;) I take my inspiration from other builds of De Zeven Provinciën, for example by Bouke and Arno. I am still debating which colors I will paint the ship.
1.jpg

After receiving the package it was time to unbox it and start with the build :)
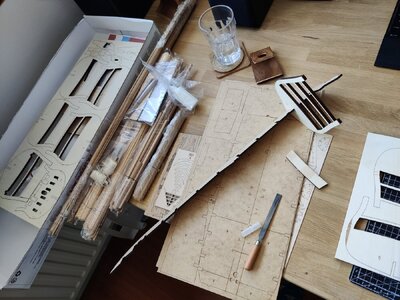
2.jpg

3.jpg

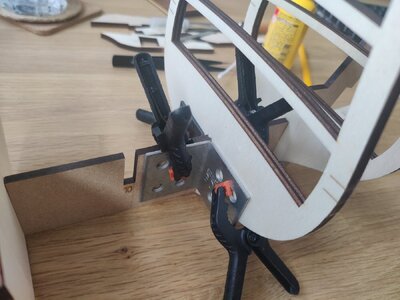
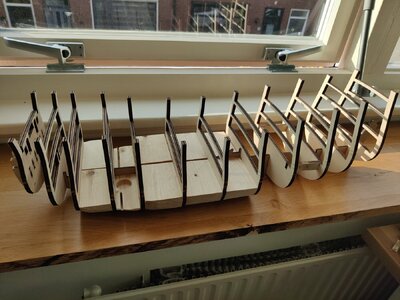
I've also decided to add extra ballast to the ship, both because I prefer the ship to feel a bit heavier and because of the single planking of the hull.

4.jpg

5.jpg

I'm trying to ensure that the added ballast follows the frames as closely as possible, even before I glue it in place. With the Endeavour, I made the mistake of thinking I could easily sand it away. However, this also altered the original shape slightly, causing the back of my Endeavour to no longer be entirely symmetrical.

That's it for now, until next time!
 
Last edited:
Hi all,

De Zeven Provinciën by Kolderstok, 1:72 scale in oak finish. I've been looking forward to this for a few years now, and it was a nice bonus that I got to experience the current Seven Provinces from top to bottom due to my work. I still have a lot to learn when it comes to model building as this is my fourth ship (San Felipe, La Candelaria, The Endeavour), therefore I am taking my time for this one and I am bound to make mistakes ;) I take my inspiration from other builds of De Zeven Provinciën, for example by Bouke and Arno. I am still debating which colors I will paint the ship.

View attachment 432951

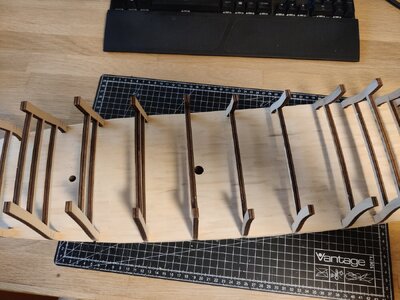
After receiving the package it was time to unbox it and start with the build :)
View attachment 432956

View attachment 432957

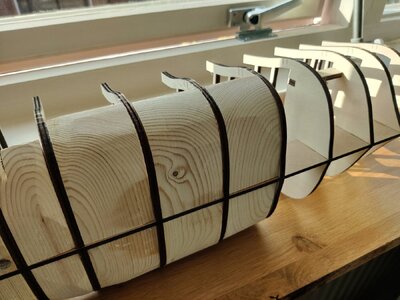
I've also decided to add extra ballast to the ship, both because I prefer the ship to feel a bit heavier and because of the single planking of the hull.
View attachment 432958

View attachment 432959

I'm trying to ensure that the added ballast follows the frames as closely as possible, even before I glue it in place. With the Endeavour, I made the mistake of thinking I could easily sand it away. However, this also altered the original shape slightly, causing the back of my Endeavour to no longer be entirely symmetrical.

That's it for now, until next time!

Hello Maik.

First of all welcome aboard SoS.

I too am building "De 7 Provinciën"; based largely on the drawings of Otte Blom. It is my first build so I am certainly taking my time, learning all the way.
I too filled up the exterior part of the frames in my case with wooden blocks.
The outside of your frames are dark so if you sand your "ballast" carefully down untill you start touching the bulkheads you are in the clear and can benefit from this extra effort by using your ballast as a sturdy base for the planking. Ideal.

I will follow your build with interest.
Hi Herman,

Thanks.

I found your build log as well. Looking great so far. I got the book by Dik so I am definitely drawing inspiration from that as well. Thanks for the tip but I am actually already further with the build than posted, I'm just catching up ;)
 
Hi all,

As said above I'm already further along with the build and will continue to post the pictures I got.
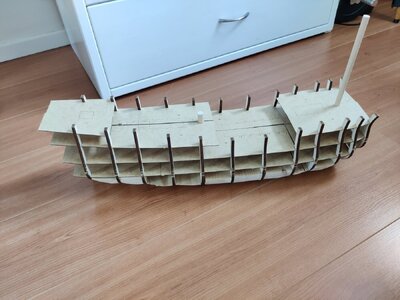
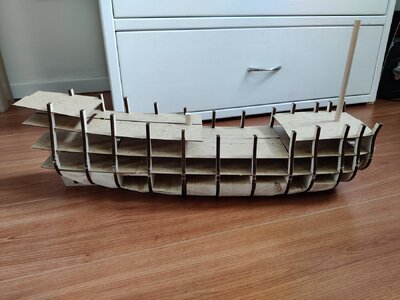
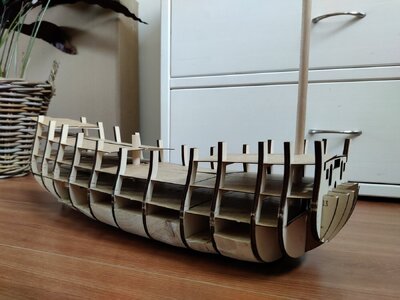
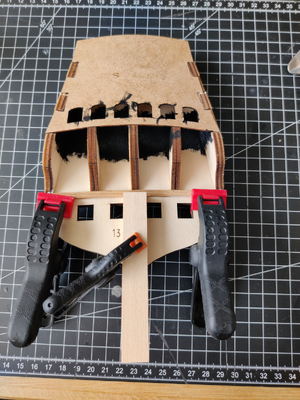
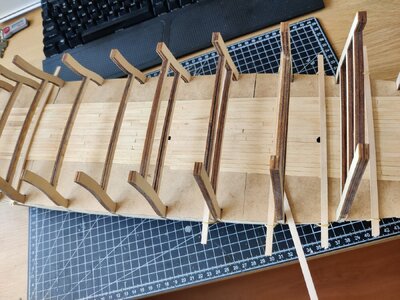
After gluing the first couple of wooden blocks between the frames I did a dry test fit of all the decks. Unfortunately this was my first mistake, you should place the wooden blocks when having the decks dry fitted in place as I noticed that the frames are a little bent due to the tight fit of the wooden blocks. Therefore the cutout of the decks have to be widened a bit. Not a problem in the long run but a sad moment non the less ;)

6.jpg

7.jpg

8.jpg

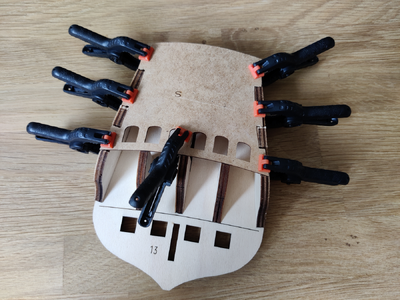
After this I found it time to do something else and therefore started with the stern of the ship also first a dry fit, but these pieces were made for each other. Next up continued with the first oak plank on the stern :)

9.png

10.png

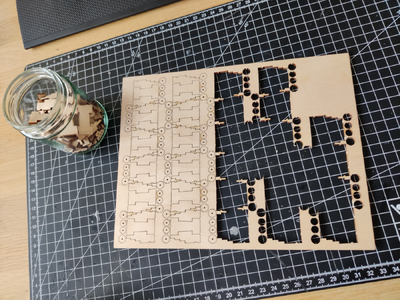
While those pieces were drying I started with a boring part of modelling. Cutting out all the pieces from the boards, in this case the gun carriages and wheels.

11.png

So far the end of this post with pictures. I will post some more soon.
 
I remember years ago that the Dutch had built a replica ship of the Zeven Provincien but burned down by a faulty electrical connection. I hope that this model also shows this ship some justice, as well as the original.

Bill

Hi Bill.

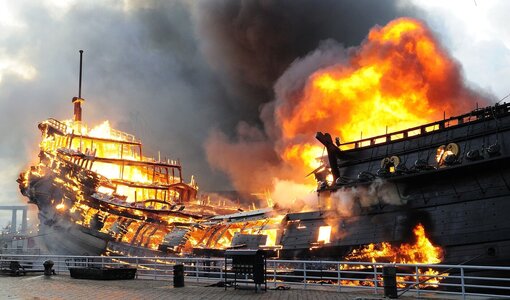
Building the replica of "De 7 Provinciën" in Lelystad was actually stopped due to a lack of funds. Same applies for the replica of the ship "De Delft" that was being built in Rotterdam. 100 year old oaks are rare nowadays so the wood has become too expensive.

The replica that burned down was the VOC ship "Prins Willem".

download.jpeg

5_c70e877ca19c5ac778b14b8909d9db85a06f3079_thumb1920.jpg

Den-Helder-Prins-Willem-in-brand-2009.jpg
 
Hi Bill.

Building the replica of "De 7 Provinciën" in Lelystad was actually stopped due to a lack of funds. Same applies for the replica of the ship "De Delft" that was being built in Rotterdam. 100 year old oaks are rare nowadays so the wood has become too expensive.

The replica that burned down was the VOC ship "Prins Willem".

View attachment 433311

View attachment 433312

View attachment 433313
Thanks for the corrections. I appreciate it. My sources had reported that the ship was the Zeven Provincien. I stand corrected.

Bill
 
Thanks everyone for the replies and also the pictures on the burning of the replica, I didn't know that it burned down. I thought they just never finished it.

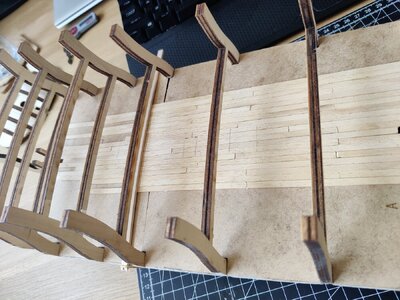
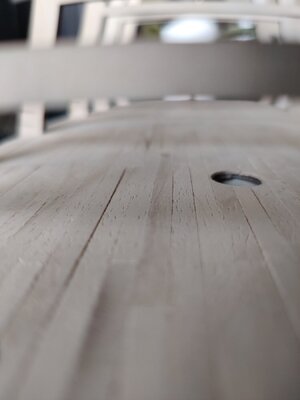
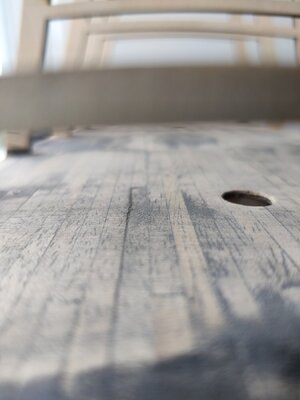
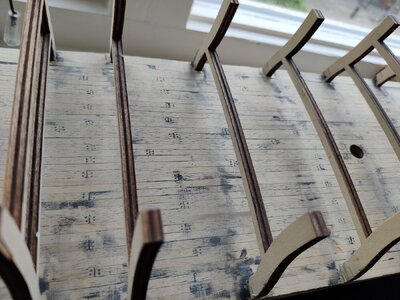
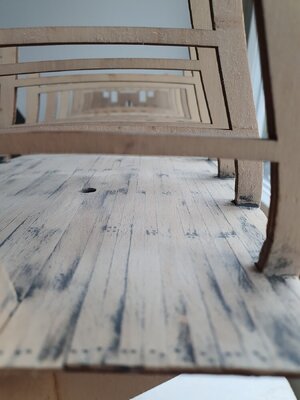
The next part of the build was placing the deck A planks. I cut the planks into three lengths and placed them semi random on the deck. Although the Dutch way was building with what you got, I like some symmetry and systematic approach ;)

14.jpg

15.jpg

16.jpg

21.jpg

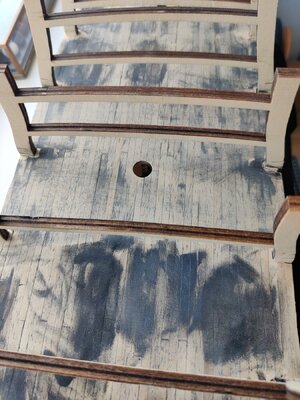
After the entire deck was covered I started sanding it down, which as you can see on the last picture was definitely necessary. To fill the remainder between the planks and imitate the nails I use black wood filler and sanding it down to the desired look. By making small holes after the sanding exercise I get the look of nails.

22.jpg

23.jpg

25.jpg

27.jpg

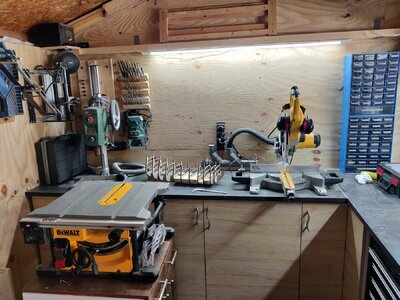
As some might have noticed I do the modelling mostly on my desk, but for the intense sanding and cutting I go to my shed. Here I do not only work on ship modelling but make all sorts of stuff :) Untill next time!

13.jpg
 
Hello Maik! I love your start to this beautiful kit, and that is a clever technique for showing the nailing of the deck. If I may make a small suggestion, especially as you work your way up to more visible decks:

For the layout of your deck planks, locate realistic and probable locations for the underlying beams, and then adopt a 3 or 4 butt shift so that plank butts always land on a beam location. This wouldn’t matter as much, if you weren’t simulating the nailing, however, the nailing draws one’s eye to the fact that there is no underlying logic to the deck “framing”. When one looks across the deck, plank butts should align neatly in a straight line. It’s a small thing, but it makes a big difference.

This deck will be mostly covered, so I don’t think it is necessary to change it, but anyway - food for thought.
Please note that Dutch ships have absolutely no fixed or regular pattern of deck planking. There are no rules such as a 3-or a 4-butt system that apply.
 
Back
Top