- Joined
- Jun 17, 2021
- Messages
- 3,199
- Points
- 588

I too look forward to this fascinating build. Nice progress thus far. 

 |
As a way to introduce our brass coins to the community, we will raffle off a free coin during the month of August. Follow link ABOVE for instructions for entering. |
 |
 |
The beloved Ships in Scale Magazine is back and charting a new course for 2026! Discover new skills, new techniques, and new inspirations in every issue. NOTE THAT OUR FIRST ISSUE WILL BE JAN/FEB 2026 |
 |


It's a good point I hadn't thought about it.Hello Maik! I love your start to this beautiful kit, and that is a clever technique for showing the nailing of the deck. If I may make a small suggestion, especially as you work your way up to more visible decks:
For the layout of your deck planks, locate realistic and probable locations for the underlying beams, and then adopt a 3 or 4 butt shift so that plank butts always land on a beam location. This wouldn’t matter as much, if you weren’t simulating the nailing, however, the nailing draws one’s eye to the fact that there is no underlying logic to the deck “framing”. When one looks across the deck, plank butts should align neatly in a straight line. It’s a small thing, but it makes a big difference.
This deck will be mostly covered, so I don’t think it is necessary to change it, but anyway - food for thought.
Please note that Dutch ships have absolutely no fixed or regular pattern of deck planking. There are no rules such as a 3-or a 4-butt system that apply.
I'll keep it in min. My build will definitely not be historically correct, but I'll take all tips I can take.Fair enough, but there is regular spacing of the deck beams.
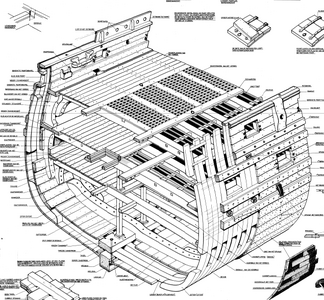
The treenails would have been there on the real ship. But it is the modeler's choice to include them or not. Speaking from experience - it is a lot of work to include them and no small challenge to present them at the proper scale.Could anyone give more information on this?


Hi MaikHi all,
De Zeven Provinciën by Kolderstok, 1:72 scale in oak finish. I've been looking forward to this for a few years now, and it was a nice bonus that I got to experience the current De Zeven Provinciën (Dutch Royal Navy) from top to bottom due to my work. I still have a lot to learn when it comes to model building as this is my fourth ship (San Felipe, La Candelaria, The Endeavour), therefore I am taking my time for this one and I am bound to make mistakesI take my inspiration from other builds of De Zeven Provinciën, for example by Bouke and Arno. I am still debating which colors I will paint the ship.
View attachment 432951
After receiving the package it was time to unbox it and start with the build
View attachment 432956
View attachment 432957
I've also decided to add extra ballast to the ship, both because I prefer the ship to feel a bit heavier and because of the single planking of the hull.
View attachment 432958
View attachment 432959
I'm trying to ensure that the added ballast follows the frames as closely as possible, even before I glue it in place. With the Endeavour, I made the mistake of thinking I could easily sand it away. However, this also altered the original shape slightly, causing the back of my Endeavour to no longer be entirely symmetrical.
That's it for now, until next time!
It's a good point I hadn't thought about it.
I'll keep it in min. My build will definitely not be historically correct, but I'll take all tips I can take.
That said, on the picture below from Blom you can also see the nails on the outer hull of the ship. But I've never see that on any of the Zeven Provinciën I've seen only on the whales. Could anyone give more information on this?
View attachment 433816

Rob, the quality of Kolderstok kits is among the very best in the business. Instructions are in Dutch, German and English. In addition, the customer service of Hans van Nieuwkoop (the owner) is, in my opinion, the very best in the business. The instructions are perfectly adequate to get the model build whilst the full-sized plans in particular, are extremely detailed.I've been looking at getting this kit for a while now and have been unsure as to the quality of parts and instructions.

The treenails would have been there on the real ship. But it is the modeler's choice to include them or not. Speaking from experience - it is a lot of work to include them and no small challenge to present them at the proper scale.
The only reason you haven't seen it on model builds is because the modeler has chosen not to show do/show it. On a model like the 7P that is a lot of work, therefore some choose to show it on the wales only - less work and more manageable.
Somewhere on these drawings you will find that O Blom shows 2 wooden pins and 3 nails per crossing plank/bulkhead. That sums it up to something like 8000 on each side, below the wales only. A solid reason to scratch your head whether you start this or not. Once started there is no way back. An old Dutch saying applies - " bezint eer ge begint".
The 7P kit is 1:72 so on this scale the nailing on itself will be quite a challenge to execute properly.

I've been looking at getting this kit for a while now and have been unsure as to the quality of parts and instructions.
I agree with Heinrich here, the kit is great quality and the service from Hans is excelent. Although the instruction could use more pictures in my opinion, there is enough background information and other build logs. Also, it leaves the builder to do more research into the ship as which most you of will agree with me, is also a fun part of model buidlingRob, the quality of Kolderstok kits is among the very best in the business. Instructions are in Dutch, German and English. In addition, the customer service of Hans van Nieuwkoop (the owner) is, in my opinion, the very best in the business. The instructions are perfectly adequate to get the model build whilst the full-sized plans in particular, are extremely detailed.

Thanks Maik and Heinrich for your reassurance on the quality of the kit and it's instructions.I agree with Heinrich here, the kit is great quality and the service from Hans is excelent. Although the instruction could use more pictures in my opinion, there is enough background information and other build logs. Also, it leaves the builder to do more research into the ship as which most you of will agree with me, is also a fun part of model buidling

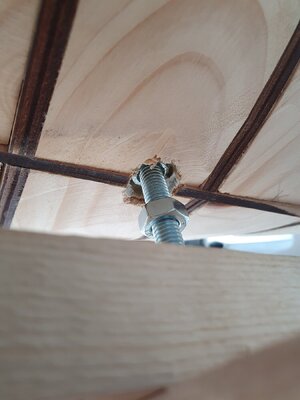
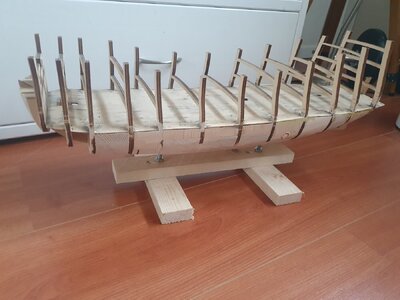
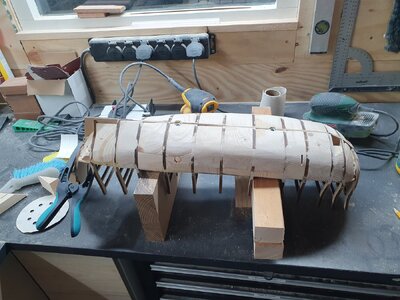
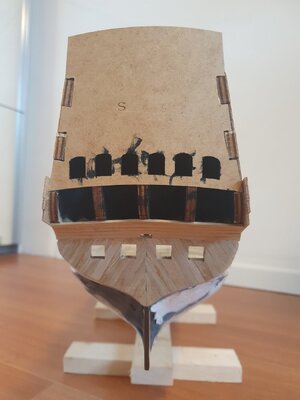
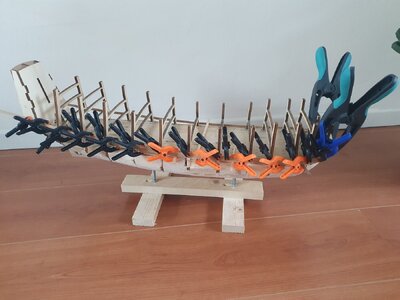
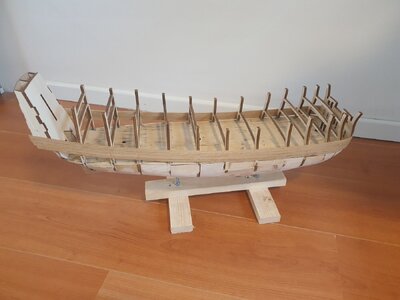
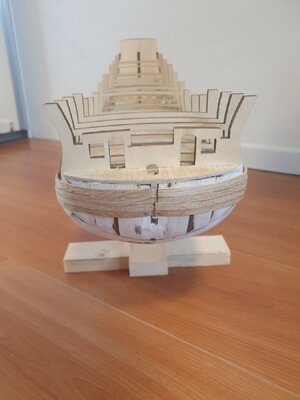
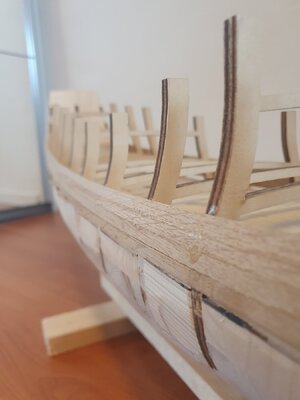
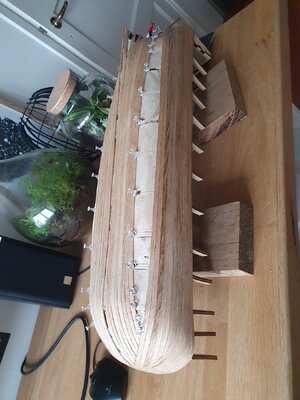
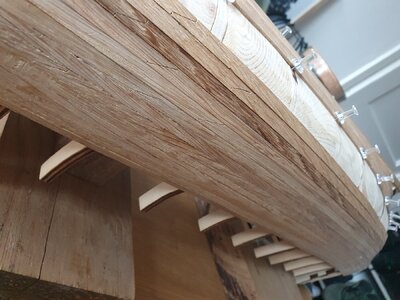
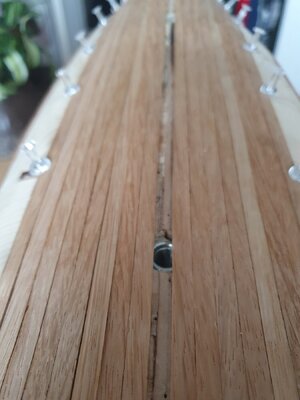
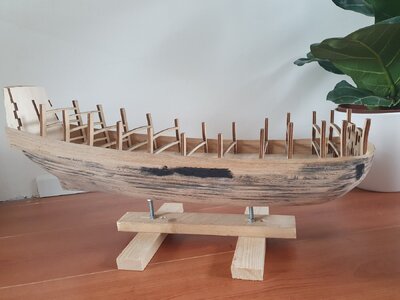
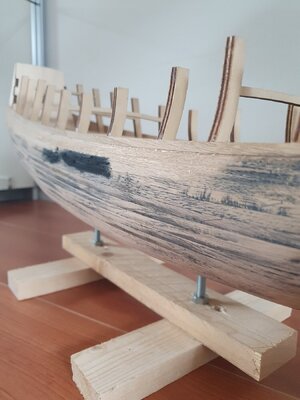
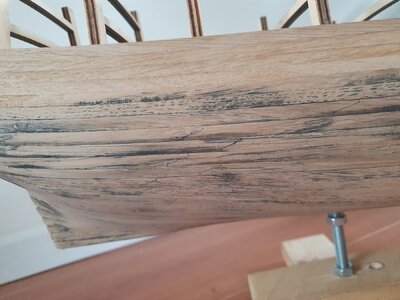
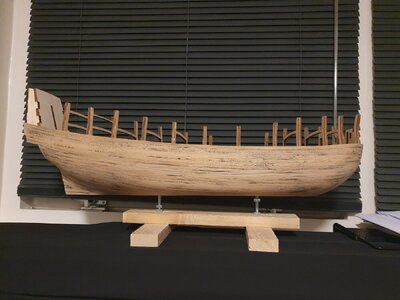
 . Enjoy the day.
Hallo @- Maik -Hi all,
De Zeven Provinciën by Kolderstok, 1:72 scale in oak finish. I've been looking forward to this for a few years now, and it was a nice bonus that I got to experience the current De Zeven Provinciën (Dutch Royal Navy) from top to bottom due to my work. I still have a lot to learn when it comes to model building as this is my fourth ship (San Felipe, La Candelaria, The Endeavour), therefore I am taking my time for this one and I am bound to make mistakesI take my inspiration from other builds of De Zeven Provinciën, for example by Bouke and Arno. I am still debating which colors I will paint the ship.
After receiving the package it was time to unbox it and start with the build
I've also decided to add extra ballast to the ship, both because I prefer the ship to feel a bit heavier and because of the single planking of the hu
I'm trying to ensure that the added ballast follows the frames as closely as possible, even before I glue it in place. With the Endeavour, I made the mistake of thinking I could easily sand it away. However, this also altered the original shape slightly, causing the back of my Endeavour to no longer be entirely symmetrical.
That's it for now, until next time!

