DocBlake's HMS Blandford Cross Section Build - 1/32 Scale - [COMPLETED BUILD]

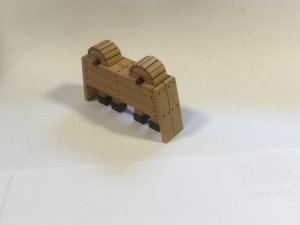
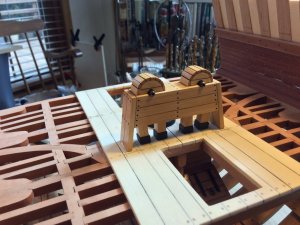
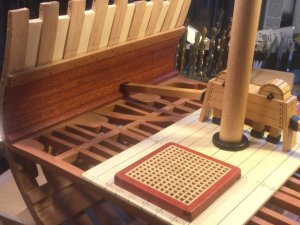
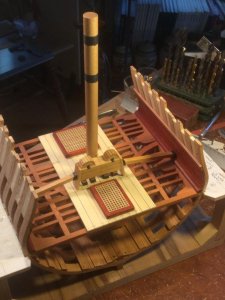
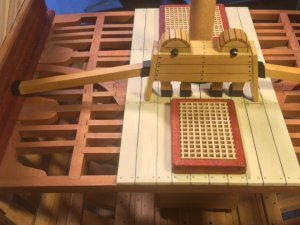
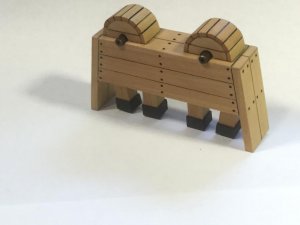
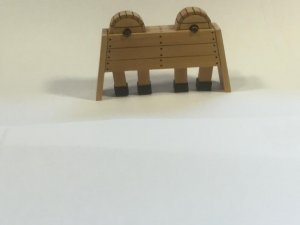
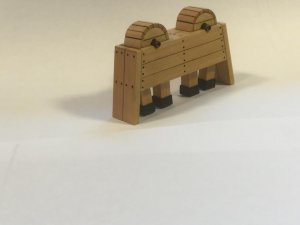
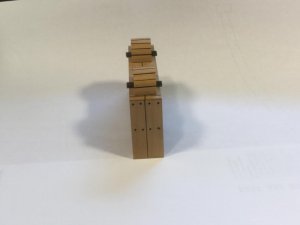
I finished up the chain pumps, except for the pump dales. Once the lower deck central planking is in, I'll fit the dales.
I didn't spend much time super detailing the crank bearings, as they will be only marginally visible under the main deck planking. I did add some trim to the two back cases and 2 return cases at the point where they pass through the lower deck on their way to the bilge in the well. This was done for visual interest, not historical accuracy. As mentioned before, I didn't bother simulating bolts in the wooden slats that form the wheel covers.
cp1.jpgcp2.jpgcp3.jpgcp4.jpge cp5.jpg
 
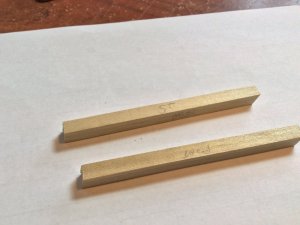
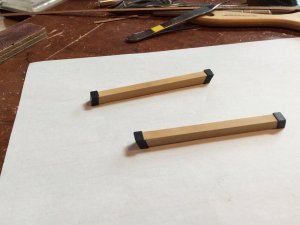
After finishing the chain pump housing/cistern, I pinned and glued it to the lower deck in the proper position. Next was making the pump dales or bilge water discharge pipes, that lead from the cisterns down to the bulwark at the waterway. I made mockups for the dales out of poplar, and carefully snuck up on the proper angles using my Byrnes sander. After I was satisfied with the fit, I transferred the dimensions and angles to the boxwood stock I milled for the finished dales. I glued small pieces of veneer dyed black to each end of each dale to simulate reinforcing iron bands. These weren't needed, historically, but I added them for visual interest anyway!
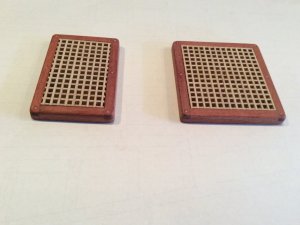
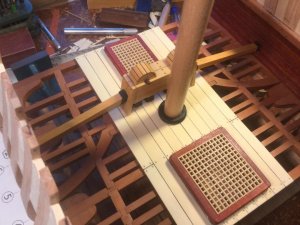
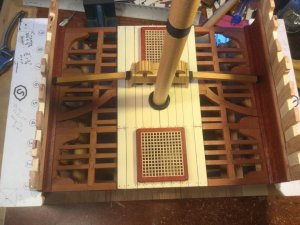
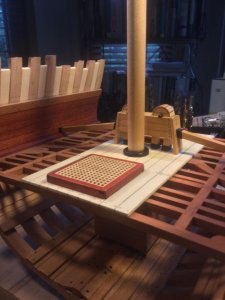
My last task was to finish up the hatch coamings and grating. Busy few days!Img_0383.jpgImg_0375.jpgImg_0376.jpgImg_0378.jpg
 
Thanks guys, and thanks for the "likes"!
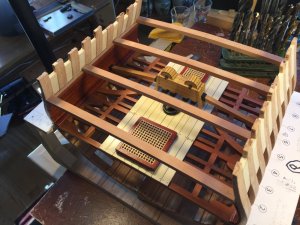
I glued the hatches, the chain pumps and the dales in place. I also made two mast wedge rings out of ebony, and glued one in place. The stub mast isn't glued down. The crank handles will be fitted when the bitts are added a little later. There is one coat of poly on the model.LD1.jpgLD2.jpgLD3.jpgLD4.jpgLD5.jpgLD6.jpg
 
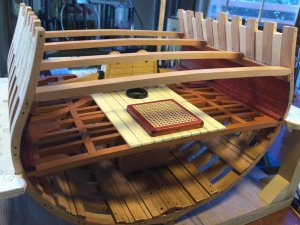
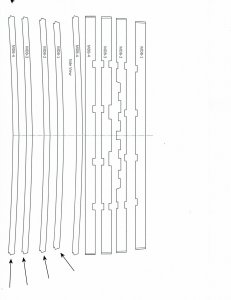
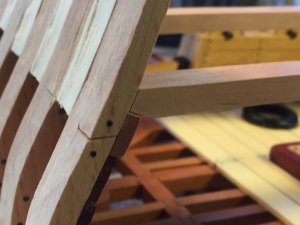
I cut out the four beams for the main deck. The 3/8" wide and 1/4" thick. There is a discrepancy in the plans regarding the main deck beams, so I had to lengthen them to fit. I took my time fitting them in place on the main deck clamp. To make that easier, I modified the ends of the beams. According to the plans, there is a little notch that fits over the top and the face of the clamp. I eliminated the notch, leaving a "flat" - much easier to fit in place.

Img_1135.jpgImg_1139.jpgmainbeams.jpgImg_1138.jpg
 
Back
Top