My pleasure, any time!Thank you for the kind advice @Dean62 Dean and for helping Phil out. It is much appreciated.
-

Win a Free Custom Engraved Brass Coin!!!
As a way to introduce our brass coins to the community, we will raffle off a free coin during the month of August. Follow link ABOVE for instructions for entering.
- Home
- Forums
- Ships of Scale Group Builds and Projects
- Bluenose PoF Group Build
- Bluenose Group Build Logs
You are using an out of date browser. It may not display this or other websites correctly.
You should upgrade or use an alternative browser.
You should upgrade or use an alternative browser.
My pleasure, any time!Thank you for the kind advice @Dean62 Dean and for helping Phil out. It is much appreciated.
Thanks to both of you.!
Here is an update.
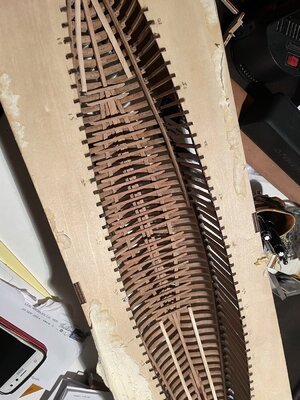
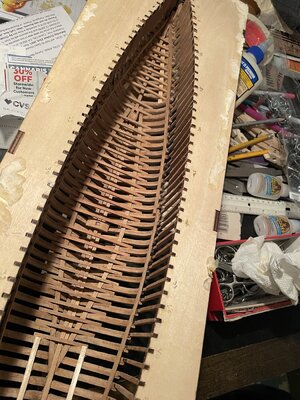
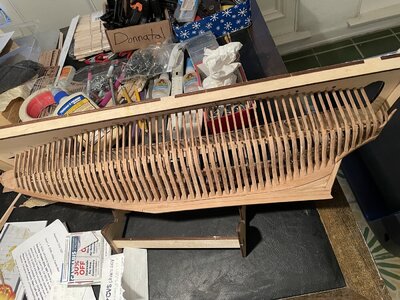
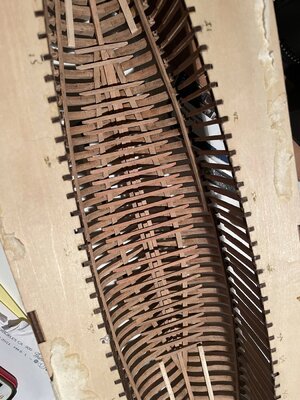
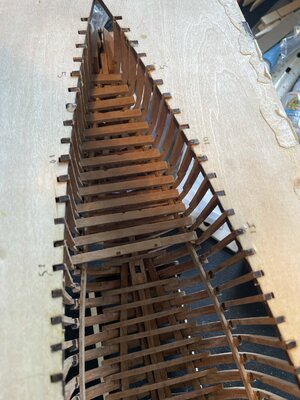
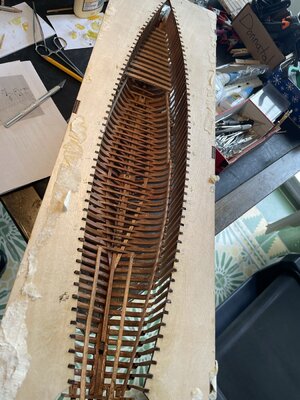
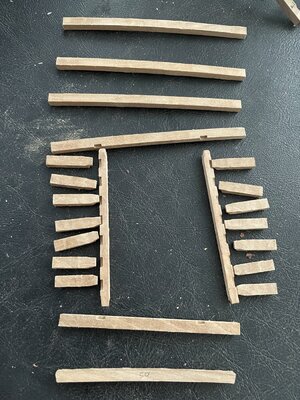
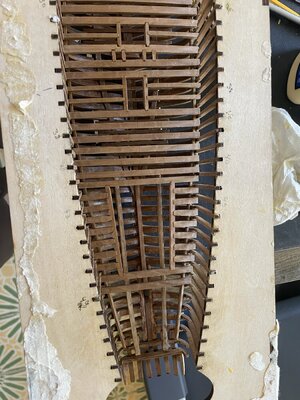
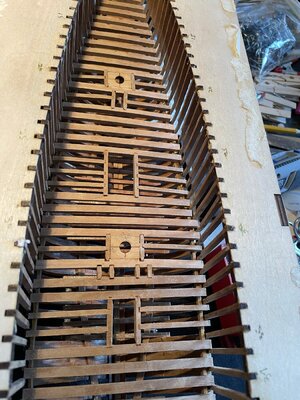
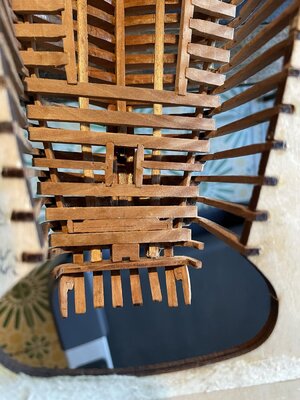
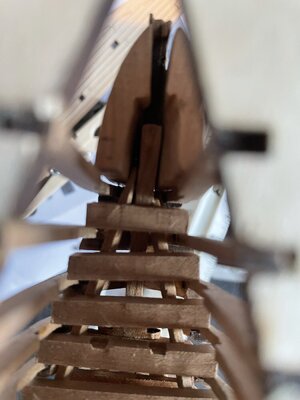
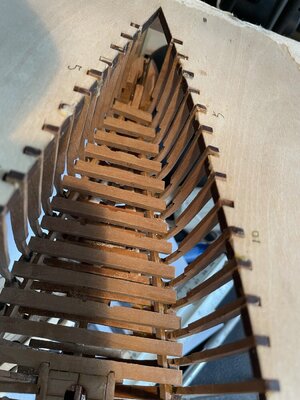
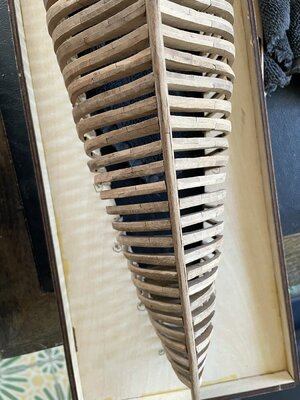
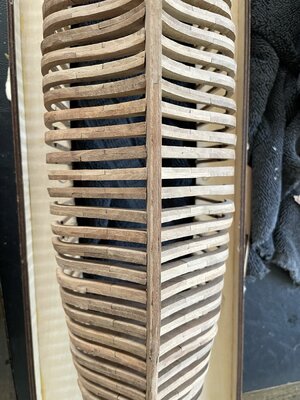
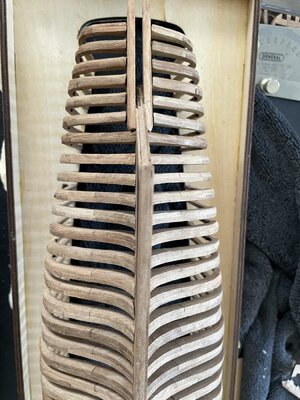
Removed, refitted, and reinstalled frames 50-56 on both sides. Also corrected the frame alignments by using spacers. Special thanks to Dean. Although not perfect, they appear to me to be much better, and hopefully ready to proceed forward. I welcome any comments and send best regards to all fellow modelers.
Phil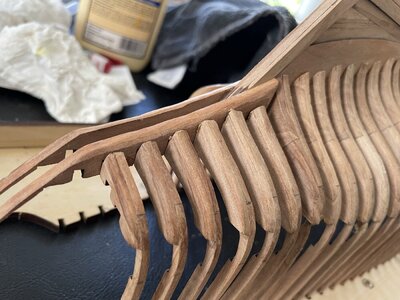


Very well done! This will make placing the waterway boards much easier, and it looks better. I think you are in good shape for doing the final fairing after internal framing is completed.Here is an update.
Removed, refitted, and reinstalled frames 50-56 on both sides. Also corrected the frame alignments by using spacers. Special thanks to Dean. Although not perfect, they appear to me to be much better, and hopefully ready to proceed forward. I welcome any comments and send best regards to all fellow modelers.
PhilView attachment 254516View attachment 254517View attachment 254518View attachment 254519
Many, many thanks Heinrich and Dean!!
Your help is much appreciated.
Phil
Your help is much appreciated.
Phil
Update. Started the internal framing. Had some difficulty at first but when I followed Peter Voogt's example for clamping the results were quite solid. Thank you Peter!
Progress has been slow, but sometimes life interferes with modeling. a few photos below. Next will be sanding and possibly a clear coat, then move forward from there with the lower decking. I stand on the shoulders of giants. Comments, or corrections are always welcome. Thanks to all of you for your help. Best regards.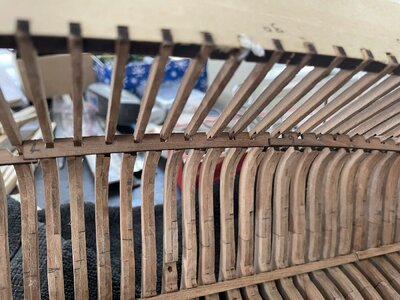

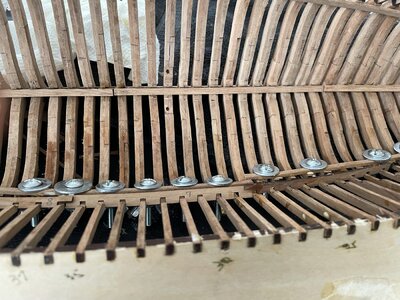
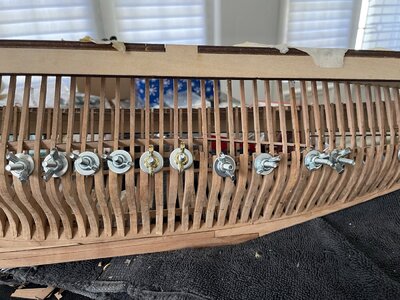
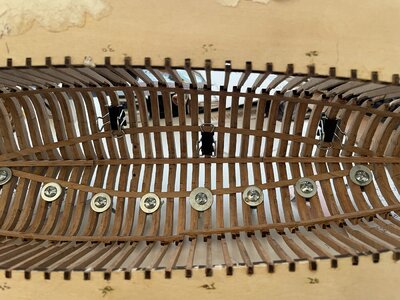
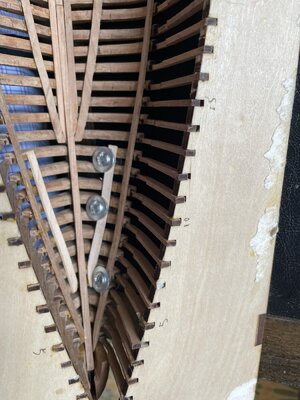
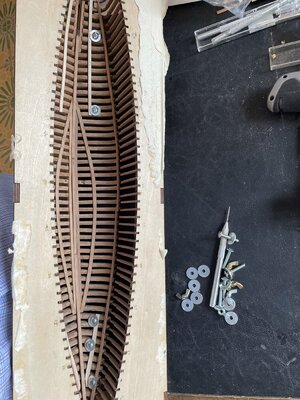 .
.
Here are a few pictures.
Progress has been slow, but sometimes life interferes with modeling. a few photos below. Next will be sanding and possibly a clear coat, then move forward from there with the lower decking. I stand on the shoulders of giants. Comments, or corrections are always welcome. Thanks to all of you for your help. Best regards.


 .
.Here are a few pictures.
- Joined
- Sep 3, 2021
- Messages
- 5,137
- Points
- 738

Step by step you're moving towards a beautifully crafted model.Update. Started the internal framing. Had some difficulty at first but when I followed Peter Voogt's example for clamping the results were quite solid. Thank you Peter!
Progress has been slow, but sometimes life interferes with modeling. a few photos below. Next will be sanding and possibly a clear coat, then move forward from there with the lower decking. I stand on the shoulders of giants. Comments, or corrections are always welcome. Thanks to all of you for your help. Best regards. View attachment 258499View attachment 258499View attachment 258500View attachment 258501View attachment 258502View attachment 258503View attachment 258504.
Here are a few pictures.
- Joined
- Jan 9, 2020
- Messages
- 10,534
- Points
- 938

Very good progress Phil! The frames look very good. Just make sure that all notches are perfectly aligned and that the beams are fully seated. It may be necessary to make individual adjustments as you go along.
Many thanks to all of you.
Phil
Phil
Hi Phil. You made a good progress with the inner framing.Update. Started the internal framing. Had some difficulty at first but when I followed Peter Voogt's example for clamping the results were quite solid. Thank you Peter!
Progress has been slow, but sometimes life interferes with modeling. a few photos below. Next will be sanding and possibly a clear coat, then move forward from there with the lower decking. I stand on the shoulders of giants. Comments, or corrections are always welcome. Thanks to all of you for your help. Best regards. View attachment 258499View attachment 258499View attachment 258500View attachment 258501View attachment 258502View attachment 258503View attachment 258504.
Here are a few pictures.
Glad a contribution from my build log was able to help you.
PS: Don't forget the bevel on the upside of the horizontal framing. The deck beams must have a flattening surface to allow them to lie neatly.
Regards, Peter
Thank you Peter. I did bevel the upside of the frame bearing beam, I believe part 135 if that is what you are referring to?
I am removing carbon from the lower deck beams, parts 75-101. I tried fitting a couple and they seem to lie flat with enough of a purchase on the bearing beams for security. I hope I am getting your drift.
Best wishes, Phil
I am removing carbon from the lower deck beams, parts 75-101. I tried fitting a couple and they seem to lie flat with enough of a purchase on the bearing beams for security. I hope I am getting your drift.
Best wishes, Phil
I don’t see the bevel-laser-lines anymore, so it will be allright, Phil.Thank you Peter. I did bevel the upside of the frame bearing beam, I believe part 135 if that is what you are referring to?
I am removing carbon from the lower deck beams, parts 75-101. I tried fitting a couple and they seem to lie flat with enough of a purchase on the bearing beams for security. I hope I am getting your drift.
Best wishes, Phil
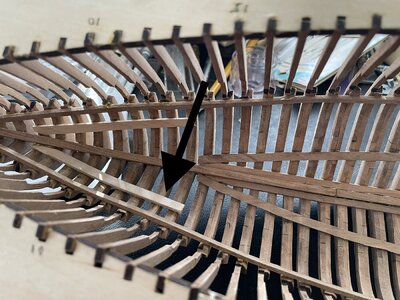
Just to be sure we're talking about the same thing: see the blue arrows:
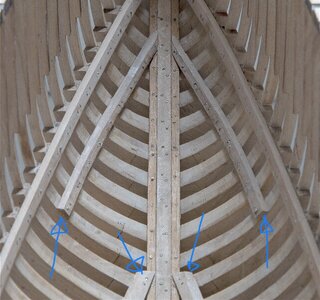
It can also be the lighting on the picture.
But for sure, you are now at a impressive stage of the build.
Regards, Peter
I should have added photos. The two shown on the attached photos with the arrows still have to be beveled and I will do that. I may have to redo them but will see if I can do it while still installed. The two center beams are beveled which is called for in the plans.
One further point, this is my first plank on frame build and with my limited experience I decided not to add the treenails, which look great on your model and I know took a lot of effort.
Thanks for the further explanation and all of your help. You are really the best.
Regards,
Phil
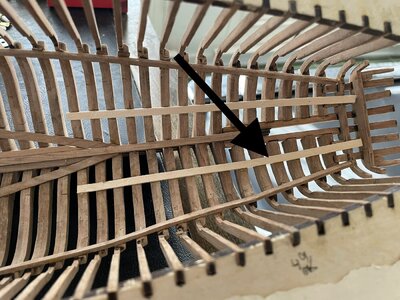
One further point, this is my first plank on frame build and with my limited experience I decided not to add the treenails, which look great on your model and I know took a lot of effort.
Thanks for the further explanation and all of your help. You are really the best.
Regards,
Phil


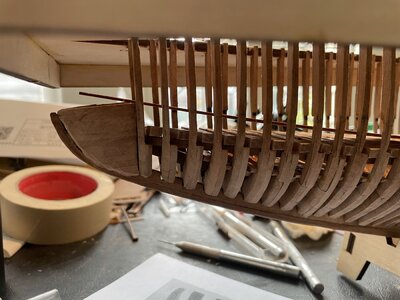
Have a problem with the fore deck. In planning to install supplied thin decks, the fore deck fits poorly on the dri fit. The fore part rides up over the filler installed in front of frame one. The aft deck supplied seems to fit well except for some minor adjustment needed for the circular mast opening. Seems like my options are to trim/sand the filler down (about 8 mm), adjust/trim -+ the deck, or abandon the deck and lay my own deck as others have done. If anyone sees this and has any suggestions I would appreciate your thoughts. 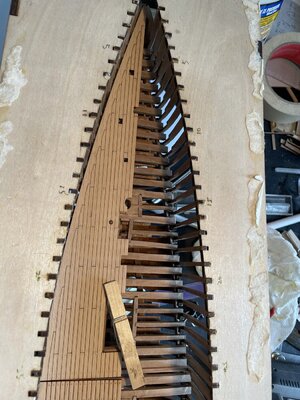
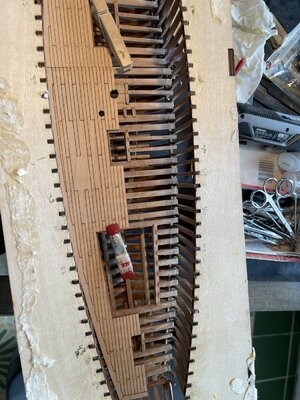




Looking good, you have made a lot of progress! Prior to installing the deck sheets or planks, I would be sure to sand all the deck beams level. I can’t tell if you have done this yet? But it is critical that your deck beams are all flush and level to ensure the deck sits level. I found it was best to use a file to do this. Or a small sanding block in the areas you can get to, and a small file for the harder to reach areas. I actually built the deck beam sub assemblies off the ship and filed level prior to installation. But you still have to average all of them together. No short cuts here.
The filler block at the bow is installed 90 degrees out. The boards should be running top to bottom. That is why your deck sheet is not fitting. You can also tell from top view. You either have to remove it and reinstall correctly, or file out the extra material in the way of the deck sheet, which would be difficult at best! To install correctly, take the port side off and install on the starboard side 90 degrees out from current orientation, with boards running up and down. And same for the opposite side. Hope that makes sense. The thick areas in the top view go at the bottom on the keel, and against frame no 1.
On the fit of the deck sheets, many have had problems with the openings lining up with the beams. You either have to adjust the beams or consider planking the deck with individual boards. I chose to do that and cut out the edges of the deck sheet as a guide for the nibbing. It’s a lot of work, but worth it in my opinion because you can ensure your deck boards align with all openings and mast holes perfectly.
Last edited:


