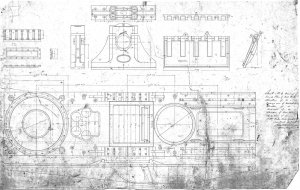
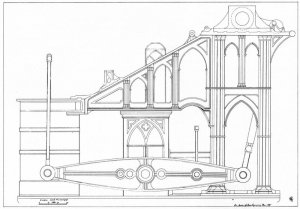
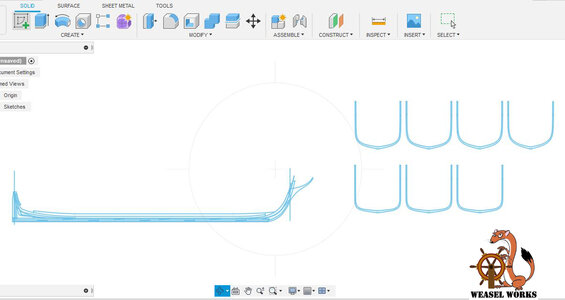
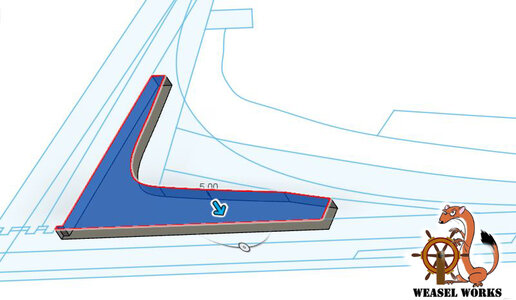
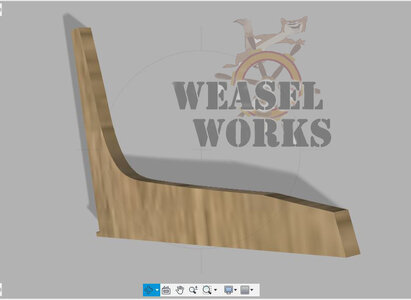
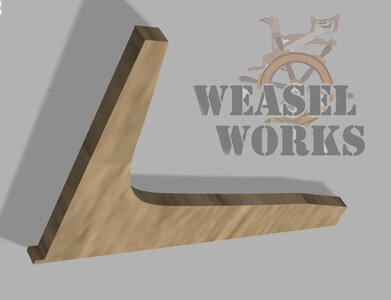
and now for step two of the frame drawing.
once all the frames are drawn I will break them down onto floors and futtocks and that goes like this
starting with frame number 1
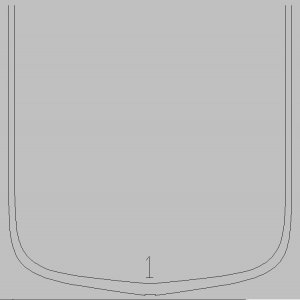
the drawings are exact measurements and if I cut out the parts to these exact measurements I have learned over the years of model building I would have zero tolerances when it comes to building. So I am going to add some wiggle room so if I am off slightly I can make adjustments.
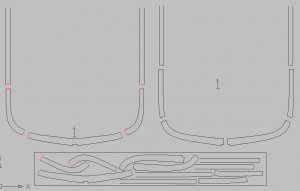
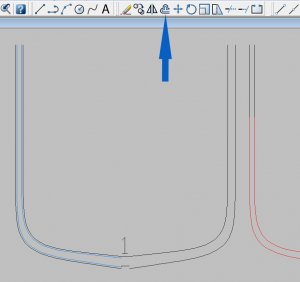
What we are looking at to the left the blue line is the original frame drawing. Using the offset tool (blue arrow) I will offset the frame lines which are the black lines outside of the blue lines.
On the right side is now the pattern for cutting out the frame. Comparing the black frame to the red frame next to it you can see the added width of the frame.
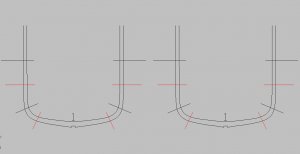
next I added the black and red lines these lines are the breaking points of the frame. The frames are double frames that is two frames bolted together to form on frame. The red lines are one frame the black lines are the other. The breaks are like bricks in a wall and they will overlap. The frame to the right is a copy of left frame.
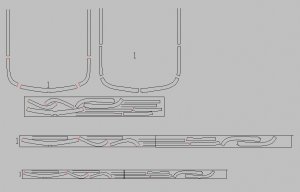
Here are the two halves of the frame broken down
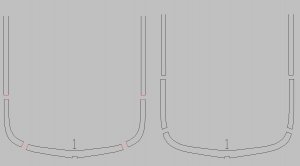
Once you have a drawing you can change it to any scale. I will work the drawing in the scale I intend on building. The reason is I am able to set up cutting files on a known sheet size. The sheet below the frames is 3 x 30 inches so I fit the parts onto the sheet.
i can also figure out 66 sheets will require 23 board feet of 4/4 lumber.
this is another tedious slow process so figure another 40 to 60 days on and off of drawing.
